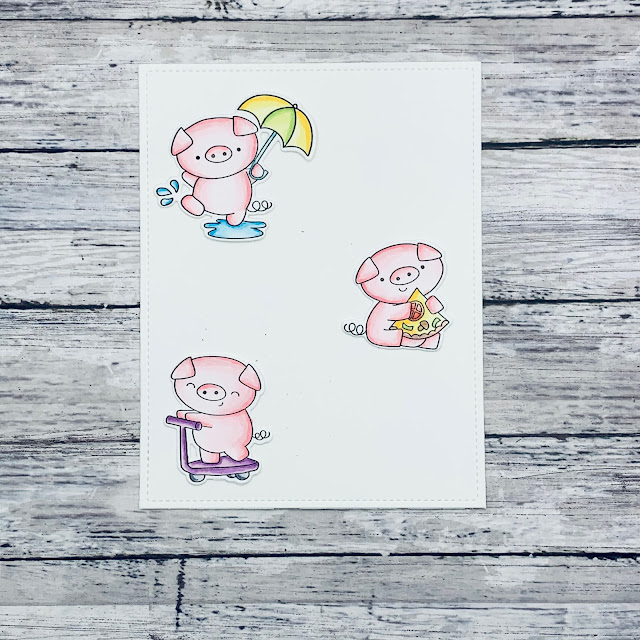
Hello everyone and Happy Monday! Today I am going to detail how I created my own Frame using the Circle of Love Nesting dies. I love creating frames using shapes as it allows you to create multiple scenes in one card and use multiple sentiments (if you find yourself unable to decide which one to use.
 |
Sets used:
- Circle of Love Nesting Dies (the Simple Circle Dies will work as well)
- Autumn Scene Cover Plate Die
- Hogs and Kisses clear Stamp set and Coordinating Die set
- Landscape Edge Standalone Die set
I first stamped out my images and used the following Copic Markers to color my images: RV10, RV11, RV13, RV14, Y11, Y13, Y15, V01, V04, V06, B00, B01, B02, YG21, YG23.
I then diecut the images out and put them to the side. I cut out 2 card panels using the rectangle die that came with the Autumn Scene Cover Plate Die. I took one of the panels and placed my images where I wanted them to go.
I made sure to make marks using a pencil that way I can remember where I wanted the cuts to go.
This is how my frame looked once I die cut all three areas out.
I then stamped my sentiments directly onto the frame.
I took my second panel and blended Chipped Sapphire, Salvaged Patina and Mustard seed with a cloud stencil. I cut out 2 hills and grass using the Landscape Edges and blended them with Twisted Citron, Mowed Lawn and Rustic Wilderness.
I placed the frame over the second panel and glued down my landscape pieces. I then glued the frame directly onto the panel. For the images, I used foam adhesive so that they popped out.
I hope you enjoyed this quick and easy tutorial. If you have any other shaped dies, you can easily create frames using them as well. Don't forget to use the code T4TRANDY10 to save on your next purchase in the shop!


No comments:
Post a Comment
Thank you for leaving a comment, it really does brighten my day!