Pages

Monday 30 May 2022

I Love You with Cloud Dies

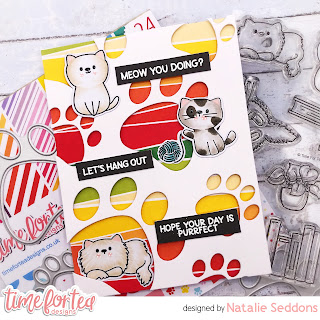
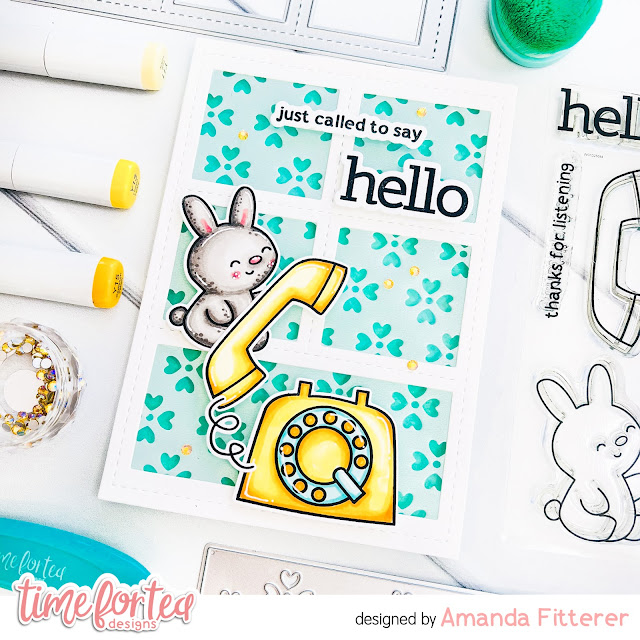
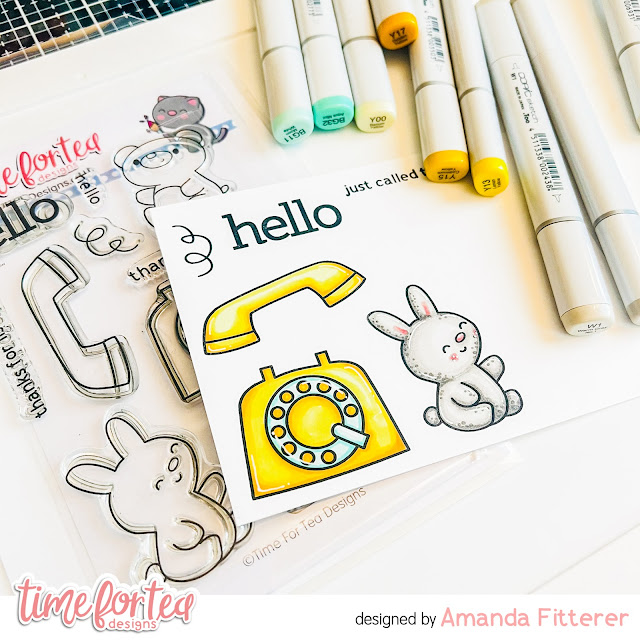
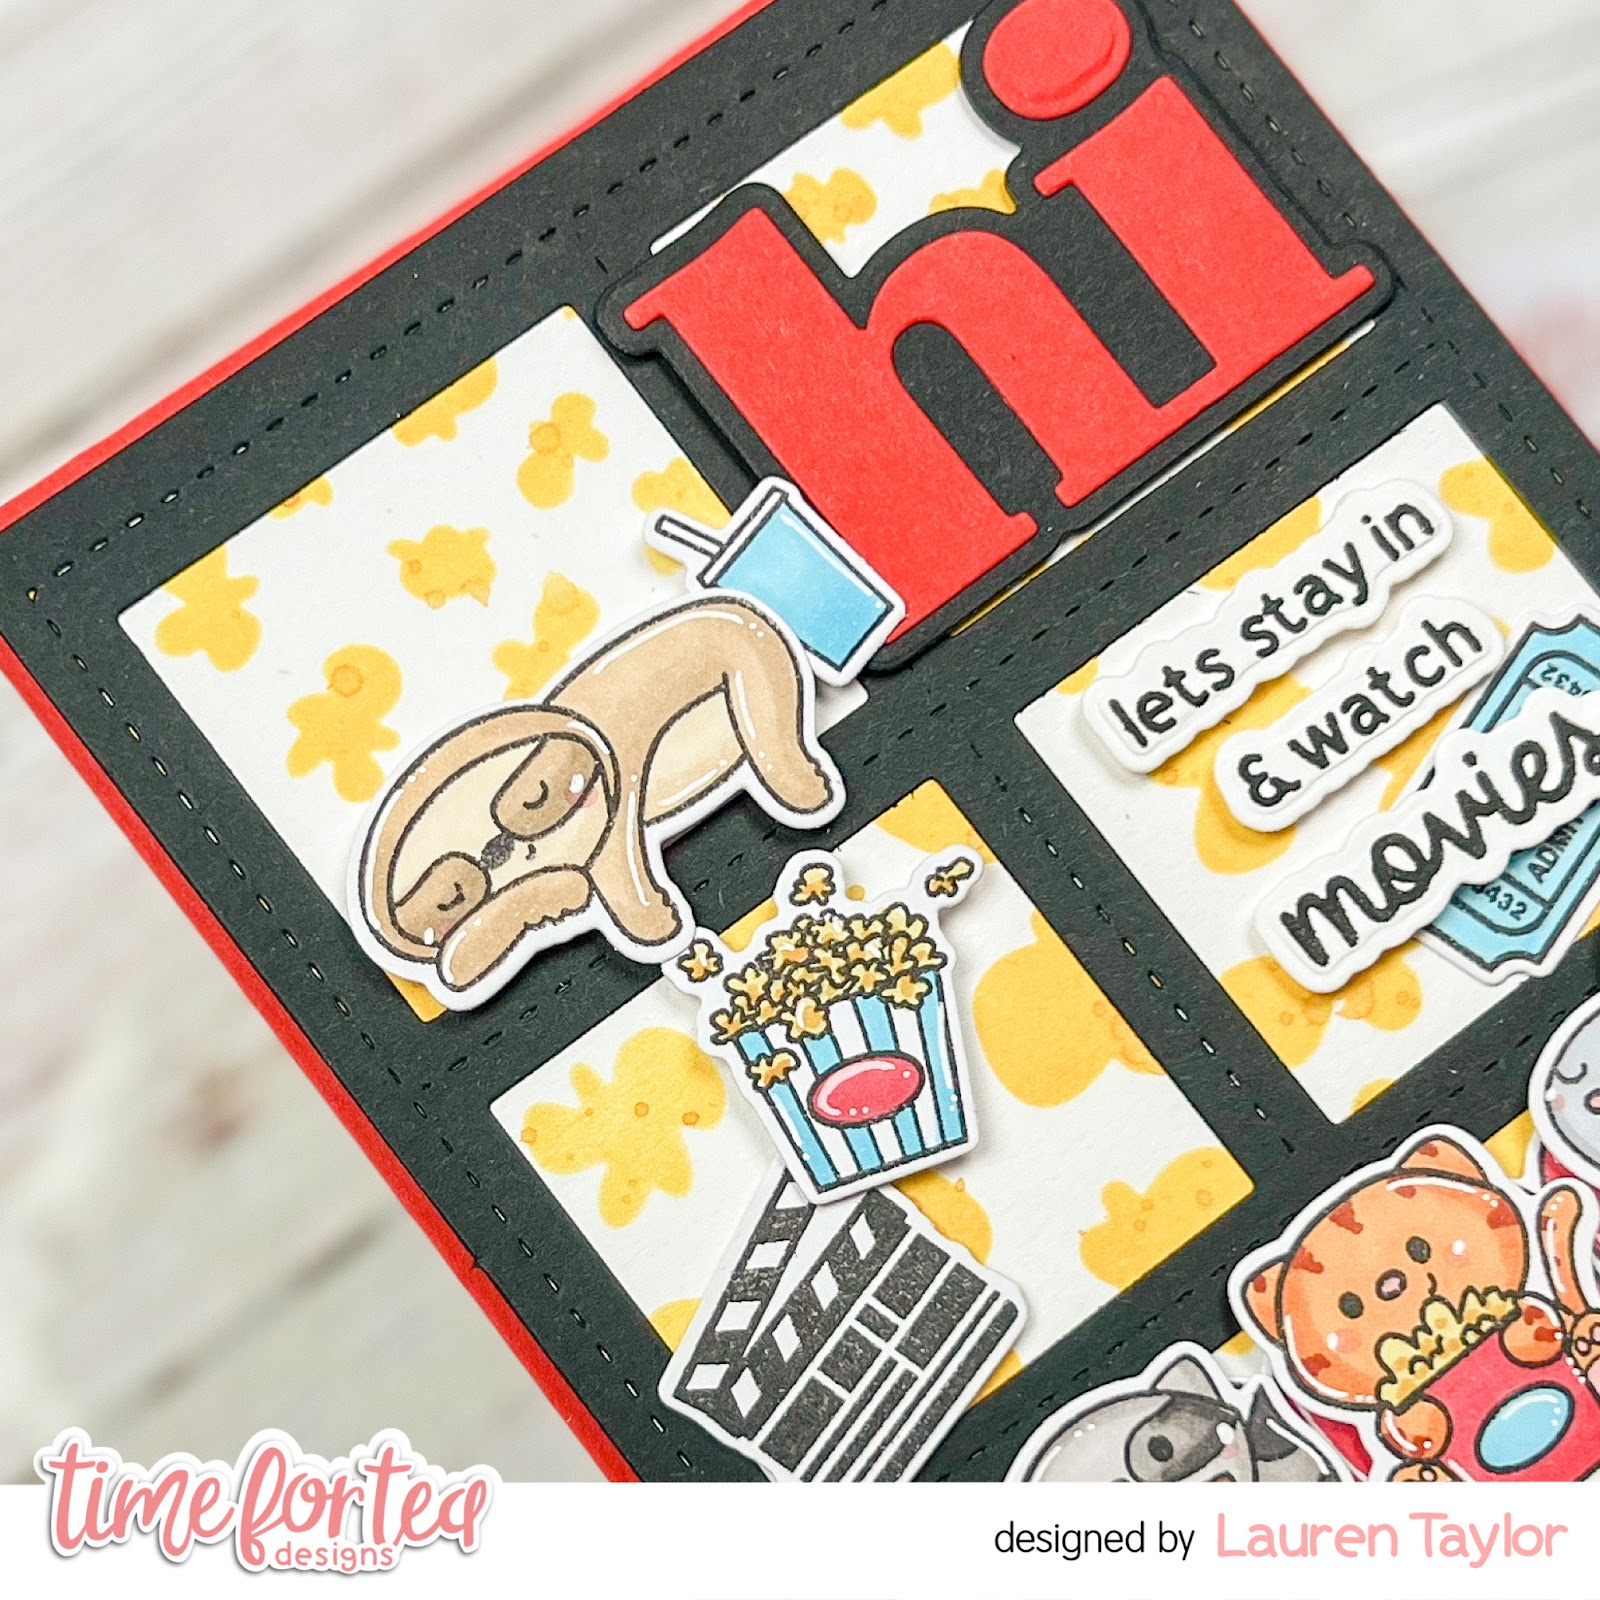
 Hello Everyone, I am excited to be back on the blog today to share super simple but super sweet card that features the new Cloud Dies. I wanted to create a lovely scene where these two critters are up in the clouds having a wonderful chat. 


Sets used:


I first cut out a card panel using the biggest die from the Autumn Scene Cover Plate Die set. I then blended Chipped Sapphire, Faded Jeans, Seedless Preserves and Picked Raspberry.

I then cut out the cloud dies from white cardstock a few times. 


I the stamped out the images and used E000, E00, E01, E11, E13 Copic Markers to color them. I die cut them out and set it to the side. I heat embossed the two sentiments on red cardstock and trimmed them down.

I took the clouds and decided on how I wanted to arrange them. For any portion of the clouds that I trimmed off, I used it on the opposite side of the card.


Once I had the clouds in place, I used foam adhesive to adhere the images on the clouds. I then used liquid adhesive for the sentiments to complete the card.

I hope you enjoyed this super simple and easy card. Have an amazing day and don't forget to use the code T4TRANDY10 for savings on your next purchase.

Sunday 29 May 2022

Hello, you make me smile

 Good afternoon Teatimers,

I'm here today saying hello with these cute critters from the Hey There Critters stamp and die set.

This set is perfect for creating sweet little scenes and they go perfectly with the Stitched Window Cover Die.

To start I stamped and coloured my images using my Ohuhu Markers (colours listed below in order of lightest to darkest)

Cat - Y030, GY6, Y1, Y2, YR33

Rabbit - RG110, RG120, RG150

Mouse - GY173, WG050, WG01, WG3

Balloon - G420, G440, G360

Sun - Y030, Y050, Y1

Sunflower  - Y1, Y2, YR260, YR5, E300, BR1


To create the background I took the Flirty Flowers Stencil and distress ink in Salty Ocean to create a pretty sky. I cut 2 pieces of card using the grass die from the Landscape Edges Dies and added colour with distress inks in Twisted Citron and Mowed Lawn.

I cut the Cover die out twice from white card and added the grass strips behind the bottom windows before adhering to the sky background.

I added the critters to create my scene and added the sweet sun and fluffy clouds in the top sections.

I finished off by stamping the hello from the stamp set and adding a sentiment strip from the Brighter Days Sentiments

Thank you for joining me here on the blog today,  you can use my code T4TLYNDSEY10 for 10 % off your order in store. 

Enjoy the rest of your weekend

Lyndsey x 

Saturday 28 May 2022

Hello, I Miss You!


Happy Saturday Teatimer’s these weekends are coming around fast! Have you been doing lots of crafting this week? I’ve been busy creating once again, using the super cute new release. This week I thought I’d better colour up something else besides those adorable kitties, so these cuties are from the new Let's Chat Stamp and Die set
I stamped them out using memento Tuxedo Black ink and coloured them up with copic markers. Cutting them out with their coordinating dies and adding some finishing touches to their cheeks and noses using black and white gelly roll pens. 
For the background I used the Flirty Flowers Cover Dies which I cut out of white card and layered on top of a white card base. I added a white frame using the Smile Inverted Scallop Frame Dies and popped it up using some white foam tape. 
The big Hello sentiment is from the Hey, Hello, Hi Dies set which I cut out of fun foam as well as the pink paper so it would be the same height as the frame and it's so much easier than faffing with the foam tape. 
I love how the Time for Tea Coordinating Die Sets cut out the sentiments too so I heat embossed my other sentiment onto black card and cut that out using the Coordinating Dies. For the other sentiment I cut out one of the speech bubbles from the Speech Bubbles Coordinating Die Set and heat embossed the I Miss You inside it. Top tip it's easier to stamp and then cut out. I laid these two sentiments flat so that it was the hello die that was popped up alongside the cute Critters and the telephone. This just adds a bit more dimension and interest to your card. 
It really was a quick card to make with nit much colouring and perfect for sending to someone to give them a pick me up!
I hope you like it and if you want to pick any of the items up in the Time for Tea Shop,you can get 10% off your order using code T4TNATALIE10 ♡ 

Friday 27 May 2022

Hey, Hello, Hi Rainbow

Happy Friday, everyone. DT Annalisa here sharing a bright and welcoming card featuring the new Hey, Hello, Hi Dies and the Flirty Flowers Stencil from Time For Tea Designs. I love these extra-large sentiment dies.

I used several Distress Oxide inks (Abandoned Coral, Spiced Marmalade, Mustard Seed, Cracked Pistachio, Mermaid Lagoon and Wilted Violet) on the flirty Flowers Stencil using my Beautiful Rainbow Blender Brushes. I removed the stencil and lightly blended the same colours over the entire panel in the appropriate sections so the cardstock wasn't stark white.


I glued the largest border die from the A2 Nesting Frame Dies to the card to frame the stencilled card stock. I then placed this panel onto an A2 card base. 

I ink blended white card stock with Abandoned Coral and Spiced Marmalade and die-cut out 'hey.' I blended the same colours onto vellum and then die-cut the shadow. I followed this same process for the other words and their shadows, using Mustard Seed and Squeezed Lemonade for 'hello' and Mermaid Lagoon and Wilted Violet for 'hi.' I added some white gel pen accents to the letters.


I glued down each word and their shadow die pieces, to complete the card.

Thank you so much for reading my blog post, you can use my discount code T4TANNALISA10 when you visit the Time For Tea Designs shop to get 10% off your order.


Thursday 26 May 2022

Trifold Tag Card with Amanda

 
Happy Thursday, Tea Timers!  It's Amanda back with another fun project showcasing the NEW RELEASE!  This card is a unique card because it's a trifold tag card.  It's super easy to make, but looks quite impressive!

1.  Trim a piece of cardstock to 10.5″ x 4″. 
2.  Score at 3.5″ and 7″ and fold into a “Z”.
3.  Make some tags for each panel. 
Trim 2 pieces of cardstock to 3.25″ x 5″ and 1 piece to 3.25″ x 6″. Trim off the corners of each piece of cardstock to create a tag and add a hole punch in the center. 
4.  Decorate your tags however you like.

For this first tag, I've used the Tiled Wall Stencil, the new Cloud Dies, and the new Hey There Critters Stamp Set to create an adorable scene with the bunny holding a sunflower.


For this tag, I've used the the same Hey There Critters Stamp Set along with the new Hey, Hello, Hi Dies. For my background, I used some Foil Transfer Gel Duo with the new Pawsome Prints Stencil and some gold foil.

For my final tag, I've used the Flirty Flowers Stencil for my background and the Hey There Stamp Set.  I also used the Tiger Stripes Stencil behind my mini pocket.


That's it!  Easy peasy and JUST SO CUUUUTEE!!
Don't forget, you can use code T4TAMANDA10 to get 10% off your purchase!
Until next week.... Xx, Amanda 

Wednesday 25 May 2022

You had me at MEOW....!!

 Hey tea timers...

It's DT Ashlee here today. I hope you are all well and getting in lots of crafty time!!

I am so excited because I got my crafty parcel this week with the new T4T goodies and I couldn't wait to get crafty with them so guess what I've got to share with you today.... 

A new release card, YIPPPEE!!

To create my card I started with a white cardstock base, placed the Pawesome prints stencil over the top and inked the whole stencil using Distress oxide ink Hickory Smoke creating a super cute grey paw print background....


I used the You had me at Meow sentiment die for my focal sentiment. I first die cut the shadow layer from grey cardstock and then the letters from black cardstock before adhering together with Bearly arts liquid glue. I added foam tape behind the whole sentiment and adhered it to my paw print card base.


I coloured up a kitty, some plants and books from the Purrfect day stamp set and cut them out using the co-ordinating dies. These were coloured using a mix of Spectrum noir tri-blend markers and Couture creations alcohol markers. I love trying out different pens for my colouring!! I added the images around the sentiment and finished it all off with some pretty sequins for a touch of bling.


I hope you like this card, I am looking forward to sharing lots more using the new release...

To the craft room I go!!

Hugs Ashlee.

Monday 23 May 2022

Home is Where the Kitty Capers Are

Good Morning Everyone! Today I get to share a fun home scene I created using the new Tiger Stripes stencil and featuring the new Kitty Capers Stamp and die set.

I wanted to show a scene where we get a glimpse of what are pets are up to when we aren't home. Although, let's be honest, they may do the same even when we are home!

Sets Used:

I first diecut out two panels using the largest die from the Autumn Scene Cover Plate set. For the first panel, I blended Tattered Rose over the cardstock. I then used the new Tiger Stripes Stencil and blended Worn Lipstick and Saltwater Taffy. I wanted to created a fun wallpaper look on the "wall" of my card.


With the second panel, I trimmed it down and blended Antique Linen, Gathered Twigs and Tea Dye. I wanted to create a dresser for the cats and the objects to sit on top. I decided to take the wood piece from the Purrfect Day Scene Builder die set and cut it out 4 times. I used the same inks to blend onto the wood pieces. These pieces are to act as the drawers of the dresser.


I then stamped out the images from the Kitty Capers Stamp and Purrfect Day Stamp sets and used the following colors:
  • Cats: C00, C01, C03, C05, C07
  • Plants: YG93, YG95, YG97, G03, G05, G07
  • Books: RV13, RV14, RV17, BG11, BG13, BG15, V00, V04, V06
  • Milk Bottle: B000, B00, B01


I then die cut my images and placed them to the side. I diecut the word "home" from the New Home Sentiment die set from gold cardstock. I heat embossed the sentiment using white embossing powder onto teal cardstock and trimmed it down. I then assembled and adhered my images using liquid adhesive.

I hope you enjoyed this blog post and will create some fun scenes using these adorably mischievous cats. The new release is available in the shop and don't forget to use the code T4TRANDY10 on your next purchase. Have a crafty-filled week!

Sunday 22 May 2022

Let's hang out

Good afternoon Teatimers,

Who fancies hanging out and chillin on this lovely Sunday afternoon?

I love this adorable image from the Purfect Day stamp and die set and just had to team it with the 'let's hang out' sentiment.


To start I coloured my images using my Ohuhu Markers (colours listed below in order of lightest to darkest)

Cat - CG020, CG050, CG070

Branch - E300, E170, BR1

Leaves - GY4, GY2, GY43 

Sky - MG020,  BG1103

To create the background I used the Pawsome Prints 6x6 Stencil with Salty Ocean distress ink and cut the panel.our using the A2 Layering Dies. I added 2 strips of paper and a strip of black card  across the panel before matting onto a slightly larger piece of black card.

I used the polaroid frame die from the Memory Keeping Essential Dies and created my little scene within the frame. The clouds and sun are from the Hey There Critters stamp and die set.

I die cut the Hey sentiment twice from white card and once from black to give dimension and stamped the 'let's hang out' directly onto the frame. 

I added the frame to the front of the panel at a jaunty angle and finally added the panel to a 6x6 card blank cut down to 12cm wide.

Thanks for joining me here on the blog today, you can use my code T4TLYNDSEY10 for 10% off your order in store.

Enjoy the rest of your weekend 

Lyndsey x 


Saturday 21 May 2022

Meow You Doing!

 Hi everyone it's DT member Natalie here with another sweet kitty card. I just couldn't resist colouring them up again they are just so fun! I teamed the kitties with the new Pawsome Dies and Pawsome Rainbows Paper Pad

I began by cutting out a base out of white card by using the Imperial size Layering Dies and then taking the Pawsome Dies, I randomly cut out paw prints around the card. I used the biggest one at the bottom and got smaller as I went up as I thought it was more aesthetically pleasing. This was then popped over the top of a sheet of the Pawsome Rainbow Papers using foam tape to add a bit of depth. 
The cats I stamped from the Puurfect Day and the Hey There Critters Stamp and Die Sets. I used Mememto Tuxedo Black ink to stamp and coloured them up with COPIC markers and cut them out with the coordinating dies. Using some black and white Gelly Roll pens I also added some finishing touches on their noses and cheeks and adhered them onto the card. 
For the sentiment I white heat embossed onto black card and cut them out into strips and laid one next to each kitty. Then just popped it all onto my card base and that was my card all finished up. 
I hope you like the finished result you can find all the items in the Time for Tea Shop and if you want to purchase anything there you can get 10% off your order using code T4TNATALIE10T4TNATALIE10. Have a great weekend and I’ll see you next week ❤️

Friday 20 May 2022

Thinking of You Kitty


Happy Friday, DT Annalisa here today sharing a sympathy card for someone who has sadly lost a kitty. Jo designed this die while her kitty Clyde was ill. He sadly passed away and I love that this will forever commemorate him.

To start, I ink blended a rainbow of stripes in the Distress Oxide colours of Wilted Violet, Mermaid Lagoon, Cracked Pistachio, Mustard Seed, Spiced Marmalade and Abandoned Coral. 


I used a stitched square die to cut out a 3 1/4 by 3 1/4 inch white card panel that I cut again with the medium-sized paw print from the Pawsome Dies. I then stamped the 'thinking of you' sentiment from the Grateful For You Landscape Clear Stamp Set.

I then used a 4 1/2 by 4 1/2 stitched square die to cut a piece of beautiful patterned paper from the Pawsome Rainbows 6x6' Paper Pad. I thought the colourful paw prints in this pattern worked perfectly for this card. I adhered the patterned paper to a square card base.

I glued the ink-blended panel to the center of the card and used foam tape to stick the paw print panel on top of it. 

I stamped and coloured the kitty from the Sweet Village Clear Stamp Set and cut her out. I used foam tape to stick the kitty in the middle of the paw print cut out to complete the card.  

Thank you so much for reading my blog post, you can use my discount code T4TANNALISA10 when you visit the Time For Tea Designs shop to get 10% off your order.


Thursday 19 May 2022

Die-cutting with Vellum and the Flirty Flowers Cover Plate

Happy Thursday, Tea Timers!  How is your week going so far?!  It's almost the weekend, finally!  I'm excited to share this card I made using some products from the BRAND NEW RELEASE!

Have you also been drooling over all the cuteness in the new release?  I can't even stand how many adorable critters there are!!

For this card that I'm sharing today, I'm using the Let's Chat Stamp Set, the Flirty Flowers Cover Die, and the Stitched Window Cover Die.
So... let's hop right in!
First, I'm going to die cut my Flirty Flowers Cover Die on iridescent vellum.  I am also going to cut my Stitched Window Cover Die on white cardstock.

On a plain piece of white cardstock, I am going to roughly blend Blue Moon Color Hive Ink onto it.
Now, I'm ready to stamp and color my images from the Let's Chat Stamp Set!  I'm using Copic markers to color my images and the coordinating dies to cut them out.

The final step is to assemble the card!  I'm first using liquid glue to adhere my vellum to the back of the windows die cut.  Then, I'm propping that combo up with 3D foam strips.  I'm using 3D foam squares to prop up my stamped images and sentiments.  For the finishing touch, I'm adding some yellow gems with liquid glue.


That's it!  Easy peasy and JUST SO CUUUUTEE!!
Don't forget, you can use code T4TAMANDA10 to get 10% off your purchase!
Until next week.... Xx, Amanda 


Wednesday 18 May 2022

Cake, cake, cake....!!

 Hey Tea timer friends...

It's DT Ashlee here today, Who's ready for some more inspiration using the super duper cute Hooray Hamster set (and co-ordinating dies)?!


For this card I die cut multiple of the Eat the cake sentiment from cardstock I had embossed using my WOW! embossing trio Birthday cake. Colours are Blue icing, Cake and Candles which I thought was very fitting to use with this sentiment!!

Once I die cut each embossed piece I backed it with the shadow cut from black cardstock before adding to the card base with foam tape so they popped up off the card!


I stamped, coloured and die cut three of the Hamsters and gave them all little party hats because what's a party without a fun hat right?!...

Images were coloured using a mix of Copic and Spectrum noir trio markers!!
I love colouring with different alcohol markers, have you tried some?

To complete the card I added some orange and blue sequins in a variety of sizes....


I hope you enjoyed my new card for today. I'm hanging out for my new release T4T goodies to arrive so hopefully soon I will have some inspiration for you using the amazing new release products...

Speaking of the new release have you checked it out? Ohhh it's so good, you totally need to have a look if you haven't yet. If you decide you want to do some shopping you can use my code T4TASHLEE10 for a discount off your order. 

Happy crafting, hugs Ashlee. 

Video: Movie Night & Popping Popcorn Card

Hi, Friends! Lauren here and I'm back with a new video tutorial on YouTube! This month I using some of my favorite new products from the latest release. Can you spot the Popping Popcorn Stencil, Movie Night Stamps with Coordinating Dies, Stitched Window Cover Die and the Hey, Hello, Hi Dies?

In today's video I will share with you how I created my background and share how I laid out my design. There is a lot of layering in this card, but you can easily remove some layers by gluing elements of this card with glue rather than foam adhesive.

Click the image below to start the video and make sure to leave a comment if you have any questions!


Here is a quick list of the Time For Tea Designs supplies I used and make sure to enter my code T4TLAUREN10 at checkout for 10% off your order!

Movie Night Stamp and Die Collection

Movie Night Clear Stamp Set

Movie Night Coordinating Die Set

Stitched Window Cover Die

Hey, Hello, Hi Dies

Popping Popcorn 6 x6" Stencil

Thanks for joining me today and see you next month!

XO. Lauren

Find me on my social media here!

Tuesday 17 May 2022

New Home A2 card


Hi Tea Timers!

How are you enjoying the new release? I had a blast making the samples and I can't wait to share all my projects with you! 

Today I'm taking you through how I made this New Home A2 card.


For my background I used the Sweet Summer and Joyful Winter paper pads. They are super versatile and work in many combinations. I went for the wood effect for the wall paper and a stripy one for the floor. I mounted the pattern paper on an A2 card base, leaving a thin white border all around.

Next, I stamped the couch, lamp and window from Home is where the heart is stamp set and coloured them in. I used the matching dies to cut them and added some white highlights. I added them to my card base using foam tape.

For the sentiment I used the New Home Sentiment Die and cut the shadow in white card stock. For the sentiment I used a yellow cardstock and die cut it 3 times. I glued them together and then used the negative from the sentiment die to help me glue them on the shadow in the right places. 

I glued the sentiment at the top of the card and used a white gel pen to add some extra details.

I hope you like today's card and I can't wait to see what you create with the new release. If you've not had a chance to get your hands on any of the new products yet there's still time and I also have a 10% discount code - T4TMIKI10.

Until next week!

Hugs,

Miki

Monday 16 May 2022

Paw Print Slimline Frame with Pawsome Dies

Good Morning Everyone and Happy Monday! I am ecstatic to take part in my very first release with Time for Tea. If you've seen the new items in the shop AND the amazing projects so far from the Design Team, you already know that every single product is a must have!

In my last blog, I created my own frame using just a circle die. Today I am back using the same technique, but this time with a slimline panel and the new Pawsome die set.


Products Used:

I first cut out two slimline panels from white cardstock using the largest die from the Slimline Scalloped Trio Circle Nesting Die set. I then took the largest and medium paw print dies from the new Pawsome Dies set and eyeballed where I wanted it to go. 


I decided on having the large paw go in the middle and the middle sized paw on either side of the large print. I decided to go with a simple blend on the paw print panel so not to take away from the pattern. I blended Peacock Feathers, Salvaged Patina, Cracked Pistachio and Mowed Lawn.


For the second slimline panel, I first blended Tattered Rose onto it. I then took the new Pawsome Prints stencil and blended Saltwater Taffy and Worn Lipstick. I then stamped and diecut the three cats from the Purrfect Day and Kitty Capers die set, along with the image of the book and cactus.


I used the following Copic Markers to color the images:

  • Cats: YR00, YR12, YR14, YR16
  • Cactus: YG21, YG23
  • Book: R20, R22
  • Tree branch and leaves: E11, E13, YG11, YG13


To assemble the card, I used foam tape to adhere the paw panel to the back panel. I heat embossed the sentiments onto pink cardstock and trimmed them down. I then used foam adhesive squares to adhere the cats inside each paw print.

I hope you enjoyed this blogpost and will use this technique to create your own slimline frames as well. Make sure to check out the rest of the release and don't forget to use the code T4TRANDY10 at checkout for some savings. I hope you have an amazing day!


Other Posts You Might Like