Tuesday, 31 December 2024
Goodbye 2024! 👋
Monday, 30 December 2024
"Hello.. See You Soon!"
Hi Tea Timers, welcome back to the blog. We are just days away from a new year and with this being my last card of the year and on the design team, I wanted to create somewhat of a sentimental card.
I wanted this card to look like the critter was driving off into the sunset. The critter isn't saying goodbye though, more like see you again hopefully soon.
Sets Used:
I first stamped out my images and then fussy cut them out. There are coordinating dies available for this set. I then used Copic Markers to color the images and set them to the side.
I took an A2 panel and blended it with Fossilized Ember, Scattered Straw, Saltwater Taffy and Worn Lipstick Distress Oxides. I then splattered this background with white watercolor.
I then took another A2 panel and die cut out the mountain pieces. For the large mountain pieces, I blended it with Gathered Twigs and Tea Dye Distress Oxides. I then splattered this piece with white watercolor.
I took a road die that was from a retired set and die cut it out of grey cardstock. I blended it with Black Soot and Weathered Wood Distress Oxides. I then trimmed down a white piece of cardstock to fit behind it.
To assemble my card, I added the mountain piece first onto my background using liquid adhesive. Then I added the ice caps on top.
I added my road to the very bottom of the card panel and trimmed off any excess pieces.
I then die cut out the 'hello' sentiment from green cardstock and adhered it with foam dots after I stamped the "see you soon" sentiment directly onto the panel using black ink.
To complete my card, I adhered the critter behind the car using liquid adhesive. I then added foam tape to the back and adhered the critter in the card to the road.
I hope you enjoyed this blog post today and I hope you have a wonderful new year full of happiness, great health and crafty adventures.
All the products I used are linked above. Don't forget to use the code T4TRANDY10 at checkout for extra savings. Happy crafting and I hope to see you again soon!
Sunday, 29 December 2024
Happy Hump Day!
Happy Sunday everyone!
I created a birthday card featuring the Happy Hump Day clear stamps from Time For Tea Designs.
First, I colored the stamps with my alcohol markers. I used Copic alcohol markers in the colors E39, E37, E35, E34, E31, and E30 for the camels.
Saturday, 28 December 2024
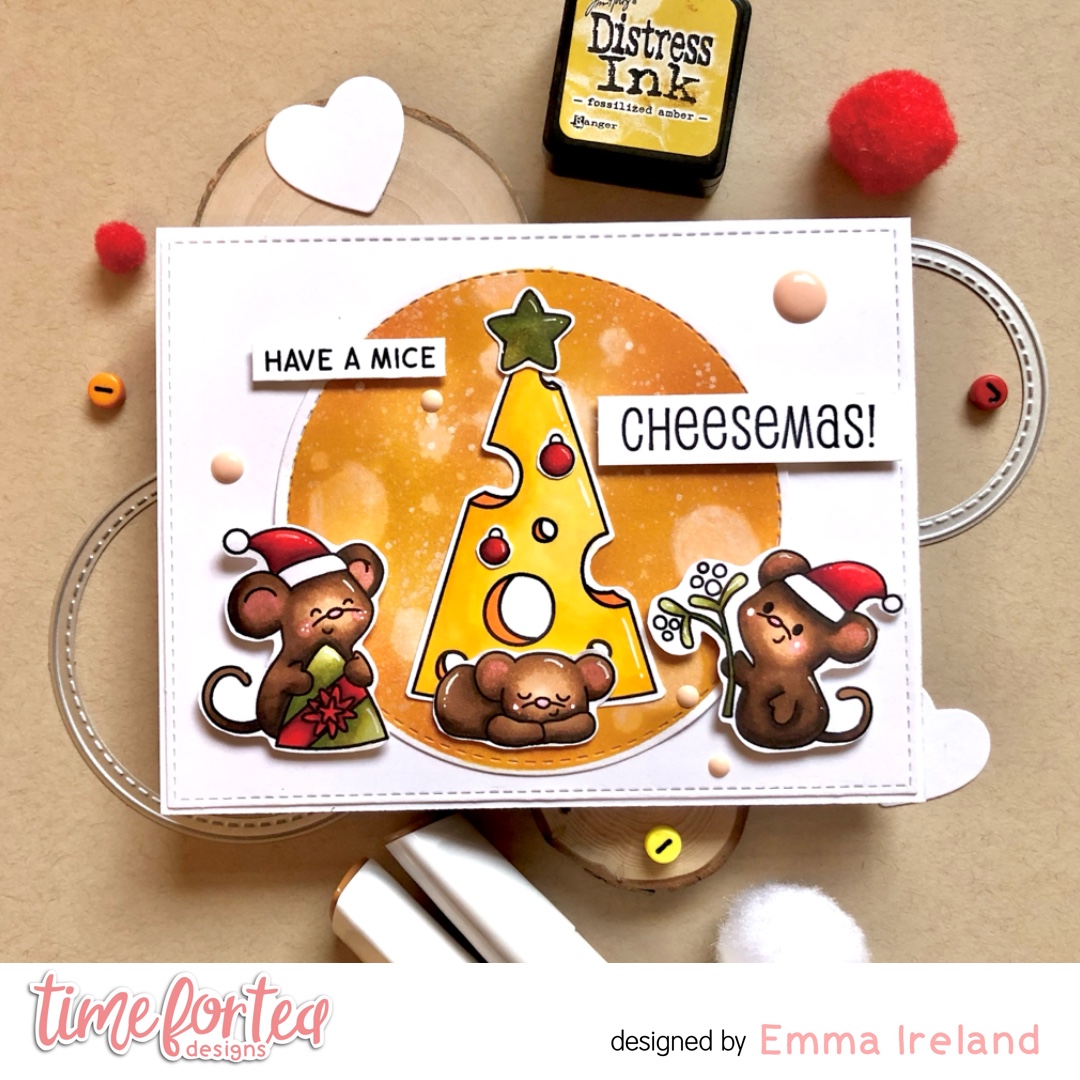
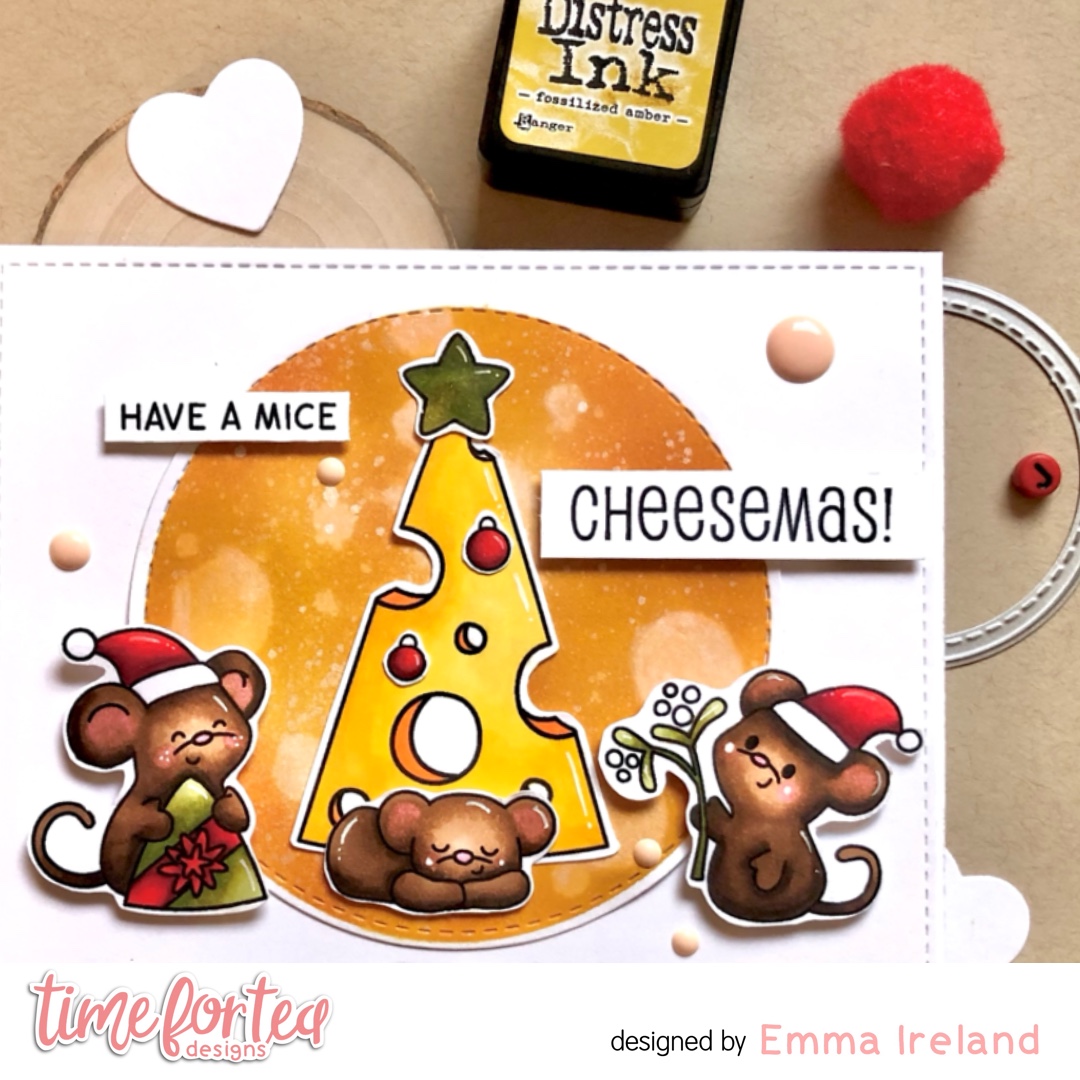
🐭 Have a Mice Cheesemas! 🐭
Hello my lovely Tea Timers! I hope you all had a wonderful Christmas. Today I’m sharing the last of the Xmas cards with you and I’m using the NEW “Merry Cheesemas” A6 stamp set. I think this set is just sooo adorable!!!
New Arrivals – Time For Tea Designs

Merry Cheesemas Stamp Set – Merry Cheesemas A6 Stamps – Time For Tea Designs
To create this card I have masked off a round section and I’ve done some ink blending using the Scattered Straw, Fossilized Amber, Dried Marigold and a little Vintage Photo Distress ink from Tim Holtz and my blender brushes. I then used a wet paintbush to add some large water splashes and some white ink splats.
To colour my images, I stamped them on to Crafters Companion Solar White card stock with Memento Tuxedo Black ink and coloured them with my Arteza Everblend Markers.
I have added some of the Festive Fun enamel dots for some cute interest and because I’m addicted to them hehe!

Thank you for visiting the T4T blog today. For a 10% discount on your order, use T4TIRELAND10
Warm hugs, Emma x
Friday, 27 December 2024
Penguin Christmas Shaker
Happy Friday! DT Annalisa here sharing my last Christmas card of the year, a colourful shaker featuring the It's Penguin-ing to Look A Lot Like Christmas stamp set from Time For Tea Designs.
I started with watercolour paper and die-cut using the Stars Stitched Cover Die. Then, I sprayed the die-cut panel with Mermaid Lagoon and Uncharted Mariner Distress Spray Stain and used my Heat It craft tool by Ranger to dry it. After that, I added some shimmer by spraying the panel with Cocktail Party Mica and Merry Mint Mica.
I used White Silver Neenah cardstock to cover the entire surface of the card base. Next, using double-sided tape, I adhered acetate to the back of the inked star panel. I placed 3mm double-sided tape on the back of the panel and attached it to the card base. Before securing the star panel, I sprinkled Candy Christmas sequins mix from Pawsome Stamps in the appropriate areas.
I stamped and coloured several images from the It's Penguin-ing to Look A Lot Like Christmas set using Copics, then cut them out with their coordinating dies. I added white gel pen accents with a Gelly Roll Pen. The Christmas tree and candies are from Gingerbread Family - Our House to Yours.
To add some sparkle, I applied small dots of glue to select areas on the stamped images using my Quickie Glue Pen by Sakura and dipped them into Lawn Fawn Prisma Glitter. I then secured all the stamped elements to the card using liquid glue.
For the sentiment, I stamped "Happy Christmas" from the Simple Sentiments set onto black cardstock with VersaMark ink. I sprinkled Alabaster ultra-fine embossing powder by Brutus Monroe (in white) over the stamped sentiment and heat-set it. I used a small rectangle die to cut it out.
To finish the card, I added some clear dots from Pretty Pink Posh for an extra touch.
Thank you so much for reading my blog post! Don’t forget to use my discount code T4TANNALISA10 when you shop at Time For Tea Designs to receive 10% off your order.
Tuesday, 24 December 2024
Glazed snowy confetti❄️
Hello everyone!
I thought I'd try a new technique with one of the T4T stencils and show you the result! So this time I started with the background, as it takes a lot of time for the paste to dry. I used the Simple Nesting Dies - A6 and die cut a panel out of white cardstock and a slightly bigger one out of light grey cardstock. I colored the white panel using distress oxides cracked pistacchio, peacock feathers and blueprint sketch. After I finished blending, I took the Confetti 6 x6" Stencil and used Nuvo glacier paste 'winter white'. Set it aside to dry.
Monday, 23 December 2024
"Have a Mice CHEESEMAS..."
Hi Tea Timers, welcome back to the blog. We are just a couple days away from Christmas and I have one last card to share before the big day.
I wanted to use the recently released 'Merry Cheesemas' stamp set in my last holiday card for 2024.
Sets used:
I hope you enjoyed this blog post today. All the products that I used are linked above. Don't forget to use the code T4TRANDY10 at checkout for extra savings.
Happy Holidays!
Sunday, 22 December 2024
Let's Party
Let's Party
Happy Sunday from DT Myrthe
I created a birthday card featuring the adorable unicorns from the "Rainbows and Unicorns" stamp set by Time For Tea Designs.
First, I colored the stamps with my alcohol markers, choosing soft pastel shades that I thought would match the playful theme of the unicorns.
Then, I decided to make a shaker card. To do this, I used square dies to create the frame. For the background, I blended three Distress Oxide ink colors: picked raspberry, squeezed lemonade, and peacock feathers.
I also colored the "Let’s Party" sentiment with these inks and adhered it to the background. I made the frame using two different sizes of square dies, which I inked in pink. Next, I added clouds along the frame before securing acetate to the back. By using foam tape strips, I created depth, allowing the shaker elements to move freely.
Lastly, I splattered some colorful ink on the card to add an extra fun touch. I’m really happy with how the card turned out — it definitely feels like a celebration!
Holly Jolly Christmas
I’m Patricia and today I share you a new Christmas card with new release Santa's Nice list stamp set
I've cutting two circles from Stitched Circle dies for use under the two santas and highlight them from the background
For the sentiment I used one of sentiment of the set and White Velvet Alpha Stickers. To finish I used a few Festive Fun & Clear enamel dots.
Saturday, 21 December 2024
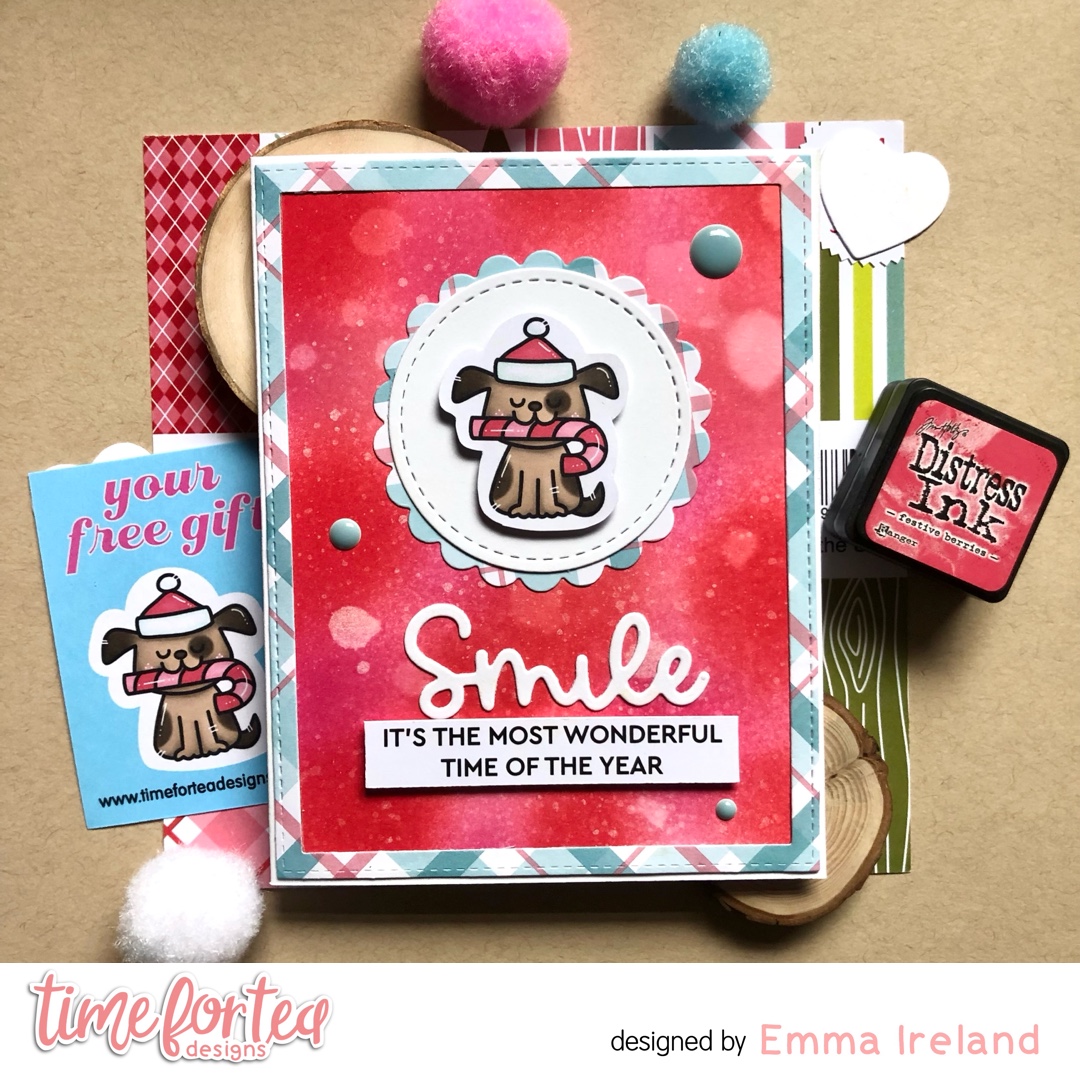
🎄 Smile! It’s the most wonderful time of year! 🎄
Hello my lovlies! Can you believe Christmas is only 4 days away!? Have you recieved one of these free little gifts with your recent T4T orders? For todays card i’m using it as a card topper. It’s just sooo cute!!!
New Arrivals – Time For Tea Designs

In case you missed the new release from Time for Tea Designs, there are 4 NEW sets to get your hands on this Christmas –
- Seasons Tweetings – Seasons Tweetings A6 Stamps – Time For Tea Designs
- Sweet Christmas – Sweet Christmas A6 Stamps – Time For Tea Designs
- Merry Cheesemas – Merry Cheesemas A6 Stamps – Time For Tea Designs
- Santa’s Nice List – Santa’s Nice List A6 Stamps – Time For Tea Designs
To create this card I’ve cut out a piece of white card using the T4T A2 Layers Die Set. I’ve done some ink blending using the Picked Rasperry, Festive Berries, Candied Apple, Worn Lipstick and Spun Sugar Distress inks from Tim Holtz and my blender brushes. I have then used my Tim Holtz Distress water mister to create some interest.
For the patterned paper I have used a sheet from the Joyful Winter 6×6 Paper Pad and used the Scalloped Circle Dies to cut it out. I then used the Simple Stiched Circle Dies to cut a plain white circle which I attached my image too. I have fussy cut out the free gift image and popped him up on some foam tape for dimention. I added a few enamel dots from the Festive Fun Enamel Dots set. I absolutely LOVE these! I use them on EVERYTHING!

Thank you for visiting my blog today. For a 10% discount on your order, use T4TIRELAND10
❤️ Treat yourself to some Christmas goodies! ❤️
Visit the Time For Tea Designs blog for more information and inspiration on my card plus others from the amazing team.
Warm hugs, Emma x
Friday, 20 December 2024
Christmas Tweetings
Happy last Friday before Christmas! DT Annalisa here and I want to share my favourite Christmas card of the year featuring two adorable birds from the Seasons Tweetings stamp set visiting a lovely Christmas market.
I applied Evergreen Bough and Peacock Feathers Distress Paint to my glass mat and sprayed it with water to create the background panel. I then smooshed a piece of Distress Watercolor cardstock into the paint and heat-set it with my heat tool. I repeated this process a few times for added texture.
Next, I applied Weathered Wood Distress Oxide Spray to the panel, followed by white splatters made with acrylic paint, water, and a paintbrush. Once the panel was dry, I used double-sided tape to adhere it to a card base.
I die-cut several shapes from Distress Watercolor cardstock using the Open The Door Holiday Add-On Die Set. For colouring, I used Distress Watercolor Pencils, water, and a paintbrush to colour the trees (Evergreen Bough, Mowed Lawn), wreaths (Rustic Wilderness, Mowed Lawn), bows, lights, and pots (Picked Raspberry). I added white splatters to the trees and wreaths for additional detail.
I used silver and silver glitter cardstock for the stars, circles, and Christmas ornaments. I assembled the trees, wreaths, and lights, securing them to the card with liquid glue and double-sided tape. To enhance the design, I added a thin strip of patterned paper from the Winter Wonderland Paper Pad 6x6" to the top and bottom of the pots.
I stamped the two birds from Seasons Tweetings, cut them out with my Brother Scan N Cut SDX125e, coloured them with Copic markers, and added highlights with a white gel pen.
Finally, I stamped two sentiments, fussy cut the word "tweetings," and used the smallest rectangle from the Simple Slimline Nesting Dies to cut out "Christmas." I attached these to the card base using double-sided foam tape. To complete the card, I added a white frame that I die-cut with the Smile Inverted Scallop Frame Dies.
Thank you so much for reading my blog post. Remember to use my discount code T4TANNALISA10 when you visit the Time For Tea Designs shop to get 10% off your order.
Wednesday, 18 December 2024
Merry cheesemas
Tuesday, 17 December 2024
All I want for christmas is...
Monday, 16 December 2024
Fa La La La La
Hi Tea Timers, welcome back to the blog. Today, I am back to working with the new release and continuing the Christmas inspiration.
I have been seeing all the fun holiday family photos on social media and thought it would be cute to have the critters in the 'Sweet Christmas' stamp set in polaroids/snapshots.
Sets used:
I firs stamped out my images and then fussy cut them out. The latest release does not have coordinating dies. I then used Copic Markers to color the images. Once completed, I set them to the side to work on the polaroids.
I took the Polaroid die set and die cut it out of white cardstock twice. I then took more cardstock and trimmed it down to fit behind each polaroid.
To create the different backgrounds for each polaroid, I decided to use different stencils.
For the first background, I blended Abandoned Coral Distress Oxide over the background. Then blended Lumberjack Plaid Distress Oxide over the Sunburst stencil over the blended background.
For my second background, I blended Twisted Citron Distress Oxide over it. I then took the Pawsome Prints stencil and blended Mowed Lawn and Rustic Wilderness Distress Oxides over it.
I adhered the backgrounds behind each polaroid using liquid adhesive. I then added two critters to each polaroid using foam tape.
I took one of the papers from Joyful Winter paper pad and die cut a panel using an A2 die from my stash.
With the Falalala die, I die cut it out of gold cardstock to use as my sentiment.
To assemble my card, I first adhered the polaroids using liquid adhesive and overlapping them onto the panel.
I then completed my card by adding the sentiment onto the bottom of both polaroids using liquid adhesive.
I hope you enjoyed this tutorial today. All of the products I used are linked above. Don't forget to use the code T4TRANDY10 at check out for extra savings. Happy Crafting!
Other Posts You Might Like
-
A wonderful group of cardmakers, are celebrating this year's International Women's day by having an encouraging and uplifting I...
-
Happy Friday! DT Annalisa here, and I’m sharing a fun, interactive critter card featuring stamps, dies, and stencils from Time For Tea De...
-
Happy Friday. DT Annalisa here, and today I’m sharing a sympathy card I made for a friend who recently lost her husband. They had been tog...


