Pages

Showing posts with label copic markers. Show all posts

Thursday, 5 October 2023

Big Birthday Wishes


Hey there, Tea Timers!!  It's Amanda here! I'm excited to be here with you to share some birthday card inspiration!

To make this card, I started by creating a textured background on black cardstock.  To create the textured background, I used a patterned stamp and stamped it with Clear Glue Embossing Ink.  Next, I added clear embossing powder on top.  Then, I melted the powder with my heat gun.

Then, on a piece of white cardstock, I ink blended Catherine Pooler's It's a Girl, Limoncello, and Something Borrowed inks to create a rainbow background.  Then, I die cut my panel with the Big Birthday Wishes Large Sentiment Die.  I also cut another white panel with the die to use as a shadow.

Next, I stamped some images from the Baked with More Love Stamp Set and the Birthday Fox Stamp Set.  Once I got them colored in with my Copic markers, I die cut them out with their coordinating dies.

I adhered all my components onto the card with 3D foam squares.  I also added some different sequins all over the background using liquid glue.


Thursday, 7 September 2023

Let's Party!

Hey there, Tea Timers!!  It's Amanda here with a super fun card using some products from the New Release!  I created this card with the new Let's Party Stamps & Dies!

First, I created my background by blending Catherine Pooler Shea Butter Ink with the 6x6 Scene Builder and 6x6 Beach Scene Builder Stencils.

Next, I stamped my images from the Let's Party Stamps and then colored them with Copic markers.  I cut them out with the coordinating dies.  I used 3D foam squares to adhere the stamped images to my panel. 


That's all I have to share with you today!  Enjoy the upcoming weekend and I hope you find some time to get crafty!!  xx, Amanda


Thursday, 31 August 2023

Lovin' the New Release! Let's Party!


Hey there, Tea Timers!!  It's Amanda here with a very versatile card using some products from the New Release!  I am just loving all these new cute critters, aren't you?!

For this celebration card, I used the new Birthday Fox Stamps and Dies!
I created a frame using the new Simple Square Nesting Dies.  I love that there are SOOO many dies in this set!  You could create frames, shaker frames, multiple layers, tiny squares, and so much more!  
For my back layer, I ink blended Catherine Pooler's Catching Rays.  And then I added a small amount of Limoncello in the center of my front layer.

I cut out the new Let's Party Large Sentiment Die and added some white highlights to it.  Then, I adhered all the elements to my card base.
Here are a few more photos of the finished card!


That is it for me today, friends!  Thank you so much for stopping by the Time for Tea Designs blog today!  Don't forget to order your new crafty supplies from the New Release!


Thursday, 3 August 2023

Flying by to Say THANK YOU!

Hey there, Tea Timers!!  It's Amanda back with a super sweet card featuring the Love is in the Air stamp set!
To create this card, I started by creating my background!  I blended Catherine Pooler's Sixteen Candles, It's a Girl, Do-Si-Do and Bellini inks through the 6x6 Scene Builder Stencil cloud side.

Next, I stamped and colored my images with Copic markers.  I used their coordinating dies to cut them out.
I stamped my sentiment directly onto my card front.
Then, I used liquid glue and 3D foam squares to attach my stamped images to my card front.

For a finishing touch, I added some Clear Bubbles Enamel Dots.

And then, I used liquid glue to adhere my card front to my card base!

Here are a few more close-up images!


Thank you so much for stopping by the Time for Tea Designs blog today!  Xx, Amanda


Thursday, 6 July 2023

Oops a Daisy!

Hey there, Tea Timers!!  It's Amanda here with a fun "Oops a Daisy" card!  This card would be perfect for any apology, including forgetting a birthday!

First, I die cut the Stitched Quilted Cover Die and the Wonky Windows Cover Die on a white panel.
 Behind my windows, I adhered a piece of green vellum.
For my stamped images, I used the Oops a Daisy stamp set and colored the images with Copic markers.  I cut them out with the coordinating dies.


That's it for me today, friends!  I hope you find some time to get crafty!
XX, Amanda


Thursday, 18 May 2023

THREE Mother's Day Cards with Amanda

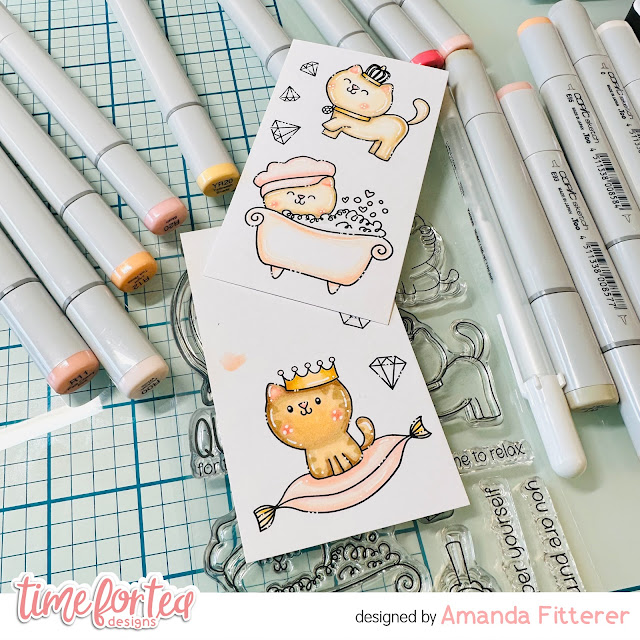
Hey there, Tea Timers!!  It's Amanda here with THREE Mother's Day cards using the Queen for the Day stamp set.

To make these cards, I cut some patterned paper down to 4"x5.25" and then glued them to my A2 card bases.
Next, I die cut some gold vellum and white cardstock with some oval dies and propped them up with white foam tape.
Then, I stamped my images and colored them in with Copic markers.  I die cut them out with the coordinating dies.
Here are a few more photos of the finished cards!


I hope you find some time to get crafty today!  Xx, Amanda


Thursday, 4 May 2023

How to Create an Easy One-Layer Landscape Backdrop


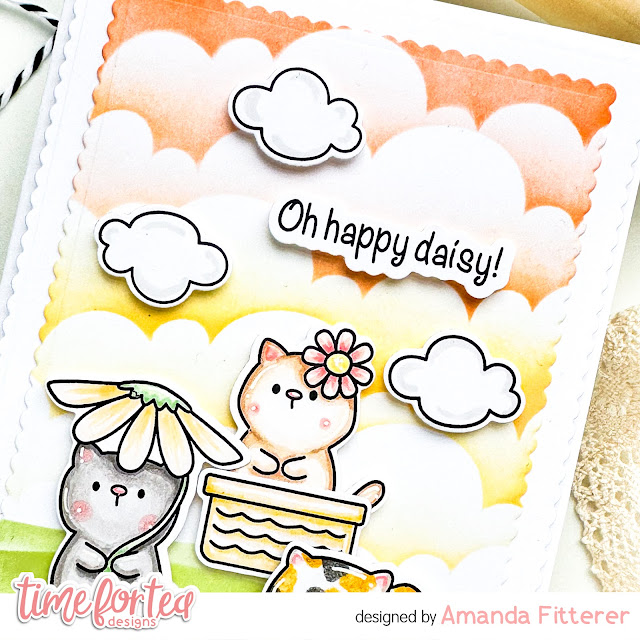
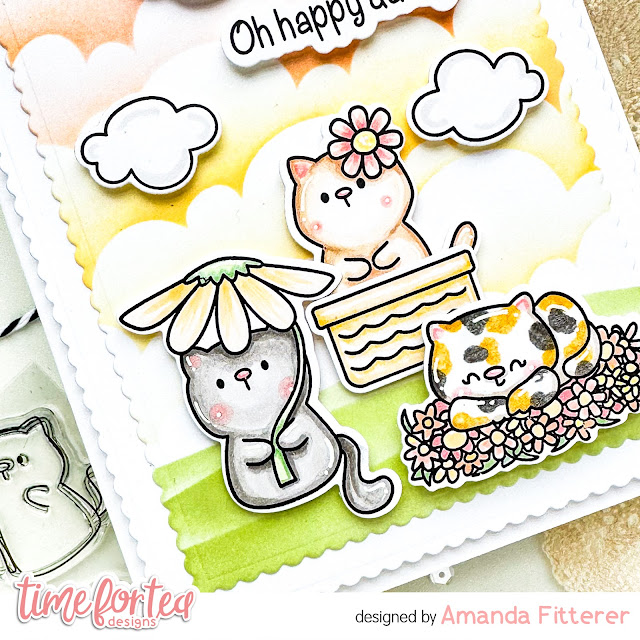
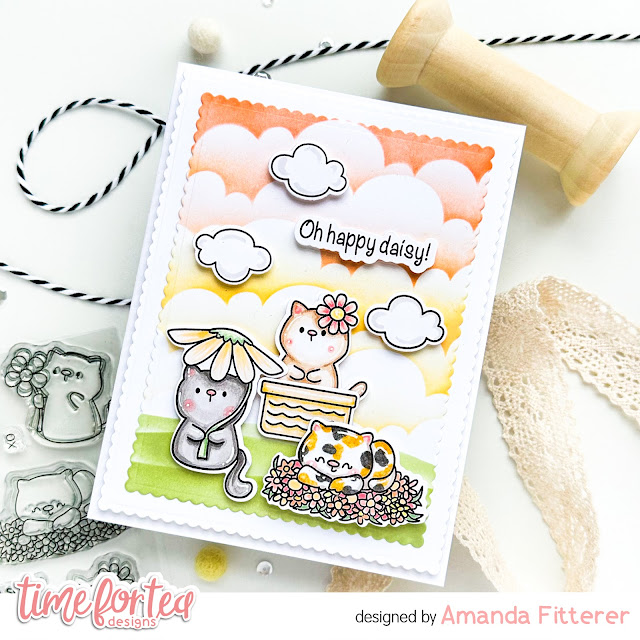
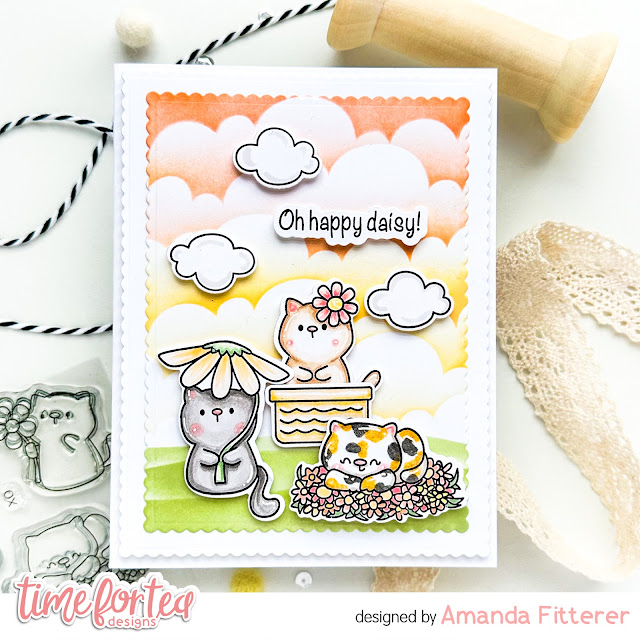
 Hi crafty friends!!  It's Amanda here sharing a sweet kitty card with you!  Today, I wanted to share with you how to create an easy one-layer backdrop that has lots of dimension!

To create this landscape, I'm only going to use the 6x6 Scene Builder Stencil, some blending brushes, and some inks!

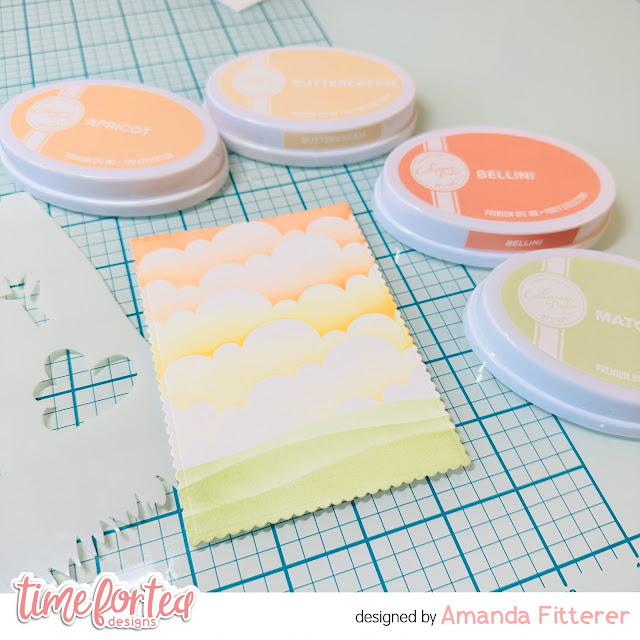
First, I will start the grassy hills.  I'm going to start by grabbing my Catherine Pooler Matcha ink (but you could use any green ink) and using the edge of the stencil that looks like a slight hill.  I'm going to do the first hill the darkest and starting at the bottom of the panel.  This will be the one closest to the viewer and the most "clear".  Next, for my middle hill, I'm just not going to push my blending brush down AS hard as I did on the first hill.  I'm going to clean my stencil and flip it over to get a different slope.  For my last hill, the "farthest" one, I'm going to very lightly blend with the ink that's left on the brush.

For my clouds, I'm going to start with my darkest color at the top.  For me, that is Bellini.  Next, I'm going to blend Apricot, then Buttercream.  As I'm doing each cloud, I'm letting some of the previous color stay on the stencil, that helps me get a nicer gradient!

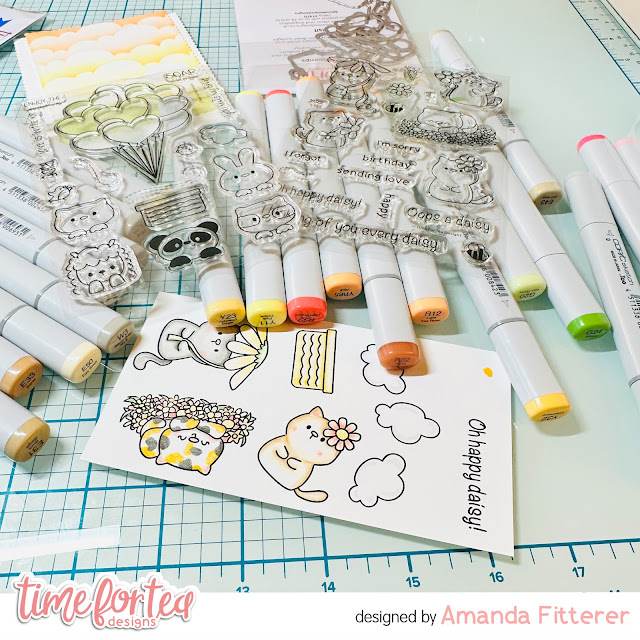
Now, I'm going to stamp and color my images from the NEW Oops a Daisy stamp set!  I'm going to stamp them with Memento Tuxedo Black Ink and then color them in with Copic alcohol markers.  I am going to use the coordinating dies to cut them out.

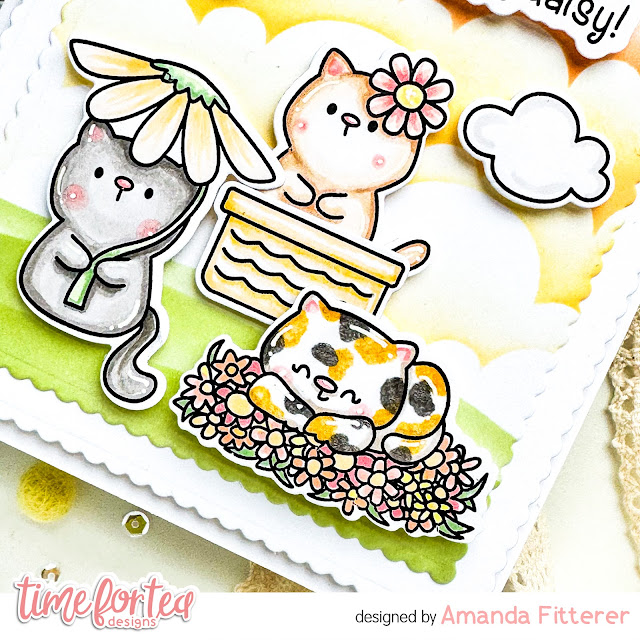
The last step is to start assembling the card!  I'm using 3D foam squares to adhere my cute kitties.  For the kitty laying down, I've given her 2 foam squares so she's popped up a bit more than the others.

I use large foam tape to attach my white scalloped panel to my white card base and then liquid glue to adhere my landscape panel.

That's all for me today, friends!  I hope you've gotten some inspiration from this post and have time to get crafty today!  See you back here in a week with another post using the New Release!

Xx,Amanda



Other Posts You Might Like