Pages

Saturday, 23 August 2025

🤎 Snappy Before Coffee 🤎

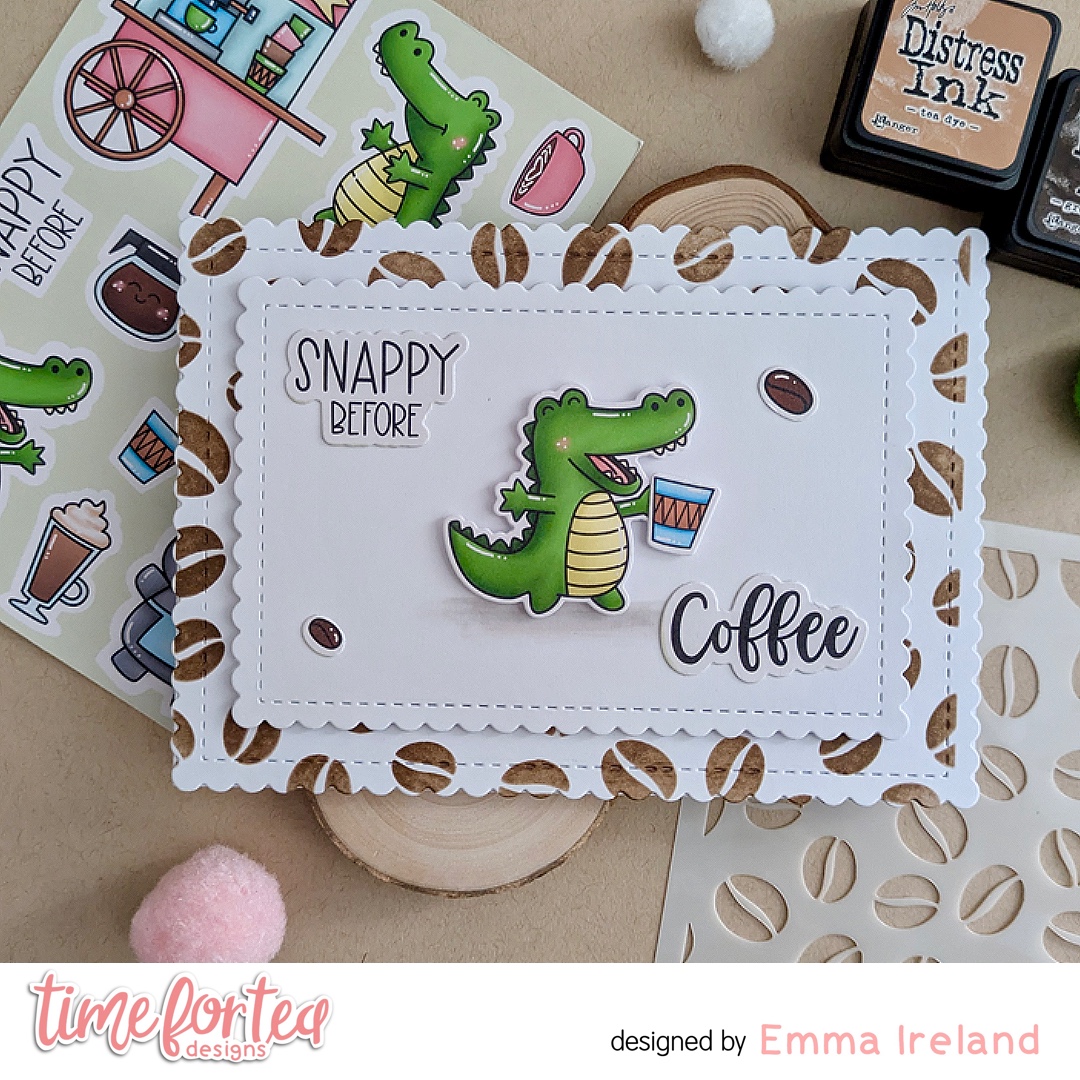
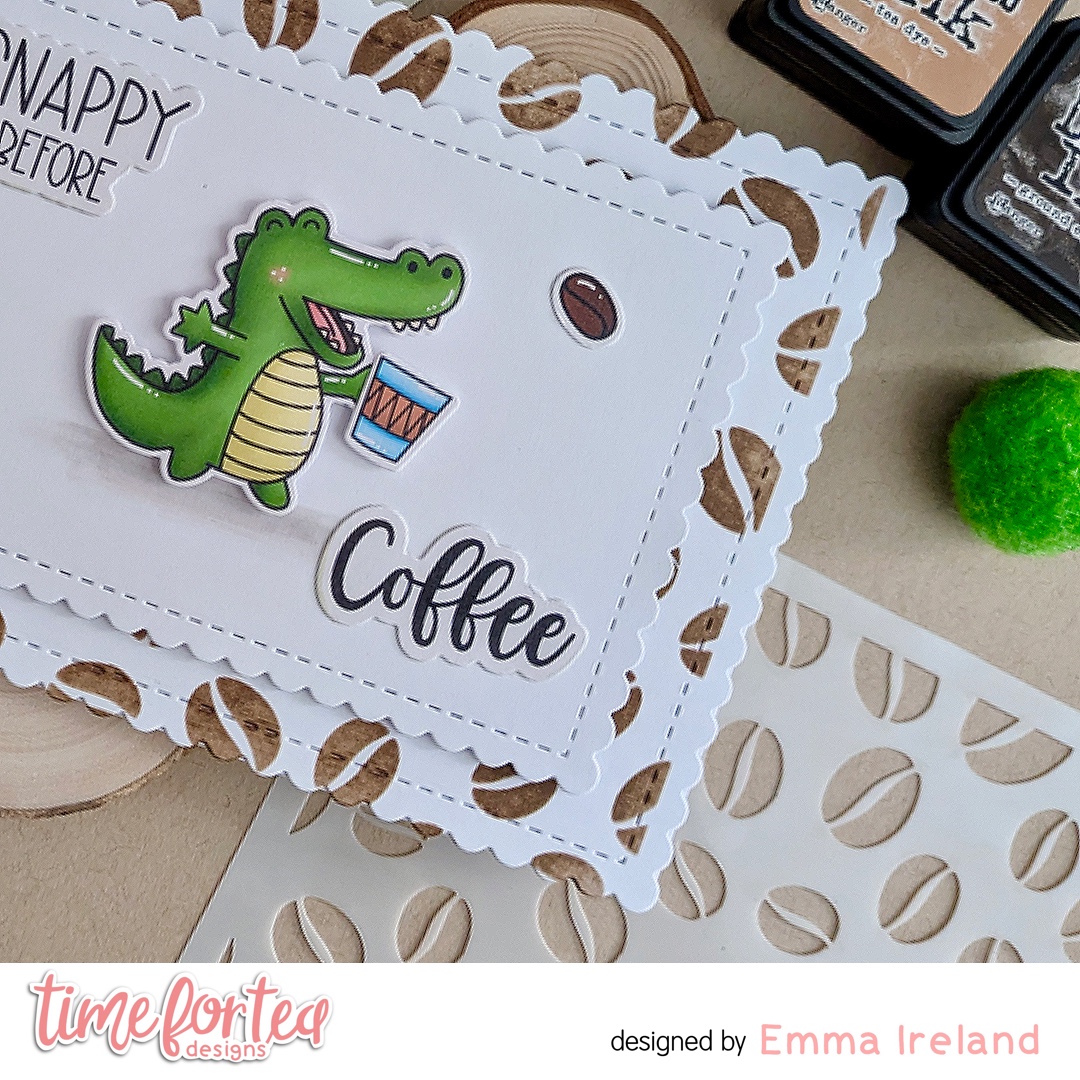
Hello Tea Timers. DT Emma here and I’m back today with a new card featuring the ‘Snappy Before Coffee’ A4 Printed Card stock and coordinating die set, alongside the ‘Sweet Scalloped’ Dies and the ‘Coffee Beans’ 6 x6″ Stencil.
Time for Tea Designs Shop


Making the card:

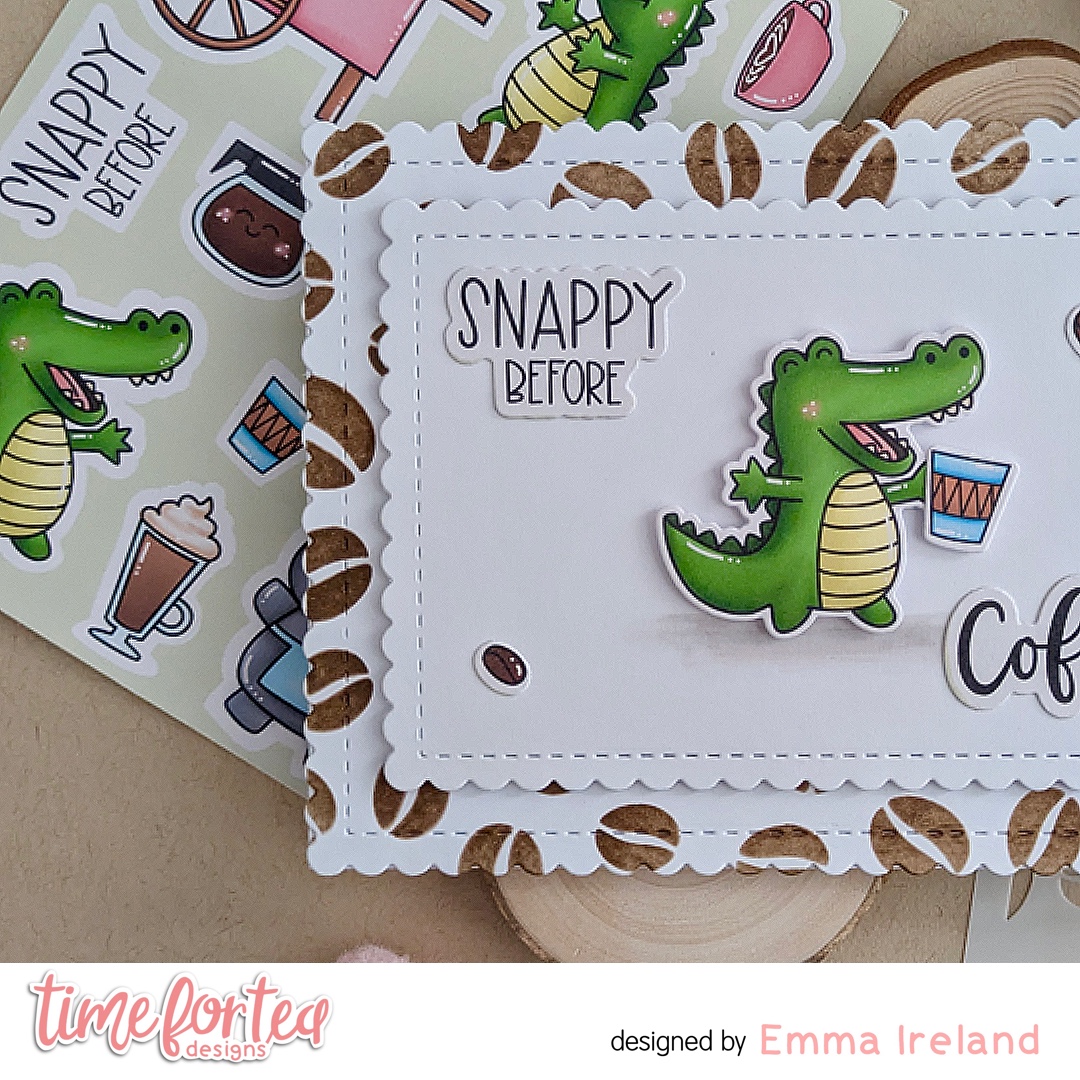
To create this card I have used one piece of white card and cut it out with the largest of the ‘Sweet Scalloped’ dies. I have used some Tim Holtz Tea Die and ground espresso distress ink and the ‘Coffee Beans’ stencil and brushed the ink all over creating some mixed brown tones for depth. I adhered it to my card base with double sided tape. For the top layer I have cut another piece of white card with the smallest ‘Sweet Scalloped’ die and then arranged my cute little croc with foam tape and sentiments/coffee beans with some glue. I have popped the top layer up with more foam tape.

All these images are Pre-coloured by the lovely Jo. When you order you will get 2 A4 sheets, each 200gsm, along with free digital stamps so you can print and colour as often as you like.

I used the ‘Snappy before Coffee’ coordinating dies to cut out my images. 

Thank you for visiting the T4TD blog today. For a 10% discount on your order, use my special code –  T4TIRELAND10

Hugs, Emma xxx

Friday, 22 August 2025

You Are my Anchor


Happy Friday, DT Annalisa here! Today I created a sparkly ocean-themed card using the Boat Buddies stamp set from Time For Tea Designs. For the background, I added Distress Spritz, which gives the card a beautiful shine and sparkle.


To create the ocean backdrop, I ink-blended Tumbled Glass, Prize Ribbon, and Black Soot Distress Oxides using my trusty Beautiful Blender Brush. A mist of Peacock Feathers Distress Spritz brought the panel to life with a splash of shimmer before I set it aside to dry.


I stamped several images from the Boat Buddies stamp set, coloured them with Copics, and cut them out with the coordinating dies. I added white gel pen accents with a Gelly Roll Pen.


I made an A2 card base from yellow cardstock and used liquid glue to adhere the blue panel to it. Next, I used liquid glue to adhere all of the stamped elements and sentiments.


Thank you so much for reading my blog post! Don’t forget to use my discount code T4TANNALISA10 when you shop at Time For Tea Designs to receive 10% off your order.

Monday, 18 August 2025

Adventure Kitties


Hi. Design team member 
Koren Wiskman here. I hope that I can inspire you to create something fun with all of these awesome T4TD supplies. Today I am using the Adventure Awaits Stamp Set and Coordinating Dies to create this project. 

The card size is A2 (4.25in x5.5in.) The front panel is cut to 3.25in x 4.75in. This is my favorite size card to create. I have tried so many others but this size is the one that keeps my heart happy. My card bases are typically made using a neutral gray cardstock. These two details about my cards rarely change. 


Background

I started with a piece of dark navy blue cardstock. I have really been loving blue and orange color combinations lately. I cut a circle using a large nesting circle die from my stash. I ink blended some orange clouds onto the circle. I also cut out two of the provided clouds in the Adventure Awaits Coordinating Die Set. I did not stamp it, I simply used the die to cut out a cloud shape. I did a little ink blending around the edge of the clouds. The birds were stamped using waterproof black ink. 


Focal Image

The car image on this card is from the T4TD Adventure Awaits Stamp Set. I did however, cut off the luggage from the top of the image. This meant fussy cutting this image by hand. (insert sad face) I stamped it using black alcohol marker friendly ink and colored it using alcohol markers. The kitty driving is my cat, "MegaByte". MegaByte has a white triangle on his face. 

Sentiment

I stamped the "Adventure Awaits!" sentiment using clear ink and then heat embossed it using white embossing powder directly onto the dark blue card panel.

Everything was popped up using foam adhesive. 

I hope that I've inspired you to create something today. Check out the Adventure Awaits Stamp Set and Coordinating Diesin the T4TD shop

Koren

Sunday, 17 August 2025

Let's Hang Out!

Hello!

Michelle here from the Design Team with a card that’s full of charm and a little bit of climbing mischief. This cute fluffy cat has found the perfect tree branch for a nap or maybe just a quick hangout.

Supplies used:

Purrfect Day

Branches - Seasons Tweetings

Leaves - Jumping for Joy

A5 Woodgrain Stamp

Slimline Postage Stamp Frame Dies


To start with, I stamped out the cat from Purrfect Day and two branches from Season Tweetings. I coloured them with alcohol markers and used their coordinating dies or fussy cut them.


I really like the woodgrain stamp and have been meaning to use it so I thought I would it would be a great idea to use with this card as a background. I used white heat embossing powder and light blue/teal cardstock. I really like how it turned out, it gives the extra pop of colour and adds texture without stealing the spotlight.

For the main focal image, I created a leafy tree top scene with ink blending, splatter and soft blue skies peeking through the branches. The cat and the branches were then popped with foam tape for some dimension. 


I did some partial die cutting with the Slimline Postage Stamp Frame Dies from white cardstock to frame the main image. 

The sentiment is a fun one and sets the tone perfectly. ‘Meowdy! Let’s hang out.’ I think this would make a great card to send to a friend, especially if you’re overdue for a catch-up.


Thanks for hanging out with me today!

Michelle

Saturday, 16 August 2025

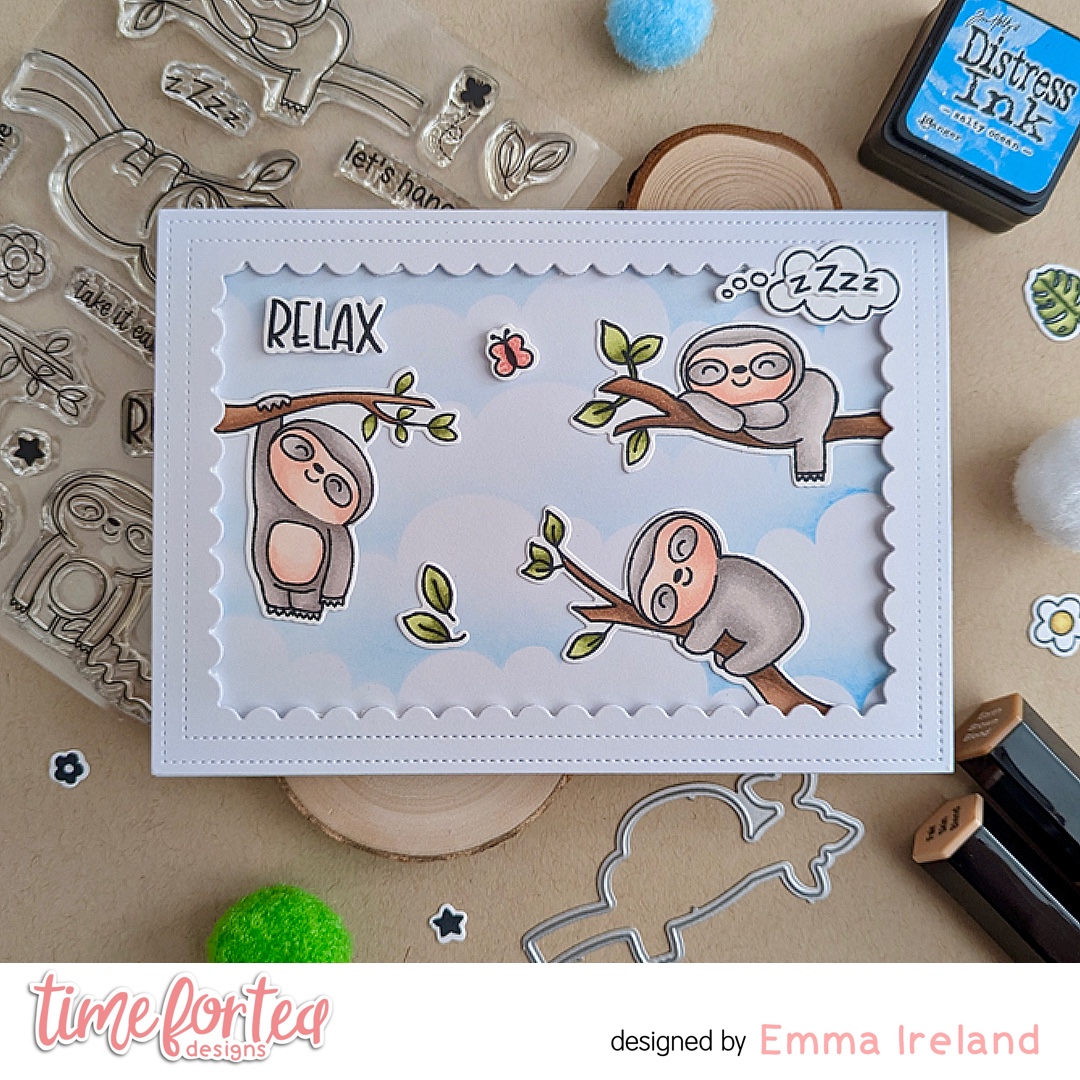
🦥 Relax! 🦥

Hello Tea Timers! Welcome back to the T4TD blog! I hope you’re all having a great Saturday so far! 

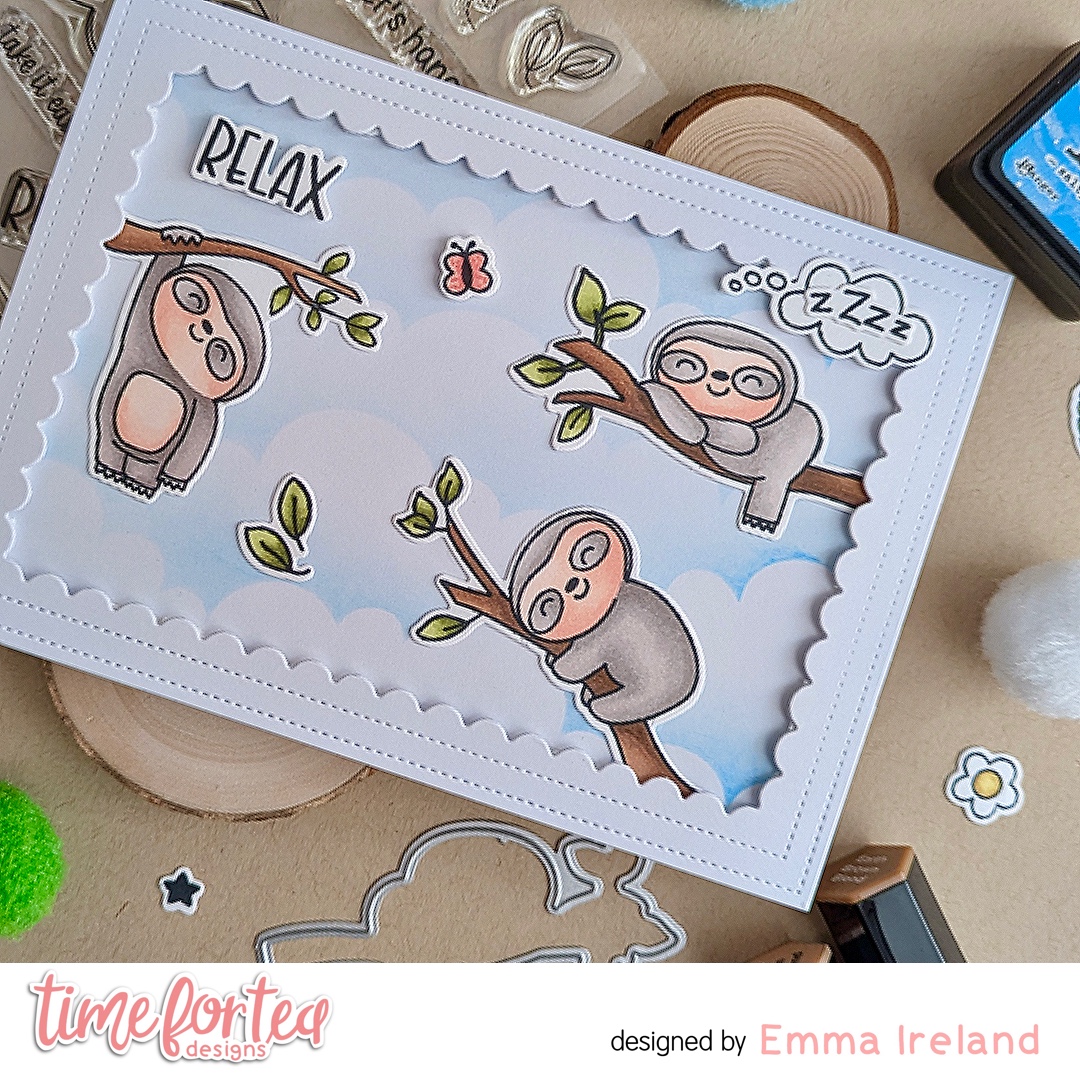
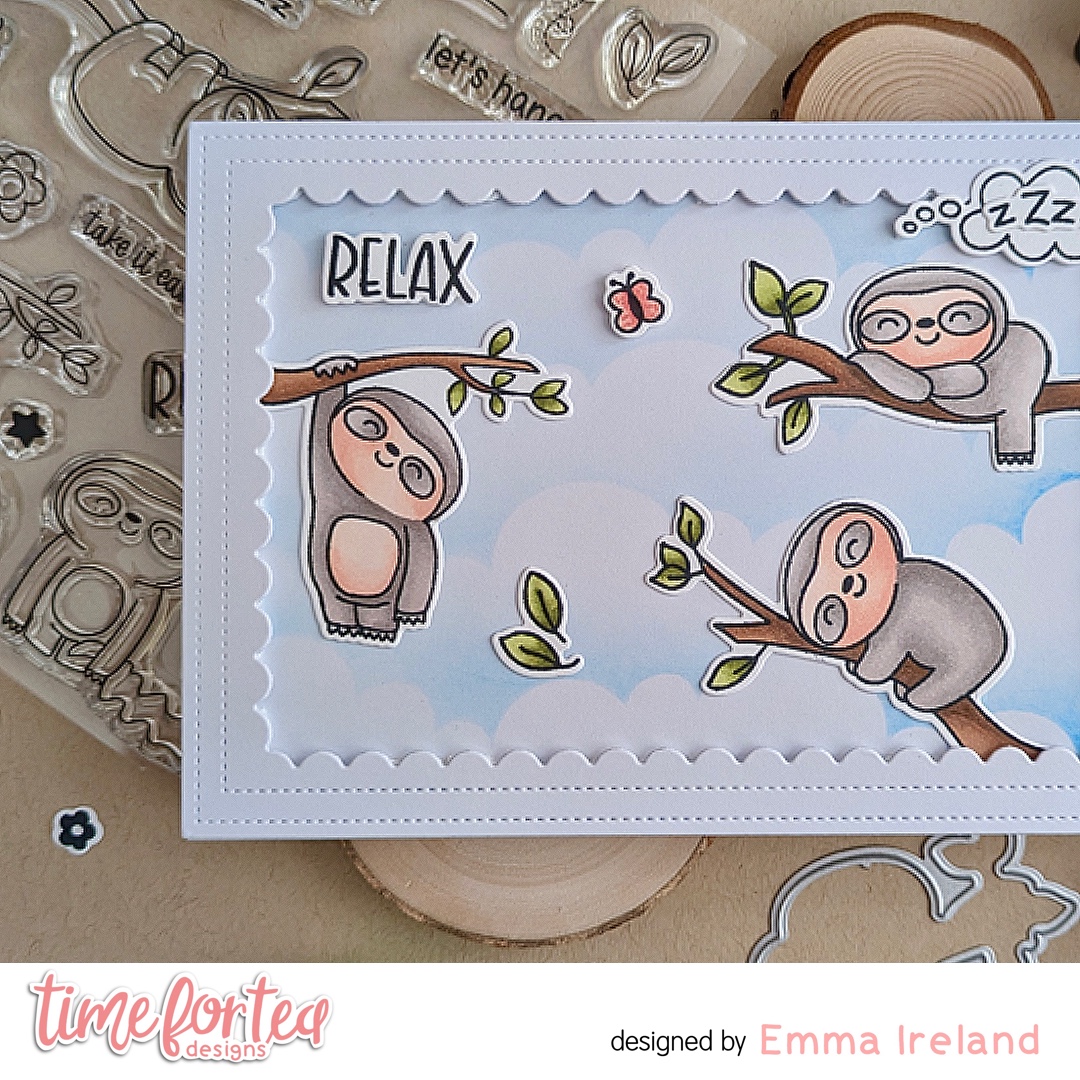
Today I’m sharing with you a super cute scene card, and I’m using the ‘Be Slothy’ stamp and coordinating die set.


To create the Sky for the background, I’ve used the ‘Scene Builder’ 6×6 stencil and I’ve done some ink blending using the Salty Ocean Distress ink from Tim Holtz. Nice and simple!

For the border I have cut out some plain white card with the Smile Inverted Scallop Frame Die set and popped it up on to some foam tape for a little dimension.

To colour my images, I stamped them on to Crafters Companion Solar White card stock with Memento Tuxedo Black ink and coloured them with my Spectrum Noir Tri-Blend markers. I cut them out with their coordinating dies and arranged them onto my card.

For the sentiment I have stamped it out with Versafine Onyx Black ink and I’ve cut it out with its coordinating die.

Thank you for visiting the T4TB blog today. For a 10% discount on your order, use my special code –  T4TIRELAND10

Hugs, Emma xxx

Friday, 15 August 2025

New Driver Congrats


Happy Friday. DT Annalisa here! Today’s card celebrates my youngest niece, who just received her driver’s license! This exciting milestone definitely calls for a congratulations card, and the Adventure Awaits stamp set was perfect for the occasion.

To create the background, I painted a light wash of blue, purple, and pink watercolors on watercolor paper. Once it was dry, I used a stitched rectangle die to cut it out and glued it to a grey card base.


I stamped the car and compass images from the Adventure Awaits stamp set, colored them with Copic markers, and cut them out using the coordinating dies. To add some extra flair, I used a white gel pen to create accents with a Gelly Roll Pen. The map, which I stamped from the Happy Trails set and die cut using its coordinating dies, added a nice touch. I adhered all the images to the card using double-sided foam tape.


The sentiment is from a card I had in my stash. To finish the card, I added three white Sweet Summer Designer Enamel Dots for some extra detail.

Thank you so much for reading my blog post. Don’t forget to use my discount code T4TANNALISA10 when you shop at Time For Tea Designs to receive 10% off your order.


Monday, 11 August 2025

Ahoy! Watercolors!

Hi. Design team member Koren Wiskman here. I hope that I can inspire you to create something fun with all of these awesome T4TD supplies. Today I am using the Boat Buddies Stamp Set and Coordinating Dies to create this project. 

The card size is A2 (4.25in x5.5in.) The front panel is cut to 3.25in x 4.75in. This is my favorite size card to create. I have tried so many others but this size is the one that keeps my heart happy. My card bases are typically made using a neutral gray cardstock. These two details about my cards rarely change. 

Background 

For this card I wanted it to feel very loose and relaxed. I wanted it to feel playful. To do that I grabbed my watercolors and some watercolor paper. I painted a sky towards the top of the card panel and some water at the bottom to set the scene. I used a wet on wet technique with the water colors to get a very light wash of color that fades out. I also let that initial base layer dry before going in with more saturated color. 

Focal Images

I heat embossed the images from the Time for Tea Designs Boat Buddies Stamp Set using black pigment ink and clear embossing powder. The lighthouse was also done that way. I painted both images as described above. Keeping it very loose and childlike. I didn't worry too much about where the color ended up. I really like how it turned out and it was fun to create. I popped up the images onto the card panel using foam squares. 

Sentiment

I added a bit more red with the sentiment choosing red cardstock and white heat embossing. The "Ahoy!" from the Boat Buddies Stamp Set seemed fitting. It too is popped up using foam squares. 

I hope that I've inspired you to create something today. Check out the Boat Buddies Stamp Set and Coordinating Dies in the T4TD shop. 

KOREN

Other Posts You Might Like