Pages

Sunday, 10 August 2025

Relaxing Time!

Hi Tea Timers!

Michelle here from the Design Team and this week’s inspiration is a bright and breezy card that’s all about soaking up the sunshine! These fluffy little sheep are having the best beach day and their adventures have been snapped as a pair of mini polaroid scenes to share with you all.

Supplies used:

Ewe Are The Best

Beach Buds

Fintastic Friends


I started with a yellow ink blended sunburst background and added lots of splatter in white and gold metallic watercolour for texture. 


Each photo features a different seaside moment - a super chill sheep sitting with a tropical drink to another swimming with fish and turtles.  


The images were either printed or stamped out and then coloured with alcohol markers. White highlights were added using a gel pen.

For the swimming scene, I die cut waves, ink blended with shades of blue before splattering with metallic watercolour. Once the ink was dry, I cut them down to the size of the photo frame and then layered them one on top of each other to create my ocean.


For the beach scene, I ink blended some clouds, die cut a hillside that I ink blended with shades of brown to mimic sand. I then used some leftover waves from the swimming scene to add some water to my beach.

I used liquid glue to adhere all my images and layers. The white frame of the polaroid was propped up with foam tape to give dimension as well as make things more level as there was already a lot of layering! I added some images such as the shells, bucket and spade and Mr Crab outside of the frames to give an even more beachy feel.


The bold “relax” sentiment was die cut twice from alphabet dies from my stash. Once from bright yellow cardstock and the other from blue ombre ink blended cardstock to tie in with the rest of happy beach-day colours.  For final touches, the ocean and sentiment have splashes of sparkle from glitter glue. 

I have loved making this card and I hope you’re feeling those holiday vibes too. See you back here soon with more crafty sunshine!


Michelle


Saturday, 9 August 2025

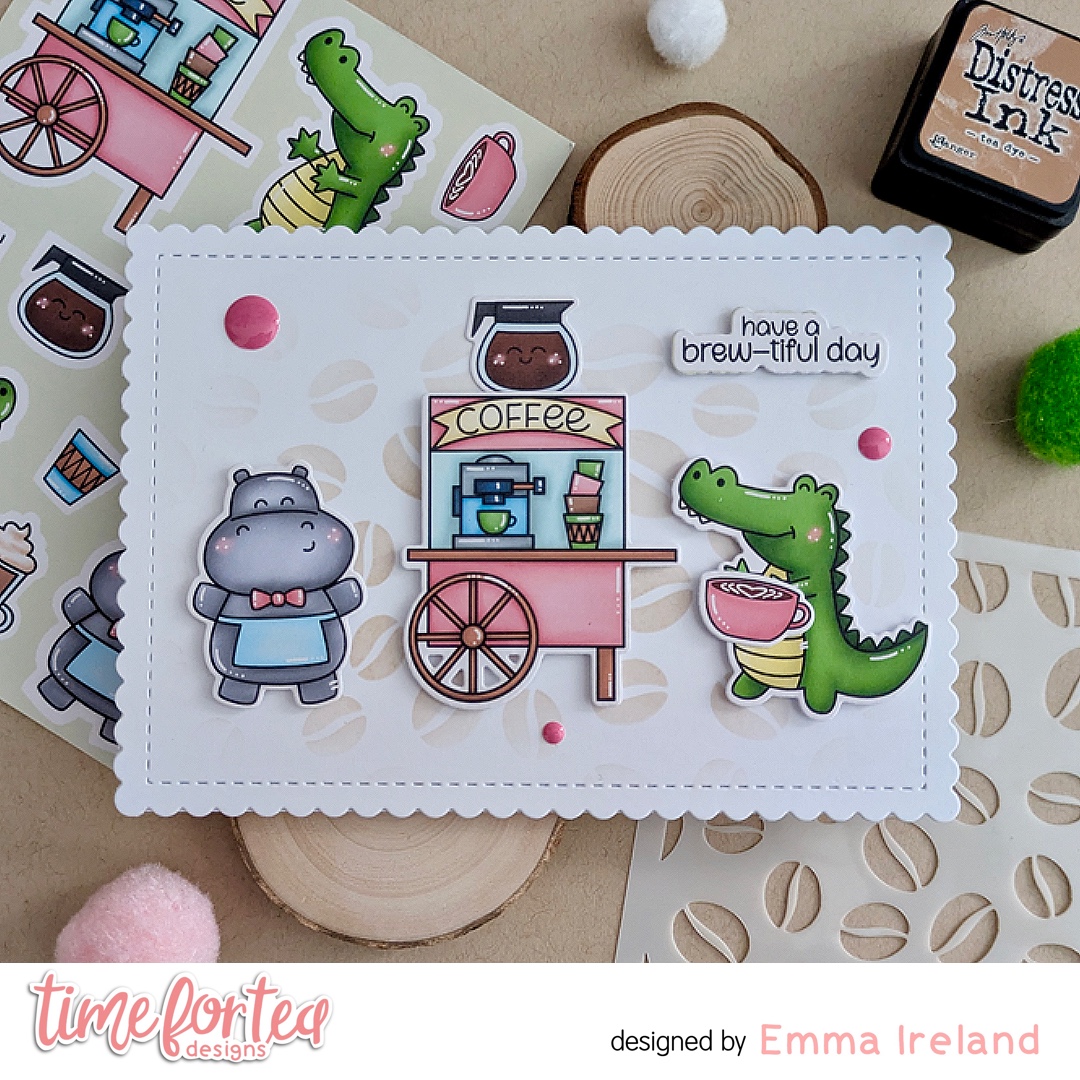
🫖 Have a brew-tiful day! 🫖

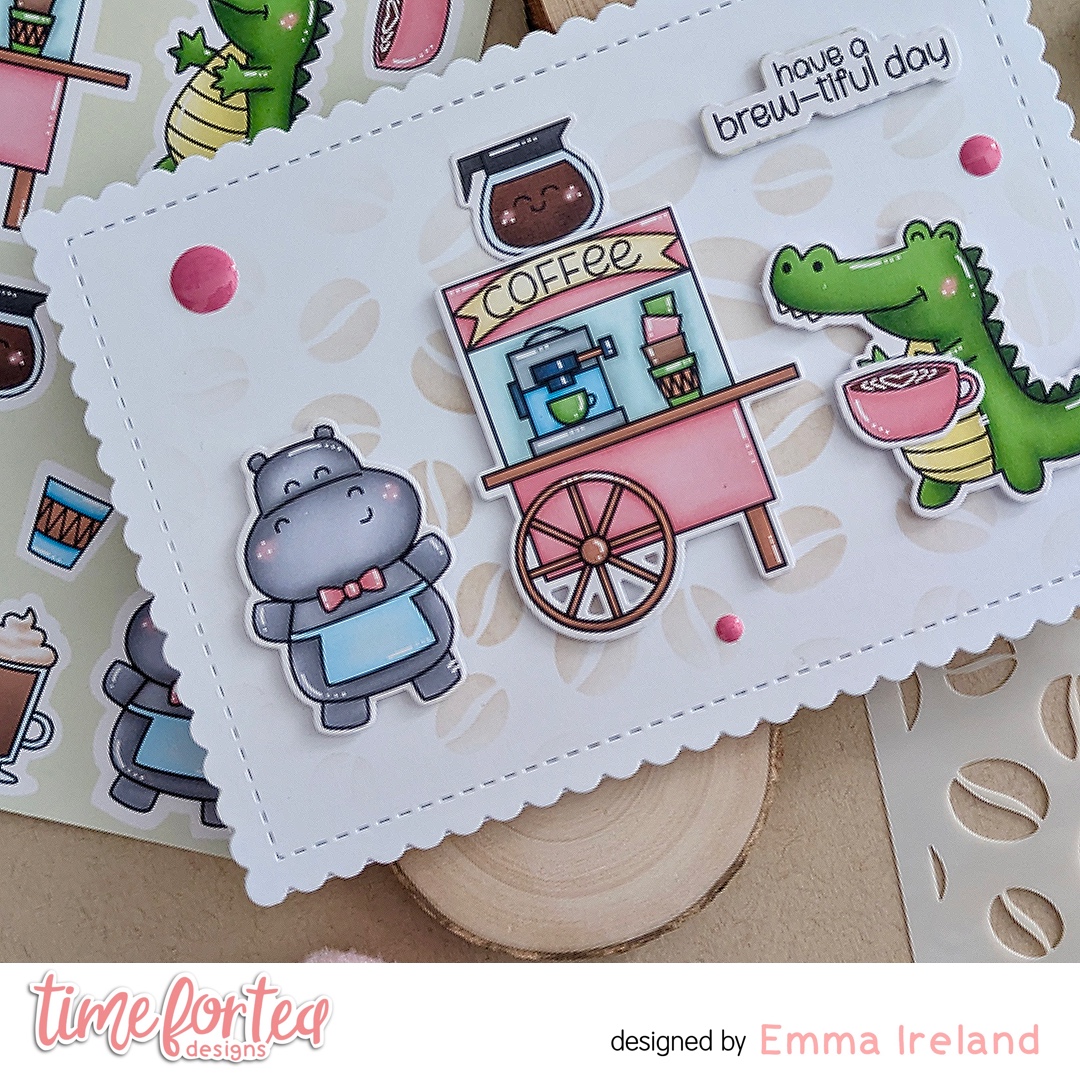
Hello Tea Timers. I’m back today with a new card featuring the ‘Snappy Before Coffee’ A4 Printed Cardstock and coordinating die set, alongside the ‘Sweet Scalloped’ Dies and the ‘Coffee Beans’ 6 x6″ Stencil from Time for Tea Designs


Making the card:

To create this card I have used one piece of white card and cut it out with one of the ‘Sweet Scalloped’ dies. I have used some Tim Holtz Tea Die distress ink and the ‘Coffee Beans’ stencil and lightly brushed the ink over. I adhered it with double sided tape to my card base.


All these images are Pre-coloured by the lovely Jo. When you order you will get 2 A4 sheets, each 200gsm, along with free digital stamps so you can print and colour as often as you like.

I used the ‘Snappy before Coffee’ coordinating dies to cut out my images. 

For a finishing touch I added some T4TD ‘Summer Haze’ enamel dots. 


Thank you for visiting the T4TD blog today. For a 10% discount on your order, use my special code –  T4TIRELAND10

Hugs, Emma xxx

Friday, 8 August 2025

Rain or Shine Slimline


Happy Friday, DT Annalisa here! Unfortunately, we are currently experiencing a drought and haven't seen rain in weeks. I hope my card today inspires Mother Nature to shower my garden with rain soon! It features the Rain Or Shine Mice and Skies The Limit Slimline Die.

I started by die-cutting Distress White Heavy cardstock from Ranger using the Skies The Limit Slimline Die. I then ink-blended the rainbow and sky sections with Kitsch Flamingo, Wild Honey, Twisted Citron, Salvaged Patina, and Tumbled Glass Distress Oxides using my Beautiful Blender Brushes.


After gluing the frame of the Skies The Limit Slimline Die onto a slimline card base, I added the individual pieces with liquid glue. Next, I ink-blended Hickory Smoke and Lost Shadow onto Distress White Heavy cardstock using the Tiled Wall 6 x6" Stencil. I adhered this layer to the card base and added white splatter across the entire scene using a paintbrush, water, and acrylic paint.


I stamped several images from the Rain Or Shine Mice stamp set, colored them with Copics, and cut them out with the coordinating dies. I added white gel pen accents using a Gelly Roll Pen. Additionally, I used stamps from the Ewe Are The Best (for flowers), Seasons Tweetings (for green branches), and Cacti Critters (for butterflies and a plant pot). Finally, I used liquid glue to adhere all the images and sentiments to complete the card.

Thank you so much for reading my blog post! Don’t forget to use my discount code T4TANNALISA10 when you shop at Time For Tea Designs to receive 10% off your order.


Wednesday, 6 August 2025

You’re my Anchor


 Hey friends, it’s Safia here sharing a colorful watercolor card I made using the Boat Buddies stamp set and dies. To start off this card I made a fun watercolor background using my metallic watercolor set. 


I then went ahead and stamped my images and colored them in using my COPIC markers. I then used the dies to cut out my images and started to lay everything onto my background 


To finish off my card I added a line going from the boat to the anchor and added some blue rhinestone embellishments. This card was so fun and easy to put together. I hope you’ll give it a try!

Monday, 4 August 2025

Squeeze the Day with Heat Embossing


Hi. Design team member Koren Wiskman here. I hope that I can inspire you to create something fun with all of these awesome T4TD supplies. Today I am using the  Fruitiful Friends and Squeeze the Day Stamp Set and Coordinating Dies to create this project. 


The card size is A2 (4.25in x5.5in.) The front panel is cut to 3.25in x 4.75in. This is my favorite size card to create. I have tried so many others but this size is the one that keeps my heart happy. My card bases are typically made using a neutral gray cardstock. These two details about my cards rarely change. 


Background

I grabbed red, green, and two shades of blue cardstock and heat embossed the line of both strawberries from the Fruitiful Friends Set and the limes or lemons from the Squeeze the Day set. I used clear sticky ink and white embossing powder. I then cut them into strips. They aren't very straight, I'm ok with it. I used foam squares to pop them up onto the white card panel. Also, I just eyeballed it. I don't think card making needs to be an exact science. Plus, I little wonky is fun and proves that it's handmade. 


Sentiment

For the sentiment, I heat embossed "squeeze the day" onto plain white heavy weight cardstock using black pigment ink. I used clear embossing powder. I thought that the sentiment alone got lost in the chaos of the background so, I added some vellum fruits. I stamped them using the same clear sticky ink from before and white embossing powder. I used foam adhesive to pop up the sentiment and to also adhere the fruit behind it. 


I hope that I've inspired you to create something today. Check out the Squeeze the Day and Fruitiful Friends Stamp Setand their Coordinating Dies in the T4TD shop.


KOREN 

Sunday, 3 August 2025

Sweet Garden Friends!

Hello everyone!

Michelle here from the Design Team with a cheerful garden card that’s blooming with friendship! These little critters are spending a sunny day surrounded by beautiful flowers, butterflies, and most importantly each other.

Supplies used:

Cacti Critters

Oops A Daisy

Sunflowers - Hey There Critters

Flowers - I Really Dig You

Fence - Ewe Are Moovellous


For this card, I used a mixture of stamped and digital images and all were coloured with alcohol markers with white gel highlights. 

To build the scene, the background is a simple soft sky ink blended with stencilled clouds. I used a grass border die to create the grass where it was ink blended with green inks and then further splatter details were added for texture. 

I arranged and layered everything with liquid glue and foam tape so that the flower bed is full of colour, the white picket fence helps make everything pop and the three friends tending the garden that they have worked hard on.

I think this has to be one of my favourite cards, all the bright colours and the super cute critters! This would be would be perfect to send a little love and appreciation to someone who always brightens your day.


Thanks for reading,

Michelle

Saturday, 2 August 2025

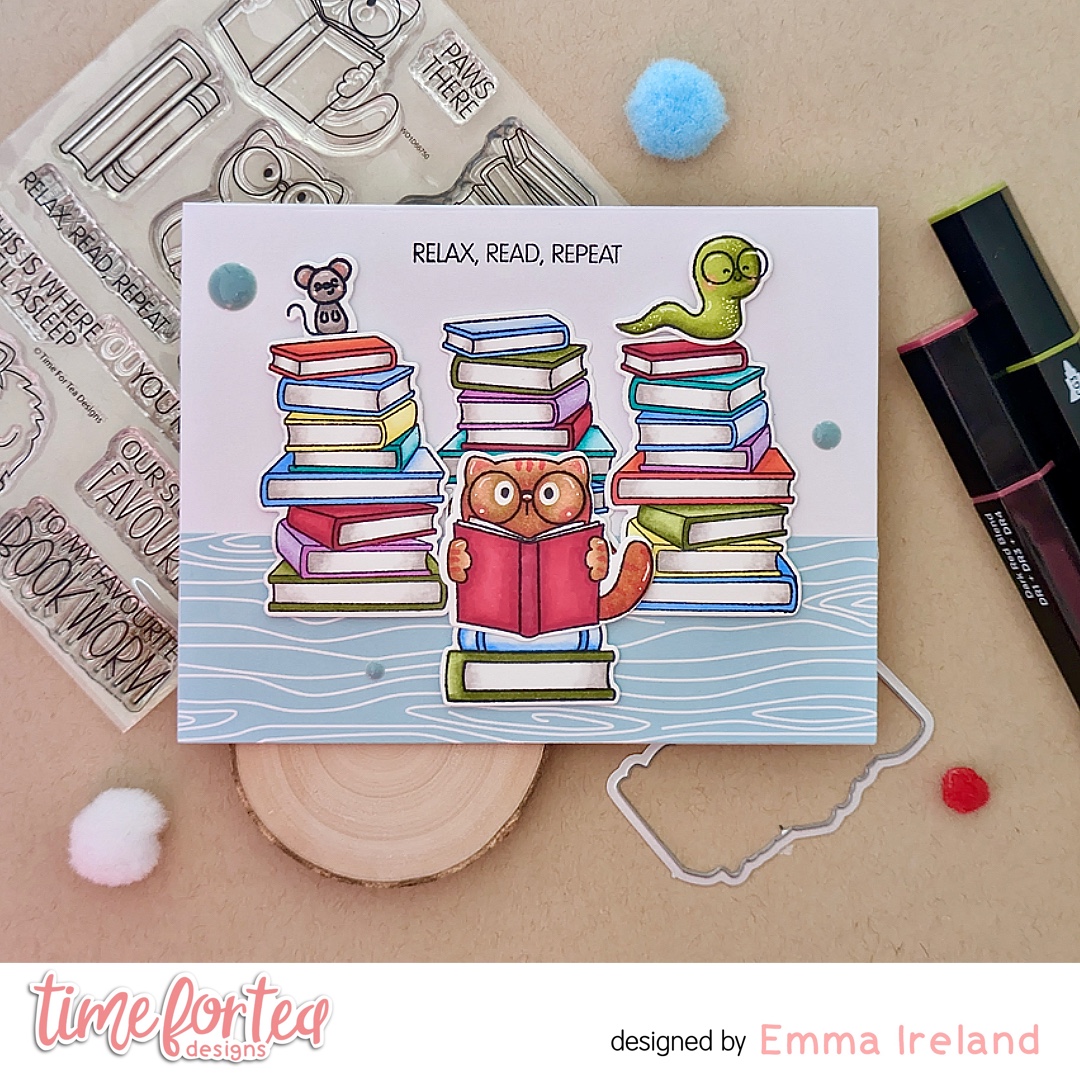
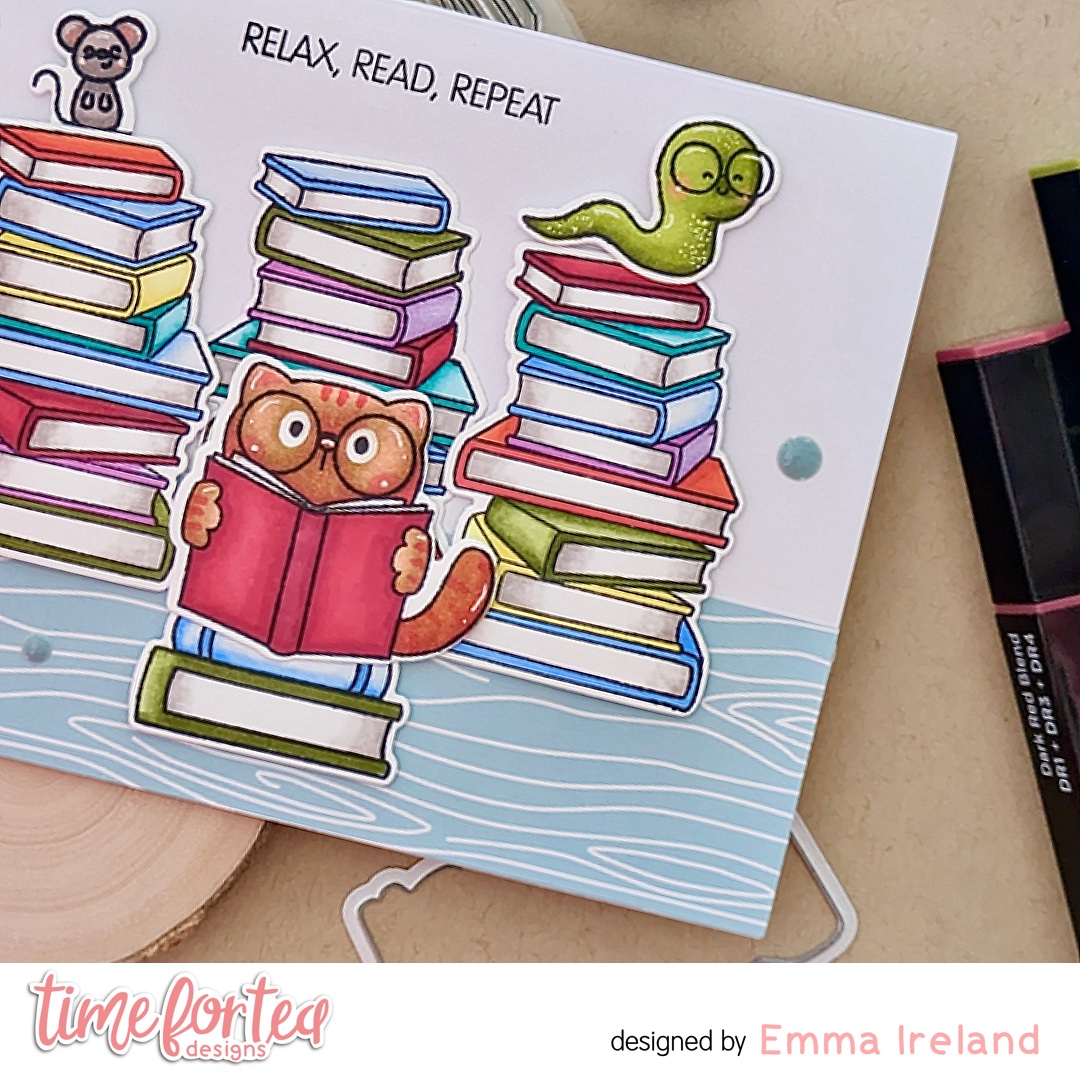
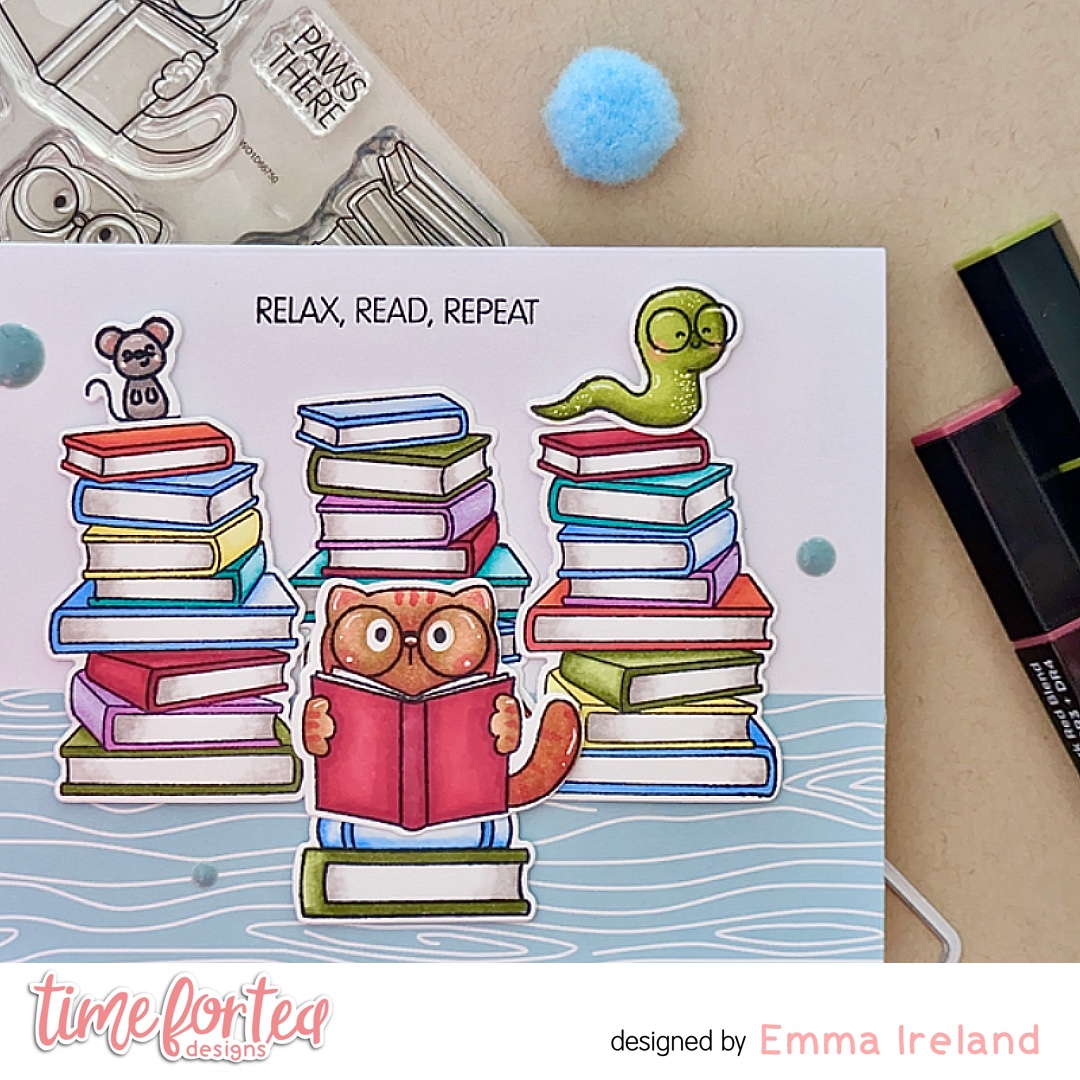
📖 Relax, Read, Repeat - Book Buddies 📖

Hello Tea Timers! DT Emma here, welcome back to the T4TD blog! I hope you’re all having a great Saturday so far!

Today I’m sharing with you a new card card and i’m using the ‘Book Buddies‘ stamp set alongside the ‘Joyful Winter‘ 6×6 paper pad. Ive also snuck in the little mouse critter from the T4TD ‘Adventure Awaits‘ stamp set. Isn’t he just the cutest!

Making the card:

To create the layers I have used one piece of white card and cut it out with the largest of the ‘A2 Layering’ dies. I have also used one sheet from the T4TD ‘Joyful Winter‘ 6×6 paper pad and cut it down to size. I love this pad, its so versatile. I adhered them with double sided tape

To colour my images I have cut out a piece of Crafters Companion Solar White card. I stamped my images with Memento Tuxedo Black ink and then coloured them in with my Spectrum Noir Tri-Blend markers. For the sentiment I have stamped them with Versafine Onyx Black ink for a crisp finish. 

For a finishing touch I added some T4TD ‘Festive Fun’ enamel dots. 

Thank you for visiting the T4TD blog today. For a 10% discount on your order, use my special code –  T4TIRELAND10

Hugs, Emma xxx

Other Posts You Might Like