Hey Tea timers...
It's DT Ashlee here today. How are you all going, are you getting in lots of crafty time?
I've been having a blast getting creative with the newest T4T release, it's all so super duper cute!!
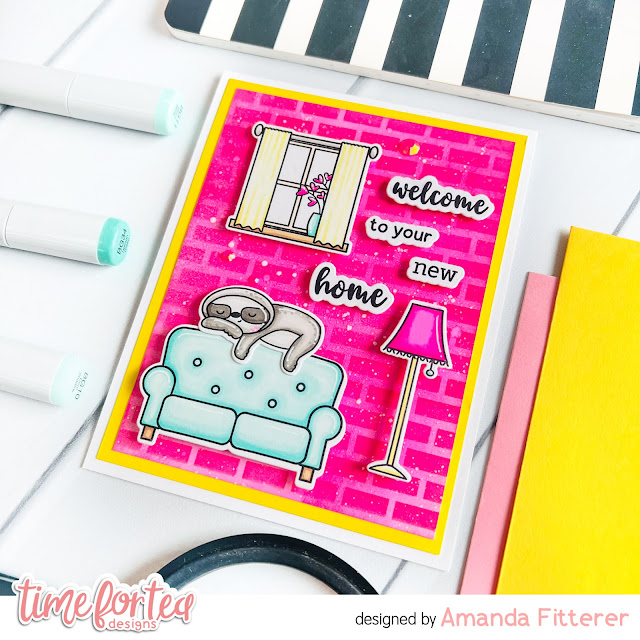
For today's card I made one to celebrate a new home...

Here is a list of the products I used :
- Home is where the heart is stamp/die collection
- Purrfect day stamp/die collection

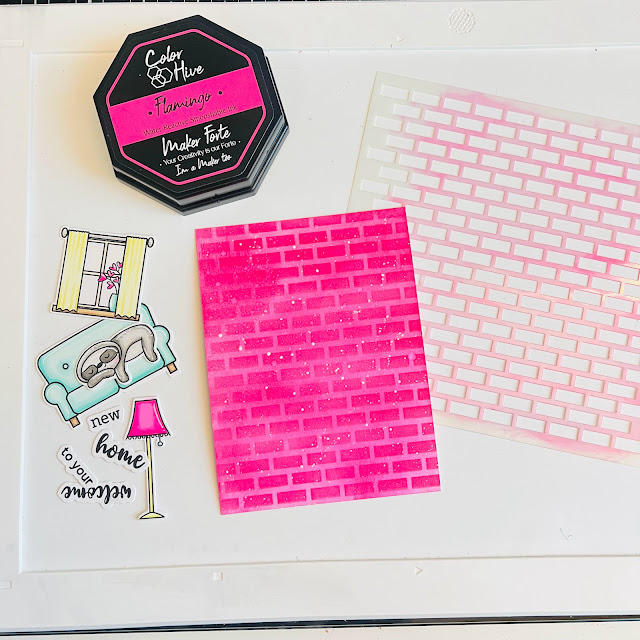
To create this card I started with a white cardstock base that I did some stencilling on with the Pawsome prints stencil and Hickory smoke distress oxide ink.
I then die cut the Stitched window cover die from grey cardstock and adhered using foam tape over the stencilled base. I thought it would be fun to add in some windows so I added window frames and curtains from the Purrfect day scene builder die.
The new home sentiment was die cut from black and grey cardstock and adhered with foam tape to the centre windows of the cover die cut. Now it was time for cute images from Home is where the heart is and Purrfect day stamp sets. All coloured using Copic markers and die cut with the co-ordinating dies.
To finish off the card I added a touch of pretty sequins for a little bit of bling!!
What do you think of this card? I hope you like it as much as I enjoyed making it...
Until my next post, happy crafting. Hugs Ashlee.
If you would like to do any shopping at the T4T store you can use my code T4TASHLEE10