Pages

Showing posts with label pawsome prints. Show all posts

Wednesday, 15 June 2022

New home....!!

 Hey Tea timers...

It's DT Ashlee here today.  How are you all going, are you getting in lots of crafty time?

I've been having a blast getting creative with the newest T4T release, it's all so super duper cute!!

For today's card I made one to celebrate a new home...


To create this card I started with a white cardstock base that I did some stencilling on with the Pawsome prints stencil and Hickory smoke distress oxide ink. 

I then die cut the Stitched window cover die from grey cardstock and adhered using foam tape over the stencilled base. I thought it would be fun to add in some windows so I added window frames and curtains from the Purrfect day scene builder die. 

The new home sentiment was die cut from black and grey cardstock and adhered with foam tape to the centre windows of the cover die cut. Now it was time for cute images from Home is where the heart is and Purrfect day stamp sets. All coloured using Copic markers and die cut with the co-ordinating dies.  

To finish off the card I added a touch of pretty sequins for a little bit of bling!!


What do you think of this card? I hope you like it as much as I enjoyed making it...
Until my next post, happy crafting. Hugs Ashlee. 


If you would like to do any shopping at the T4T store you can use my code T4TASHLEE10

Video: Sentiment Die Shaker Card

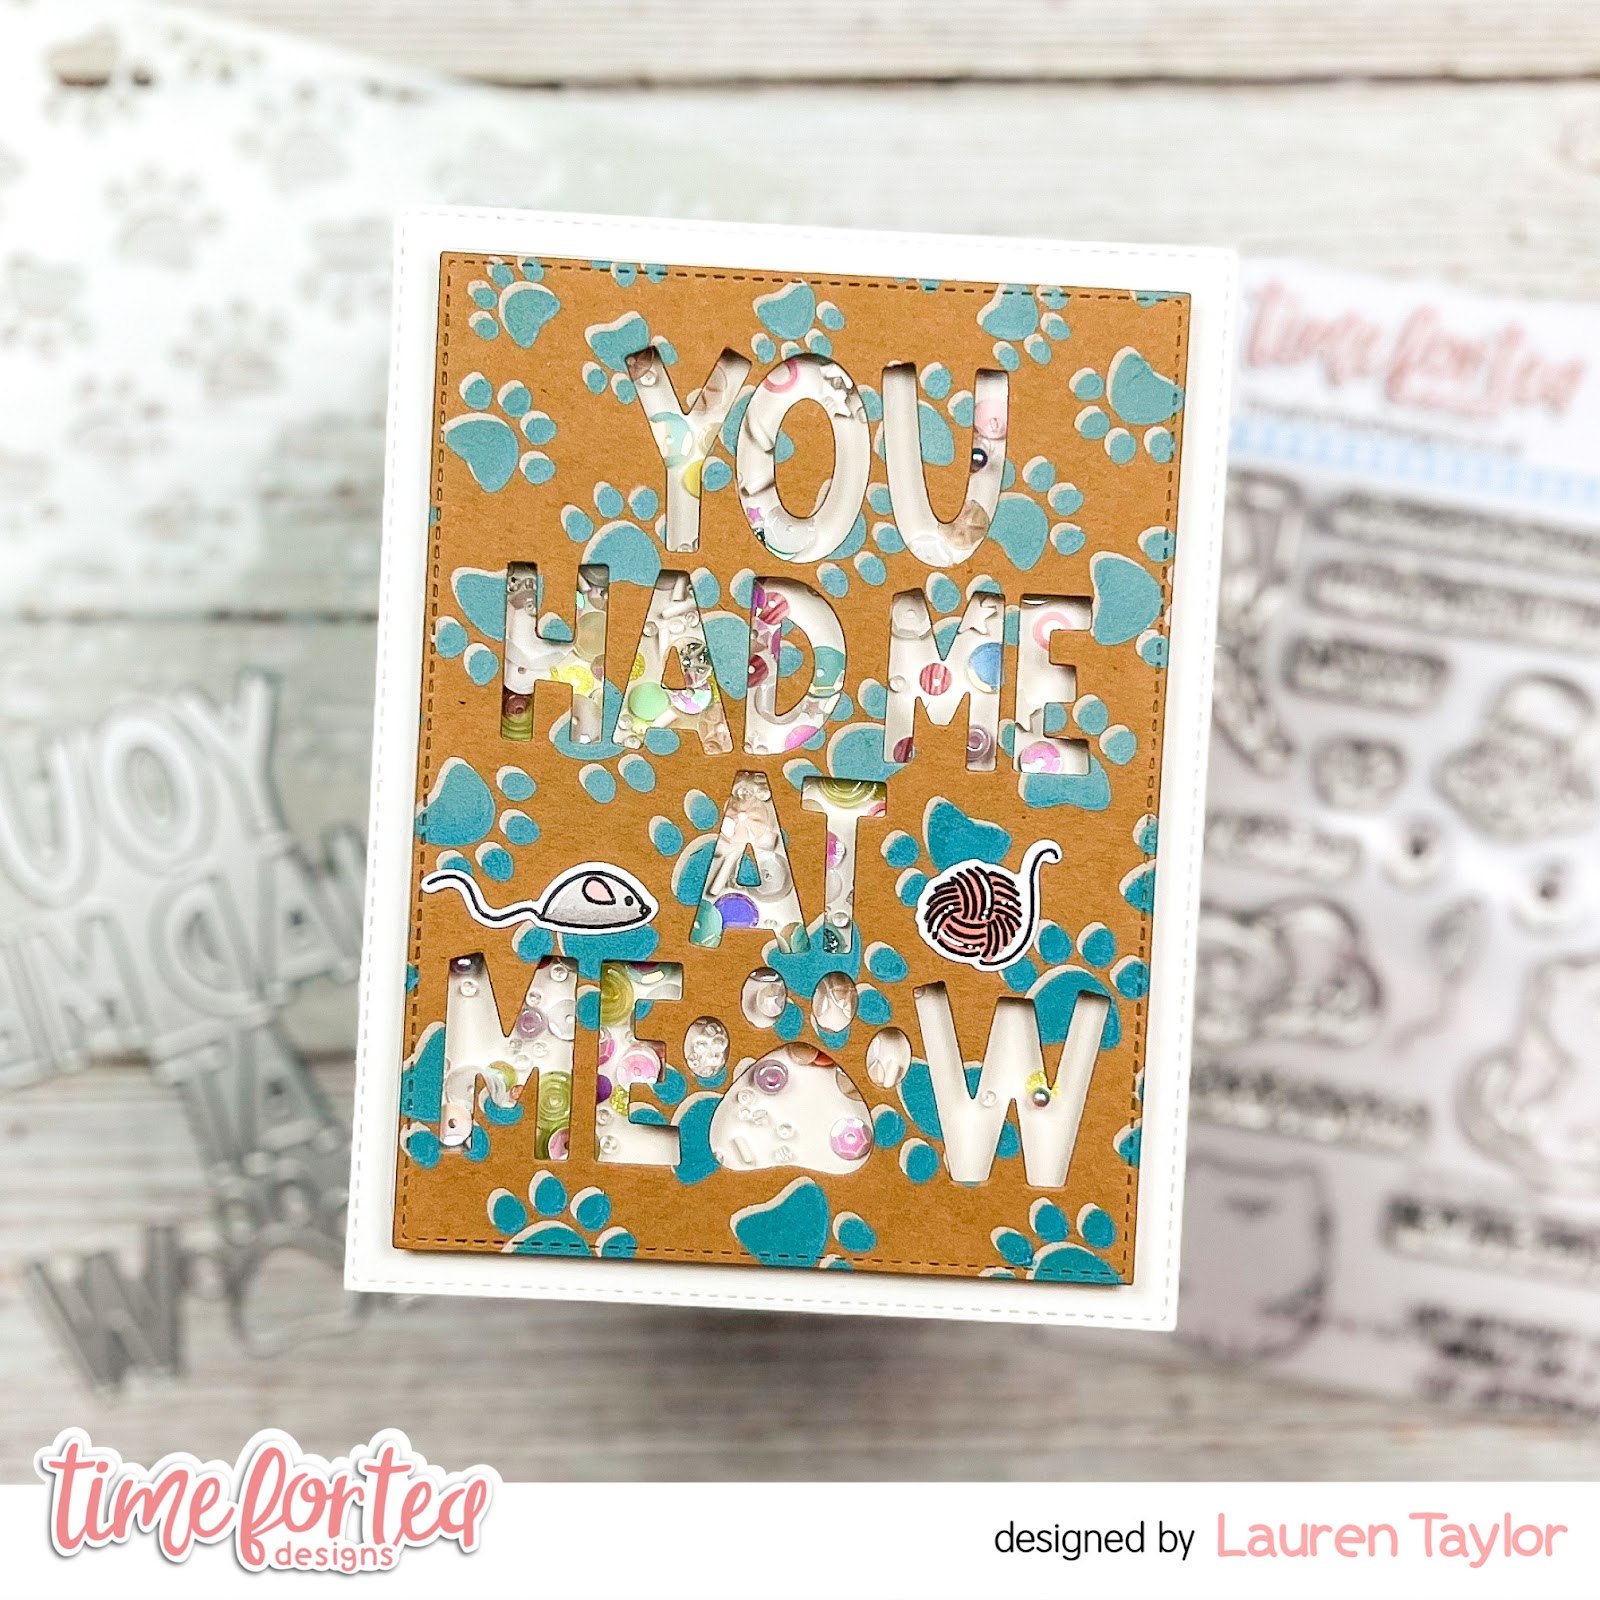
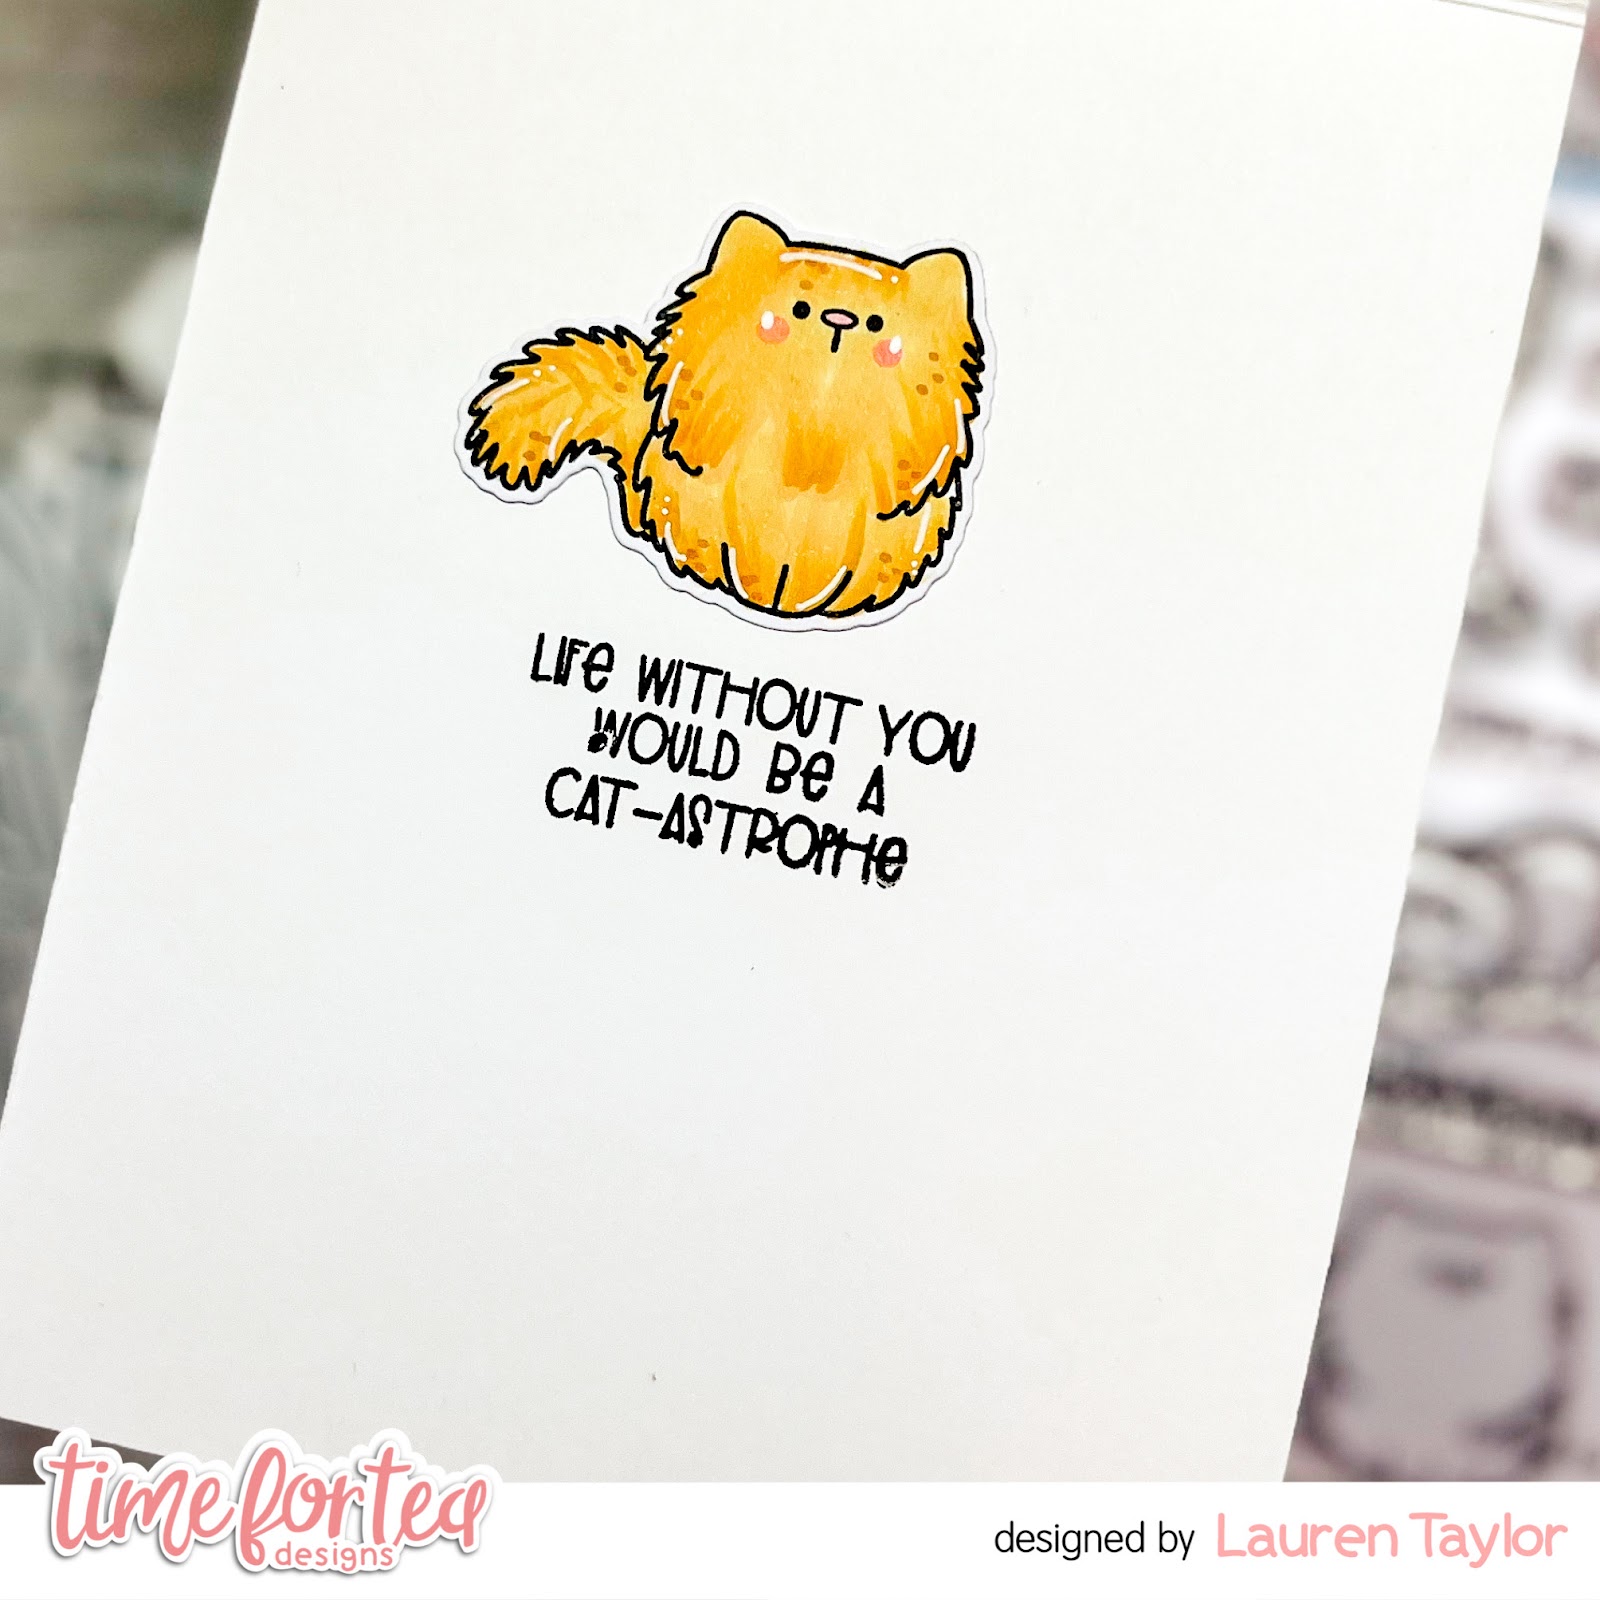
Hi, Friends! Lauren here and I'm back with a new video tutorial on YouTube! One of my favorite ways to use the new large sentiment dies is as a shaker window. In today's video, we're going to create a fun, stenciled background, die cut it with a sentiment die and then turn that panel into a large shaker. Of course we'll have some cute stamped images to bring some fun to the card - especially the inside!

If shaker cards are not your favorite, or maybe you don't have all of the supplies, this can be easily made into a regular panel card. Just glue the die cut panel to your card base instead of popping it up to be a shaker!

Click the image below to start the video and make sure to leave a comment if you have any questions!


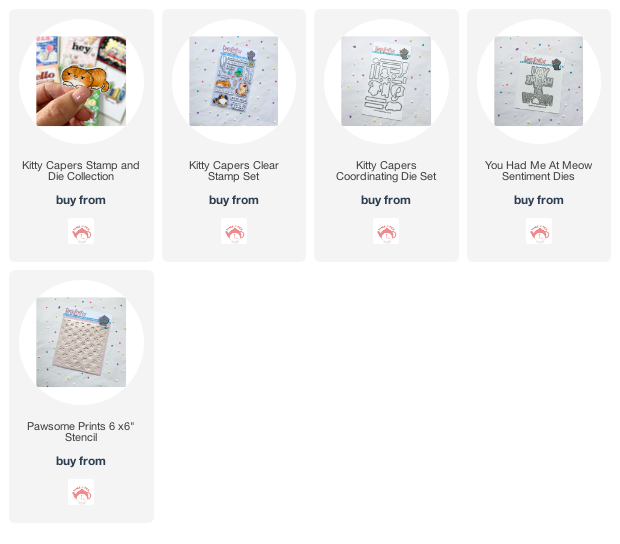
Here is a quick list of the Time For Tea Designs supplies I used and make sure to enter my code T4TLAUREN10 at checkout for 10% off your order!

Thanks for joining me today and see you next month!

XO. Lauren

Find me on my social media here!

Thursday, 26 May 2022

Trifold Tag Card with Amanda

 
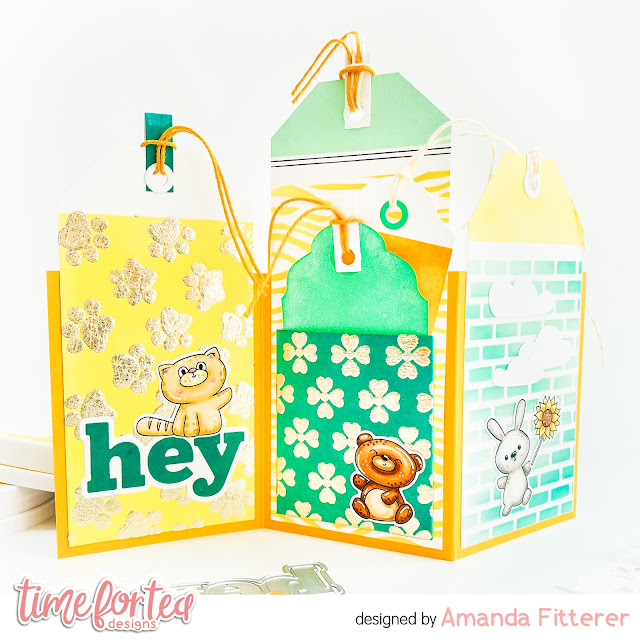
Happy Thursday, Tea Timers!  It's Amanda back with another fun project showcasing the NEW RELEASE!  This card is a unique card because it's a trifold tag card.  It's super easy to make, but looks quite impressive!

1.  Trim a piece of cardstock to 10.5″ x 4″. 
2.  Score at 3.5″ and 7″ and fold into a “Z”.
3.  Make some tags for each panel. 
Trim 2 pieces of cardstock to 3.25″ x 5″ and 1 piece to 3.25″ x 6″. Trim off the corners of each piece of cardstock to create a tag and add a hole punch in the center. 
4.  Decorate your tags however you like.

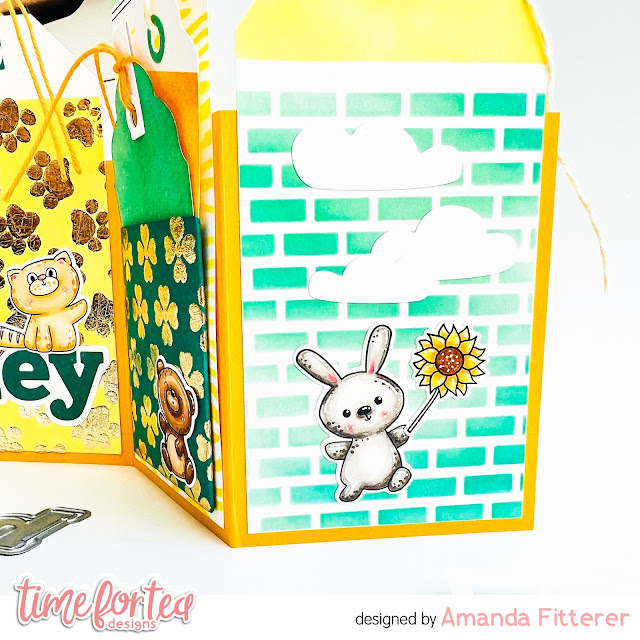
For this first tag, I've used the Tiled Wall Stencil, the new Cloud Dies, and the new Hey There Critters Stamp Set to create an adorable scene with the bunny holding a sunflower.


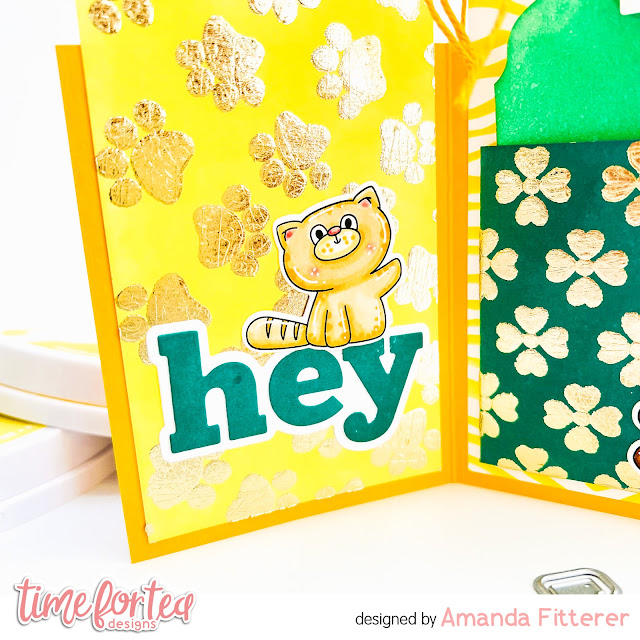
For this tag, I've used the the same Hey There Critters Stamp Set along with the new Hey, Hello, Hi Dies. For my background, I used some Foil Transfer Gel Duo with the new Pawsome Prints Stencil and some gold foil.

For my final tag, I've used the Flirty Flowers Stencil for my background and the Hey There Stamp Set.  I also used the Tiger Stripes Stencil behind my mini pocket.


That's it!  Easy peasy and JUST SO CUUUUTEE!!
Don't forget, you can use code T4TAMANDA10 to get 10% off your purchase!
Until next week.... Xx, Amanda 

Other Posts You Might Like