Pages

Saturday, 5 April 2025

🍭 Birthday Calories Don’t Count! 🧁

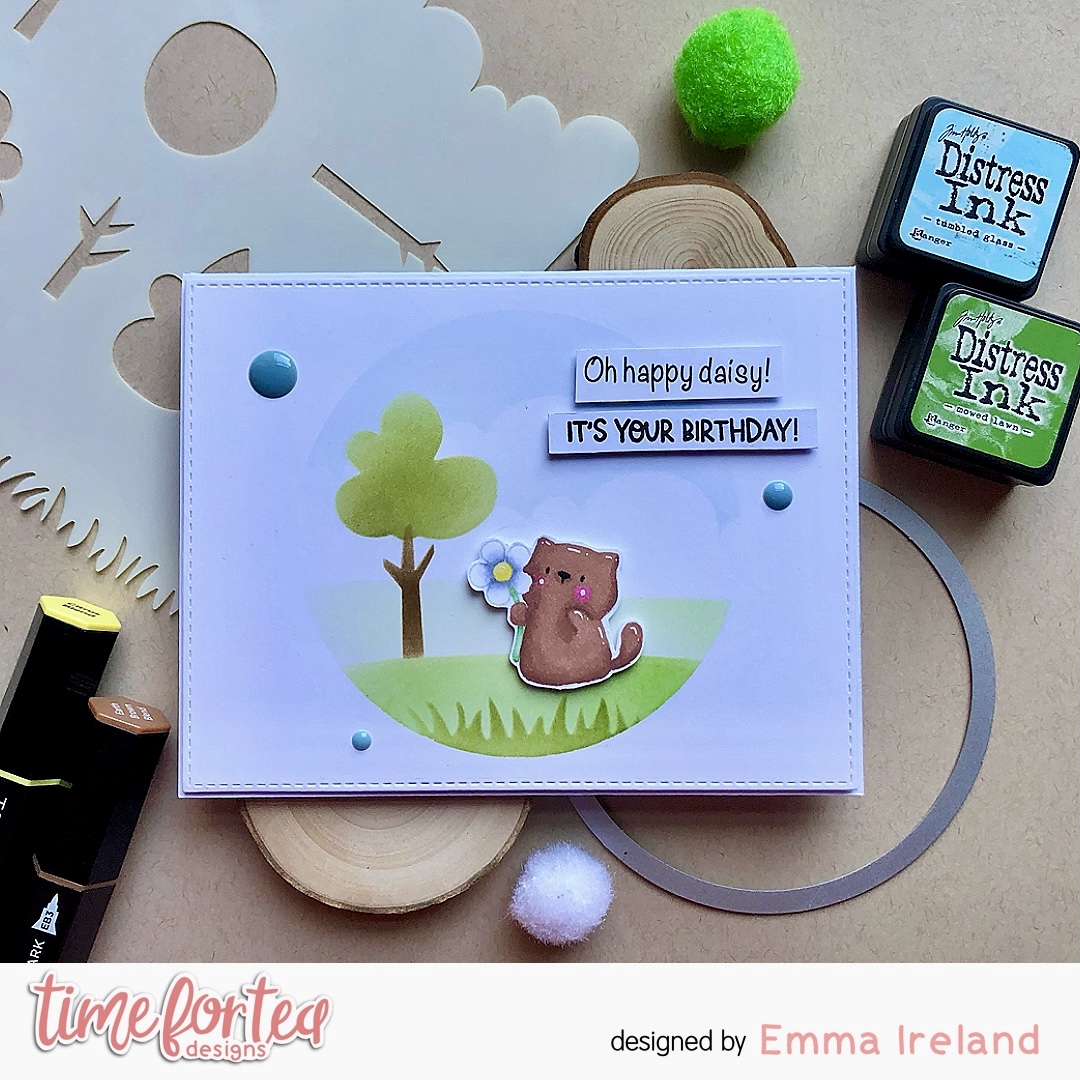
Hello Tea Timers! I’m back today with a super fun slim-line card.

I have used the Time for Tea Designs Treat Yourself stamp set and coordinating dies. This set contains all the yummy, scrumtious spring & summer goodies you could need!

Time for Tea Designs


Making the card:

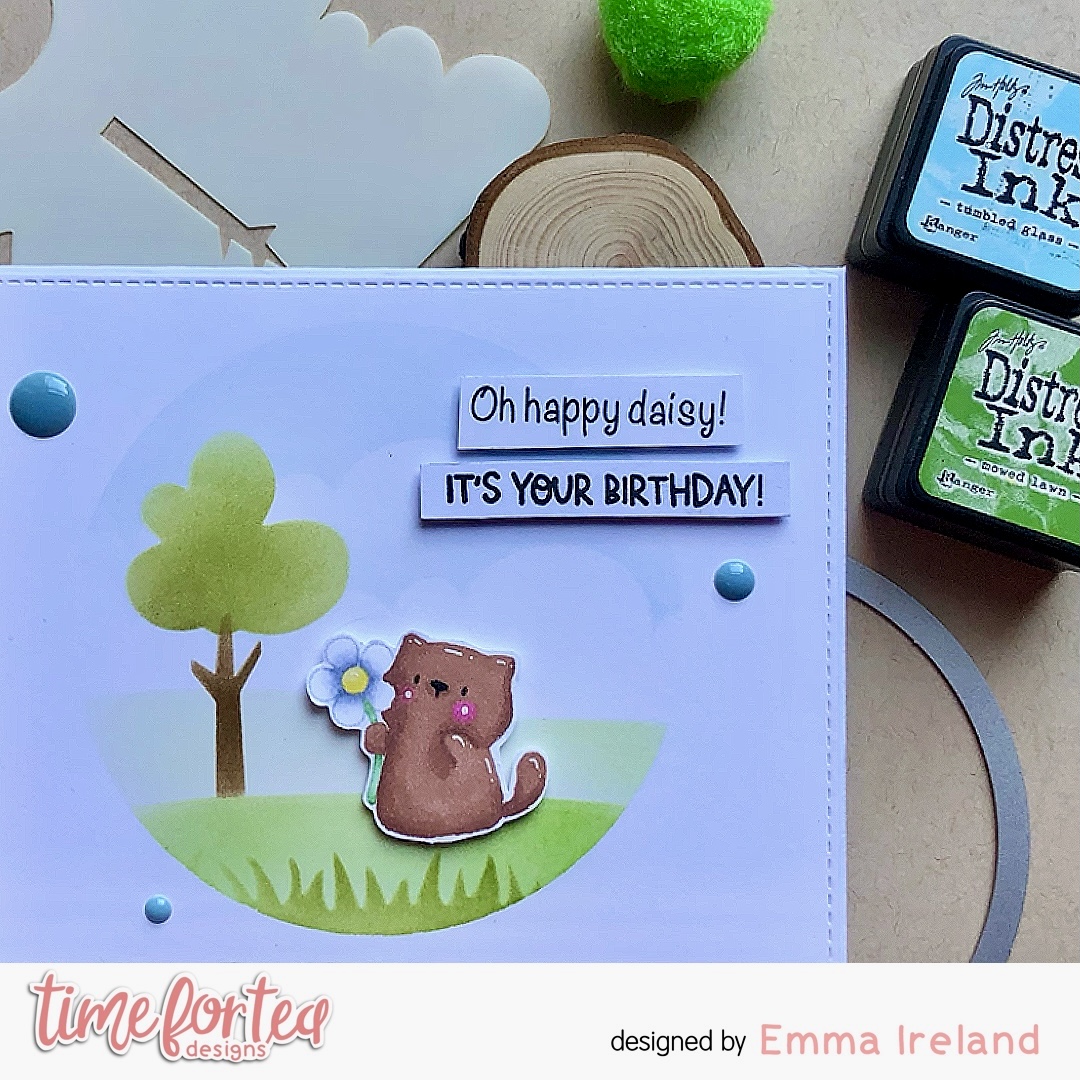
To create this card I have cut out a piece of Crafters Companion Solar White card and stamped my images from the T4TD ‘Treat Yourself‘ set with MFT Cement Grey ink. I then coloured them in with my Spectrum Noir Tri-Blend markers for that no-line look. I used the Coordinating die set to cut them out.

To create the background layers I have used 2 sheets from the T4TD ‘Sweet Summer’‘ 6×6 paper pad. I used the icecream pattern to layer the 2 pieces together until I had the size I needed and then I cut it down to complete my layer. I have cut a slim panel out of plain white card stock and used one of my stitch dies to create the edge.


I used foam tape to pop up my slim white layer. I set out each little image until I was happy with my composition and then used my small foam squares to pop them up.

For the sentiment I have stamped it onto some scrap white card, with Versafine Onyx Black ink for a crisp finish. I cut it down to size with my paper trimmer and popped it with some foam tape.

For a finishing touch I added some T4TD ‘Festive Fun’ enamel dots. 


Thank you for visiting the Time For Tea blog today. For a 10% discount on your order, use my special code -  T4TIRELAND10

If you get chance, check out more inspiration from the amazing team.

Hugs, Emma xxx

Friday, 4 April 2025

Plaid Easter Wishes


Happy Friday, DT Annalisa here! April has arrived, and Easter is just around the corner! I'm excited to share a spring Easter card featuring the Easter Wishes Large sentiment die and the Eggstra Special Birthday stamp set.

To start, I trimmed a piece of the Pretty Pastels 6x6 Paper Pad to fit an A6 card base and secured it using double-sided tape.


Next, I die-cut white cardstock with the Sweet Scalloped Dies and A6 Simple Nesting Dies to create a thin scalloped frame. I attached this frame to the card base with liquid glue.

I then stamped several images from the Eggstra Special Birthday stamp set, colored them using Copics, and cut them out with the coordinating dies. I added accents with a white gel pen using a Gelly Roll Pen.

For additional elements, I die-cut vellum using the Stitched Circle Dies and Cloud Dies, adhering them to the card base with vellum adhesive.


For added dimension, I used double-sided 1mm foam tape to attach the stamped images.

I applied Gina K Designs Dusty Rose ink to a piece of white cardstock, allowing it to dry before die-cutting it with the Easter Wishes Large sentiment die. I then added white gel pen accents for an extra touch.

For more dimension, I die-cut the sentiment from white cardstock twice and adhered the layers together using liquid glue. I attached the sentiment to the card with more liquid glue.


To finish off the card, I added Summer Haze Designer Enamel Dots.

Thank you so much for reading my blog post! To get 10% off your order, use my discount code T4TANNALISA10 when you visit the Time For Tea Designs shop.

Wednesday, 2 April 2025

Easter Wishes - Greeting Card


Hey Friends, My name is Safia, and I am a new member of the Time For Tea Design Team group. It is such an honor to be here!

Today I am sharing my first card that I made using Time For Tea Design products. I am so in love with these products! I started off by using some blue colored cardstock and blending some darker blue ink onto it. I splattered with the same ink pad and some white acrylic paint when I was done ink blending

I then used the Geometric Snowflakes Cover Die to cut out my blue background. Once this was done, I used the Let's Chat Stampset to stamp and color in some cute critters. For this I did use Copic Markers. I then cut the Easter Wishes die twice in black and prism cardstock and layered it together to form a black shadow.


Last but not least I blended some Light Yellow ink onto my card base along with some black splatter and the glued my background peice on top using liquid glue. I also used some foam squares for my greetings and my critters. 
I hope you have enjoyed this card. Let me know what you think in the comments! Have a fabulous day!


Other Posts You Might Like