Pages

Showing posts with label Porthole Lift the Flap dies. Show all posts

Thursday, 15 September 2022

How to Create a Peek-a-boo Porthole

Happy Thursday, Tea Timers!  It's Amanda here!  Today, I get to share with you how to make a Porthole Lift the Flap Dies card!

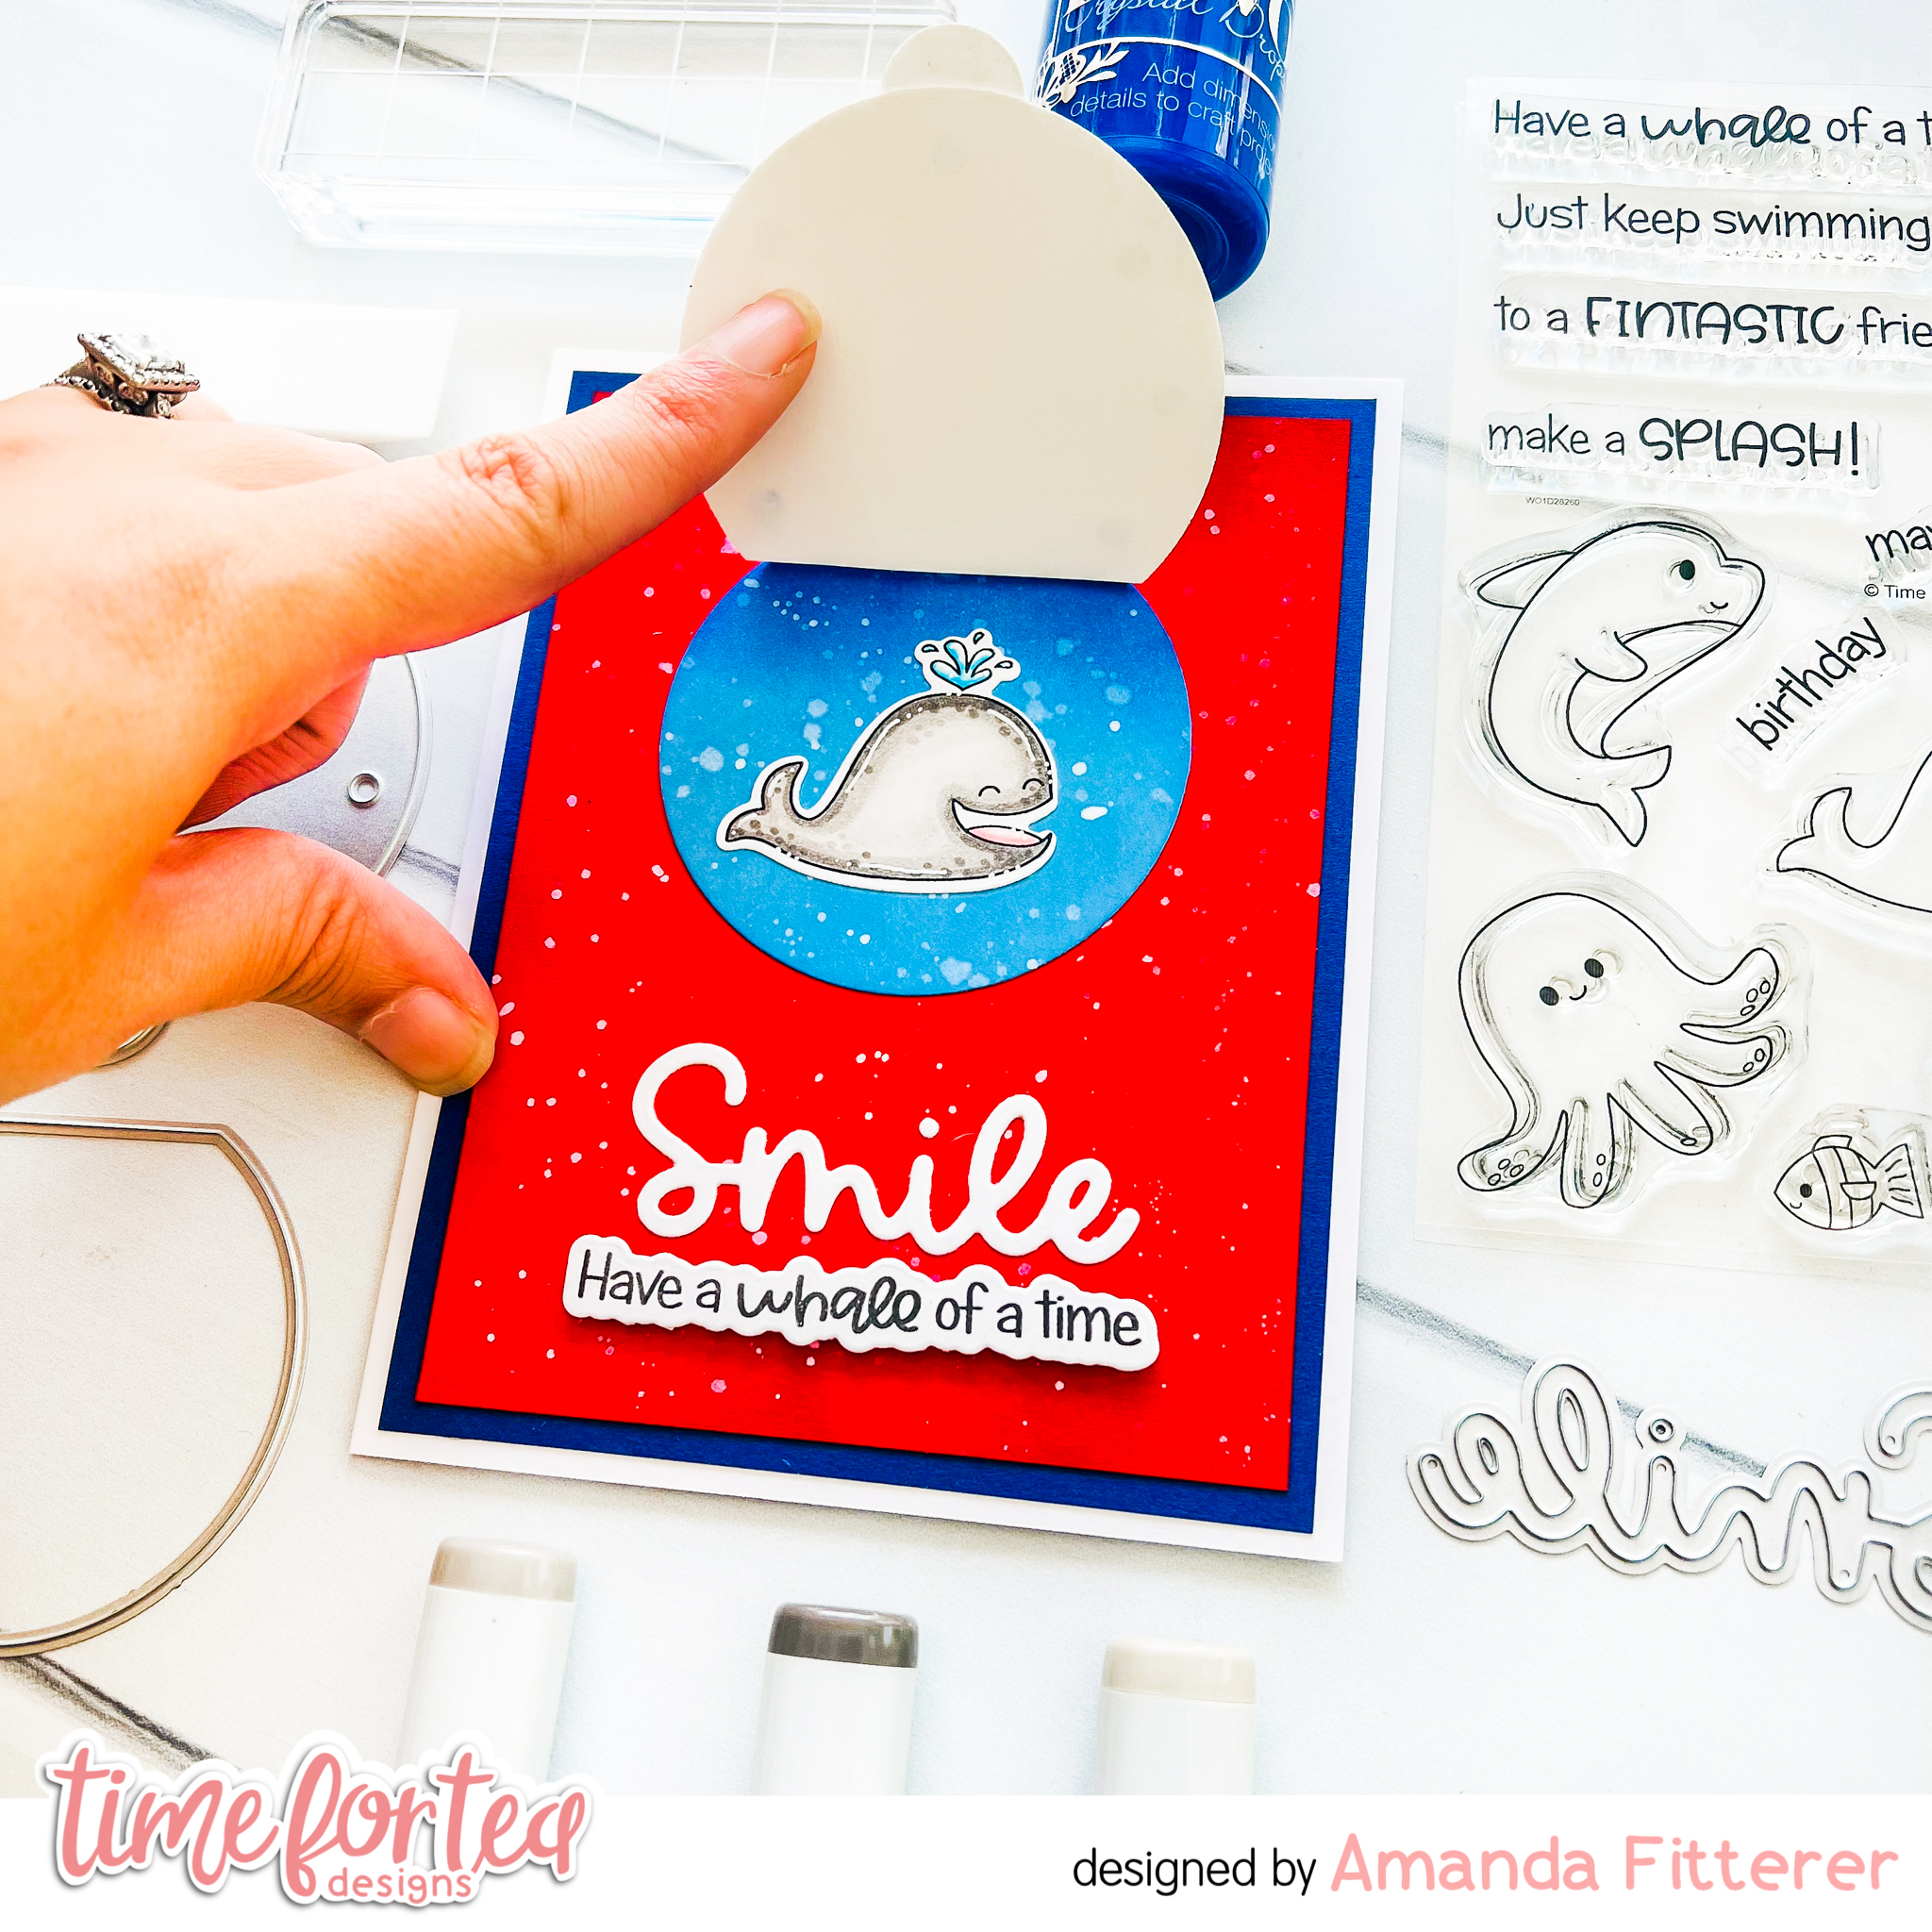
To create this card, I'm starting with the dies and cutting the solid circle die (the one that is blue below), the porthole circle die (with the holes), and the trimmed circle die from the Porthole Lift the Flap Dies.  I've also trimmed a dark blue piece of cardstock and red piece of cardstock down.

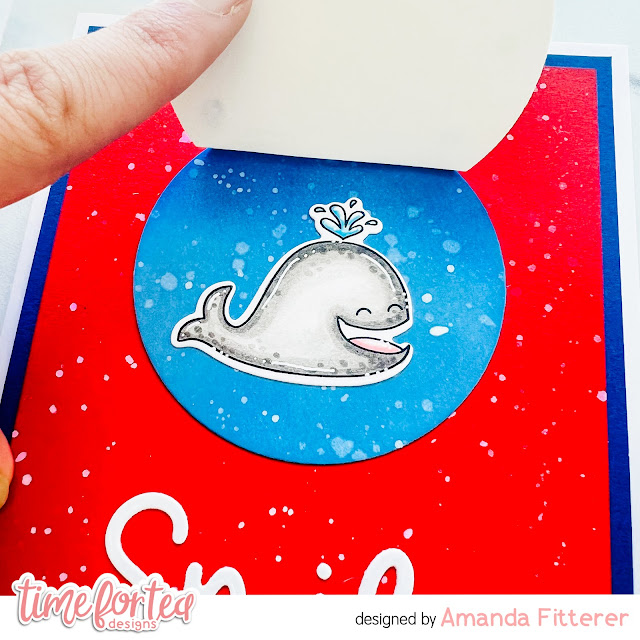
I have glued the red cardstock to the blue cardstock.  Then, I'm gluing the blue circle to the red cardstock.  The trimmed circle goes behind the porthole.  Now, I'm adding Nuvo drops in the porthole circles.  Then I glue the porthole over top of the blue circle.

For my sentiment, I'm using the "smile" from the Smile Inverted Scallop Frame Dies.
I've also stamped the whale from the Fintastic Friends Stamp Set and colored it with Copic markers.



That's all I have to share with you today!  I can't wait to be here again next week and share another project with you!

Crafty hugs,
Amanda!

Friday, 29 July 2022

Oh, Crab I Forgot!


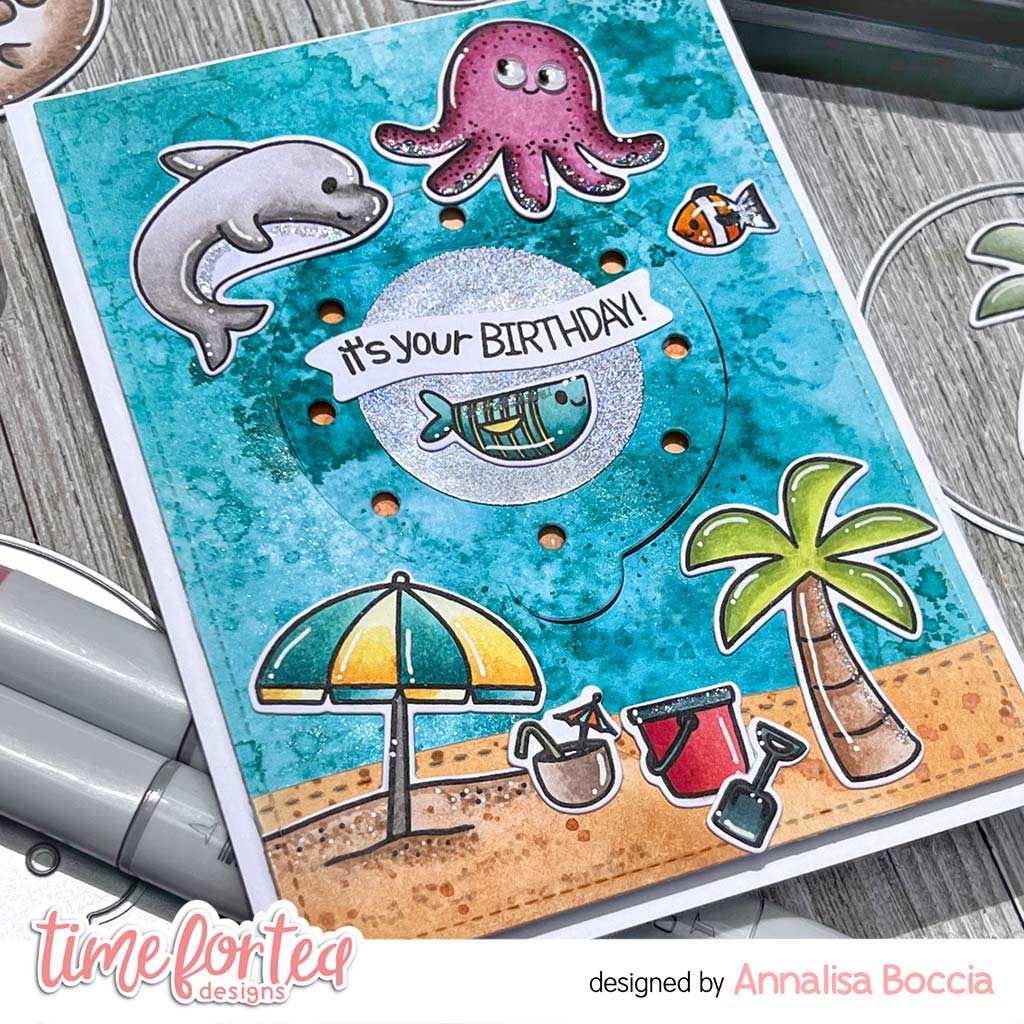
DT Annalisa here, hello and welcome to a brand new release! The July release is full of sea creature stamps, sea-themed dies, and stencils that I love! I had so much fun creating several cards featuring all the goodies I received. I used the Fintastic Friends and Beach Buds stamp sets and the Porthole Lift the Flap dies for my first card.

To start, I used a stitched-rectangle die to cut down a panel of Distress White Heavy cardstock by Ranger. I then did some ink smooshing using Peacock Feathers Distress Ink. Once this was dry I used the medium-sized die in the Porthole Lift the Flap dies to cut out the center of the panel. I used the circle die in the set to die-cut two circles of silver paper which I glued to the inside and outside of the flap.

For the sand, I ink blended Rusty Hing and Dried Marigold Distress Ink onto cardstock and die cut it with both the stitched rectangle die and the Slimline Hillside Scene Dies. I added some splatter of Rusty Hinge Distress Ink.

I created an A2 card base from white card stock, ink blended some sand using the same colours as the outside and added some ink splatter and white dots for interest.

I stamped and coloured the images with Copics and then die-cut them with their coordinating dies. For interest, I added highlights with a white gel pen and some Lawn Fawn Prismaglitter using a Quickie-glue pen to some of the elements on the card.

I stamped and die-cut the sentiments and used liquid glue to adhere them to the top panel and the card base. I used foam tape to adhere the sea panel to the card base. I then glued down all of the elements to the top panel and card base using liquid glue.

This card took quite some time to complete but I really enjoyed the process. I just love working with Jo's adorable designs and bringing them to life on a card. 

Thank you so much for reading my blog post. Don't forget to use my discount code T4TANNALISA10 when you visit the Time For Tea Designs shop to get 10% off your order.

Other Posts You Might Like