Pages

Friday, 31 January 2025

Love Ya Lots!

Happy Friday, from DT Annalisa! I am sharing a Valentine's Day card I created using three die sets from Time For Tea Designs and Distress Water Colour Pencils.

I started by using the Stitched Quilted Cover Die and the Sweet Scalloped Dies on white cardstock to create two white panels. I adhered the stitched piece to a card base with double-sided tape.


Next, I added some splatter using Spun Sugar and Salvaged Patina Distress Watercolor Pencils, water, and a watercolour brush. I secured this splattered panel to the card base with double-sided foam tape.

For the hearts, I used the smallest heart die from the Heart Nesting Dies to cut out nine hearts from Distress Watercolor Cardstock. I coloured the hearts using the following Distress Watercolor Pencils: Spun Sugar, Saltwater Taffy, Peacock Feathers, Salvaged Patina, and Lumberjack Plaid.


For each heart, I first coloured the entire shape with one colour and then heat-set it using the Ranger Heat Tool. I layered on a second and third coat of the same colour, heat-setting in between layers.

By heat-setting throughout the process, I was able to control the water and keep the pigment in place.


Finally, I used liquid glue to adhere the hearts to the card base. I chose the 'love ya lots!' sentiment from the Brighter Days Sentiment Cards | White on Grey, attaching it with double-sided foam tape for added dimension.

Thank you so much for reading my blog post! Be sure to use my discount code T4TANNALISA10 when you visit the Time For Tea Designs shop to get 10% off your order.


Wednesday, 29 January 2025

Hope your day is sweet

Hello crafters,

Daisy ( DaisCreaPlace) here with my last card as a design team member of T4TD. 

Unfortunately, due to new regulations, it is not possible to promote this brand properly from the EU. My adventure at T4TD was short, but I really enjoyed inspiring you with these beautiful items. 

Today, one last card for you. A cheerful, sweet card. Of course, I will continue to use the T4TD items and you can find the creations on my personal account.


    For the base of this card I used the Five windows cover die. I colored it with Distress Oxide ink in the colors Dried Marigold, Saltwater Taffy and Candied Apple.

    Over this I used the Scattered hearts stencil.


    The stamps are from the Fruitful friends set. I colored them with Copic alcohol markers.

    I made the word Sweet with the Antony's alpha dies.


    I wish you all lots of hobby fun! 

Love Dais

Tuesday, 28 January 2025

Lots of Luck

 Hi Tea Timers! 

So happy you're reading the Time For Tea Designs blog again! Today, DT Myrthe is back with a fun shaker card. I absolutely love the Lucky Ducks clear stamps, they’re just so cute! I colored them using my Copic markers with these combinations for the ducks: yellow Y18, 15, 13, 11 and orange YR68, 15, and 12.

For the base of the card, I used the Wonky Windows cover die. Before attaching the shaker part, I added some background color using Ranger Oxide inks. The sky turned out blue with some cute cloud shapes created with a stencil, and the grass got a fresh green shade. For the shaker elements, I picked soft colors and clear sequins, so everything blends together nicely.

Instead of using a stamped sentiment, I opted for a die-cut sentiment this time, the Lots of Luck large sentiment die. I’m so happy with how it turned out—so cheerful and fun! I’d love to know if you like it too.


Oh, and if you’re looking to grab some fun supplies from the Time For Tea Designs shop, don’t forget to use my discount code T4TMYRTHE10 for a special treat!

See you next time! Creative hugs, Myrthe

Saturday, 25 January 2025

Holy Moley!

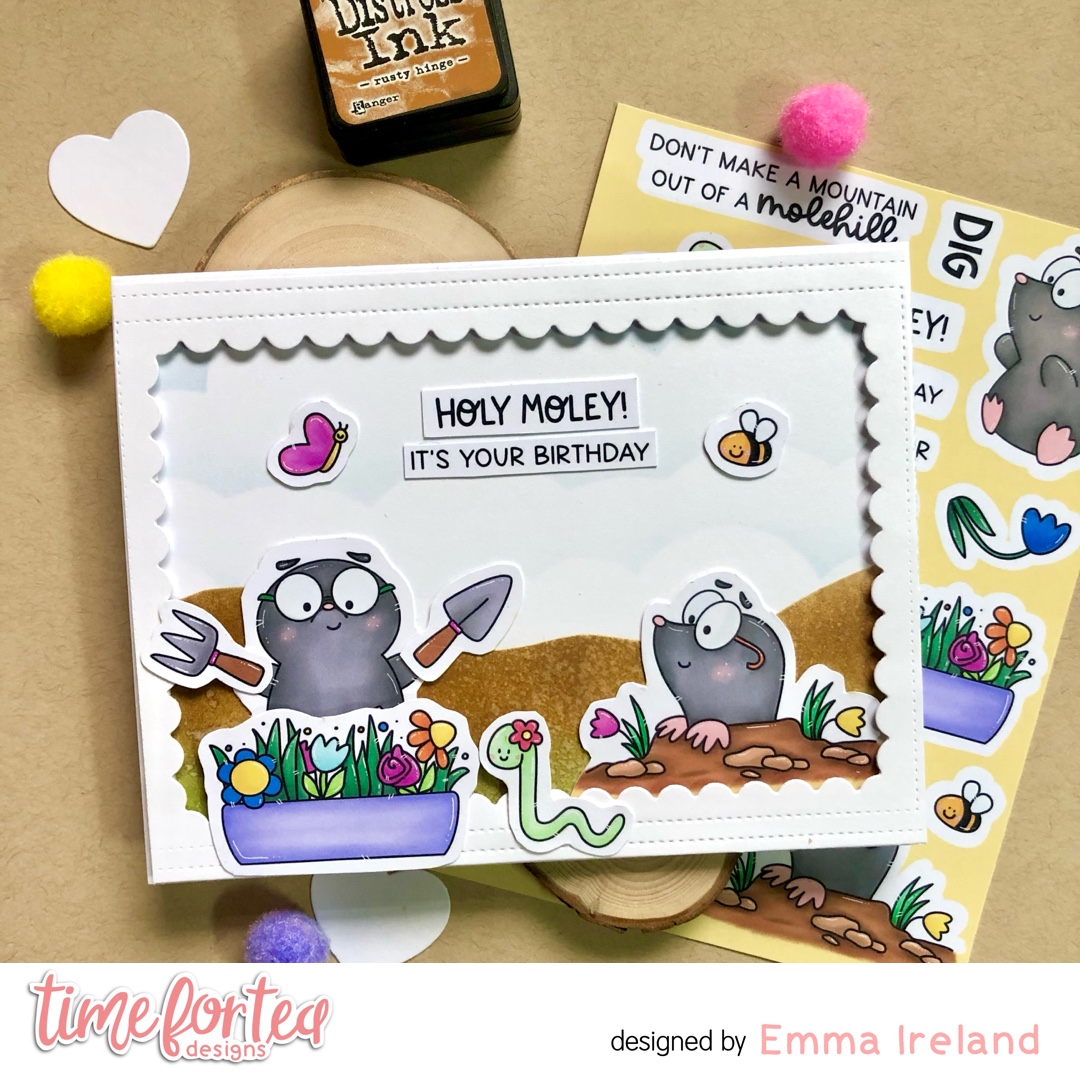
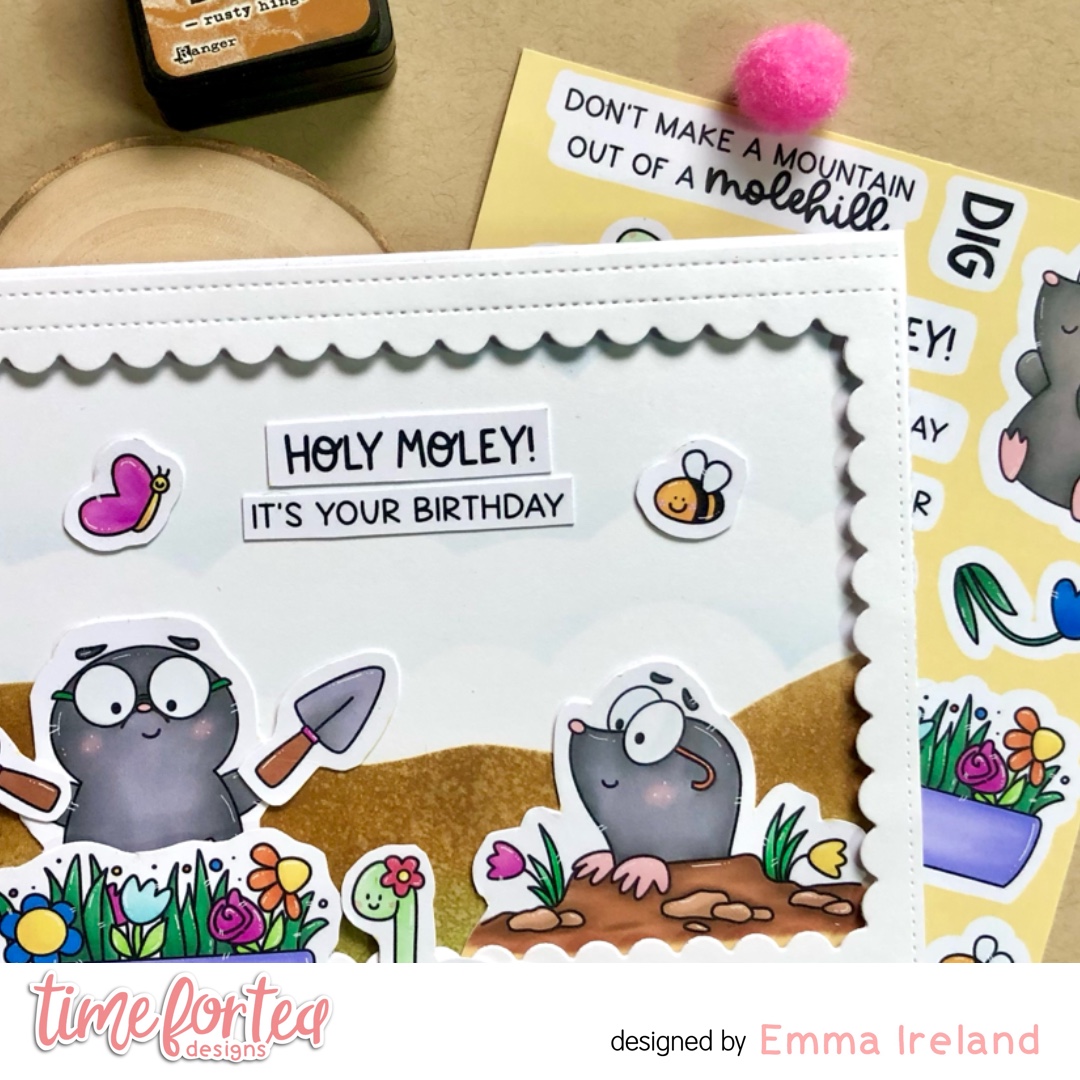
Hello my lovelies! Today I’m sharing with you a sweet simple card, and It’s featuring these cute little Moles from the ‘I Really Dig You‘ A4 Printed Cardstock Pack. Now with this set you will get these sweet little characters coloured and pre-printed on to 200gsm cardstock. They are really good quality, but don’t take my word for it, get them and see for yourself. 🙂 There are 2 A4 sheets included along with free digital stamps so you can print and colour in your own medium as often as you like. What’s not to love about that! 

Time for Tea Designs Shop

To create the Sky and Mole hills in the background, I have masked them off and I’ve done some ink blending using the Tumbled Glass and Rusty Hinge Distress inks from Tim Holtz and my T4T blender brushes. Nothing to difficult, nice and simple!

As these images are Pre-coloured all I needed to do was to fussy cut them out, or you can use the coordinating dies, and then I set them out to create my cute little scene.

For the border I have cut out some plain white card with the Smile Inverted Scallop Frame Die set and popped it up on to some foam tape for a little dimension.


Thank you for visiting the T4TD blog today. For a 10% discount on your order, use T4TIRELAND10

❤️ Treat yourself to some New Year goodies! ❤️

Warm hugs, Emma x

Friday, 24 January 2025

From Our House to Yours


Happy Friday from DT Annalisa! I'm excited to share a water-coloured winter-themed Christmas card because it's never too early to start preparing for next year’s cards, right?

For the background, I die-cut water-coloured cardstock using the Slimline Scalloped Trio Circle Nesting Dies and applied Tim Holtz Distress Watercolor Pencils in Stormy Sky and Salvaged Patina.


To create the background effect, I soaked the pencils in water and then scribbled them onto acetate. After spritzing the acetate with water, I pressed it onto the watercolour paper repeatedly, heat-setting and spritzing with water as needed.

I added splatters of Broken China Distress Ink and Copic White using water and a brush. Afterwards, I adhered the background to a slimline card base using double-sided tape.


Next, I used the Slimline Mini Village Die on watercolour paper. I coloured the snow, trees, and houses with several Distress Watercolor Pencils in the following colours: Pumice Stone, Bundled Sage, Pine Needles, Iced Spruce, Weathered Wood, Hickory Smoke, Speckled Egg, Spun Sugar, Squeezed Lemonade, Milled Lavender, and Tumbled Glass.

I added Copic white splatter to get the effect of falling snow. I die-cut this scene with the Slimline Scalloped Trio Circle Nesting Dies and secured it to the card base using double-sided foam tape.

Finally, I attached a sentiment from the Sentiment Cards - Winter Wonderland | Black to the card with double-sided foam tape.

Thank you so much for reading my blog post! Be sure to use my discount code T4TANNALISA10 when you visit the Time For Tea Designs shop to get 10% off your order.


Wednesday, 22 January 2025

Let's party

 Hello Time for tea design crafters,

Daisy (@daiscreaplace) here with a birthday card. This time I chose to incorporate the cute foxes on my card from the stamp set Foxy birthday.


    Besides these super fun stamps I also used several dies. I really like the Stitched quilted cover die. Last week I made a cas card with it. Today I show it in combination with the Smile inverted scallop frame die.


    Finally I used the Let's party die. I colored it with ink and added glitter.


    I wish you all a nice day. 

Love, Dais🌸


Tuesday, 21 January 2025

Enjoy your journey together

Enjoy your journey together!

Hello Tea Timers, DT Myrthe here. Today I created a shaker card using the Just Married stamp set and the A2 Stitched Hearts Cover Dies

As usual, I started by coloring the stamps with my Copic markers. I chose pink as the main color, using RV29, RV25, RV23, and RV21.

I absolutely love making shaker cards! First, I cut out the frame using a die. Then, I added double-sided tape around the edges on the back and attached a piece of mica. Next, I created a raised border with double-sided foam tape, leaving enough space for the shaker elements to move around once the back is sealed.

Before attaching the background, I gave it some color using ink—blue for the sky, gray for the road, and green around the road to make it look like grass. Then, I stamped the little church onto the background. I added the shaker elements to the background before sealing it with the mica frame. A handy tip: if you want to prevent static and keep the shaker elements from sticking to the mica, simply rub both sides of the mica with an anti-static pouch.

For the shaker part of the card, I attached the colored stamps. It still felt a bit empty, so I decided to add a sentiment stamp. I used the little hearts from the coordinating die set, which I colored with pink ink. 

I’m so happy with how adorable the card turned out! Thanks so much for reading the Time For Tea Designs blog, and I can’t wait to share more with you next time!

For a 10% discount on your order, use T4TMYRTHE10

Creative wishes, Myrthe


Saturday, 18 January 2025

Ewe are the Best!

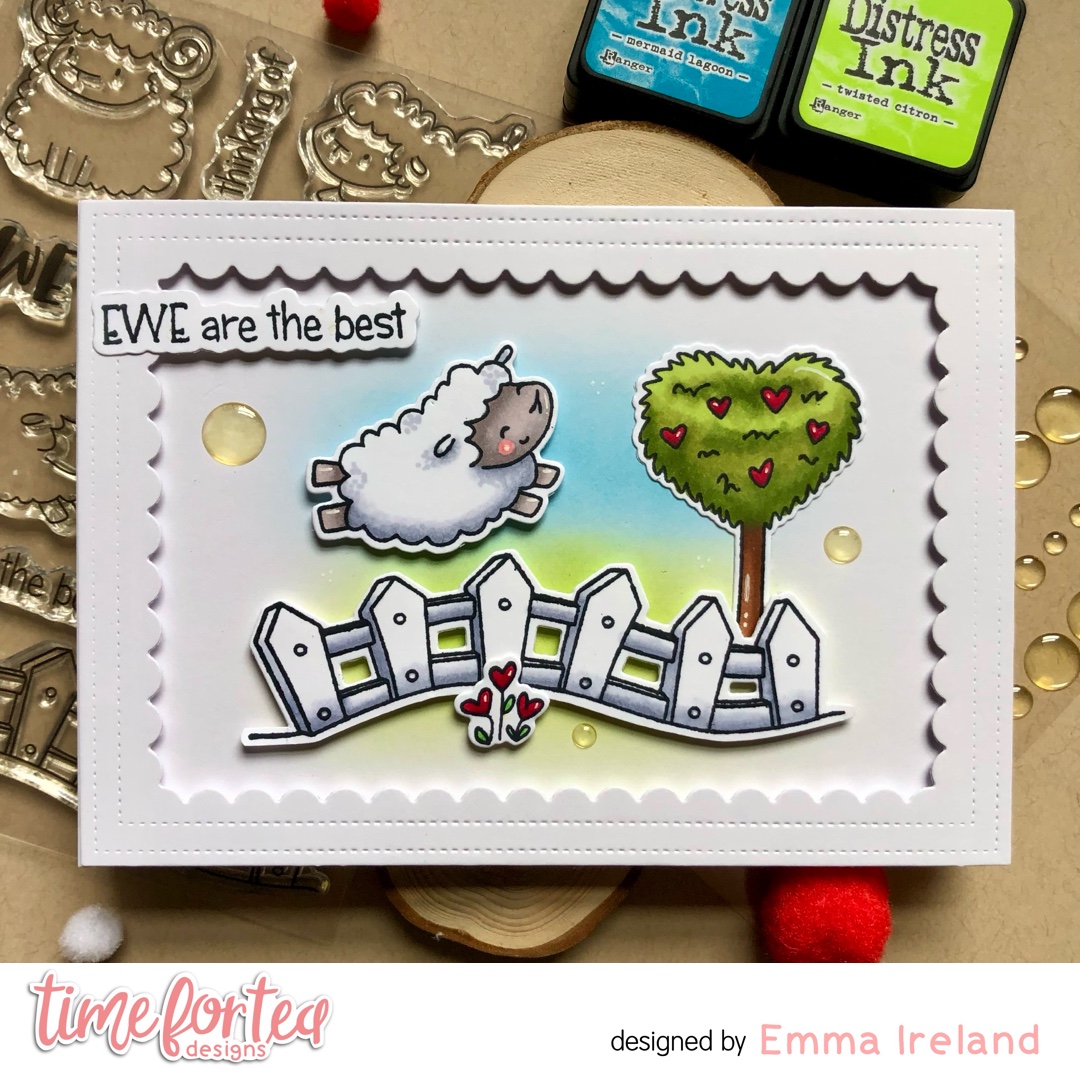
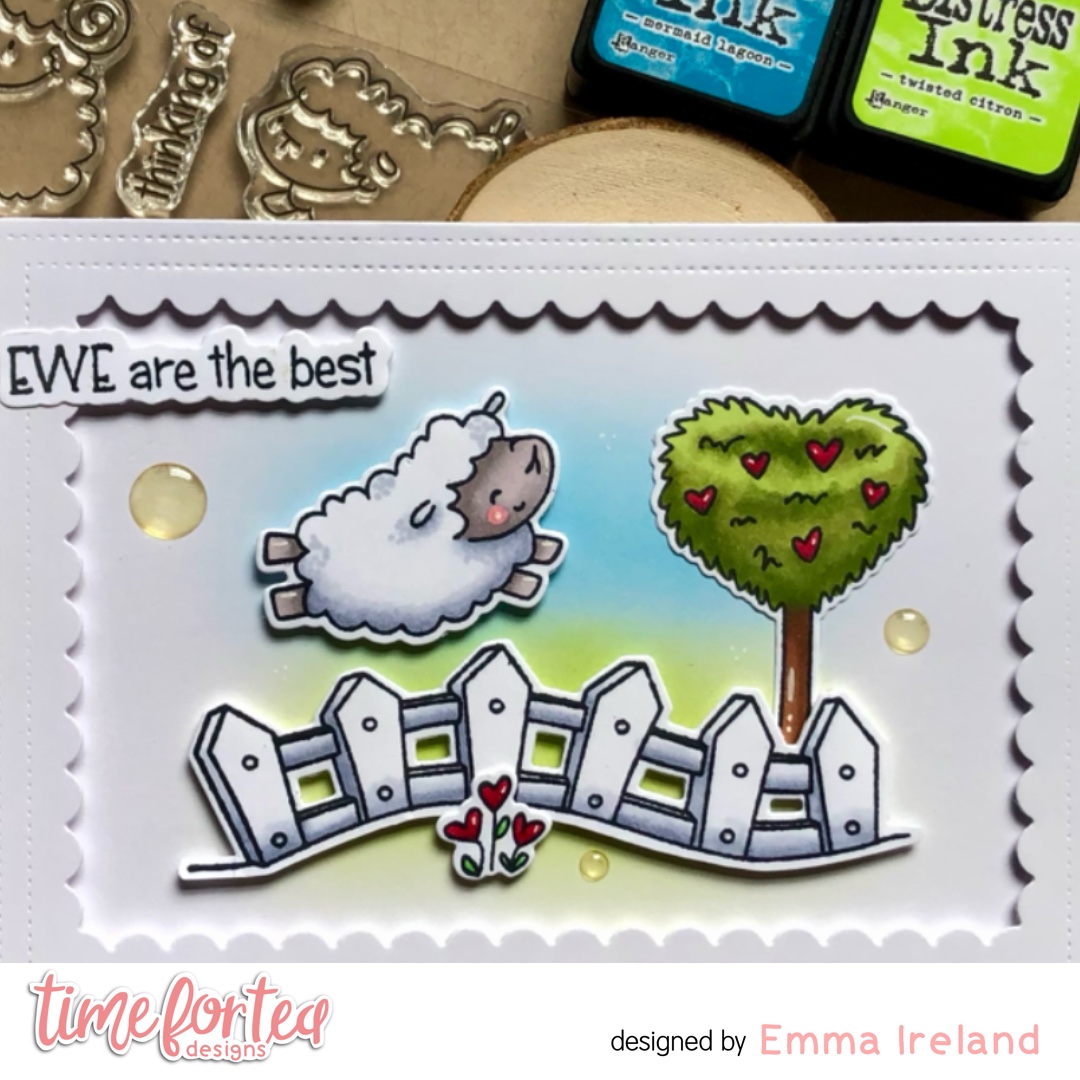
Hello Tea Timers! Today I’m sharing with this super sweet card, using the stamp and coordinating die set ‘Ewe are the Best’.

This set is so cute and can be used for any of your upcoming Valentines, Easter or even your Mother’s/Father’s Day themed cards. So versatile!

Time for Tea Designs Shop


To create the hill and sky in the background I have just donea little bit of simple ink blending using the colours Twisted Citron and Mermaid Lagoon Distress inks from Tim Holtz and my T4T blender brush. 

To colour my images, I stamped them on to Crafters Companion Solar White card stock with Memento Tuxedo Black ink and coloured them with my Spectrum Noir Tri-Blend markers.

For the border I have cut out some plain white card with the Smile Inverted Scallop Frame Die set and popped it up on to some foam tape for a little dimention. 

For a little extra interest I've added a few of the Clear Bubbles enamel dots.


Thank you for visiting the Time for Tea blog today. For a 10% discount on your order, use T4TIRELAND10

❤️ Treat yourself to some goodies! ❤️

Warm hugs, Emma x

Friday, 17 January 2025

Watercolour Thank you


Happy Friday, everyone, from DT Annalisa! Today, I’d like to share a watercolored thank you card I created using the Pumpkin Spice stamp set from Time For Tea Designs.

To create the background, I started with Ranger's Distress Watercolor Cardstock and used Scorched Timber and Salvaged Patina Distress Watercolor Pencils. I soaked the pencils in water, scribbled them onto acetate, and spritzed the acetate with water. Then, I pressed the acetate onto the watercolour paper repeatedly, heat setting and spritzing it with water as needed.


Once the background was dry, I used a Beautiful Blender Brush to apply Walnut Stain Distress Ink through the Coffee Stains 6 x6" Stencil. I die-cut the panel with a stitched rectangle die and used a paintbrush and my finger to apply translucent Distress Grit Paste to the edges. 

I created an A2 card base using brown cardstock, which I inked with Walnut Stain Distress Ink to match the background. I adhered the background to the card base using double-sided foam tape.

Next, I stamped images from the Pumpkin Spice stamp set onto watercolour cardstock using Versafine Onyx Black ink. I coloured the images with Distress Watercolor Pencils, as I am much more comfortable using Copics, but I am trying to practice with watercolours more this year. Once the images were dry, I die-cut them using their coordinating dies.


For the sentiment, I stamped the word "thanks" using the Bold Sentiments stamp set and die-cut it with the matching die set. I used double-sided foam tape to adhere all the elements (except for the coffee beans) to the card base.

Finally, I added translucent Distress Grit Paste to the whipped cream for dimension to complete the card.

Thank you so much for reading my blog post! Be sure to use my discount code T4TANNALISA10 when you visit the Time For Tea Designs shop to get 10% off your order.

Tuesday, 14 January 2025

Jumping with JOY

 Happy Tuesday, everyone! DT Myrthe, here.

For today’s card, I’ve used stamps from several different sets. I combined the Jumping with Joy set with the Cool Critters set.

I started by coloring the stamps, and since I love cheerful colors, I went for a combination of pink, green, yellow, and turquoise.

It was so much fun placing the little critters and the ice cream truck in the grassy scene. I used a grass die to create the grass, and then added some color to the white cardstock with various shades of ink. To add a bit more depth, I splattered some white and green ink on top.

For the background, I used a cloud stencil and added some soft purple-pink clouds. I love how they contrast with the yellow of the ice cream and the little animals.

Next, I used the Joy die to match with the stamped sentiment. I inked the word with the same colors as the sky, tying everything together perfectly.

I’m really happy with how the card turned out – it’s so cheerful! 

Thanks so much for reading the Time For Tea Designs blog. If you spot something you like on the Time For Tea Designs website, don’t forget to use my discount code T4TMYRTHE10 for 10% off your order!

Creative hugs, 

Myrthe

Saturday, 11 January 2025

🩵 Hello Sweet Friend 🩵

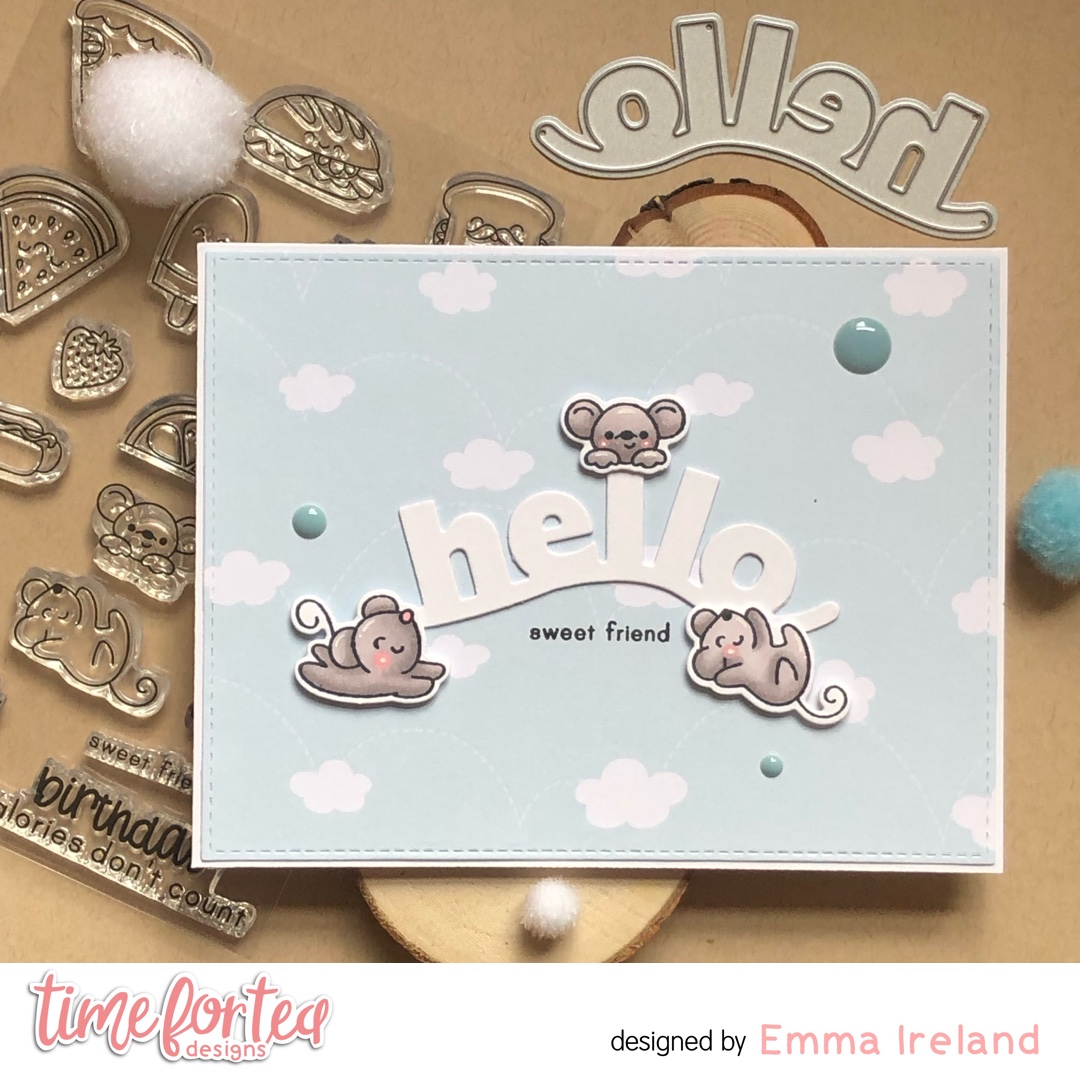
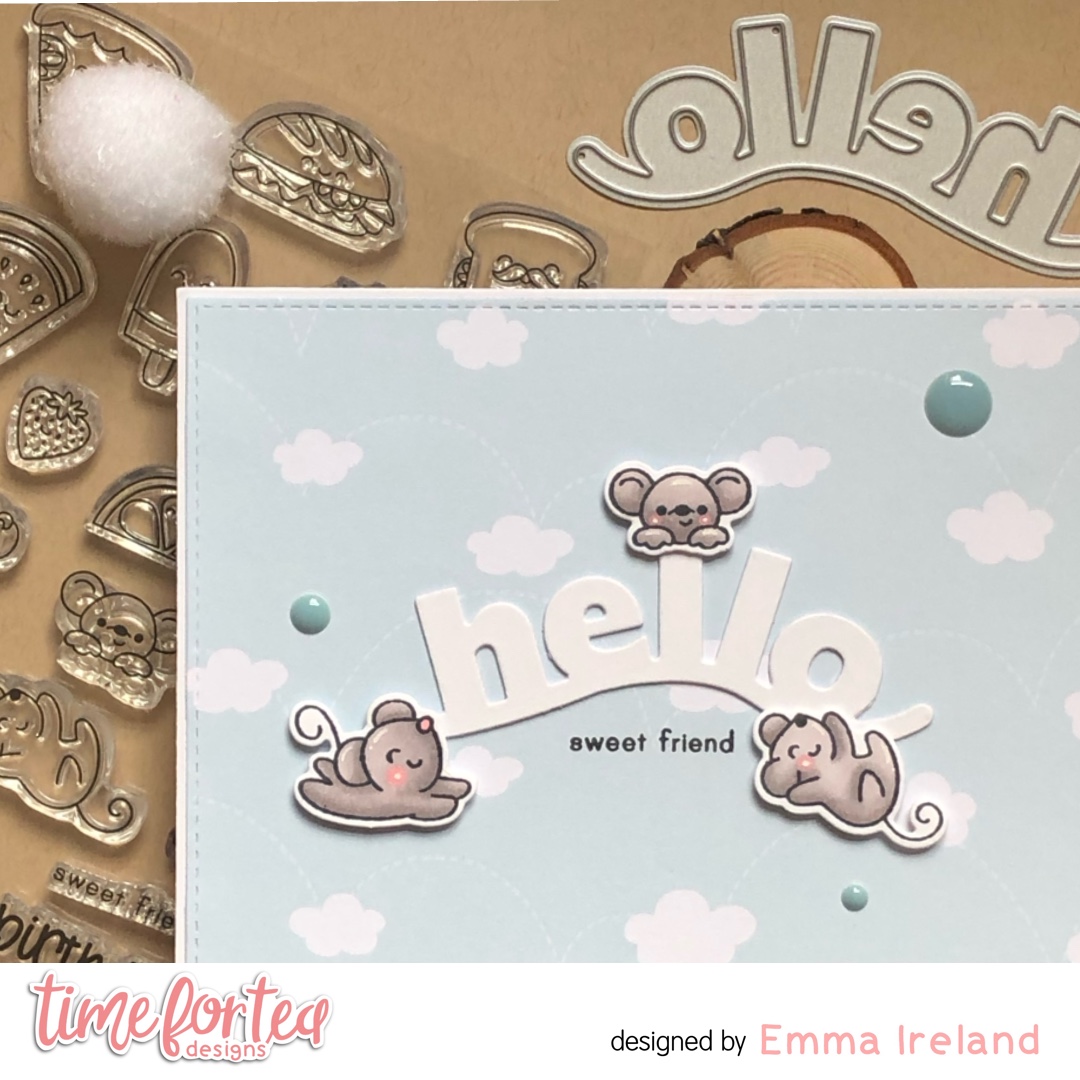
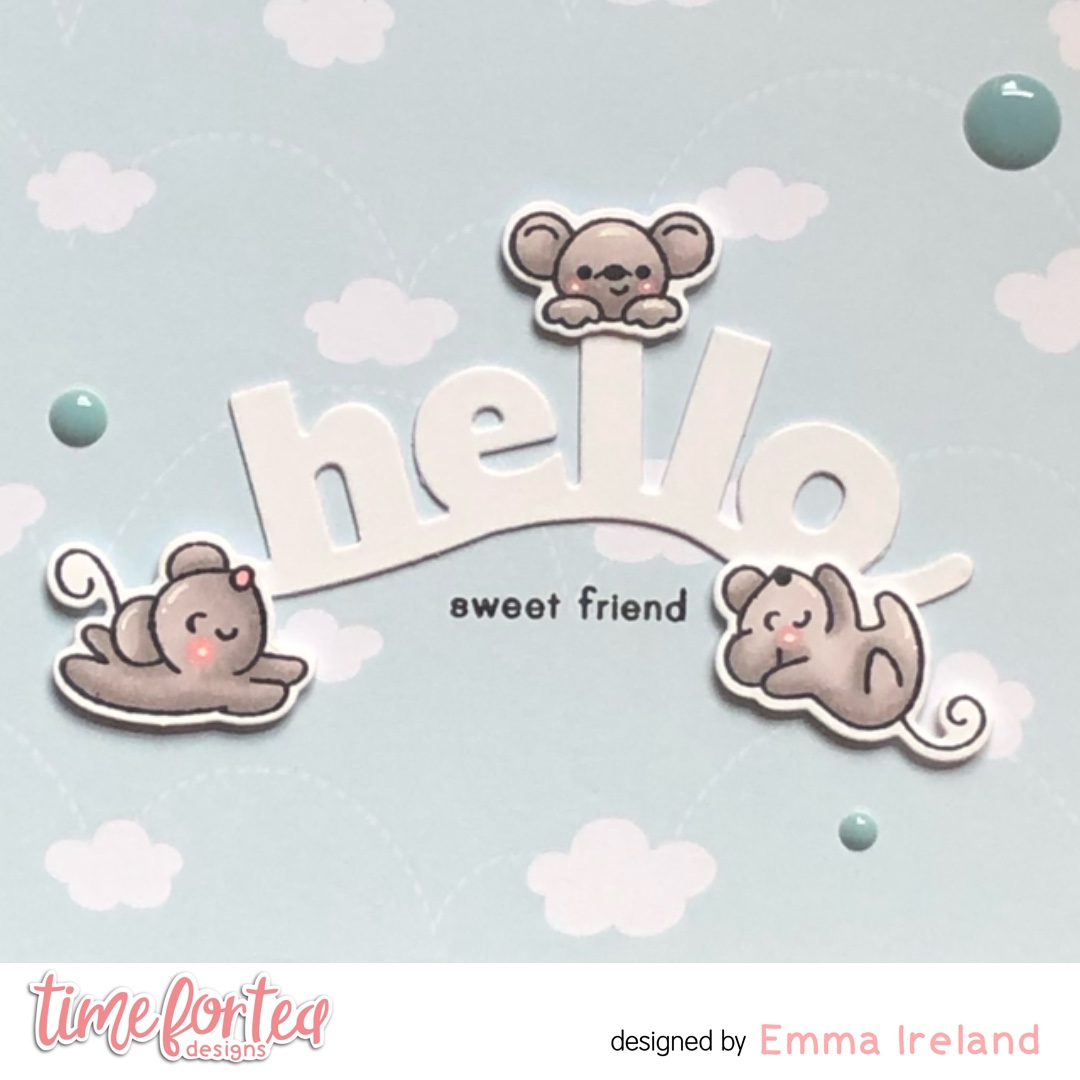
Hello sweet friends! I’m back today with this super simple card featuring the Time for Tea Designs Treat Yourself stamp set and coordinating dies. Aren’t they just the cutest!?


I wanted to keep this card clean and simple with only the sweet little mice and the Hello sentiment as the main focus. (I’m not sure if the Hello die is still available but here is a Hello substitute you could use). I have used a sheet from the T4TD Pretty Pastels 6×6 paper pad and cut it down to a little less than US A2 size, 4.25” x 5.5”. I then stamped my images on to some Neenah Classic Crest card stock with Memento Tuxedo Black ink and coloured them in with my Spectrum Noir Tri-blend markers. For a finishing touch I added some T4TD Festive Fun enamel dots. 


I used the T4TD Wavy Hello sentiment die and cut 2 out of some plain white card stock and staked them togeher for a little bit of dimention. I took the Sweet Friend stamp which is also from the T4TD Treat Yourself set and stamped it with my Versafine Onyx Black ink. 


Thank you so much for reading my blog post! For a 10% discount on your order, be sure to use my discount code T4TIRELAND10 ❤️ Treat yourself to this sweet set! ❤️ 

Happy crafting! Emma xxx

Friday, 10 January 2025

You Warm My Heart


Happy Friday, DT Annalisa here! I’m excited to share a beautiful winter scene mini slimline card I created using the Seasons Tweetings and Merry Cheesemas stamp sets from Time For Tea Designs. I love extending the use of these Christmas stamp sets by creating winter cards.

For the background, I started with mixed-media paper trimmed to 3 inches by 5 1/4 inches. I coloured directly onto the paper with three Distress Watercolor Pencils: Saltwater Taffy, Festive Berries, and Chipped Sapphire. Then, I used water and a watercolour brush to blend the colours.


I applied Wendy Vecchi embossing paste to the water-coloured panel using a palette knife over the Snowfall 6x6” Stencil. Once it dried, I added white dots using a white metallic marker. I adhered the panel to a white card base with double-sided tape.

Next, I stamped and coloured several images from the Seasons Tweetings and Merry Cheesemas stamp sets using Copics, and I cut them out with my Brother Scan N Cut SDX125e. I added accents with a white gel pen from a Gelly Roll Pen.


To add a touch of sparkle, I applied glitter to the edges of some images using a Quickie Glue Pen and Lawn Fawn Prisma Glitter. I then adhered the images to the card base, using either liquid glue or double-sided foam tape for added dimension.

The sentiment is from the Warm Hugs stamp set which I cut out with the coordinating die set. I used double-sided foam tape to stick it to the card base.


Thank you so much for reading my blog post! Be sure to use my discount code T4TANNALISA10 when you visit the Time For Tea Designs shop to get 10% off your order.


Sunday, 5 January 2025

Have a Brew-tiful day

Happy Sunday, everyone!

Today, I'm sharing my very first card of the new year for Time For Tea Designs
I decided to use the Snappy Before Coffee stamp set for this one. I just love coloring these stamps, so I dove right into that. I colored the two crocodiles in various shades of green, which was so much fun!
A while ago, I received the Coffee Bean stencil, and I thought it would be perfect to incorporate it into the background. I used two different ink colors to create a soft, blended effect. 
To ground the images, I cut a strip from the Joyful Christmas paper pad, giving the impression of a cozy floor beneath the crocs.
I'm really happy with how this card turned out—it’s cheerful and perfect for any coffee lover!

Thank you for visiting the Time For Tea Designs blog, and I’ll see you next time!

And don’t forget—if you'd like to get 10% off, use my code T4TMYRTHE10. 

 Creative wishes, 

Myrthe

Saturday, 4 January 2025

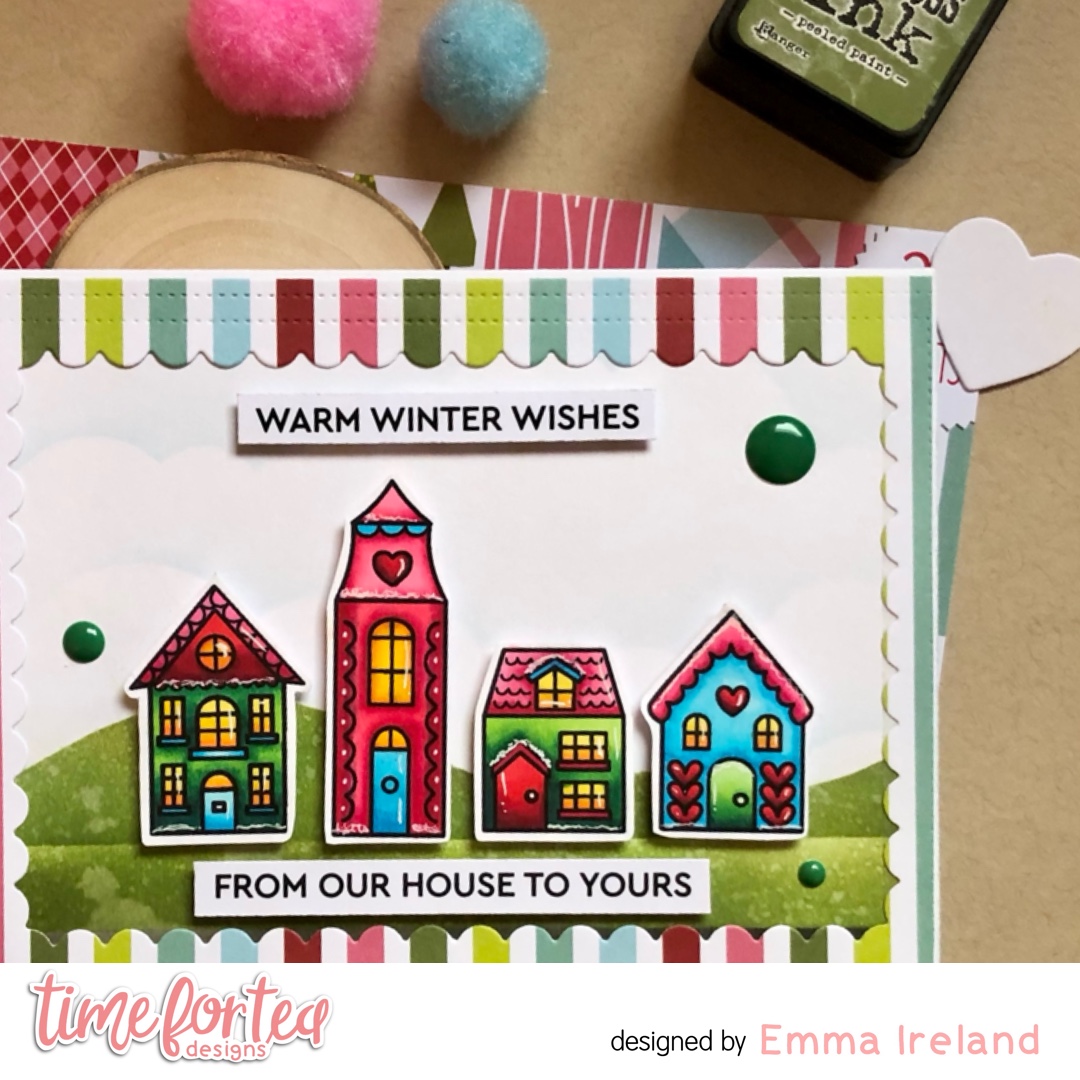
❄️ Warm Winter Wishes ❄️

Hello my lovelies! HAPPY NEW YEAR! 🥳 It’s now 2025 and I’m excited to share some new projects with you over the coming months. 

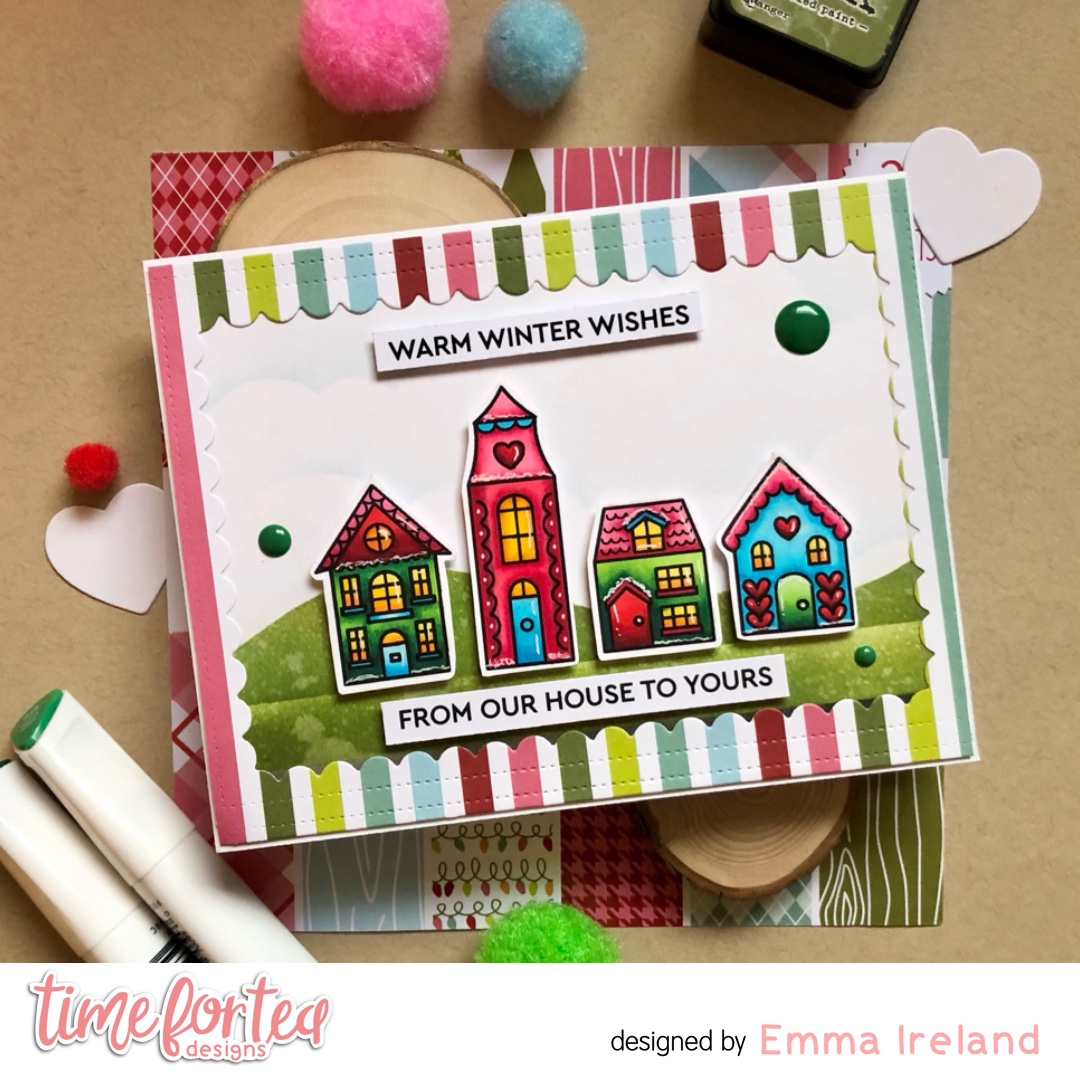
Today I’m sharing with you a sweet simple cards, and I’m using these cute little houses from the Sweet Christmas stamp set. Although Christmas is now past for another year these sets don’t have to be, really versatile.

Time for Tea Designs Shop


To create the hills I have masked them off and I’ve done some ink blending using the Forest Moss, Peeled Paint, Mowed Lawn and Twisted Citron Distress ink from Tim Holtz and my T4T blender brush. I then used a wet paintbush to add some water splashes.

To colour my images, I stamped them on to Crafters Companion Solar White card stock with Memento Tuxedo Black ink and coloured them with my Arteza Everblend Markers.

I have added some of the Festive Fun enamel dots for some cute interest and they go so well with the Joyful Winter 6×6 paper pad. 


Thank you for visiting my blog today. For a 10% discount on your order, use T4TIRELAND10

❤️ Treat yourself to some New Year goodies! ❤️

Warm hugs, Emma x

Other Posts You Might Like