Pages

Showing posts with label copic coloring. Show all posts

Sunday, 10 November 2024

Let's Party!

 Hi Friends!

I’m Patricia and today I share you a new card with Happy Hump Day Stamp set and coordinated dies and the Let’s Party Sentiment Die.


I’ve used directly a mini lawn fawn ink in yellow color (sunflower tone) by rubbing the pad on the card stock directly to make the background. I like the effect and with mini pad is more easy to go through it a few times.


For the principal sentiment I’ve used the Let’s Party Sentiment Die and one second sentiment from the stamp set. I’ve die cut several layers to create a false chipboard. For the first layer, I’ve used the Joyful Winter 6x6 paper pad, the rest is white card stock .


All stamps are coloring with Copic Markers.


Thank you so much for reading my blog post. Remember to use my discount code T4TPATRICIA10 when you visit the Time For Tea Designs shop to get 10% off your order. Happy Crafting! 

Sunday, 3 November 2024

Jumping with JOY

Hi friends!

I’m Patricia and this is my first post to T4TD blog. I’m so happy be here!!

For my first card I’ve used the Jumping with Joy Stamp Set and coordinated dies


Also, I’ve used the Simple Stitched Circle Dies for background of my card and created a Round card base played with different size circles.


For the background I’ve used Distress oxide ink in blue & green colors and  ink splashes with similar colors. I ink blended using Beautiful Blender Brush

I coloured the stamps with Copic markers and finally I've decorated with Enamel dots. 


Thank you so much for reading my blog post. Remember to use my discount code T4TPATRICIA10 when you visit the Time For Tea Designs shop to get 10% off your order. Happy Crafting! 


Thursday, 21 September 2023

Happy Birthday to My Foxy Friend!

Hey there, Tea Timers!!  It's Amanda here and today I am sharing another card using some products from the New Release

Today, I am using the Birthday Fox Stamp Set.
To create this card, we're going to start by trimming down a piece of white cardstock to 4" x 5.25".  On this panel, we'll stamp champagne/wine bottles all around the background.  I always start in the center and then work my way out to the end.


Next, we'll grab an oval die and cut it out.  We'll blend Catherine Pooler's Wintergreen ink all around it and then give it a little spritz from a water bottle to create some water droplets.
Then, we'll stamp and color all our images with Copic markers.  I've used the coordinating dies to cut out the stamped images, but you could also use a Scan n' Cut or scissors!
Next, we'll assemble our card.  We'll use liquid glue to adhere our front panel to the card base.  Then, we'll use glue to adhere our oval.  Next, we'll use 3D foam squares to attach our fox and bottle.
The last step is to add a few sequins with the tiniest bit of glue!


That's it for me today, friends!  I hope you love this cute little foxy card!
Xx, Amanda


Thursday, 17 August 2023

Holy Moley! It's Your Birthday!


Hey there, Tea Timers!!  It's Amanda here and today I get to show you how I put together this little birthday card!

First, I created my one-layer background using the 6x6 Scene Builder Stencil.  For the dirt, I used Catherine Pooler's Sand Castle ink.  For the grass, I used Melon Ice.  For the sky, I blended Minted and Shea Butter.

I stamped the fence and flowers from the Ewe Are the Best stamp set.  I stamped the rest from the I Really Dig You stamp set.  I colored all my images with Copic markers and added white highlights with a Gelly Roll pen.

After die cutting my images using the coordinating die sets, I attached them to the front of my card using 3D foam squares.


And THAT is how I created this cute little scene!  Thank you so much for stopping by the Time for Tea Designs blog today!  I hope you find some time to get crafty today!
Xx, Amanda


Thursday, 1 June 2023

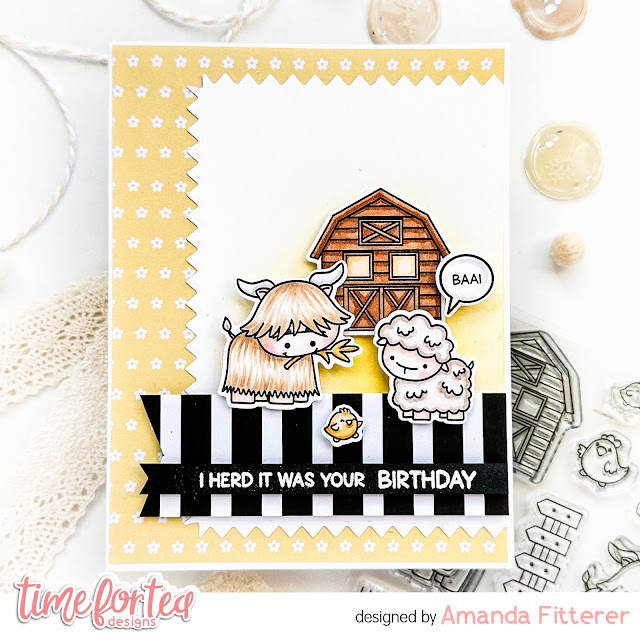
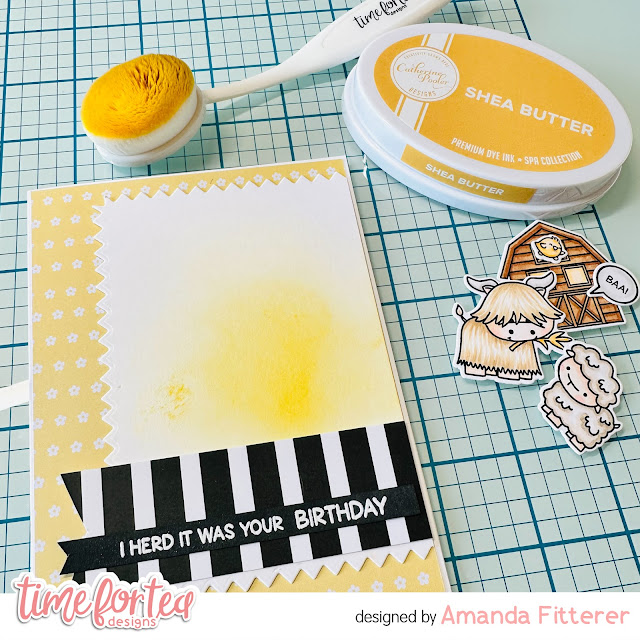
I Herd it Was Your Birthday!


 Hey there, Tea Timers!!  It's Amanda here and I'm excited to share this adorable card with you today!

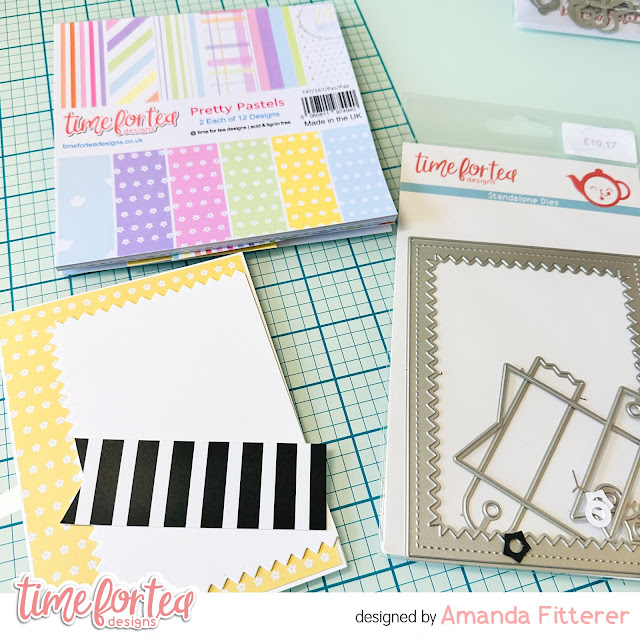
For this sweet card, I'm using a really beautiful piece of paper from the Pretty Pastels Paper Pad.

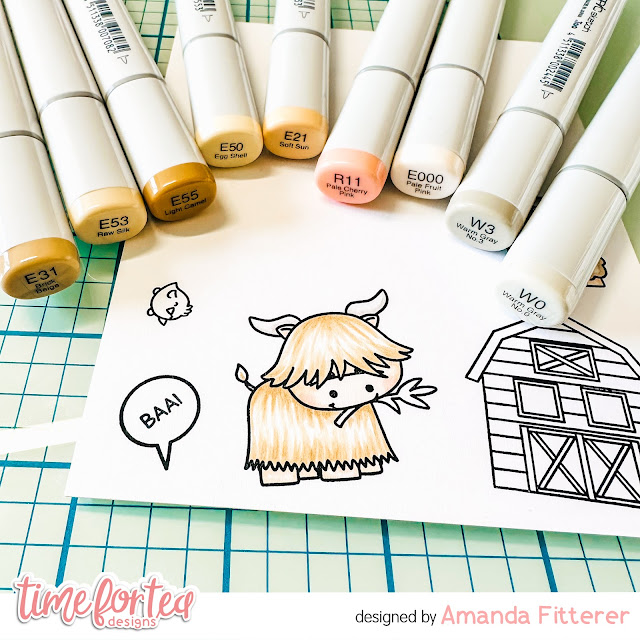
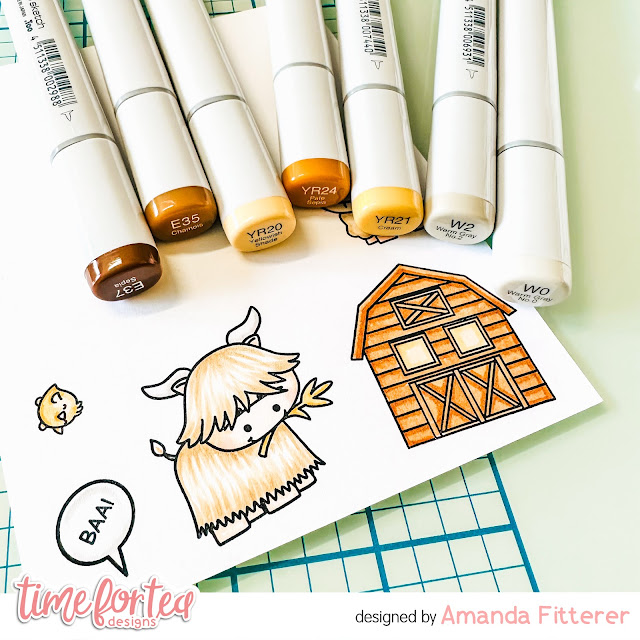
I used the Ewe Are Moovellous stamp set and colored them in with Copic markers.

I've used some Shea Butter ink blend a subtle background.

The last step is to adhere everything together!


And that's it for me today!  Thanks for stopping by the Time for Tea Designs blog today!  xx, Amanda


Other Posts You Might Like