Pages

Showing posts with label We go together. Show all posts

Friday, 25 February 2022

Donut Rainbow


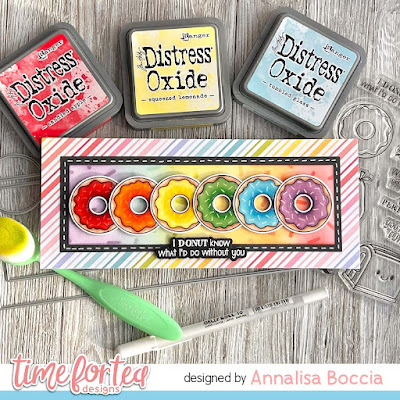
Hello, everyone DT Annalisa here, on this last Friday in February. This cheerful rainbow of donuts was created using the We Go Together stamp set and coordinating dies. The center of the donut hole was created using the Dog Gone Mutts coordinating die set, as the tennis ball die just happens to be the perfect size for this!
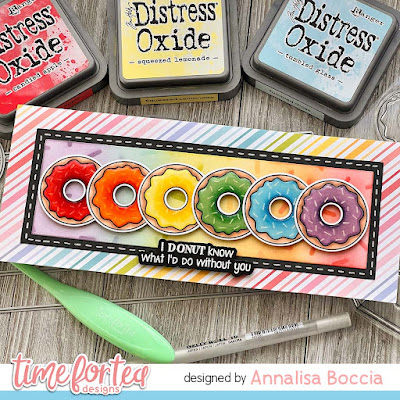

I stamped the donuts and coloured them with my Copics and added some sprinkles using my White Gelly Roll Pen. I die cut the donuts out and added some Glossy Accents and set them aside to dry.

For the panel behind the donuts, I ink blended six Distress Oxides onto the Confetti 6 x6" Stencil. I then removed the stencil and ink blended lightly, using my Beautiful Rainbow Blender Brushes, to create a rainbow background. The Oxides I used were Candied Apple, Spiced Marmalade, Squeezed Lemonade, Twisted Citron, Tumbled Glass and Dusty Concord.
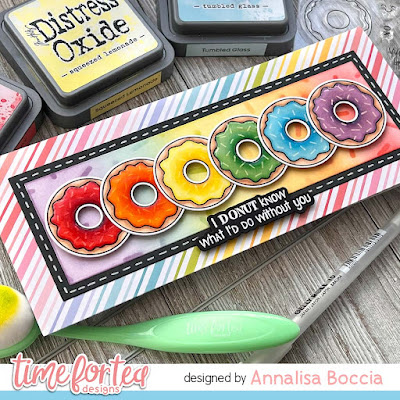

I used the Simple Slimline Nesting Dies to die-cut black cardstock and some patterned paper, to create panels on which to place the donuts panel.

I created a slimline card base (8.5 by 3.5 inches) and used a tape runner to adhere the patterned paper, black cardstock and stencilled panel on top of it. I used a White Gelly Roll pen to add a stitched line to the black cardstock. I then used a combination of foam tape and liquid glue to adhere the donuts to the card.
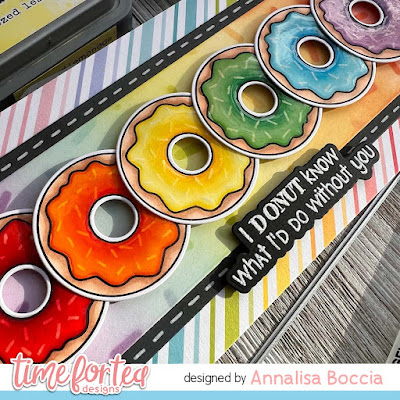

To complete the card, I heat embossed the "I donut know what I'd do without you" sentiment using VersaMark and white embossing powder and an embossing heat gun.

Thank you so much for visiting my blog, you can use my discount code T4TANNALISA10 when you visit the Time For Tea Designs shop to get 10% off your order.

Friday, 11 February 2022

We Go Together


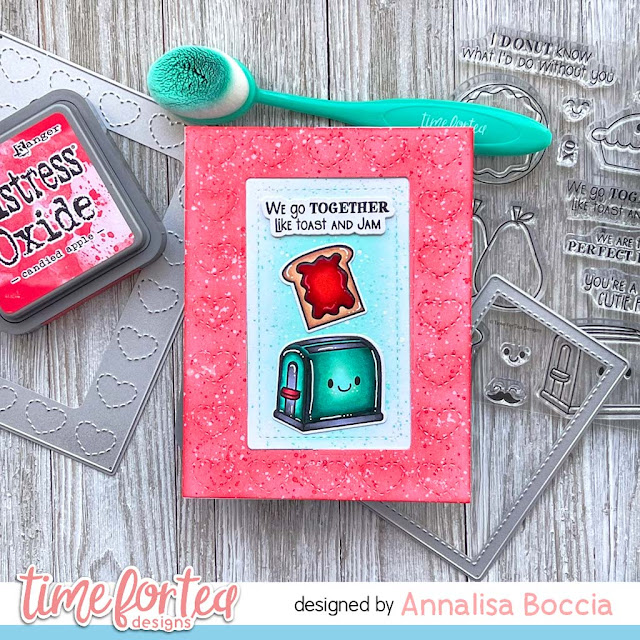
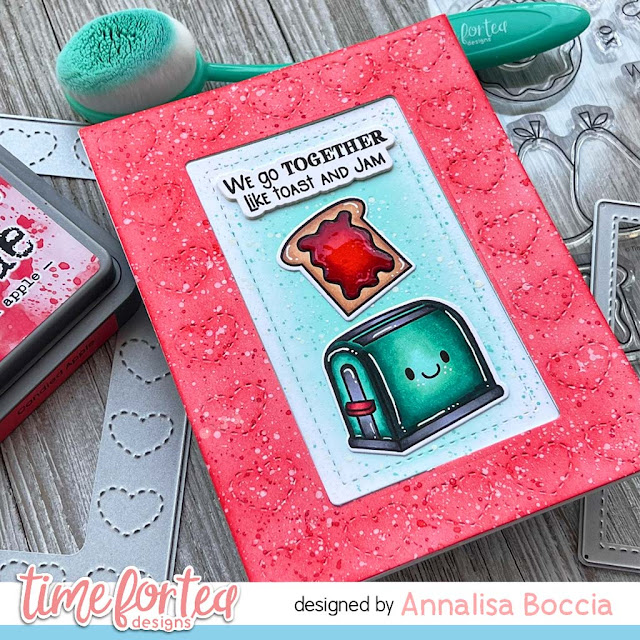
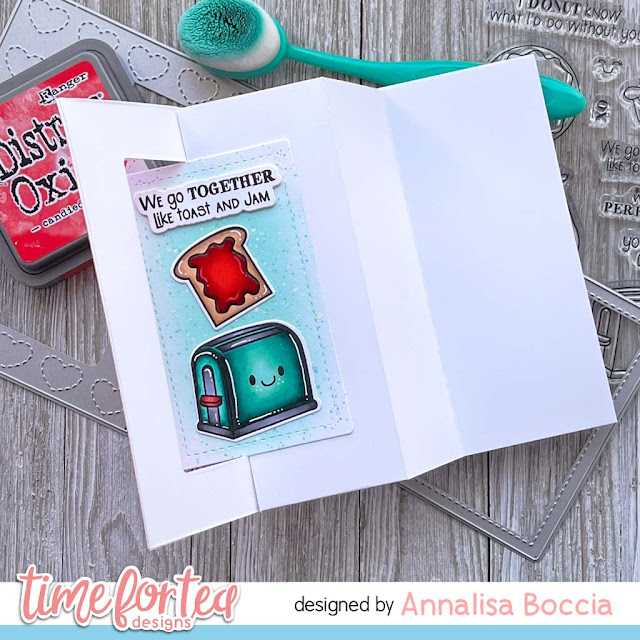
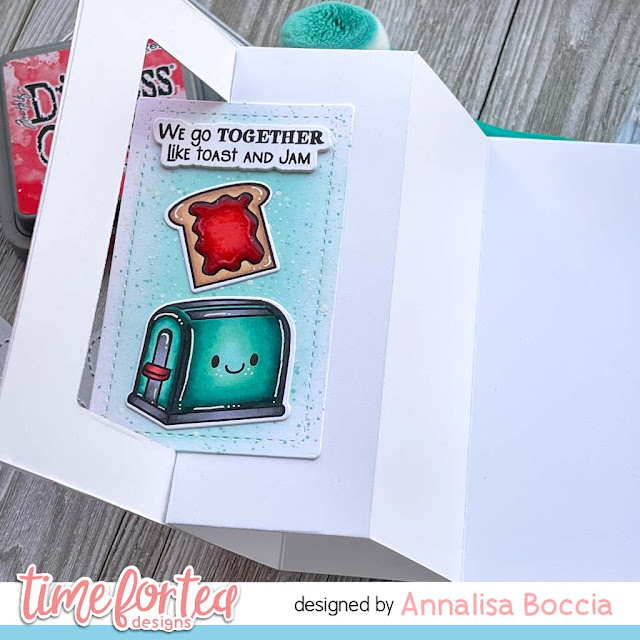
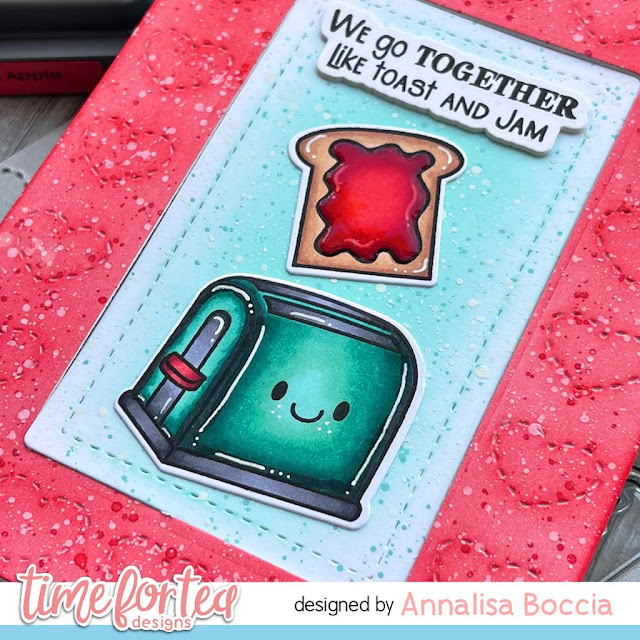
Hello, and happy Friday, DT Annalisa here today. I am sharing a fun interactive card featuring the We Go Together Clear Stamp Set and A2 Stitched Hearts Cover Dies from Time For Tea Designs. These two work so well together for a sweet Valentine's Day card.


I got the idea for this card directly from the one and only Jennifer McGuire and her Window Pop-Out Cards video.  This video came out right around the time that I got my T4T design team package, and I knew I just had to give it a try! I won't explain the 'how-to' for the interactive element as Jennifer is a pro, so it is best to learn directly from her.


For the hearts panel, I die cut some Distress White Heavy cardstock by Ranger and used my Beautiful Blender Brush to apply Candied Apple Distress Oxide. I also added white and Candied Apple splatter for some interest. I then die cut the stitched inside panel, applied some Salvaged Patina using a blender brush, and then added some teal and white splatter.


I stamped and coloured the toast and toaster with my Copics and then die-cut them, along with the sentiment, with the coordinating dies. I used the sentiment die to cut out several more pieces from white paper and glued them back to back to add some dimension.

I used liquid glue to adhere the sentiment and the toast and toaster to the stitched teal panel.


I assembled the card following Jennifer's directions so please check her video out if you are interested in doing something like this.

Thank you so much for reading my blog post, you can use my discount code T4TANNALISA10 when you visit the Time For Tea Designs shop to get 10% off your order.


Sunday, 6 February 2022

We go together like...

 Good afternoon Teatimers,

Today I'm sharing another valentines/love themed card using this adorable pair from the We Go Together stamp and die set.

I love this cute little toaster and their sweet friend, and the punny sentiments from the set to go with images are just too cute.


To start as always I coloured my images using my Spectrum Noir Markers (colours listed below in order of lightest to darkest)

Toaster -TN1, FS1, FS5, FS7, FS9

Bread - EB1,  EB2, GB8 

Jam - CR7,  DR5,  DR6 


For the background I die cut the Scattered Hearts Cover Plate from white card and glued this onto another piece of white card. I matted the panel onto a slightly larger piece of black card to create a border. 

I added my images towards the bottom RH section of the panel, before adding the stamped and embossed sentiment. I die cut the Scattered Hearts Cover Plate again from red card and inlaid few of hearts back into the panel around the image.

I cut a couple of banners from patterned paper to add into the top RH corner before adhering the whole panel onto a 5x7 card blank trimed down to size. To finish off I glued some iridescent sequins around the image.

Thank you for joining me here on the blog today, don't forget to use my code T4TLYNDSEY10 for 10% off your order in store.

Enjoy the rest of your weekend 

Lyndsey x


Saturday, 29 January 2022

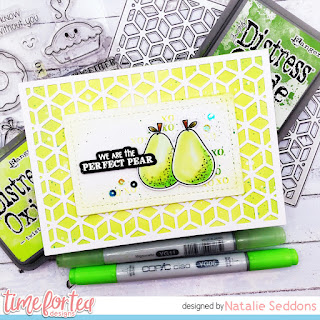
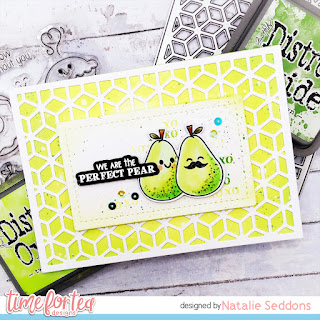
We are the Perfect Pear!


Happy Saturday Teatimer's hope your all well, how fast has this week rolled around! I have a fun Valentines/Anniversary card for you today. I decided to go for non traditional colours as I loved the citrus colours on the pears. I also did two versions to show you how it could be more traditional and then more cute with the addition of sweet faces and a bit of blush.
I just love how it gives a while different look to your card!


It was a really simple and quick card to create I started by cutting out the Geometric Snowflakes Cover Die and then using that as a template to cut out a back panel of the same size. I used white 360gsm card and coloured it up with Twisted Citron and adding some texture by splattering some water on and then dabbing it off. Then finishing it off with some splatters of mowed lawn distress oxide ink. 
Setting this aside to dry I worked on the topper, the panel is cut out using the A2 Stitched Hearts Cover Dies. Again I splattered the panel with Twisted Citron and Mowed Lawn to add some interest. 
The pears are from the We Go Together stamp set I stamped them out onto copic paper and used a range of green copics adding some dimension by adding the darker colours towards the bottom. Then adding some dots to give them a textured look. 
The sentiment is white heat embossed on black card stock and then die cut using the coordinating dies. I added the sentiment and the pears before sticking and realised it looked a bit empty so added some xoxo's using the xo stamp in the same green inks. Then adhered them using some foam tape and adhered everything together and that was my card finished up. I hope you like it and if you want to purchase any of the items or anything else in the Time for Tea shop you can get 10% off using code T4TNATALIE10 . Have a great weekend and I will see you all next week. 


Sunday, 23 January 2022

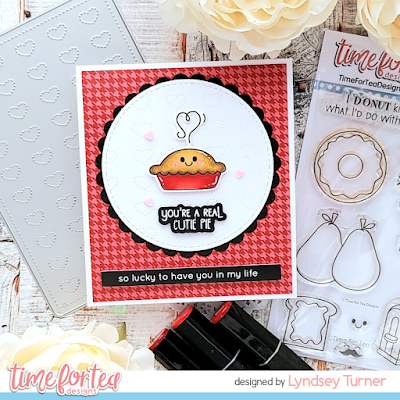
Cutie Pie

 Good afternoon Teatimers,

I hope you've enjoyed the new release? Jo certainly knocks it out of the park with each release doesn't she! This release is just perfect for Valentines Day or Anniversarys or even just show some love ❤ 

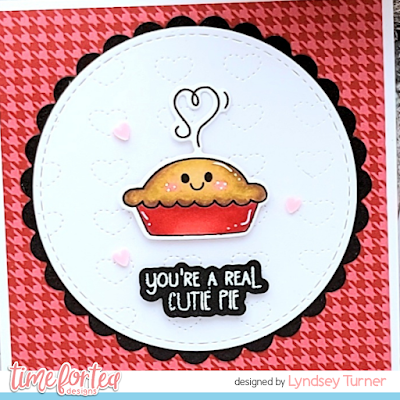
Today I'm sharing this sweet little cutie pie card with you. This adorable little image from the We go together stamp and die set is just the cutest!


To start as always I stamped and coloured my images using my Spectrum Noir markers (colours listed below in order of lightest to darkest)

Pie - EB2, GB8,  GB11, GB10 

Dish - CR7,  DR5,  DR6 


To card was simple to make I trimed a 6x6 card blank to 12cm wide and added a piece of paper from the Joyful Winter 6x6 Paper Pad to front making sure to trimed down to leave a small border. 

I die cut the Dotty Hearts Cover Plate from white card before cutting out using a Circle Nesting Die. This was matted onto to a piece of black card cut out using a Scalloped Circle Nesting Die. I stamped the sentiment on black card and embossed in white ink before using the matching die to cut out.

To finish I added a sentiment from the Brighter Days Sentiments and a few clay hearts around the image.

Thanks for joining me here on the blog today,  don't forget to use my code T4TLYNDSEY10 for 10% off your order in store. 

Enjoy the rest of your weekend 

Lyndsey x


Saturday, 22 January 2022

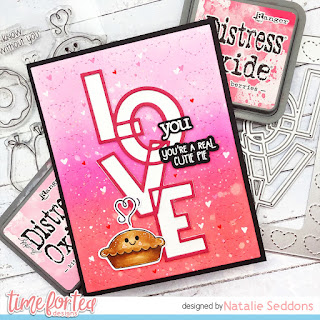
You’re a real cutie pie!


 Happy Saturday Teatimer’s are you loving the new release? It’s another super cute one isn’t it! You may have peeked this card yesterday on the blog/insta hop so I thought I’d share with you how I made it. 
All the products are from the new release I started by cutting out the A2 Hearts Stitched Cover Dies and did an ombré effect on it with Candied Apple, Picked Raspberry, Kitsch Flamingo and Spun Sugar Distress Oxide inks. Finishing it by spritzing water and then added splatters with the same colours and some gold watercolours. Setting this aside to dry I worked on the rest of the card. 
I wanted some depth with the Love Intertwined Die so cut it out 3 times with white 360 gsm card stock and layered them on top of each other. Then for the last layer I used some hot pink paper. I adhered this to the card panel I set aside so I could then layer in some glittery white paper. 
The sentiment and little cutie pie are from the new We Go Together Stamp Set. It’s filled with adorable images and I love how it has extra little faces you can add to the images that don’t have them so you can customise them yourself. Again with the coordinating dies they cut out the sentiments which is something I love about Time for Tea. It’s gives you a different option than the usual sentiment strip or just stamping straight onto the card. Once my pie was coloured and the sentiment heat embossed (the you I masked and stamped from the yourself sentiment in the Bold Sentiments Stamp Set) and cut out it adhered them to the card adding some depth with foam tape. I adhered my card to a black card base and that was it finished up. I hope you like it and if you would like to purchase any of the items in the shop you can get 10% off your order using code T4TNATALIE10 . Have a great weekend and happy crafting! 

Other Posts You Might Like