This is DT Amy here :) I am just moved to sunny Whitby this weekend. It has been hectic and tiring but it is done. I am so lucky that there are so many people who helped me make it possible. So my card today is a thanks card. I am so thankful for all of you for your kind words of encouragement as I haven't been able to be around here as much as I wanted to be. You all inspire me so much with all your makes.
For this card I used the super cute Woodland Critters stamp set and the beautiful Autumn Leaves stencil. First I inked through it with some distress ink and the Beautiful Blender Brushes. Then I also used the stencil to emboss the pattern on the kraft card circle. I cut the circle using the Circles Of Love nesting dies. To finish it off I used the Thanks sentiment die and as normal I couldn't resist adding in an action wobble for the foxes little head :D
This stamp set is back in stock in the Time For Tea store and you can get 10% off using my code T4TAMY10
Hello everyone and happy Sunday. DT Annalisa here sharing an extra card this week featuring one new stamp set and some older but still awesome T4T goodies.
I made this card for a friend who unfortunately had to say goodbye to her dog Maverick. This is always such a difficult thing to do as our furry friends are a huge part of our lives.
I don't typically make CAS or clean and simple cards but was inspired by Jo's Facebook Live this week to share this one. To start I used my Large Square Masking stencil to lie down some colour with Distress Oxides (Chipped Sapphire, Faded Jeans and Broken China) onto some 80 lb Neenah Desert Storm card stock. I used my white Gelly Roll Pen to add some white dots as well as lines around the outside of the square area.
I die cut the Rainbow Mini Shaker Die from some white card stock and coloured in the rainbow with my copics. I stuck these down using liquid glue to the card base. Next, I stamped, coloured and die cut the cute dog from the Happy New Year Critters Clear Stamp Set from the November 2020 release. I stuck the dog on the card on top of the rainbow so that he was hopping over the rainbow which I thought was very fitting for this sympathy card.
For all of you who have had to say goodbye to a loved furry friend this year, I send you my sympathies. It really is such a painful time and my thoughts are with you.
I have a 10% discount code for the T4T store which can be used If you are interested in purchasing any of the T4T products used in my project, use T4TANNALISA10 at checkout for a 10% discount which can be used on anything, anytime and has no time limit.
Hi everyone Natalie here with another cute Christmas card to share with you all. I just love the new big bold Let it Snow Sentiment Die it's great for using as the main focus piece of your card. The new Skating by Penguins work so well with it and add a super fun touch.
I started out by cutting out the Falalala Scalloped Slimline Die twice then popped out one of the insides of the frames to create the snowy sky. I wanted it quite bright so mainly used Faded Jeans and a light touch of Chipped Sapphire at the edges. I then spritzed it with some water and blotted it to add some snow texture. Setting this aside to dry I cut out a snow bank out of the other inside we cut out using the curved die from the Die-namic Display Card Die which I left plain white. The Let it Snow sentiment I cut out of white cardstock and then red glitter card and layered them together to give it some more depth.
The penguins, snowballs and robin are all coloured with Copic markers once coloured in I cut them out with the coordinating die set and then popped my card together.
The card isn't a regular card base I used some red tape to stick the frame piece together with the inside. Then used that to measure out two pieces of white card the same size. One of them I stuck straight to the front panel. The other I scored a line across the top about 1cm down then added some red tape above the score line and attached it to the front panel and that was my card finished.
As always you can get 10% off in the shop using code T4TNATALIE10 have a lovely weekend and I will see you next week!
Jo here to let you know that the edited version of our latest FB Live is now available on YouTube.
Please check out the video link below to see how I made this CAS cards.
If you've followed me for a while you'll know that CAS is REALLY hard for me. I always want to add more :) This project was so much of a challenge for me, but you know what?? I loved it! I will definitely be doing more.
Because the papers are all from our Winter Wonderland Paper Pad, they all coordinate. So even though the images are different they still work together as a set.
Our cute cat is from the Catmas Crackers Stamp set. The sentiment is from the Skating By Penguins Stamp Set.
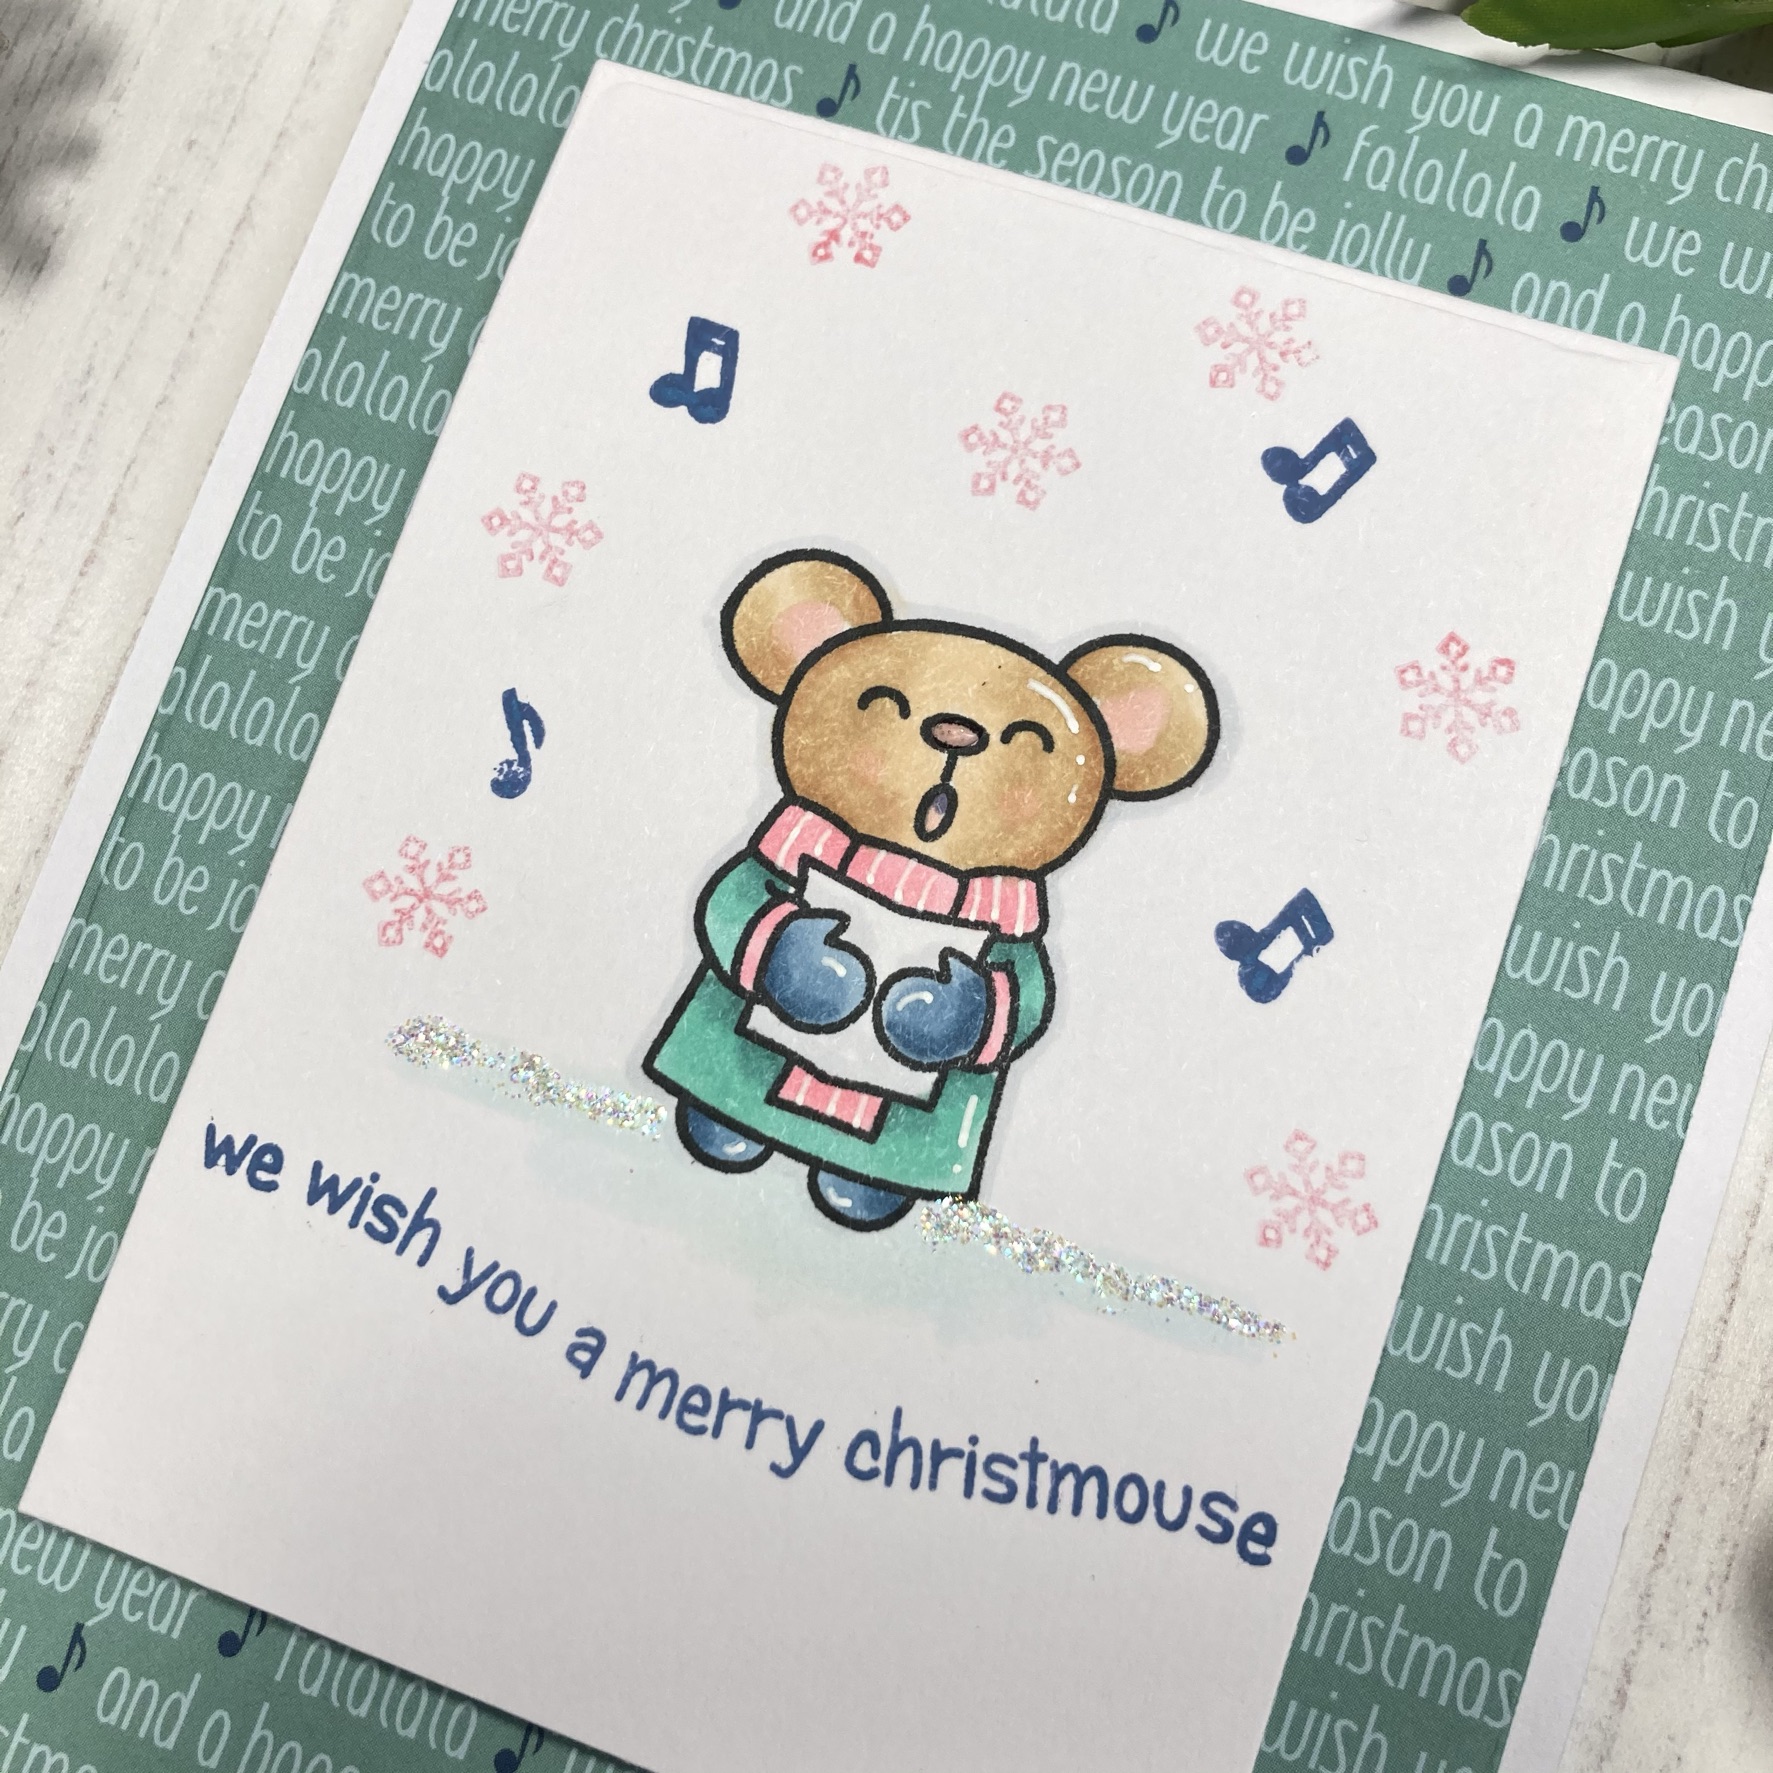
Each layer was cut with our A6 Layering Dies. This adorable mouse is from our Carolling Critters Stamp set.
Our happy Penguin is from the Skating By Penguins Stamp set. This character is probably the simplest to colour if you wanted to batch make with just one image.
I added some second generation stamping of snowflakes in each of my backgrounds.
Some Stardust Stickles added a final touch of sparkle to the snow.
These cards are an ideal formula for any quick card making - not just for Christmas. You can just chose one image and stamp it multiple times and recreate the same card several times, rather than different images like I did. That will make the process even faster. Perfect for this time of year when we all have so many cards to make.
Thank you for checking out our tutorial and video.
Don't forget to join us for our FB Live every Thursday at 8pm BST.
For the background, I used the Stripes Cover Plate Die on some red and white card stock which cut I paper pieced together to form a flat background. I placed these on my base of white card stock that I cut with the largest die in the Slimline Scalloped Trio Circle Nesting Dies. I then die cut some snow hills from a Lawn Fawn die in my stash and adhered it down to complete the base.
Once the background was ready I stamped and coloured all of my critters and other elements. The line of lights is from the "Season's Tweetings" stamp set which I grabbed from Simon Says Stamp during "Stamptember" and is no longer available but you could certainly create this card without it.
I cut out all the elements and adhered them to the card, some with glue, others with foam tape. I added some lines with my white gel pen and added some Stickles for some shine. I finished the card with the "all I want for Christmas is SNOW" sentiment from the Sentiment Cards - Winter Wonderland | Black. These sentiment sets are awesome for cardmaking. I always struggle with white embossed sentiments but love the look of them on cards so these strips make it so easy!
Let the record show that I do not want SNOW for Christmas. I remember one of my favourite Christmas memories was when I hand washed my car on Christmas day! Haven't able to do that in a LONG time (since I live in Canada!) but would welcome it again.
Don't forget I have a 10% discount code for the T4T store which can be used on anything, anytime and has no time limit - T4TANNALISA10
Hi Vic here today, I am in full swing of making my Christmas cards right now and I have a fun card to share with you today.
For my card today I used the Die-namic Display Card Dies and I die cut this using some white card. I then ink blended some blue distress ink Tumbled Glass and Faded Jeans onto the card using a Beautiful Blender Brush. Once my colour was built up I then added some white paint and water to make some splatters of snow.
While this was drying I stamped the images I wanted to use on my card. I used the Carolling Critters stamps and dies and also the Christmas Surprise Stamp and Die Set and the Skating By Penguin Stamp Set. I coloured the images in with my copic markers before running them through my die cutting machine. Next I used the Starry Sky Stencil and some purple ink and I added this over my ink blended panel. I then put the card together using some double sided tape and PVA glue.
I then adhered all my images to my card using foam tape. I wanted to add something more so I used the Slimline Falalala Die and die cut some snowflakes from this die set. I really love how detailed the snowflakes are and I adhered them onto some acetate before adhering to my card. I then heat embossed the sentiment Let It Snow using some white embossing powder and trimmed the sentiment down. I adhered this onto my card again using some more acetate.
I loved how this card turned out and it was so fun to use different stamp sets.
T4TVICKI10 at the checkout. Jo will also be live on our Facebook page tonight where you can catch her at 8pm. Its a really lovely way to meet fellow crafters and craft along with Jo if you like, or you can just relax.
Thanks so much for stopping by today I hope you have a great day!
It's DT Shabneez here sharing a wintry creation. Did you manage to catch Jo on Create & Craft yesterday? There are still some bargains on there if you missed it. If you were watching you may have seen my card on display. It's made using the Carolling Critters Stamp set.
The images were stamped and coloured wtth my Chameleon pens and then I made a background using distress oxides with my blender brush. I added water to give the illusion of snow. For the bottom of the image I cut out some snow banks using the Landscape Edge Dies.
I wanted to put the entire scene into a snow globe so I die cut a circle frame using the Circle of Love Nesting dies in black card. I cut a sentiment from the very useful Sentiment cards and I stuck at the bottom.
As ever you can grab 10% off anything in store using my code T4TSHABNEEZ10.