Jo here to let you know that the edited version of our latest FB Live is now available on YouTube.
Please check out the video link below to see how I made this CAS cards.
If you've followed me for a while you'll know that CAS is REALLY hard for me. I always want to add more :) This project was so much of a challenge for me, but you know what?? I loved it! I will definitely be doing more.
Because the papers are all from our Winter Wonderland Paper Pad, they all coordinate. So even though the images are different they still work together as a set.
Our cute cat is from the Catmas Crackers Stamp set. The sentiment is from the Skating By Penguins Stamp Set.
Each layer was cut with our A6 Layering Dies. This adorable mouse is from our Carolling Critters Stamp set.
Our happy Penguin is from the Skating By Penguins Stamp set. This character is probably the simplest to colour if you wanted to batch make with just one image.
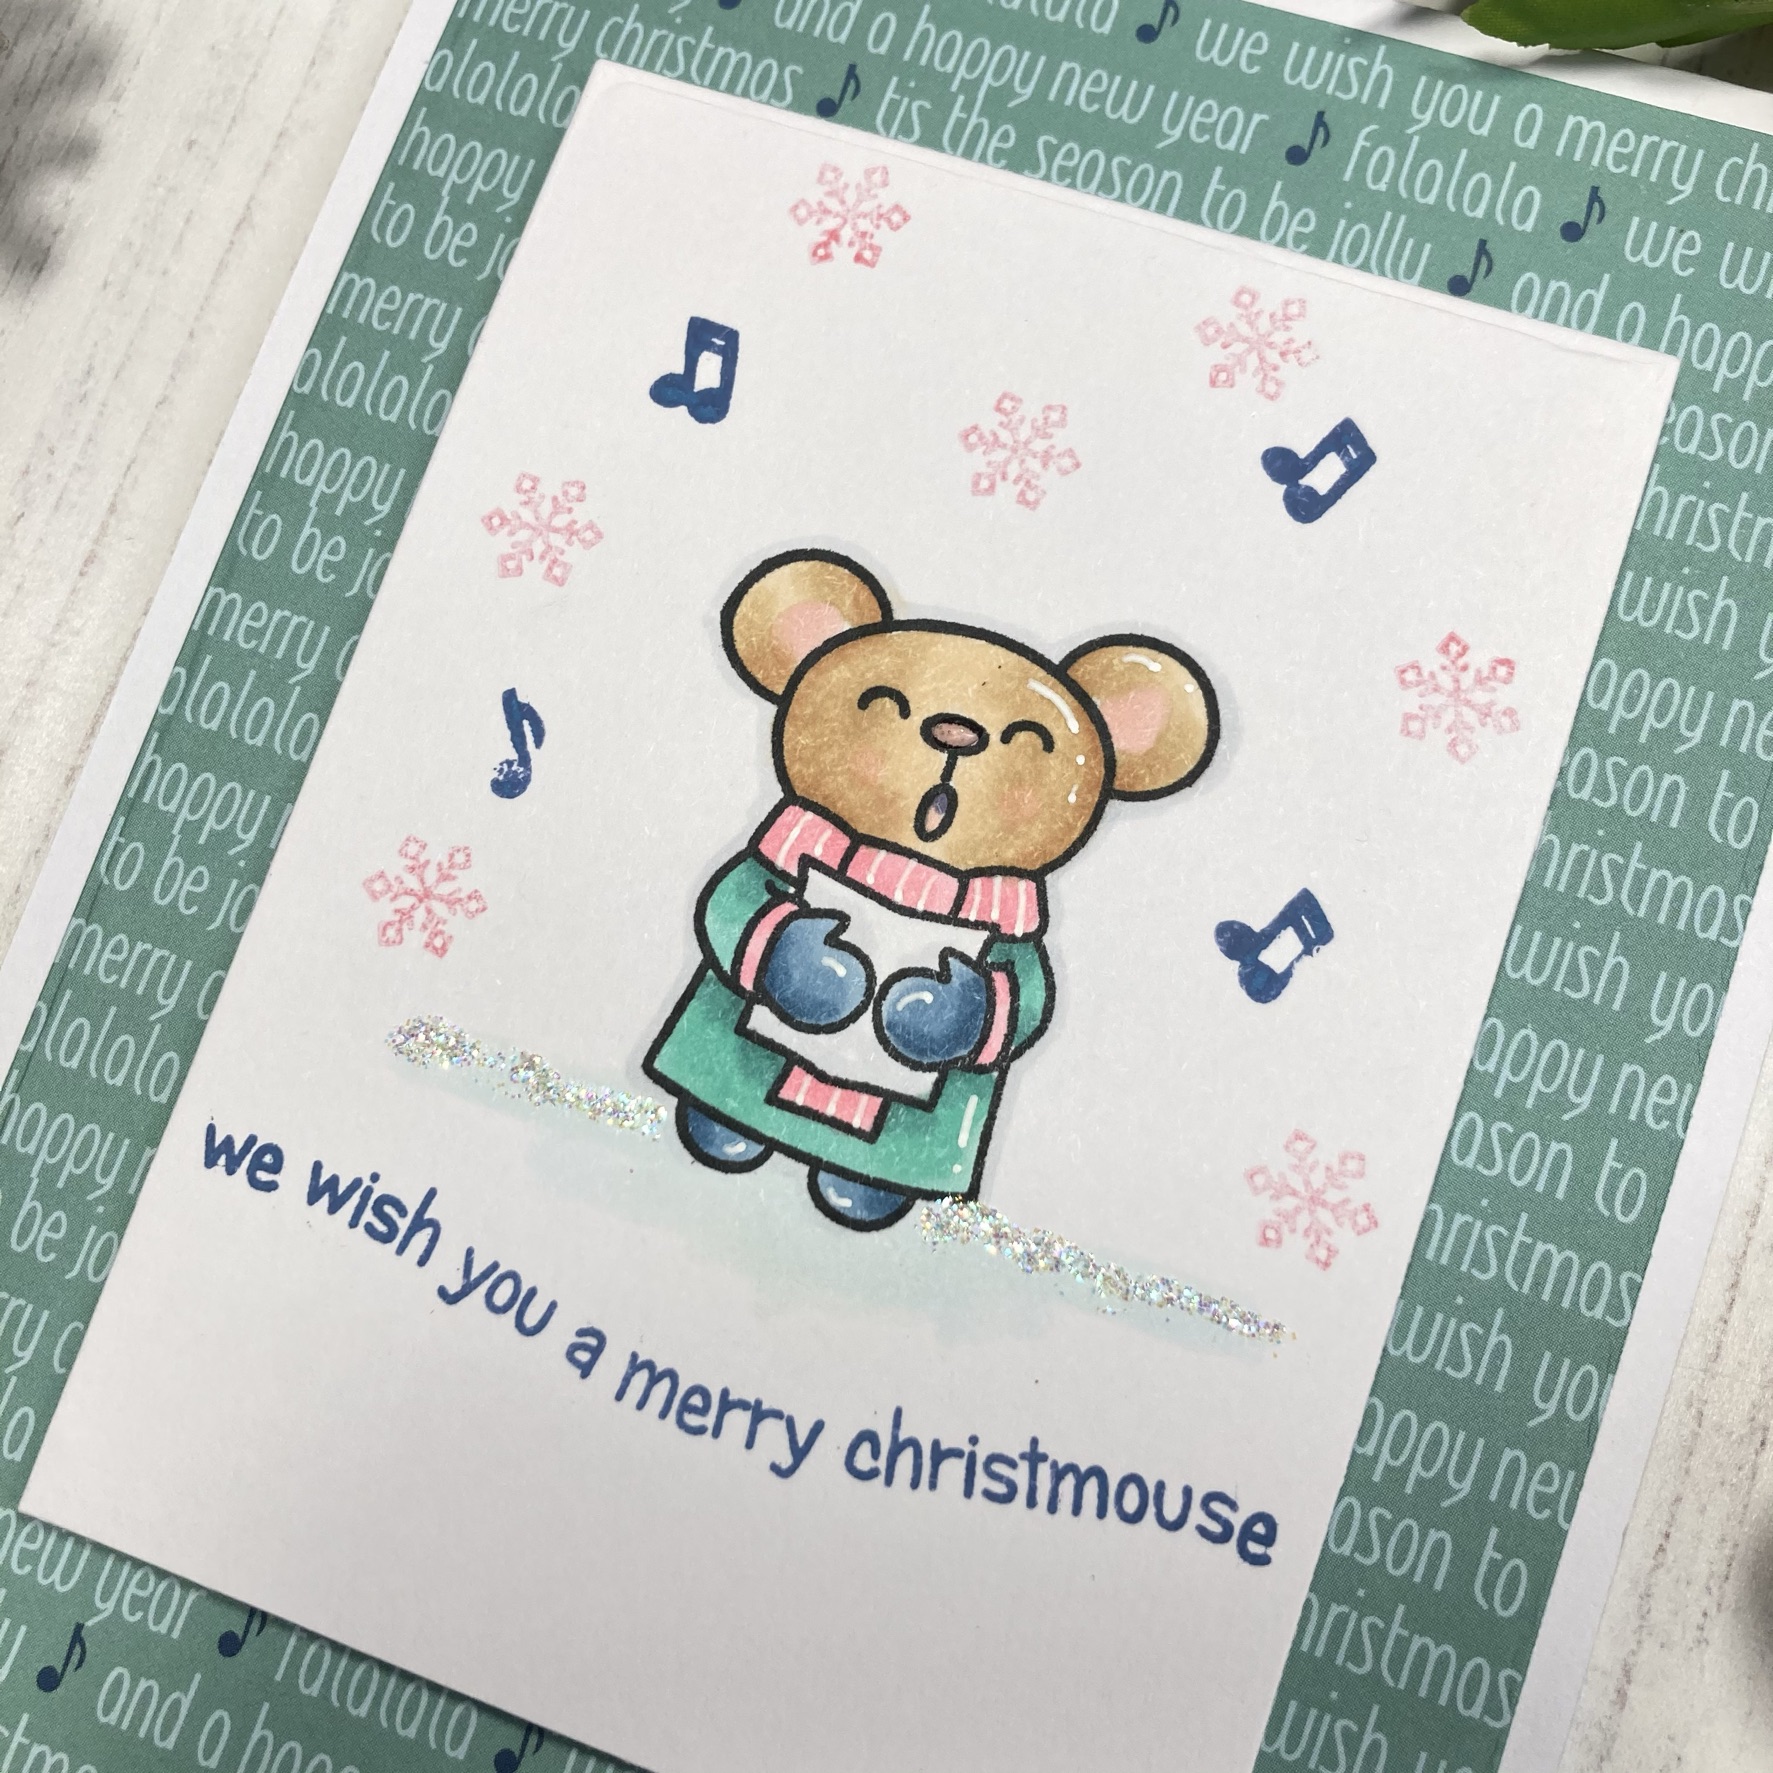
I added some second generation stamping of snowflakes in each of my backgrounds.
Some Stardust Stickles added a final touch of sparkle to the snow.
These cards are an ideal formula for any quick card making - not just for Christmas. You can just chose one image and stamp it multiple times and recreate the same card several times, rather than different images like I did. That will make the process even faster. Perfect for this time of year when we all have so many cards to make.
Thank you for checking out our tutorial and video.
Don't forget to join us for our FB Live every Thursday at 8pm BST.
I hope you are all well and staying safe. I am
having a mad couple of weeks trying to get moved but wanted to pop in
here and share my card using the Catmas Crackers stamp set and the great Zig Zag Frame and Tag die set They were just calling out for me to use them together :)
I also used one of the papers from the Winter Wonderland paper pad.
If you haven't seen these papers yet they are well worth a look as they
are beautiful and can be used for more than just Christmas makes.
To finish it off I used one of the sentiments from the sentiment cards which I inked around the edges of and added some glitter to :)
There is a great giveaway at the moment on the Kit and Clowder face book page.
Where you can be in with a chance to win this stamp and die set as well
as other yummy Time for Tea goodies so why not check it out. Also there
is the black Friday sale still on at the Time for Tea Designs shop
until midnight tonight (BST 30th of Nov) So there is still time to grab
yourself a bargain! On top of that you can use my code (T4TAMY10) to
get 10% off your order at the Time for Tea Designs Shop so even if you
have missed the black Friday deals you can still get some money off :)
It's DT Shabneez here with a tutorial to make a very quick Christmas cracker using the Mini Gift Box Die Set. I think you'll agree it looks so pretty and you can decorate it in so many ways.
To begin, die cut the template 4 times from card of your choice and cut off the bottom tabs from two sets of templates as shown. Make sure you burnish all the score lines so it makes it easier to fold.
Adhere the templates together using the large tabs. I used strong PVA glue but you can use red liner tape if you prefer.
Stick both parts together using the smaller tabs on the sides.
Finally add glue to the remaining tabs to form the cracker.
Here you have your cracker ready to decorate!
I have used a sheet of paper from the Winter Wonderland Paper Pad to cover the centre panels so that the join isn't shown. I then stamped and die cut images using the Catmas Crackers Stamp & Die Set and coloured in with my Chameleon pens. I stuck them on the top. All that remains is to fill your cracker then add ribbon to close.
The other positive point of the Catmas Crackers Stamp set is that it even has a joke insert for your cracker! What will you fill yours with? Tag me on social media so I can see your creations!
As ever you can get 10% off anything in store using my code T4TSHABNEEZ10.
Happy Friday everyone!! I hope you are all safe and well!
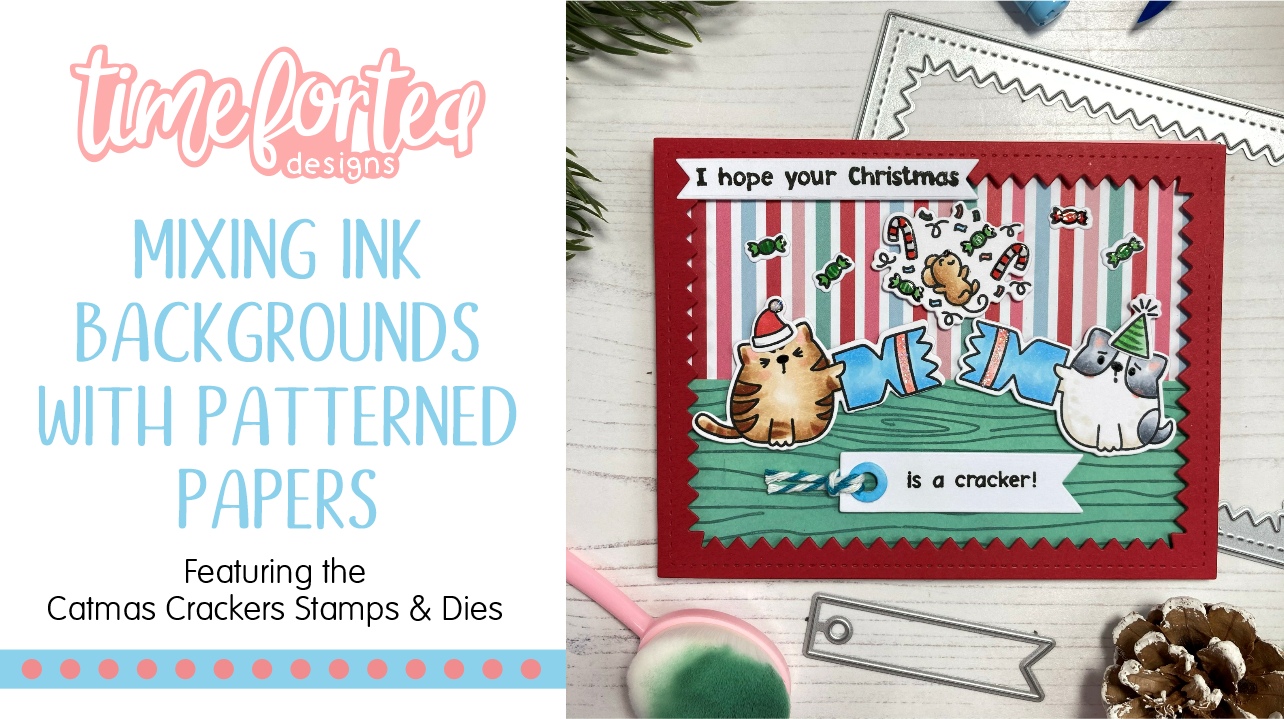
I am super excited to share this new card with you that I made during our last FB Live.
The edited version of this tutorial is now available on YouTube. Check out the link below to see how we made this card without all the waffling I do while I'm trying to make a decision :)
This card mixes an ink blended and stamped pattern with patterned papers.
In the video I am attempting to match my ink blending to the patterned papers. Some bits were successful like my flooring which was ink blended and then stamped with the awesome A5 Woodgrain stamp.
You will see in the video that I attempted to match the frame with the blue in my patterned paper using Distress Oxides but in the end we decided not to use that element. Instead we cut the frame from Red cardstock and that really brought the scene together.
In the Live you would've seen just how I deliberated over each colour and combination of papers before settling on this. I cut this down for the YouTube video in the interests of time, however, I thought it was great to show how our crafting thought process works in real time and when you don't really have a plan, which I didn't. :)
The super cute cats were already coloured with my Copic Markers. This also added a further challenge as I wanted to make sure my whole project looked coordinated and like it had been planned this way.
I love this little mouse popping out of the cracker. I added some Glossy Accents and Stickles to the final images to add that special finishing touch.
On the inside of our card, which incidentally, is one our new A2 card bases, I added the joke sentiment strip and stamped our little mouse again using Distress Oxide Ink in Candied Apple.
Before I go today I did just want to let you all know that we have the brand new colour of Distress Oxide Ink & Spray in the shop. Its called Rustic Wilderness and its perfect for your winter woodland projects. I used this to create the Woodgrain pattern for my floor in the card today.
I should also let you know that you can get 10% off your order by using my code T4TJO10.
Thank you so much for joining me today.
Enjoy the rest of your Friday.
XOXO
You will find a list of the products I used to make my project below.
I had a lot of fun making this card into a shaker so it looks like the cracker has exploded with sequins. I used a sheet from the new paper pad as a background and cut out the zig zag frame from glitter card for that added sparkle. After all, you can't have too much sparkle on a Christmas card can you?
My images were coloured in with my Chameleon pens and then die cut with the co-ordinating dies and stuck on top of the acetate.
Don't forget you can get 10% off anything in store using my code T4TSHABNEEZ10.