Pages

Showing posts with label Christmas Cards. Show all posts

Monday, 18 October 2021

Hello, Tea Timers!

DT Natalia here. I hope your Monday is going well. It is rainy where we are, perfect for some crafting and coffee after work!

I feel like I am sooo late for Christmas cards this year, I believe this is my second one only! I should certainly up my game as there are only 68 days left till Christmas! Where is this year gone? 

I used one of the older sets for this card, but I could not resist these cute guys, they make such an adorable scene, don't they? I love the adorable slippers on that penguin! I coloured them with my Ohuhu alcohol markers, which as you know I have been trying to get more familiar with, and I must say, I love them! The brush tip really makes a difference. 

I also used the Line Em Up stencil which I think is awesome for making backgrounds, and in this case for creating a wallpaper for this cosy room! 


I am also SOOO excited to be up in Harrogate this weekend for the Stamperama craft show. Jo and Ant as well as some of the DT members are going and I CANNOT wait to meet them all! (and getting lots of crafty goodies, yay!). Is any of you going?

You can use the code T4TNEILA10 for a 10% off the Time for Tea shop

I hope you like this scene, and see you next Monday! 

Sending hugs, 

Natalia


Thursday, 24 December 2020

Christmas Bunnies - Easy Heat Embossed Matching Cards & Tags


Hello everyone & Happy Christmas Eve!!!

Jo here with a last, last, last minute set of cards & tags for you.
I know its super close but I am so not ready to stop making Christmas cards. I've enjoyed making them so much this year, even more so because of these fabulous stamp & die sets.


These cards were so easy the make as they just involved heat embossing onto Kraft card. The a bit of ink blending, our Cosy Winter bunnies & the fabulous Sentiment Strips which are so convenient for last minute projects like this and you're good to go.


I cut my Kraft cardstock to 5"x 5" as I am using a 6" x 6" card base. I used almost all the open line stamps from the Winter Wishes Wreath Stamp Set to stamp my images randomly in Embossing Ink.
You do have to work quickly here as the Kraft card is very absorbent & the ink does dry quickly.


Once stamped I covered with WOW Bright White Embossing Powder & heat set.
You know I love a good splatter effect & this project was no exception. I splattered white Gouache paint all over the background. This effect helps cover any issues with your heat embossing too as it creates a snowy layer. 


I die cut an Oval from our Oval Scalloped Nesting Die set and then ink blended some Evergreen Bough & Pine Needles Distress Oxide Ink around the edges. I used these same shades to blend ink around the edges of my embossed Kraft panel.
I also splattered the background of my oval with the watered down Distress Oxide Inks.

I stamped, coloured and die cut the sweet bunny couple and added them to the centre of my oval.


I had a scalloped heart left over from another project which worked perfectly on the smaller version of the card. This is a 5" x 5" card base so the Kraft Panel is 4"x4".
I used the small bunny for the image & placed on the centre of the heart.


To finish off I used the Sentiment Strips which I had previously foiled with Green Foil in my Minc Hot Foiling Machine. I love these strips and they look extra awesome in foil!!
Some silver sequins add just the right amount of bling.

I loved this technique so much I thought it would be perfect for some simple gift tags too! I think they look so elegant and wintery.


All I needed here was to cut my tag using the largest Tag in the Zig Zag Frame & Tag Die Set. I used the same stamping, embossing and ink blending as I did with the cards. I then added my sentiment with some foam tape.


I thought is was really fun to use the sentiment that was typed down the page for the Tag as it was the perfect size. I also added some Nuvo Glitter Drops rather than sequins as I felt that a. they looked like snow, but b. they also are not about to drop off when being transported with the Gift.


I love how this set turned out. It really gives me winter, Christmassy feels and was pretty simple to reproduce. 

I hope you enjoyed the cards today. An alternative to this would be to heat emboss onto white card stock and then ink blend rainbow colours over the top to give a totally different feel. I think that would look so much fun. Let me know what you think in the comments. How would you adapt this design for different occasions?

The details of the products I used are below.

Happy Christmas & stay safe
xoxo

Saturday, 5 December 2020

Quick & Easy Christmas Cards for Batch Making

 Hi everyone!


Jo here to let you know that the edited version of our latest FB Live is now available on YouTube.


Please check out the video link below to see how I made this CAS cards.


If you've followed me for a while you'll know that CAS is REALLY hard for me. I always want to add more :) This project was so much of a challenge for me, but you know what?? I loved it! I will definitely be doing more. 


Because the papers are all from our Winter Wonderland Paper Pad, they all coordinate. So even though the images are different they still work together as a set.


Our cute cat is from the Catmas Crackers Stamp set. The sentiment is from the Skating By Penguins Stamp Set.


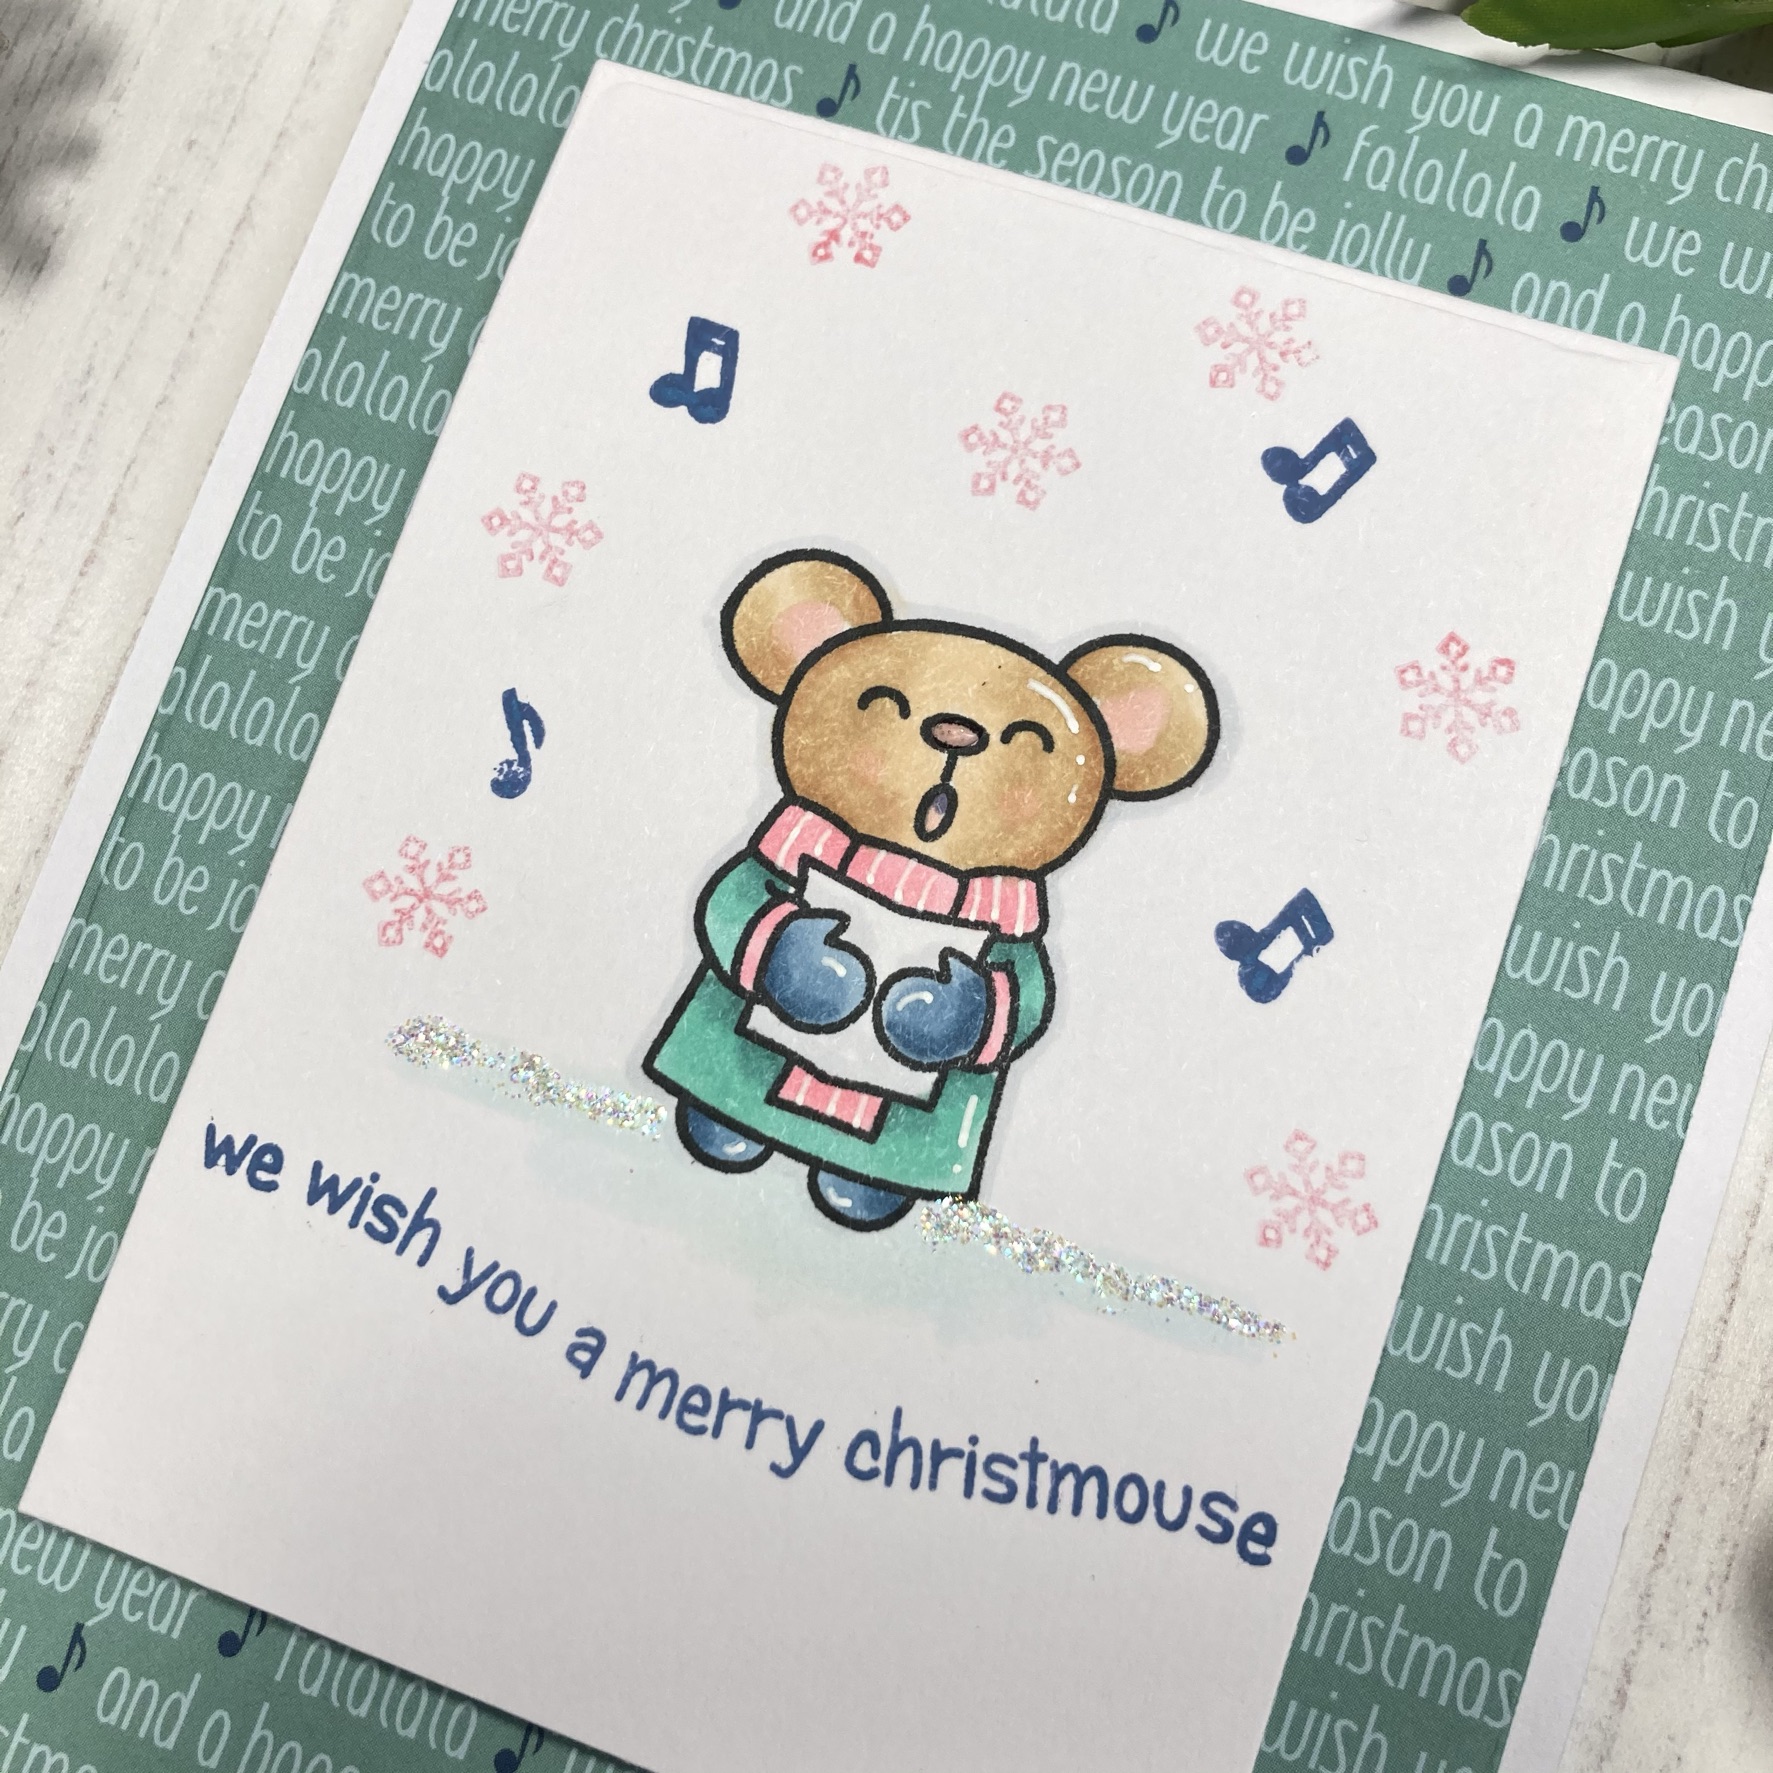
Each layer was cut with our A6 Layering Dies. This adorable mouse is from our Carolling Critters Stamp set.


Our happy Penguin is from the Skating By Penguins Stamp set. This character is probably the simplest to colour if you wanted to batch make with just one image.


I added some second generation stamping of snowflakes in each of my backgrounds.


Some Stardust Stickles added a final touch of sparkle to the snow.


These cards are an ideal formula for any quick card making - not just for Christmas. You can just chose one image and stamp it multiple times and recreate the same card several times, rather than different images like I did. That will make the process even faster. Perfect for this time of year when we all have so many cards to make.


Thank you for checking out our tutorial and video.

Don't forget to join us for our FB Live every Thursday at 8pm BST.

Details of some of the products I used are below.

Jo 
XOXO

Thursday, 19 November 2020

Die-namic Display Card Die Video

 Hi Vic here today, and I'm so excited to be bringing you a video tutorial. I have used the Die-namic Display Card Die for my video today along with the adorable Skating By Penguins Stamp & Die Set for my critters. I have also used the Let It Snow Die and some gorgeous snowflakes using the Falalala Slimline Die.


I first started by putting the card together. I die cut all the pieces using my die cutting machine and the Die-namic Display Card Die. In the video I will also show you how to create a curved line at the top of your card. I then adhered the card together using PVA glue. 


I then stamped and coloured in the adorable penguins. I used my copic markers to colour them in and used the coordinating dies to cut them out. Next I die cut the sentiment using the  Let It Snow Die and adhered this onto the back of my card. I also added some white paint to my card so that it looks like snow.


Using the Falalala Slimline Die I die cut out some snowflakes and adhered them onto my card. These snowflakes are so delicate and pretty. Your card is now complete. 


Don't forget you can save 10% off your purchase using the code: T4TVICKI10 at the checkout.

Thanks so much for stopping by today!

vic


Saturday, 15 August 2020

Mew are the Best Gift of All!


Happy Saturday everyone its Design Team member Natalie up on the blog today sharing my Christmas morning scene card. I love how there's lots of detail going on but the crisp white background gives it a clean and simple feel. 
I started by cutting out three squares of white card stock using the stitched square nesting dies then in one cut out a smaller square using the same die set for the window. On one of the other squares I inked some blue clouds using the Sunny Side Up again stencil and added some darker blue splotches for some added detail. The sun is cut out of the gorgeous Rainbow Brights Essentials Paper Pad using the Sunburst Cover Plate Die. 
As you know I don't like to use too many different colours on my cards I say it's because I find it more aesthetically pleasing but I also find picking colours really hard so find it easier to stick to a few. I like the colour coordination in the presents too and you can always add texture or pattern with a gelly roll pen. I find also helps to quicken the colouring progress especially if you have a production line going on. So I coloured up my cat and presents from Mew are the Best Gift of All in a range of reds, blues and greys and die cut it out. The Christmas Tree is from the Warm Winter Wishes stamp set I didn't add any extra baubles so as I thought there was a lot going on in the scene already and wanted to keep the attention on the cat.
Then I added the sentiment to the card and layered it all together using the third square we die cut at the back of the card base and that was my card finished. I hope you like it!


Sunday, 5 July 2020

Time For Tea Sponsors for the AAA Card Challenge #169

Hi there!!

Jo here with a fun card for a great Challenge we are sponsoring over at AAA Cards.


The challenge theme is 'Made in Minutes - with a Twist: Christmas in July'

We are sponsoring the challenge with a £15 Gift Card to spend on goodies from the Time For Tea Design’s Store!


I struggle with quick cards as you know so this was a real challenge indeed! 
This may not be a few minutes to make but was quite quick for me once I'd come up with the concept.


I also really struggle with Clean & Simple so this really was as simple as I get! haha!


I do love how this card turned out and it was lots of fun to make.

My idea was to create a simple background of a sparkly moon set against a deep blue sky. First, I splattered my card base with metallic paints. I then added some ink to a square of our Bluebird Cardstock and splattered with white metallic paint. I cut a circle from the centre using our Circle of Love Dies.


I coloured and die cut the images from the Be Owlsome stamp set and die cut the stars from the set using some gold Cardstock. I used the same Cardstock to cut my sentiment.


Before adhering all my elements I stamped the sentiment ‘happy’ in embossing ink at the top of my circle aperture. I used Wow gold embossing powder to set my ink.
My night sky piece was adhered with foam tape as were my owl and the branch he is sitting on.
The stars & Christmas sentiment were added with liquid glue.

Once my images were coloured and all my pieces die cut, this really was a quick card to make. This is officially the first Christmas Card I have made this year and with a set that isn’t even Christmas themed so I’m even more thrilled with the result! Why not try this with some of your non-Christmas themed sets too!

I hope you enjoyed the card today. Head over to the AAA Card Challenge Blog to find out more about this months theme and how you can enter to win our fabulous prize! You’ll also find loads more inspiration from the AAA Card Challenge Design Team. 

Happy Crafting

Jo
XOXO


Other Posts You Might Like