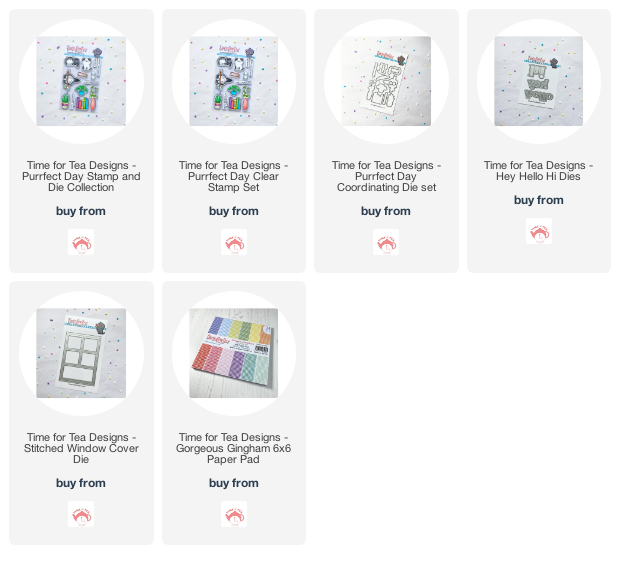
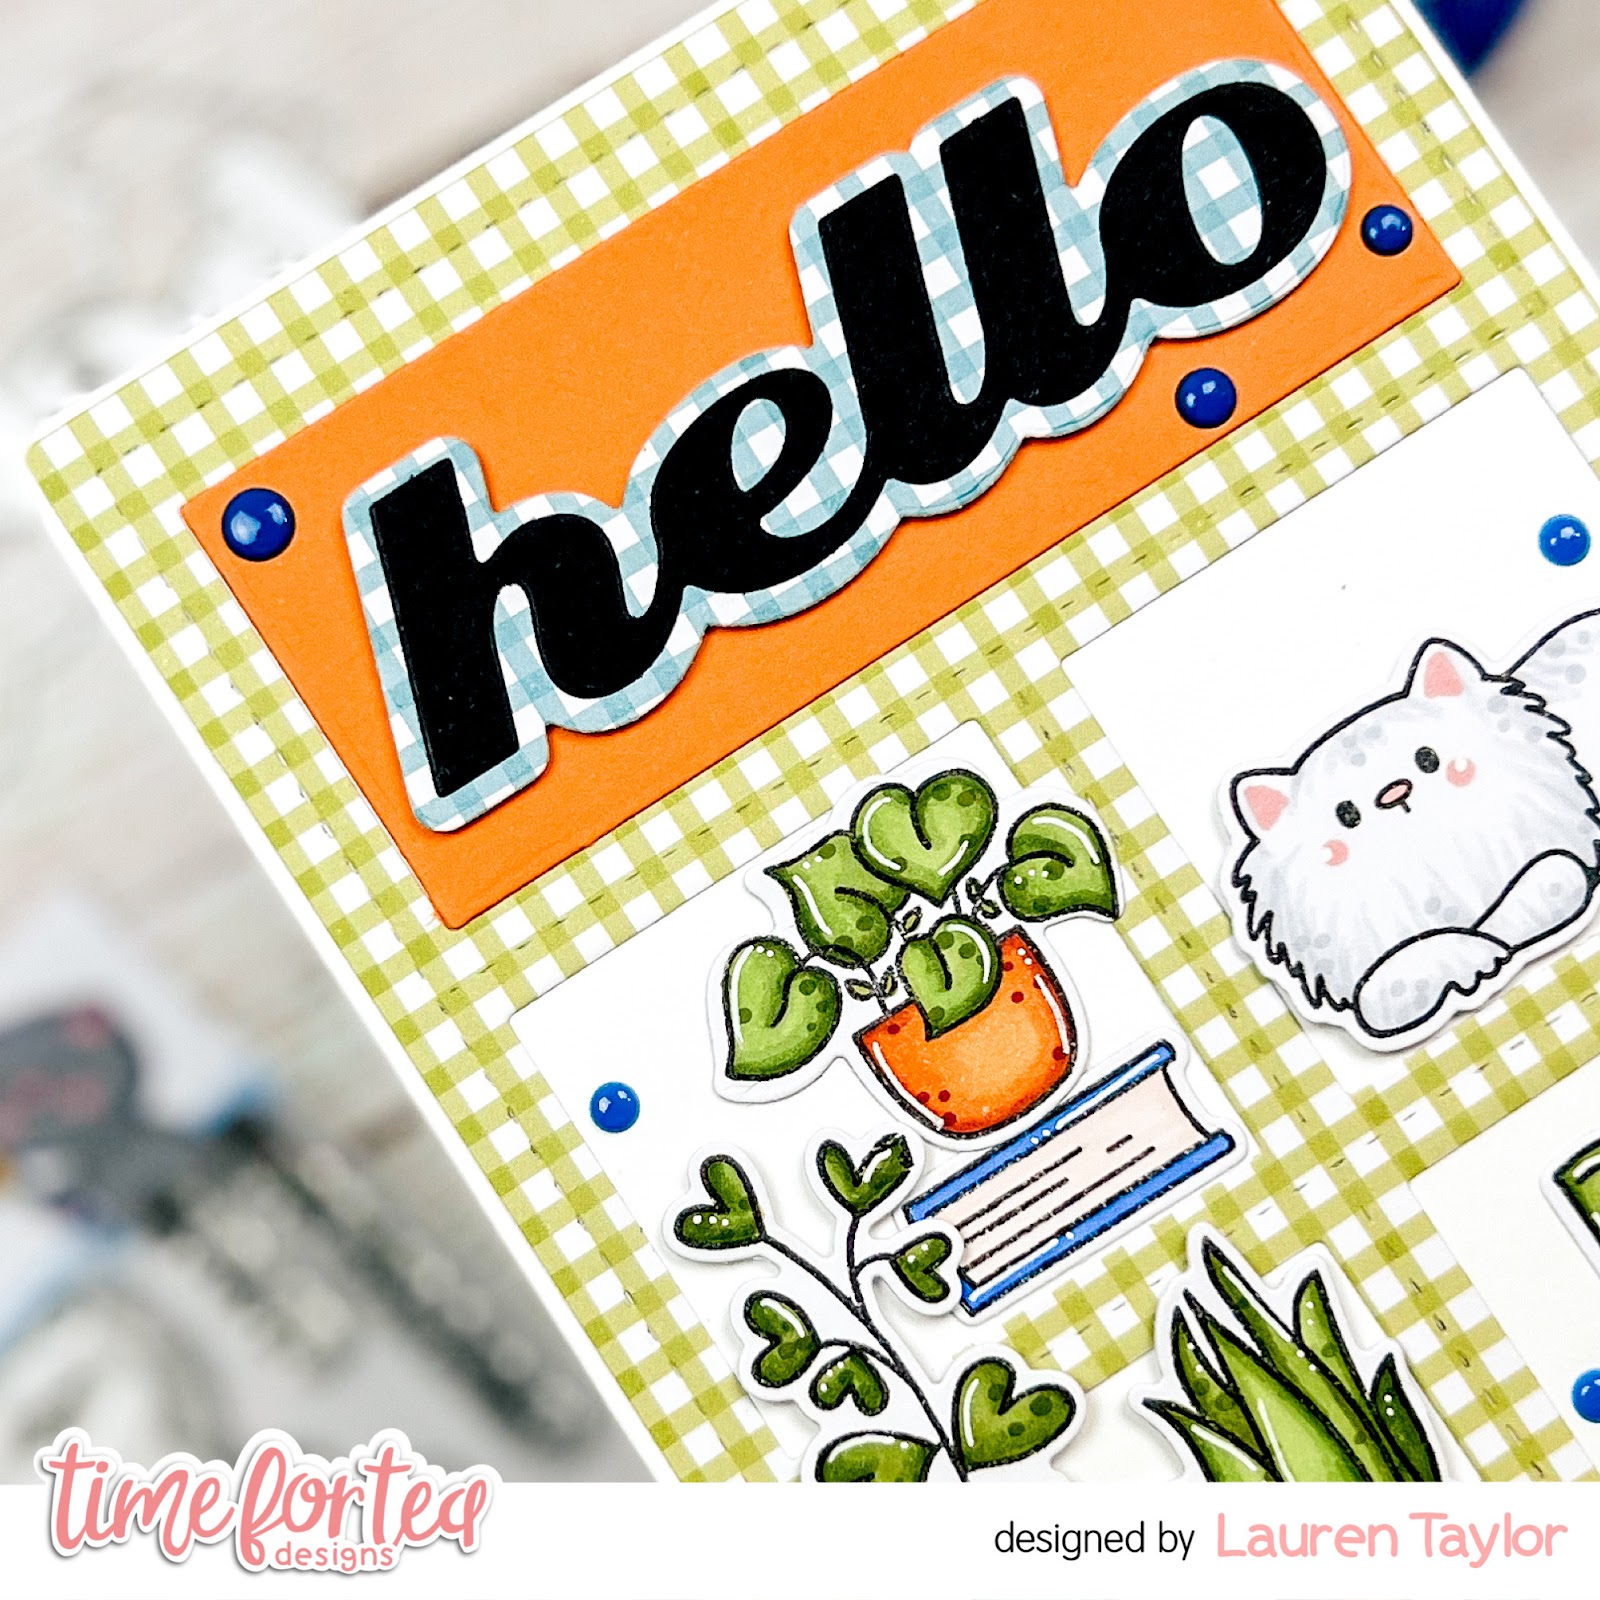
Hi, Friends! Lauren here and I'm back with a new video tutorial on YouTube! This month I wanted to use colors that felt cozy or hygge along with the Purrfect Day stamp set. I stamped all of my images on alcohol marker friendly ink and colored them with Spectrum Noir Illustrator markers. I also made sure to pick colors that I thought would work well with the Gorgeous Gingham paper pack.
I used the Stitched Window Cover Plate to create a frame and windows for my scene and the "Hello" dies from the Hey Hello Hi dies as my sentiment. You can watch today's video to see how I colored and assembled my card!
Click the image below to start the video and make sure to leave a comment if you have any questions!
Here is a quick list of the Time For Tea Designs supplies I used and make sure to enter my code T4TLAUREN10 at checkout for 10% off your order!
Thanks for joining me today and see you next month!
Hi DT Vic here today and I’m sharing a video Tutorial. I often get asked how I create my scenes for my cards and I thought it would be fun to show you.
I knew I wanted to create a sweet scene using the Purrfect Day Stamp & Dies the cats in this set are so sweet. I also really love the little plants so I popped them at the bottom of my card to make it look like the cats are laying in a big window.
I used my copics to colour in the images and using the coordinating dies I die cut them out.
I then used some black card and white embossing powder for my sentiment. I show you in my video how this was all out together.
I hope you find the video tutorial helpful and it will hopefully help you out if your stuck creating a scene for your card. Don’t forget you can also save 10% off your order using the code: T4TVICKI10 at the checkout this includes the brand new release!
Hello DT Vic here today and I have a fun video tutorial I am sharing with you today.
I love making shaker cards as they are so fun to make and also to receive. In my video I will show you how I used the Love Intertwined Die to work on a shaker card. I will also take you through each step so you can hopefully follow along and create your own shaker card. I used the Stinkin' Cute Clear Stamp Set and the Happy Mail Critters Clear Stamp Set for my images on my card.
I watercoloured my images using Kuretake watercolour palette but I did go back over them as the first wash was a bit too light.
I think this card would be lovely to send to someone who just needs a little love and to show them that you are thinking of them, of course you can use it for Valentine's Day too.
I hope you enjoy the video. Don't forget you can save 10% off your orders using the code: T4TVICKI10 at the checkout including the brand new release goodies!
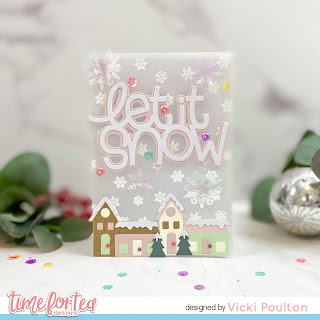
Hello! DT Vic here today and I am sharing a fun video tutorial. I have made a video on how to create a card using vellum as your base. I love using vellum as a card base and it also looks really lovely too.
In my video I will take you through each step on how I made this Christmas card. Plus there is no colouring or stamping used so if your a fan of die cutting this is perfect for you, however if you want to add any stamped images then this will also look great.
To make the card you will need the following products:
I loved how this card turned out and I hope you have as much fun as me using vellum. Don't forget you can save 10% off your order using the code: T4TVICKI10 at the checkout this includes the new release products too.
Hello DT Vic here with you today and I have made a fun video tutorial that’s perfect for Halloween. I love creating Halloween cards they are always so fun to make.
In my video I show you the steps on how to create a fun slimline shaker card.
I went for traditional colours using black, purple, green and orange. You can of course use whatever colours you want for your card. The products I used are:
For the shaker background I done some emboss resist this is fun technique to try and I also show you how to create different compartments for your sequins so you can add different colours of sequins to each heart. I used my copics to colour my images and the greeting is a SVG cut file that says Happy Halloween.
I hope you enjoy the video tutorial and have fun creating some Halloween shaker cards.
You can also save 10% off your order using the code: T4TVICKI10 at the checkout including the new release too!
Hello Vic here today and I have a fun video tutorial for you today. I wanted to make a bright birthday card with lots of ink blending on my background.
My card size is an A6 top folding card. I trimmed down another piece of white card to A6 for my card front. This is the piece that I will be ink blending onto.
I added some distress ink colours to my card front. Using the Bokeh Bubbles 6x6 Stencil I then applied a red ink over the stencil. I added some splatters of black ink to my card front once the background was dry.
I then stamped my images using the Birthday Bear Stamp and Die Collection . I coloured in my images with copic markers then using the coordinating dies I run the images through my die cutting machine. Here is a list of the copic markers I used to colour in my images.
I then used a piece of black foam and using the Big Birthday Wishes Sentiment Die I run this through my die cutting machine. I used foam instead of card to give the sentiment a bit more bulk but if you don’t want to add more bulk to your card just use a piece of black card.
I then stamped some balloons to add to my card but I die cut the balloon first as I found this easier to stamp the balloons and string. I used the same red copic markers to colour the balloons in and I added these to my card once all my images were adhered down.
Once your images are adhered into the card your card is now complete. I had so much fun making this card and using bright colours on my background I hope you will give this a go. Don’t forget to tag us in your creations so we can see your cards and crafty projects.
You can also save 10% off your order using the code: T4TVICKI10 at the checkout this includes the brand new release too!
Hello crafty friends Vic here today and I’m sharing a fun video tutorial.
I wanted to make a fun and colourful background and I also wanted to share a technique using emboss resist. I love using this technique especially with watercolour paints.
For my background I used the A5 Woodgrain Clear Stamp. This is one of my favourite stamp sets I love the design and the texture it gives. I used a piece of A6 watercolour card and I stamped my ink with versamark ink. This will act like a glue to hold your embossing powder. I then sprinkled over some Opaque Bright White Embossing Powder onto my card and heat set the powder with my heat gun. I added some water and then added some distress inks onto my watercolour card. Using the heat gun I sped up the drying process.
I stamped out my images using the Hillside Village Clear Stamp Set and I used the Coordinating Dies. I coloured the houses in with watercolour paint. I then stamped out my cute snails using the Snail Mail Stamp Set and Coordinating Dies. I coloured the snails and other accessories in with my copic markers. (Copic markers are listed on the screen of the video tutorial).
I also wanted to add a frame to my card and I used the Smile Inverted Scallop Frames Die. I used a pretty pink card to die cut my frame and I trimmed away the edges. I applied some foam tape to my frame and adhered this onto my card. I added all my images and then used a sentiment from the Brighter Days Sentiment Cards.
I love how my card turned out I think it looks really bright and colourful. I hope you give the resist embossing technique a try it’s really fun to do and makes a watercolour background more fun.
You can save 10% off your Time For Tea Designs purchases using the code: T4TVICKI10 at the checkout and this also includes new release products too.
Hello DT Vic here today and I have a fun video tutorial to share with you using the Slimline Pull Tab Interactive Die. In my video I will show you how I put all the elements together to make your interactive card.
I was so excited to use this die and it has so many fun uses you can use this on pretty much any card. To make this card I first die cut all my pieces I need to create the slider part of my card. I then die cut a scalloped piece of yellow card using the Slimline Scalloped Nesting Dies. I also die cut a long rectangle using the Slimline Postage Stamp Frame Dies.
I started to put all my elements together and add my images onto my card. If you are using foam pads just be careful where to place your image as the pull tab will stop at the first snail. You don’t want to add any foam pads with an image on that will go across your slit as this will stop your image from moving.
This is such a fun way to add some interaction to your cards and once you have made a few it will become easier to create your cards using the interactive elements. You can also add interactive elements to you card vertically so they can move up and down. I had so much fun creating this card and I know you will too. They are very addictive!
I hope you enjoy the video tutorial today and don’t forget you can save 10% off your purchases using the code: T4TVICKI10 at the checkout. This includes the brand new release too!
Don’t forget to tag us on your creations we love to see what you have made.
Hello DT Vic popping in today with a fun video tutorial for you. I’m using some gorgeous products from the New Release.
For my card today I wanted to create a fun shaker card and I’ve also made a watercolour background using some distress inks. I will show you in the video how I made this card step by step.
I used the Slimline Scalloped Trio Nesting Circle Dies for my bases which I run through my die cutting machine and added some distress inks for my watercolour background. Next I used the Tulip Add On Die Set (Horizontal) and securing this onto my watercolour card I run this through my die cutting machine. I love this die and as soon I saw the die I knew I had to make a shaker card. This will also cut out three tulips so keep these pieces to save for another project.
I then made my shaker card you can see how this was created in the video. Once my shaker part was made I moved onto my images. I used the gorgeous Lucky Ducks Clear Stamps and Coordinating Dies. Aren’t the ducks just too cute! I stamped them up and using copic friendly card I coloured the ducks, dragonflies and grass in using my copic markers. I then used the coordinating dies to cut them out.
I adhered all my images onto my card and for my sentiment I used the Brighter Days Sentiments Cards. I absolutely love these sentiment strips they are so handy you just cut them down and pop them onto your card. They are also perfect if your not a fan of heat embossing. Once my sentiment was added I then added a few sequins to finish my card off.
Thank you so much for stopping by the blog today I hope you enjoy the video. You can also save 10% off your order using the code: T4TVICKI10 at the checkout and this includes the brand new release.
Hi crafty friends! I hope you're all having a good week.
I am sharing a fun video tutorial today where I show you how I make my shaker cards.
I love to make shaker cards and fill them up with sequins they are really fun to receive too. For my card today I used the Baked With Love Stamp Set for my critters. I seriously love these stamps and the pieces of cheese are really cute! In my video I will also show you how I copic coloured the stamps.
For my card panel I die cut one of my favourite cover plate dies using the Stripes Cover Plate Die. I ink blended this using a Beautiful Blending Brush along with some Speckled Egg Distress Ink. I then ink blended the back panel using Kitsch Flamingo Distress Ink. I then adhered a piece of acetate to the back of the stripes die. I applied some foam tape and filled this up with sequins before adhering the panels together.
The shaker part of your card is now complete. I then stamped my images and coloured them in, using the Baked With Love Coordinating Dies I ran them through my die cutting machine.
For my sentiment I stamped the Hugs Enclosed from the Be Kind Be You. I used a copic marker to colour the hugs stamp. I then used the Be Kind Be You Coordinating Dies to die cut my sentiment out. Once everything was ready I adhered the images to my card using foam tape.
Your shaker card is now complete. I loved how this turned out and it's sure to put a smile on someones face.
Don't forget you can also save 10% off your Time For Tea Designs purchase using the code: T4TVICKI10 at the checkout.
Thank you so much for stopping by today, I hope you have a great weekend!
Hello crafty friends, Vic here today and I have a fun video to share with you using some goodies from the Brand New Release.
In my video today I will be showing you how to make this fun folded dutch card. You will only need a piece of A4 card to create this along with some pattern paper. I don't know about you but I find it so much easier to create fun folds using just one piece of card. I will show you all the steps in the video that you need to make this card.
The card will open as the picture shown above. I added some ribbon to my card but you don't need to add this if you don't want to. This will also stand up by itself as the two bottom folds will act like a stand.
For my card I used the brand new Mum Sentiment Die. I absolutely love this font its just so pretty! I adhered the dies using some pink and white card. I placed the die at the top of my dutch card. I then die cut some flowers using the Spring Blooms Die Set. The flowers are so sweet and will definetly be used on a lot of my cards.
For my insert I used the Mum and Dad sentiments stamp set. This stamp set has so many fun sayings and can be used through the year. I stamped the greeting Happy Mother's Day and added some flowers using the Spring Blooms Die Set. I also added some grass using the Landscape Edge Standalone Die. If you watch the video you will see that I was having 'one of those days' where my colouring was going wrong. I watercoloured a little bird from the Happy Mail Critters Stamp Set which was the only image I could 'save'. I then went on and aded a couple of critters from the Butterflies Stamp Set. I used my copic markers to colour the critters in and they are all listed on the screen of the video.
Once all my pieces were adhered down I added a ribbon to tie the card up. I loved how this turned out and it was so fun making this dutch folded card. I hope you give this a try and if you do don't forget to tag us in your photos. We love seeing you're creations.
Hi Vic here today. I have a fun video for you using the brand new Cosy Winter A5 Stamp Set. Have you seen the cute images yet they are just adorable, I used the two bunnies and the bear for my video today.
In my video I take you through step by step how I made my card and how I used vellum as my card base. I had to bulk this out so that the card stands up perfectly. I started by trimming and scoring the vellum then I heat embossed some snowflakes onto the vellum using WOW White Embossing Powder. I used the Landscape Edge Die for my hills at the bottom of the card. This will help the front card stand up along with the images as it will add some weight to the card. For the inside of my card I trimmed down a piece of card and added some of the trees along the bottom using Bundled Sage Distress Ink and then I added some Tumbled Glass Distress Ink using my Beautiful Blender Brush. I adhered this in my card so that you can write your sentiment here.
I then stamped my images onto some copic friendly paper and coloured the images using my copic markers. I used the following markers for my images:
I then cut the images out and adhered them onto my card using foam pads.
I then used the Falalala Scalloped Slimline Die and I used the snowflakes and die cut them out using some white card. I then adhered them onto my card using PVA glue.
To finish the card off I added a few sequins and adhered these down with PVA glue. Your card is now complete.
You can save 10% off your Time For Tea Designs purchase using the code: T4TVICKI10 at the checkout to receive 10% off your order. You can view the Brand New Release HERE. I loved making this card and I think the vellum looks really nice with the stamps.
Don't forget you can catch Jo on or Facebook page tonight at 8pm.