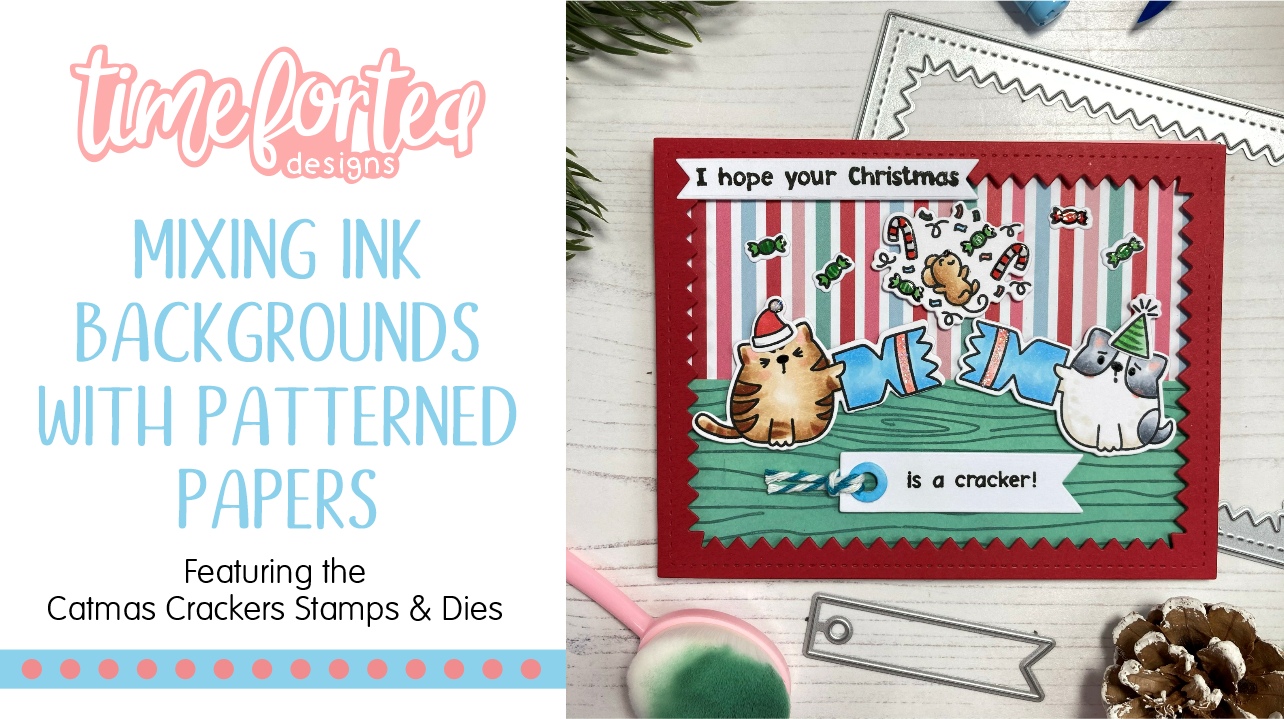
Hello Vic here today and I have a fun video tutorial for you today. I wanted to make a bright birthday card with lots of ink blending on my background.
Here are the products you need for the card:
Hello Vic here today and I have a fun video tutorial for you today. I wanted to make a bright birthday card with lots of ink blending on my background.
Here are the products you need for the card:
Hi everyone!
Jayne from the DT here with this month's blog tutorial!
I am absolutely loving this month's release and can't stop making things with it! What's been your favourite product? During the live release on Facebook, Jo showed you my card featuring a bunny zooming through the galaxy in his paper plane, and you guys loved it (thank you!). So, this month, I'm going to recreate that card for you and teach you how to make your own.
Good afternoon everyone and happy Sunday.
Lyndsey here and I'm so excited to be on the blog sharing this card with you today. You may remember quite a while ago on one of the lives Jo had asked what us Teatimers would like to see in upcoming releases, one of my answers back then was ducks. So I can't tell you how happy I was when I actually saw them feature in this months release.
For my card today I decided to make a box card, which I have seen all over social media lately and just love the design, and obviously I used the adorable Lucky Ducks stamp and die set .
I don't have the die sets to create this with so I came up with my own measurements and have created a little photo tutorial for you.
Hi crafty friends! I hope you're all having a good week.
I am sharing a fun video tutorial today where I show you how I make my shaker cards.
I love to make shaker cards and fill them up with sequins they are really fun to receive too. For my card today I used the Baked With Love Stamp Set for my critters. I seriously love these stamps and the pieces of cheese are really cute! In my video I will also show you how I copic coloured the stamps.
For my card panel I die cut one of my favourite cover plate dies using the Stripes Cover Plate Die. I ink blended this using a Beautiful Blending Brush along with some Speckled Egg Distress Ink. I then ink blended the back panel using Kitsch Flamingo Distress Ink. I then adhered a piece of acetate to the back of the stripes die. I applied some foam tape and filled this up with sequins before adhering the panels together.
The shaker part of your card is now complete. I then stamped my images and coloured them in, using the Baked With Love Coordinating Dies I ran them through my die cutting machine.
For my sentiment I stamped the Hugs Enclosed from the Be Kind Be You. I used a copic marker to colour the hugs stamp. I then used the Be Kind Be You Coordinating Dies to die cut my sentiment out. Once everything was ready I adhered the images to my card using foam tape.
Your shaker card is now complete. I loved how this turned out and it's sure to put a smile on someones face.
Don't forget you can also save 10% off your Time For Tea Designs purchase using the code: T4TVICKI10 at the checkout.
Thank you so much for stopping by today, I hope you have a great weekend!
Vic
Hi Vic here today. I have a fun video for you using the brand new Cosy Winter A5 Stamp Set. Have you seen the cute images yet they are just adorable, I used the two bunnies and the bear for my video today.
In my video I take you through step by step how I made my card and how I used vellum as my card base. I had to bulk this out so that the card stands up perfectly. I started by trimming and scoring the vellum then I heat embossed some snowflakes onto the vellum using WOW White Embossing Powder. I used the Landscape Edge Die for my hills at the bottom of the card. This will help the front card stand up along with the images as it will add some weight to the card. For the inside of my card I trimmed down a piece of card and added some of the trees along the bottom using Bundled Sage Distress Ink and then I added some Tumbled Glass Distress Ink using my Beautiful Blender Brush. I adhered this in my card so that you can write your sentiment here.
I then stamped my images onto some copic friendly paper and coloured the images using my copic markers. I used the following markers for my images:
Bunnies: W0, W2, W5, YR000, R20, E50, BV000, BV31, RV00, RV23
Bear: E43, E41, E40, YR000, R20, BG11. BG23, E31, E57, B00
I then cut the images out and adhered them onto my card using foam pads.
I then used the Falalala Scalloped Slimline Die and I used the snowflakes and die cut them out using some white card. I then adhered them onto my card using PVA glue.
To finish the card off I added a few sequins and adhered these down with PVA glue. Your card is now complete.
You can save 10% off your Time For Tea Designs purchase using the code: T4TVICKI10 at the checkout to receive 10% off your order. You can view the Brand New Release HERE. I loved making this card and I think the vellum looks really nice with the stamps.
Don't forget you can catch Jo on or Facebook page tonight at 8pm.
Have a lovely day!
Vic
I wanted to make a shaped card and I used the Circle Of Love Nesting Die to make my card base.
I die cut 2 larger circles and a smaller circle using the next size down.
The two larger circles will be your card base and the smaller circle is what we will be working on.
On the piece that will be the back of your card score a line at the top about half an inch from the top, this will then be adhered onto the front circle. Making a circle shaped card.
Using theBuzzing For You Stamp Set I took both clouds from the stamp and stamped the clouds onto my circle panel using versamark ink. This will act as a glue for your embossing powder.
I then added white embossing powder over the clouds and heat set this with my heat gun.
Using some distress ink and a Beautiful blending brush I ink blended over the heat embossing. I then die cut some grass using the Landscape edge die.
I then stamped my images using the Bee Happy Stamp Set and coloured the images in with my copic markers. I then added a sentiment To A Special Friend and heat embossed the greeting.
I adhered all my images down and added some sequins.
The bee card is now complete. I loved making this card and I hope you have fun creating your cards. If you use this technique don’t forget to tag is on social media we love looking at your creations.
You can also save 10% off your Time For Tea Designs order using the code: T4TVICKI10 at the checkout.
Thanks for stopping by today!
Vic
Hi! Happy Friday all!
Check out the card we made yesterday during our Facebook Live! It has one of my favourite elements! An action wobbler!
Be sure to watch the edited version below to see how we made this fun card!
Every Thursday evening at 8pm (BST) I am Live on Facebook
with some card making and crafty chat. If we’re lucky Ant joins me to help with
all your comments and chat along with us!
Be sure to join us Live on Facebook to craft along with us. 😊
If you miss the Live you can catch the replay here.
All the projects are made using our very own products which
you can find in our online shop here:
SHOP: https://timeforteadesigns.co.uk/
Watch our Live events as they happen on our Facebook page
here:
Facebook: https://m.facebook.com/TimeForTeaDesigns
Follow our Blog for more fun projects from me and the Design
Team here:
Blog: https://timeforteadesigns.blogspot.com
Get more inspiration from our Instagram and Pinterest pages:
Instagram: https://www.instagram.com/timeforteadesigns
Pinterest: https://www.pinterest.co.uk/TimeForTeaDesigns