Pages

Showing posts with label Masking Stencils. Show all posts

Wednesday, 12 January 2022

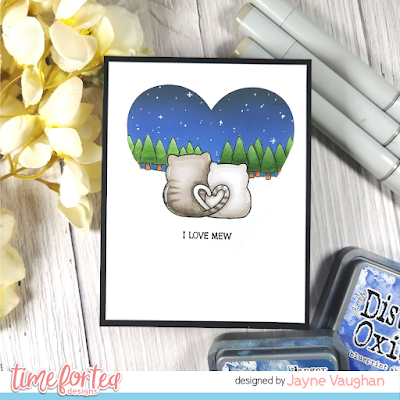
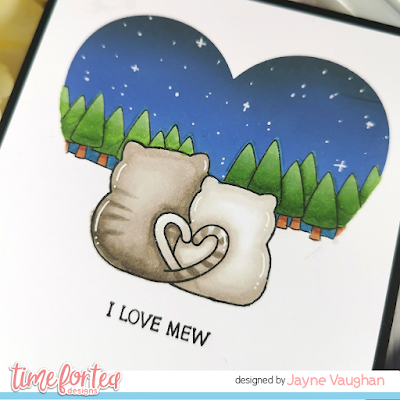
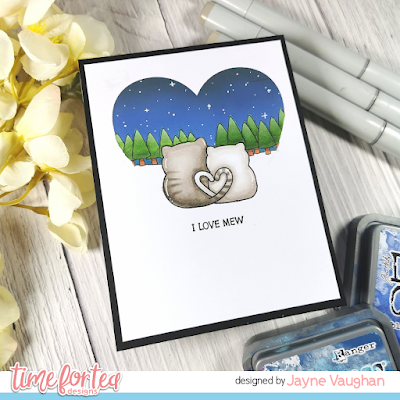
Creating a Valentines Day scene with masking

Happy New Year, tea-timers! Welcome to the first step-by-step blog of 2022! Today we're going to be looking at creating a scene using masking, which was requested by one of our Facebook group members. Let's dive straight in!


Here's what you'll need:

- Stamps for your chosen scene (I've used the Smitten Kittens stamp set and the Winter Backgrounds set)

- A stencil, if you'd like to create your scene within a small area (I used this heart stencil)

- Ink for stamping (I used Gina K Onyx Black amalgam ink, as it is Copic friendly)

- Markers or other colouring medium

- Masking paper, masking tape or even Post-It paper or tape (I use Gina K Masking Magic)

- Scissors for fussy cutting

- Inks for blending (I used distress oxides in Blueprint Sketch, Chipped Sapphire and Black Soot)

- Blender brushes or foams

- Black fineliner and white gel pen

- White and black cardstock

Instructions

1. Create a guide - I like to grab a piece of scrap paper and stamp out my scene, as a guide. You don't need to worry about masking anything off at this point, you're just working out where you want your images to go. You can then refer to this guide later when creating your actual scene, or even lay it down in your MISTI/stamping tool, line your stamp up on your guide, pick the stamp up with the MISTI door, remove the guide, then stamp your image down on your card.

2. Today, I'm going to create my scene inside a heart, for Valentine's Day. I used washi tape to fix my cardstock to the reverse of the stencil, then I stamped my images within the heart frame.

3. The key to creating a one-layer scene with masking, is to stamp the image you want in the foreground first. Here, it's our kitties. Then, stamp the same image on to masking paper and fussy cut along the stamped line.

4. Place your mask over your stamped image, being careful to line it up precisely.

5. Stamp your next image over the masked-off image. For this scene, it's our line of trees. Again, stamp the image onto some masking paper and fussy cut, then apply over the stamped image on your card. Keep going with as many images as you want to use, going from the front to the back.

6. After stamping and masking the trees, add some post-it/masking paper to the bottom of the image to protect it, and ink blend the night sky above the line of the trees. Use the lightest colour at the base of the trees, working up to the darkest colour at the top.

7. Peel off your masking paper to reveal your scene!

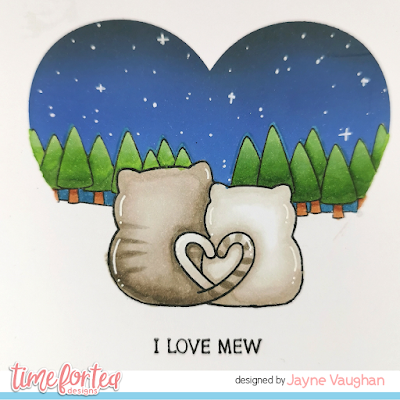
8. Colour in your image with your preferred medium. I used Copics in the following shades:

Cat 1: W5, W3, W1

Cat 2: W3, W1, W0

Trees: YG67, YG17, G24 / W27, W25

Sky (above tree line): B97

9. Add some stars to the night sky using white gel pen, and some accents to the kitties also with white gel pen.

10. Draw in the bottom of the kitties below the stencil line, using black fineliner.

11. Stamp your sentiment below the scene.

12. Finally, add the finished scene to a black card base!

Is there anything you'd like to see in a future tutorial? Let me know!

And don't forget, if you're buying anything from the T4TD store - use discount code T4TJAYNE10 to get 10% off your entire order! Happy crafting!

Saturday, 4 April 2020

Missing You Fairy Much - Creating a Sparkly Textured Background

Hi everyone I hope you are all keeping well?

Jo here with the edited version of Thursdays' FB Live.


Check out the video below to see how I created this super cute scene and super sparkly background in more detail.


I loved the colour scheme for this card. Its so bright and cheerful. 


I created my fluffy cloud background first with my Sunny Side Up Again Stencil and the Small Rectangle Masking Stencil.
I then used the centre of my Masking Stencil to block out the clouds I'd just created so I could create my colourful and sparkly textured background.


I inked my background & then added the Magical Snowflakes Stencil. I took my palette knife and added a good amount of the Cosmic Shimmer Polar White Texture Paste. I set this aside to allow it to dry.


While my background was drying I stamped and coloured my Fairies. Each had a different hair colour.


If you are interested in Copic Colour Combos, check out the video to discover what combinations I used for these little cuties.


I gave each the same Pink dresses as this coordinated with the blended background. The were all attached with foam tape.


The Missing You sentiment was stamped directly onto my background. The Fairy Much was stamped using the same Distress Oxide Ink I used in my background onto white cardstock.


I attached my panel to a side folding A6 card blank!

The wings were finished with some Unicorn Stickles and the wand with some Glossy Accents. A few Nuvo Crystal Drop added the final bit of sparkle.

I really hope you liked the card and tutorial today.

Please follow us on FB & IG as we post inspiration daily and I'm hoping to add more tutorials to get us through this difficult time.

Also look out for a new FREE digi stamp to create with later this weekend.

Details of all the items used to create my card are below.

Please all take care, Stay Home and Stay Safe.

Hugs
JO
xoxo


Friday, 27 March 2020

Smile and Bee happy Window Scene Interactive Card

Hi there!

I really hope everyone is keeping well, staying safe and is remaining positive while social distancing.


Last night's FB Live Craft with Jo and Ant was such a tonic for us and hopefully for you too. It means so much to be able to craft along with you, chat about craft and do something that is a welcome distraction from the current situation.

Be sure to watch the edited version of the Live Event below to see all the steps in more detail.


For today's card I wanted to create a fun interactive card that feels like Spring is on its way!


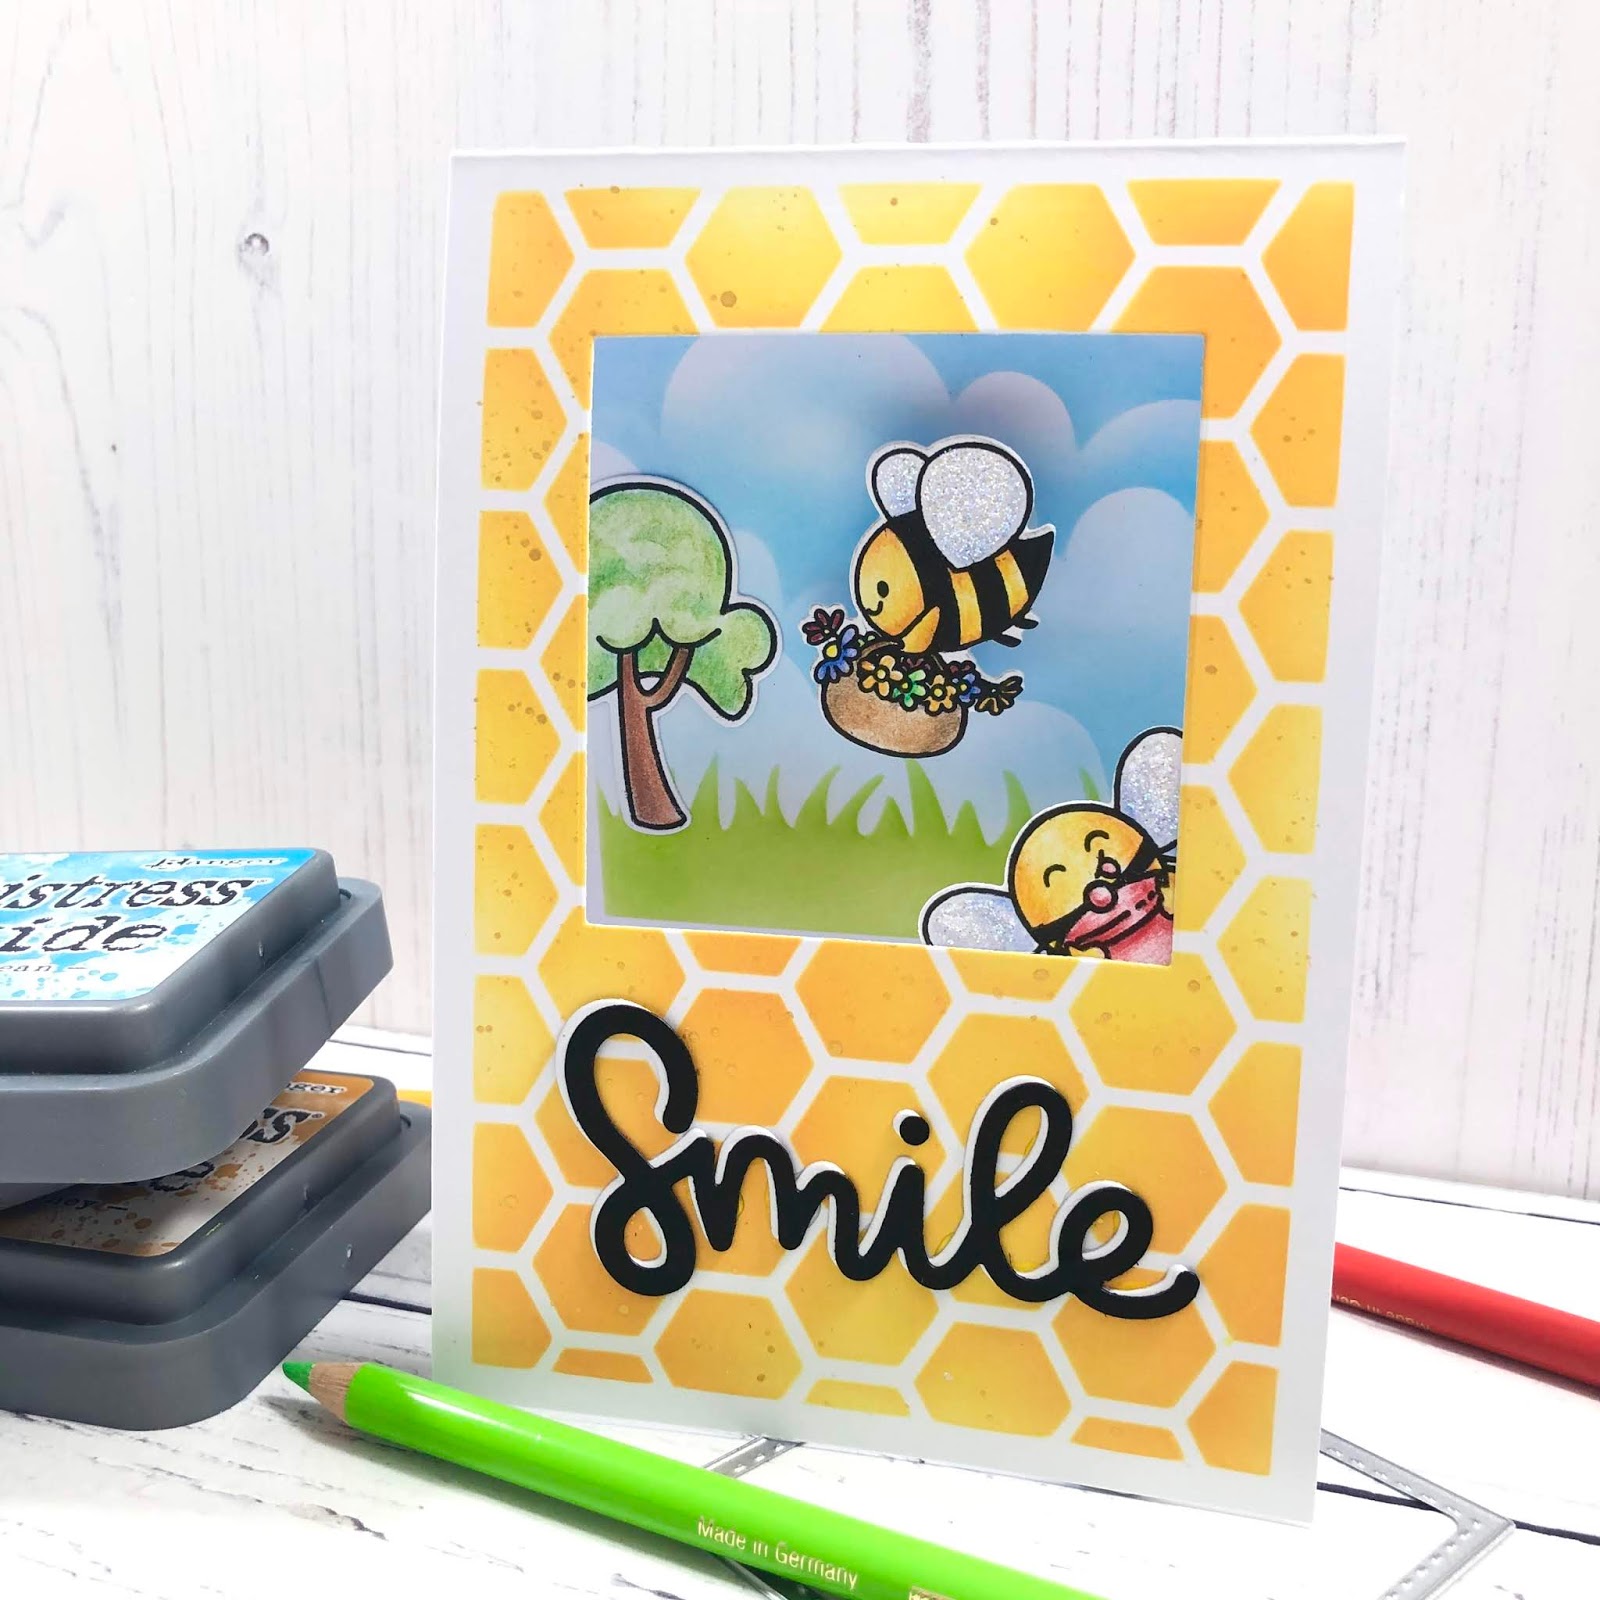
I stencilled my Bee Hive background directly onto my card base using my Beautiful Blender Brushes and Distress Oxide Inks.


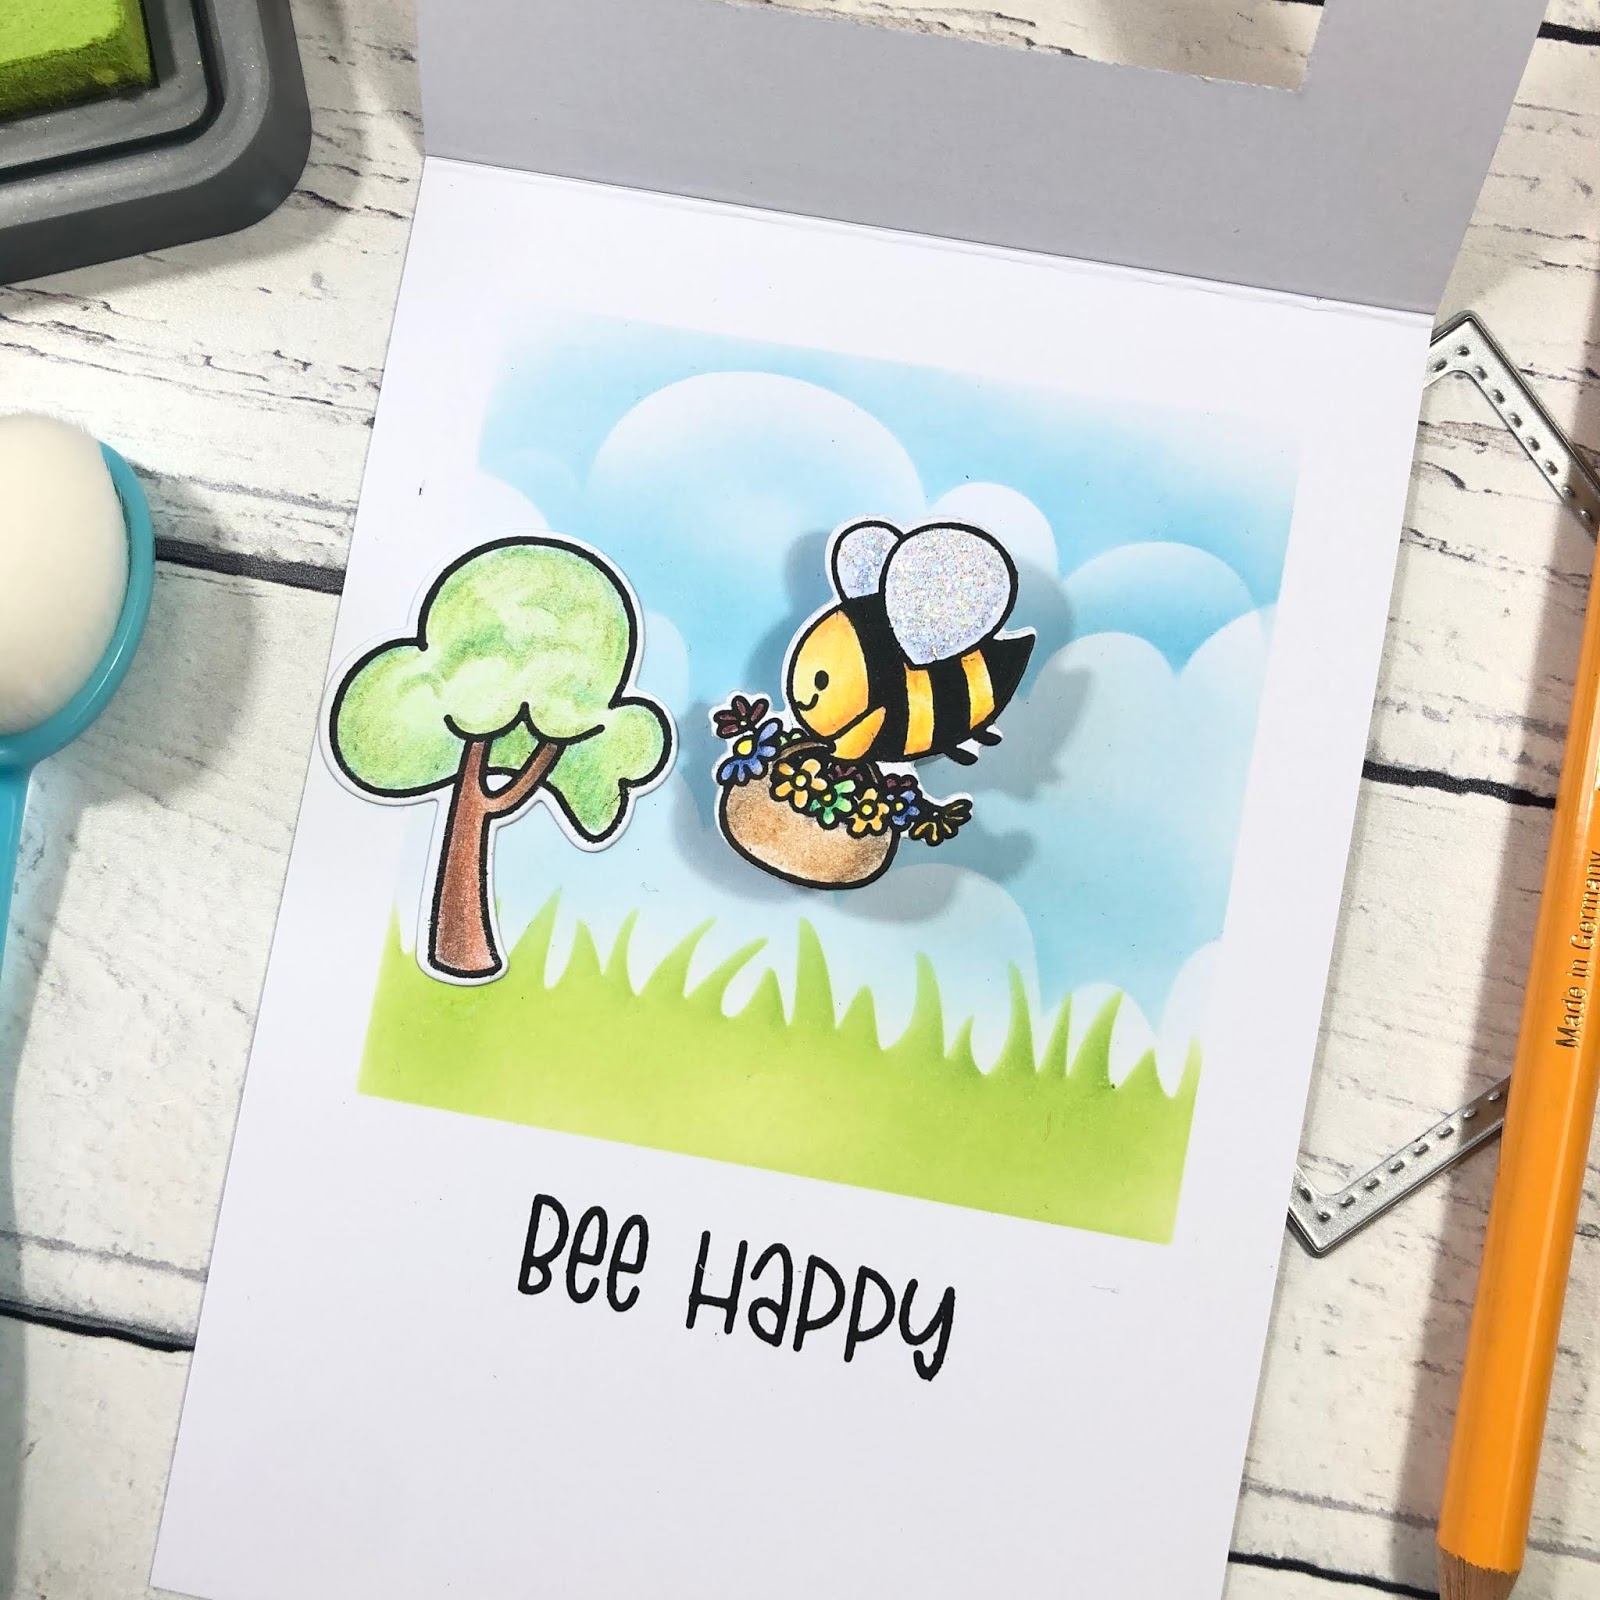
I then opened my card and used my Large Square Masking stencil the mark out where I wanted my garden scene. The Masking Stencil has etched lines that allow you to line up your stencil onto an A6 UK card base or an A2 US card base.
  

I then used the Sunny Side Up Again 6x6 Stencil to create my scene. I stencilled the grass & fluffy clouds with this stencil and my Beautiful Blender Brushes.


My super cute Bees were stamped onto super smooth cardstock with my Lawn Fawn Jet Black Ink. I coloured all of my images with my Faber Castell Polychromo Pencils. The tree is from the Moovellous Stamp set and fits perfectly into our scene.


I stamped the Bee Happy sentiment from the Bee Happy Stamp set underneath our scene using Versafine Onyx Black Ink.


I used a die from the Quilted Square Nesting Die set to cut the window from the front of my card. This now creates a view through to our scene on the inside of our card.


I cut the Smile sentiment from the Smile Scalloped Frame Die Set, from white and black cardstock. I layered the black sentiment over the white offset slightly to create a drop shadow effect.


I then added my images. The Bee with his honey jar has been added directly to the front of the card using liquid glue. The Tree has also been adding with liquid glue to the left of my scene.


My adorable Bee carrying his rainbow of flowers has been added with my favourite accessory! The Action Wobbler! This give my Bee some dimension but also means he wobbles and springs when he is flicked gently. Its is so adorable and really makes me smile.


I hope you enjoyed the project today.

We are so grateful to you for your support. We are a small family business (just me, Ant and the cats :)) so we are taking every precaution so we can continue to bring you inspirational projects and new products.

At the moment we are still fully operational as Royal Mail continues to support the nation keeping our post coming to our doors. 

Please Stay Home and Stay Safe.

Look out for more inspirational via our FB & IG pages while we continue to work our way through self isolation.
#weareinthistogether

Our next scheduled FB Live will be Thursday 2nd April - 8PM GMT.

The products I used for this card are detailed below.


Friday, 7 February 2020

Congrats on your new home

DT Annalisa here sharing a card that features the brand new Fairy Garden stamp set. There is an adorable little fairy house in this set, perfect for a congratulations on your new home card.

I stamped the scene and coloured it with my copics, adding some white accents with a Gelly roll pen. For the background, I created an ombre effect on some white card stock with Peacock Feathers Distress Oxide using my Beautiful Blender Brush. I added some water splatters as well as some white splatters for interest.

Next, I die cut my card stock so I would get a dashed line on the outside, as well as a circular opening in the center of the card at the top. I used the same circle die to cut out the scene. I added some foam tape to the back of the ombre background and adhered it to a card base. I then popped the scene into the open circle on the card.

The large heart at the bottom of the card is from the Heart Grid masking stencil. I used the stencil to create one red heart with Candied Apple Distress Oxide and then cut it out with a white border. I printed out the 'congrats on your new home' sentiment and cut it into a banner which I tinted with some Peacock Feathers Distress Oxide.

To finish off the card I added some enamel dots and clear rhinestones that have been in my stash forever!

Please remember, if you are interested in purchasing any Time for Tea Designs products be sure to Use code T4TANNALISA10 when you visit the shop to get 10% discount off your entire order.

Be sure to follow me on Instagram and see all my latest projects.

Saturday, 25 January 2020

Happy hearts birthday


DT Annalisa here today. It has been freezing outside in my kneck of the woods so I wanted to share a spring themed card. I used the new heart grid masking stencil and the large square masking stencil from Time For Tea Designs as well as images from four separate stamp sets - Say Anything, Warm Winter Wishes, Woodland Critters and Butterflies.

I used both the positive of the square stencil and the negative of the heart stencil to create the center area of the card. I applied Picked Raspberry and Wilted Violet Distress Oxides with my Blender Brushes. I love how you can mix and max the stencils to come up with different designs.

Next, I stamped and coloured the little critters with my copics, cut them out and adhered them to the blank insides of the hearts. I stamped the 'Happy birthday' to the top heart.

For the background, I used some patterned paper from my stash with some teal foil leaves on them (hard to see in the photo). I used some washi tape with silver foil on it to add extra detail around the center of the card.


Finally, I used liquid pearls and some enamel dots to finish up the card.

Saturday, 18 January 2020

Awesome Friend Birthday


Hello everyone! Annalisa here showcasing the new large square masking stencil from Time For Tea Designs on not one, but two cards. In this release, there are 13 different stencil shapes to choose from! On each stencil, there are etched lines that indicate the Card Sizes A2 (US) & A6 (UK). You use these markings to line up your card blank to get the perfect placement for your mask which makes them easy to use. Also, they come with both the negative and the positive stencil which is so useful.

I used the outside of the square masking stencil and coloured the inside using the Distress Oxides Cracked Pistachio, Peacock Feathers and Chipped Sapphire. I then covered the inside with the second mask and added the Magical Snowflake Stencil on top. After securing it down I added several drops of Distress Ink re-inker in the colour picked raspberry to some Wendy Vecchi embossing paste and applied it to the stencil.

After everything had dried I stamped the words "Happy Birthday to an Awesome" (from Say Anything) using VersaMark ink to the blue backgrounds. I heat embossed it using some Icicle ultra fine embossing powder by Brutus Monroe. I die cut the Friend Sentiment Die Set and adhered it to the cards.

To finish up the cards, on one I added an elephant from You’re Elephantastic and the other two cute snowmen from hello Bluebird's Frosty Littles Stamp set.

Other Posts You Might Like