Pages

Showing posts with label Interactive Cards. Show all posts

Friday, 16 January 2026

You Make My Heart Soar Interactive Card

Happy Friday! DT Annalisa here, today I’m sharing a fun interactive pop-up card featuring the Love Is In the Air stamp set from Time For Tea Designs. With its bright colours and playful design, this card would be perfect for Valentine’s Day.

I started by cutting white cardstock to 3¾ x 5 inches. Using the cloud section of the Beach Scene Builder 6x6’ Stencil, I ink-blended Saltwater Taffy, Kitsch Flamingo, and Picked Raspberry Distress Oxides with my Beautiful Blender Brushes. To add extra interest, I finished the background with white splatter using Distress Spray Stain.

Next, I followed the Lawn Fawn video tutorial to die-cut the blended panel and assemble the interactive element using the Pull ’n Pop Pull Tab Die. For the top panel, I used a stitched cloud die along the bottom edge and adhered it to the ink-blended panel with liquid glue. Before attaching it, I stamped the sentiment, “You make my heart SOAR.”


I then used 3mm double-sided tape to adhere the interactive panel to an A2 card base, which I had covered with patterned paper from the Pawsome Rainbows 6x6' Paper Pad. I absolutely love how fun and colourful this paper collection is.

To finish the card, I stamped images from the Love Is In the Air stamp set and coloured them with Copic markers, adding white highlights with a Gelly Roll pen. I die-cut the images using the coordinating dies and adhered them to the card with liquid glue.


Thank you so much for reading my blog post! Don’t forget to use my discount code T4TANNALISA10 when shopping at TTime For Tea Designs to receive 10% off your order.

Friday, 17 May 2024

3D Birthday Wishes


Happy Friday, everyone! DT Annalisa here sharing a 3D birthday card with the adorable I Really Dig You stamp set and the coordinating dies.  I love this cute gardening scene; it makes me want to go outside and start planting my garden!

I ink-blended twisted citron Distress Ink and Oxide using my Beautiful Blender Brushes onto a green piece of patterned paper from the Gorgeous Gingham 6x6' Paper Pad. I die-cut this using the Platform Pop-Up die from Lawn Fawn to create the base and the grass areas. 


I used the Platform Pop-Up add-on die for the sky area. I die-cut white cardstock and ink-blended it with tumbled glass over a cloud stencil. I then added splatter using mermaid lagoon Distress Ink, water and a paintbrush.

I followed several instructional videos on YouTube from Lawn Fawn on assembling the interactive die. 


I stamped and coloured (with Copics) several images from the  I Really Dig You and cut them out with their coordinating dies. I added white gel pen accents with a Gelly Roll Pen.

I used liquid glue to stick the elements down to the platform pop-up to complete the scene. 


Thank you so much for reading my blog post, be sure to use my discount code T4TANNALISA10 when you visit the Time For Tea Designs shop to get 10% off your order.


Saturday, 14 November 2020

This new release is Snow Much Fun!

 Happy Saturday everyone! 

Wow! What a week this has been and I promise this is my last post of the week for you (I will be back Monday though haha). 

Have you enjoyed seeing all the new release?? What are your favourites? And who got their orders in yesterday? I am so excited to see what you all create :D

Lets be honest, if you have seen all the new items you would know that I was never going to be able to resist these cute little Skating By Penguins for long and they work so well with the new Display Card Die I had to team them up :) 

I started by die cutting the card base and then decided which layers I wanted to use with it. I love that this looks so 3D but folds flat to fit perfectly in a C6 (6"x 4") envelope. 

I used a beautiful blender brush and a mix of Blueprint Sketch, Mermaid Lagoon and tumbled glass distress oxides to do the sky in the background and add some depth to the snow.

 
I coloured all my little penguins and the up with Copic markers and then stamped out coloured up some of the little trees from the winter background stamp set to go with them. The sentiments are from the new Sentiment Cards. To finish it off I added some Nuvo drops around it to give it some sparkle and texture. 
 
I hope this has made you smile and that you all have a great weekend. Don't forget if you want to grab these little guys or anything else from the Time for Tea Designs store you can use my code T4TAMY10 to get 10% off your order.
 
Huge hugs
 
Amy xx


Monday, 9 November 2020

Time for some Pandamonium!

 I am so, so, so excited to be here. My name is Amy and I have just joined this awesome DT. This is my first project as DT here so please be kind :) I felt like we all needed something bright and happy with everything that is going on so what better than a panda with googly eye?? OK so I went one better and it's not only a panda with googly eyes its also on an action wobble!! I couldn't resist. 

This adorable set of stamps are called Pandamonium Party and in my personal opinion they wont fail to make people smile. I added a tiny bit of shade around their white bits with a light grey triblend marker, Coloured the hat and the balloons with more triblend markers before adding some sparkle with a crafters companion sparkle pen. To make the balloons look shiny with some glossy accents. I used the coordinating dies to cut them all and then added the hats and balloons before fixing on their googly eyes. 

 For the background I used my time for tea beautiful blender brushes and some distress oxide inks to make this colourful background (I used Wilted Violet, worn lipstick and antique linen) before then adding sparkle using some pineapple glacier paste with the starry sky stencil

The squares behind them I cut using the quilted square nesting dies. The sentiment is from the stamp set and the rectangle that it i stamped on is from the coordinating dies. I heat embossed it in white embossing powder to stand out and match with the black and white of the pandas.

 I hope this has given you all a little smile and that you are all staying safe and well. Don't forget if you do want to get any Time For Tea Designs goodies then you can use my code T4TAMY10 to get 10% off of your order :D

Huge Hugs


Amy xx

Time For Tea Designs products I used:


Thursday, 29 October 2020

GDT Lisa Tilson is playing in the mountains


Hello everyone, my name is Lisa Tilson (find my blog HERE). This is the second of my projects as a GDT for Time For Tea Designs. I have used the same stamp set – Life’sUps and Downs aswell as the Mountain Scene dies. Love those mountains, so cute!  Again, I began by creating my background. I masked off a section around my white panel and ink blended a sky and grass area. I went from dark to light for the sky from the top, and from dark to light from the ground for the grass area. There is actually a white area between the sky and grass but it isn’t visible behind the mountains. I die cut the mountains from two different grey cardstocks, and their peaks from white and adhered them together. I also decided at this point to cut two white clouds from the Autumn Scene cover plate set. I set all these to one side and started on the colouring!

The images were stamped onto white cardstock and coloured with Copics before cutting them out with the coordinating dies. The fun bit is arranging them all into a little scene. So I did that and took a photo so that I knew where to position all the images once I started the assembling. Some were adhered flat and some popped up with foam tape. To finish I stamped a sentiment from Life’s Ups and Downs onto white cardstock, trimmed it and added some foam tape to that too. The whole panel was then added to my horizontal top folding card base.

 Time for Tea Designs products used:


Monday, 7 September 2020

Interactive Windmill Video Tutorial


Hello Vic here today! 

Today I’m sharing a Video tutorial using the Up, Up & Away Stamp Set and the Windmill Builder Die


I had so much fun creating this card especially making the windmill.


I started with a DL size card and die cut a panel using the Scalloped Slimline Die. This die is so pretty to add to your DL cards.


I then stamped and coloured my images. All the copic markers are listed on the screen in the video.

Next I added some ink blending onto the panel using the Wonderful Waves Stencil  and some distress oxide ink. Once this was completed I adhered this onto my card base.

I then die cut all the pieces from the Windmill Builder Die and started to put the windmill together. This is so fun to use and once you put one windmill together you will see how fun it is to make.


 I then adhered the windmill and all my stamped images onto the card.


Lastly I stamped my sentiment and heat embossed the sentiment with white embossing powder. I trimmed this down and adhered this onto my card.


To finish the card off I added some sequins.
Thank you so much for stopping by today. You can see all the Time For Tea Designs Here. Don’t forget you can save 10% off your order using the code: T4TVICKI10 at the checkout.
Have a lovely day!
Vic

Friday, 27 March 2020

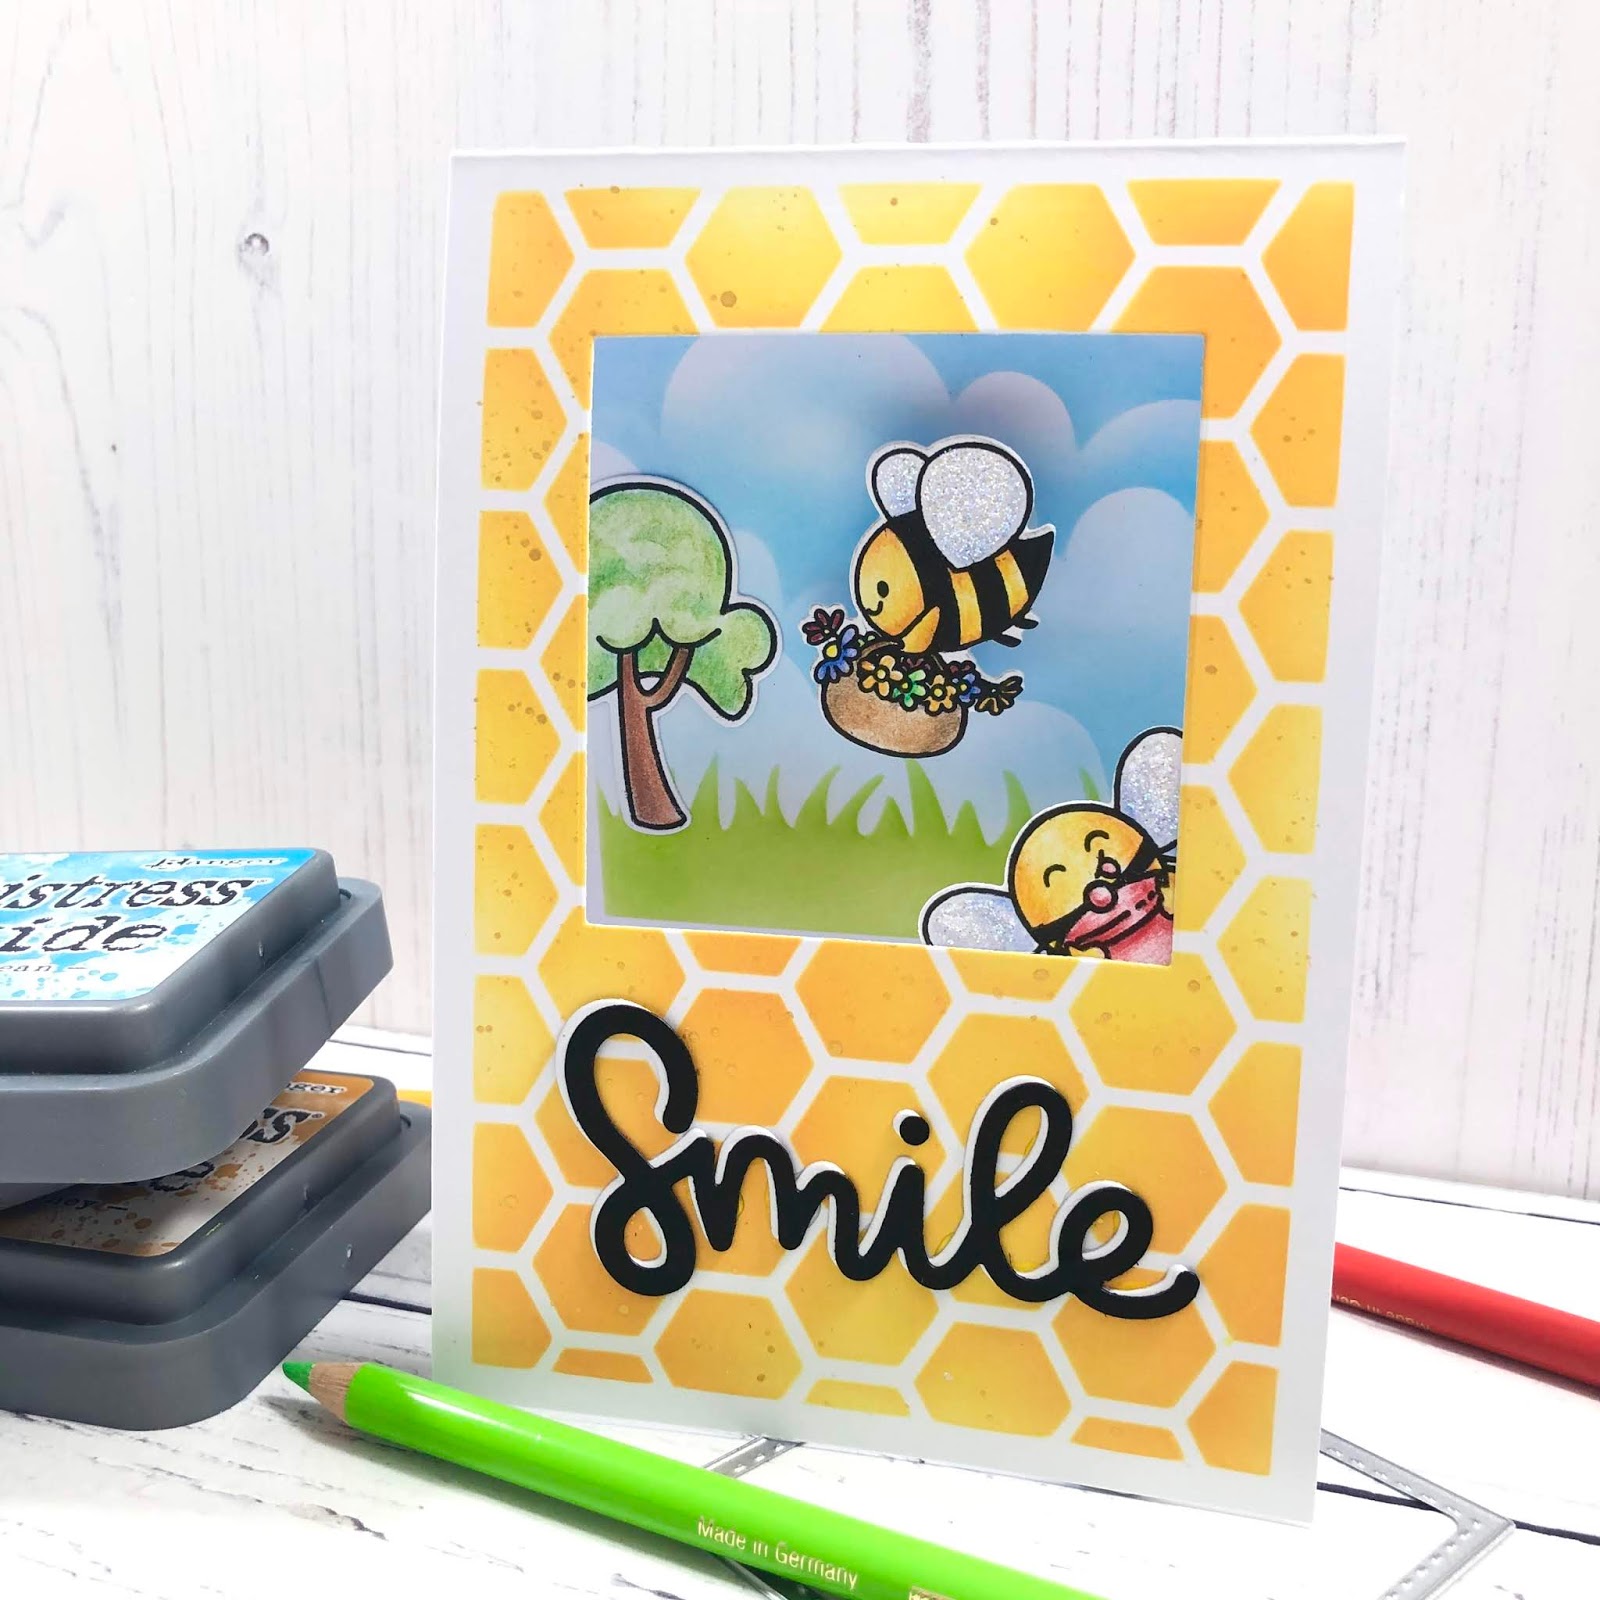
Smile and Bee happy Window Scene Interactive Card

Hi there!

I really hope everyone is keeping well, staying safe and is remaining positive while social distancing.


Last night's FB Live Craft with Jo and Ant was such a tonic for us and hopefully for you too. It means so much to be able to craft along with you, chat about craft and do something that is a welcome distraction from the current situation.

Be sure to watch the edited version of the Live Event below to see all the steps in more detail.


For today's card I wanted to create a fun interactive card that feels like Spring is on its way!


I stencilled my Bee Hive background directly onto my card base using my Beautiful Blender Brushes and Distress Oxide Inks.


I then opened my card and used my Large Square Masking stencil the mark out where I wanted my garden scene. The Masking Stencil has etched lines that allow you to line up your stencil onto an A6 UK card base or an A2 US card base.
  

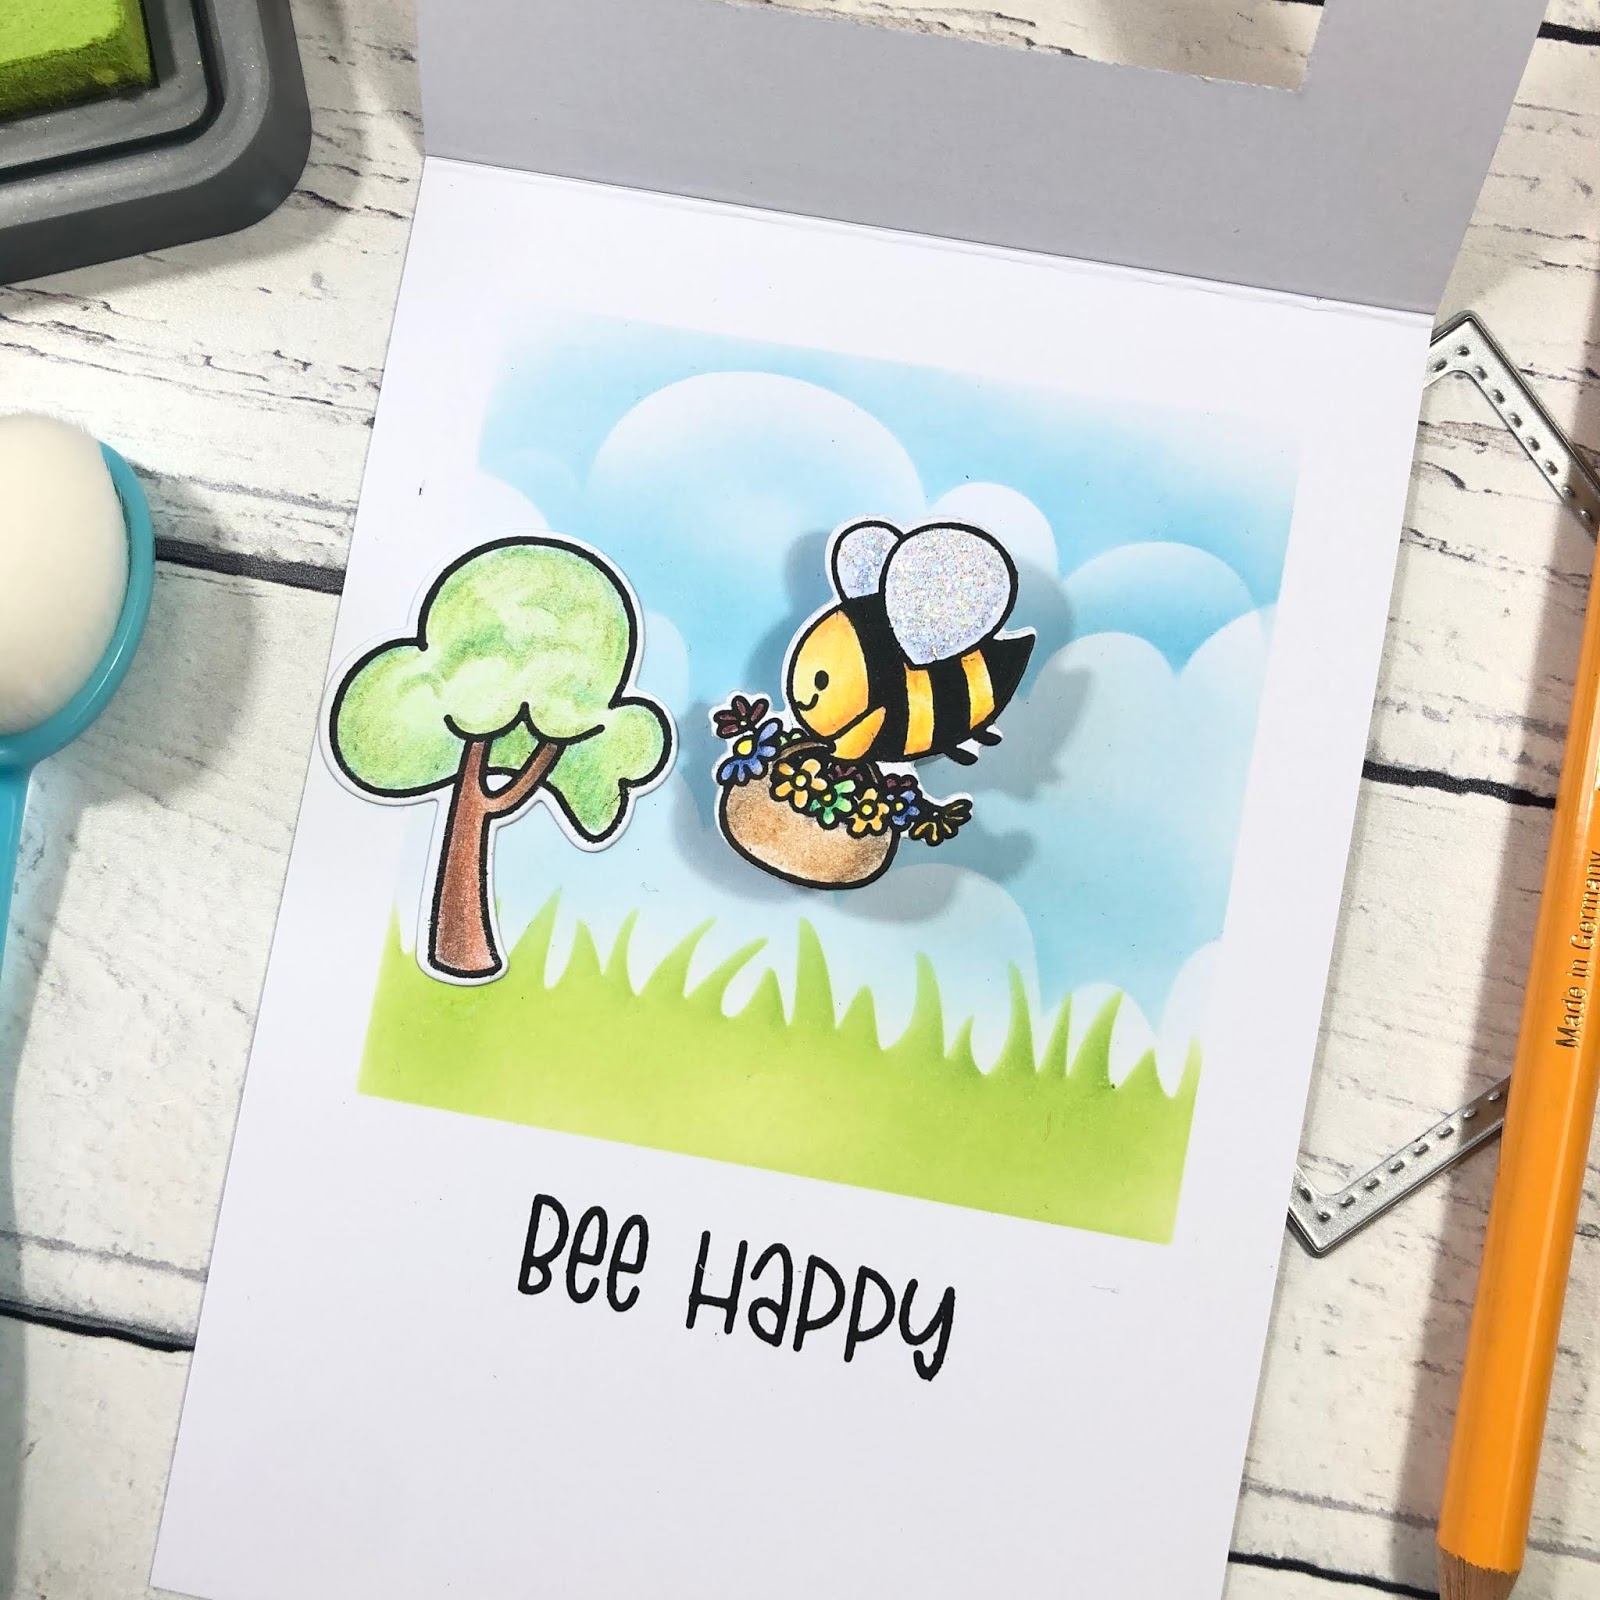
I then used the Sunny Side Up Again 6x6 Stencil to create my scene. I stencilled the grass & fluffy clouds with this stencil and my Beautiful Blender Brushes.


My super cute Bees were stamped onto super smooth cardstock with my Lawn Fawn Jet Black Ink. I coloured all of my images with my Faber Castell Polychromo Pencils. The tree is from the Moovellous Stamp set and fits perfectly into our scene.


I stamped the Bee Happy sentiment from the Bee Happy Stamp set underneath our scene using Versafine Onyx Black Ink.


I used a die from the Quilted Square Nesting Die set to cut the window from the front of my card. This now creates a view through to our scene on the inside of our card.


I cut the Smile sentiment from the Smile Scalloped Frame Die Set, from white and black cardstock. I layered the black sentiment over the white offset slightly to create a drop shadow effect.


I then added my images. The Bee with his honey jar has been added directly to the front of the card using liquid glue. The Tree has also been adding with liquid glue to the left of my scene.


My adorable Bee carrying his rainbow of flowers has been added with my favourite accessory! The Action Wobbler! This give my Bee some dimension but also means he wobbles and springs when he is flicked gently. Its is so adorable and really makes me smile.


I hope you enjoyed the project today.

We are so grateful to you for your support. We are a small family business (just me, Ant and the cats :)) so we are taking every precaution so we can continue to bring you inspirational projects and new products.

At the moment we are still fully operational as Royal Mail continues to support the nation keeping our post coming to our doors. 

Please Stay Home and Stay Safe.

Look out for more inspirational via our FB & IG pages while we continue to work our way through self isolation.
#weareinthistogether

Our next scheduled FB Live will be Thursday 2nd April - 8PM GMT.

The products I used for this card are detailed below.


Other Posts You Might Like