Hello crafty friends. It's Thursday again (can you believe it!) and that can only mean one thing...my weekly post for Time For Tea Designs. I have another sweet simple card using the fabulously cute bunnies from the latest release...
I will make sure I have some other non bunny cards soon, just once I started I couldn't stop! I used the Time For Tea Blossoming Bunnies Stamp Set.
I coloured them with copic pens and cut them out. I created a suble blended
background using blue and green oxide inks. I
die cut the frame from white card and the smile from lilac card using the Time For Tea Smile Invered Scallop Frame Dies. I die cut the smile word several times and layered together to create a bit of dimension for the sentiment. I added all the bunnies and flowers with foam pads and made the middle one look like he is peeking out of the flowers!
Thank
you ever so much for joining me today. Don't forget you can get 10% off
at the Time For Tea website using the code T4TKITTY10. I will see you
all soon when I am back with another card.
I really hope everyone is keeping well, staying safe and is remaining positive while social distancing.
Last night's FB Live Craft with Jo and Ant was such a tonic for us and hopefully for you too. It means so much to be able to craft along with you, chat about craft and do something that is a welcome distraction from the current situation.
Be sure to watch the edited version of the Live Event below to see all the steps in more detail.
For today's card I wanted to create a fun interactive card that feels like Spring is on its way!
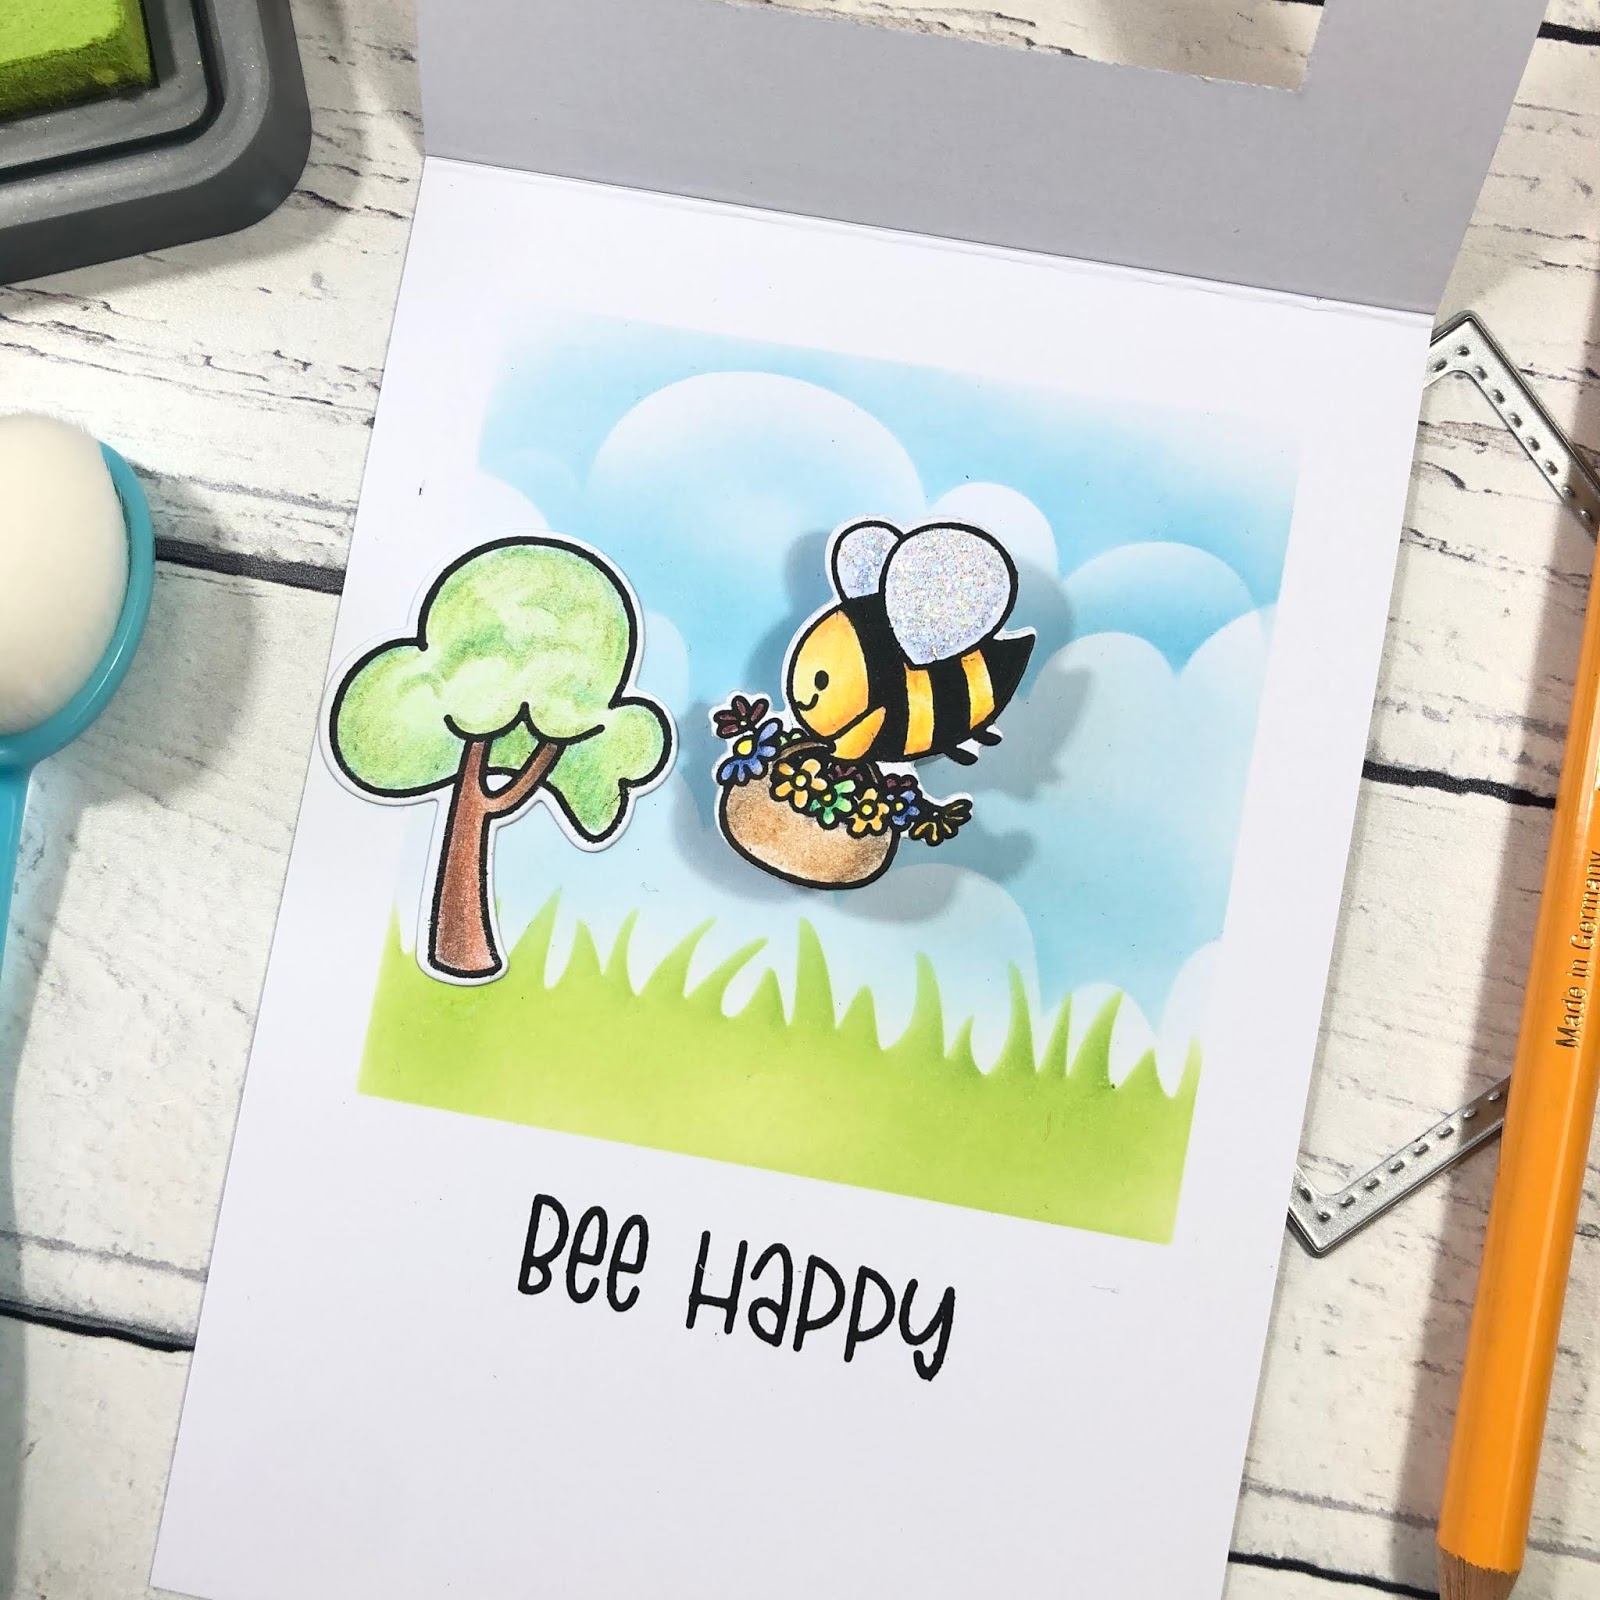
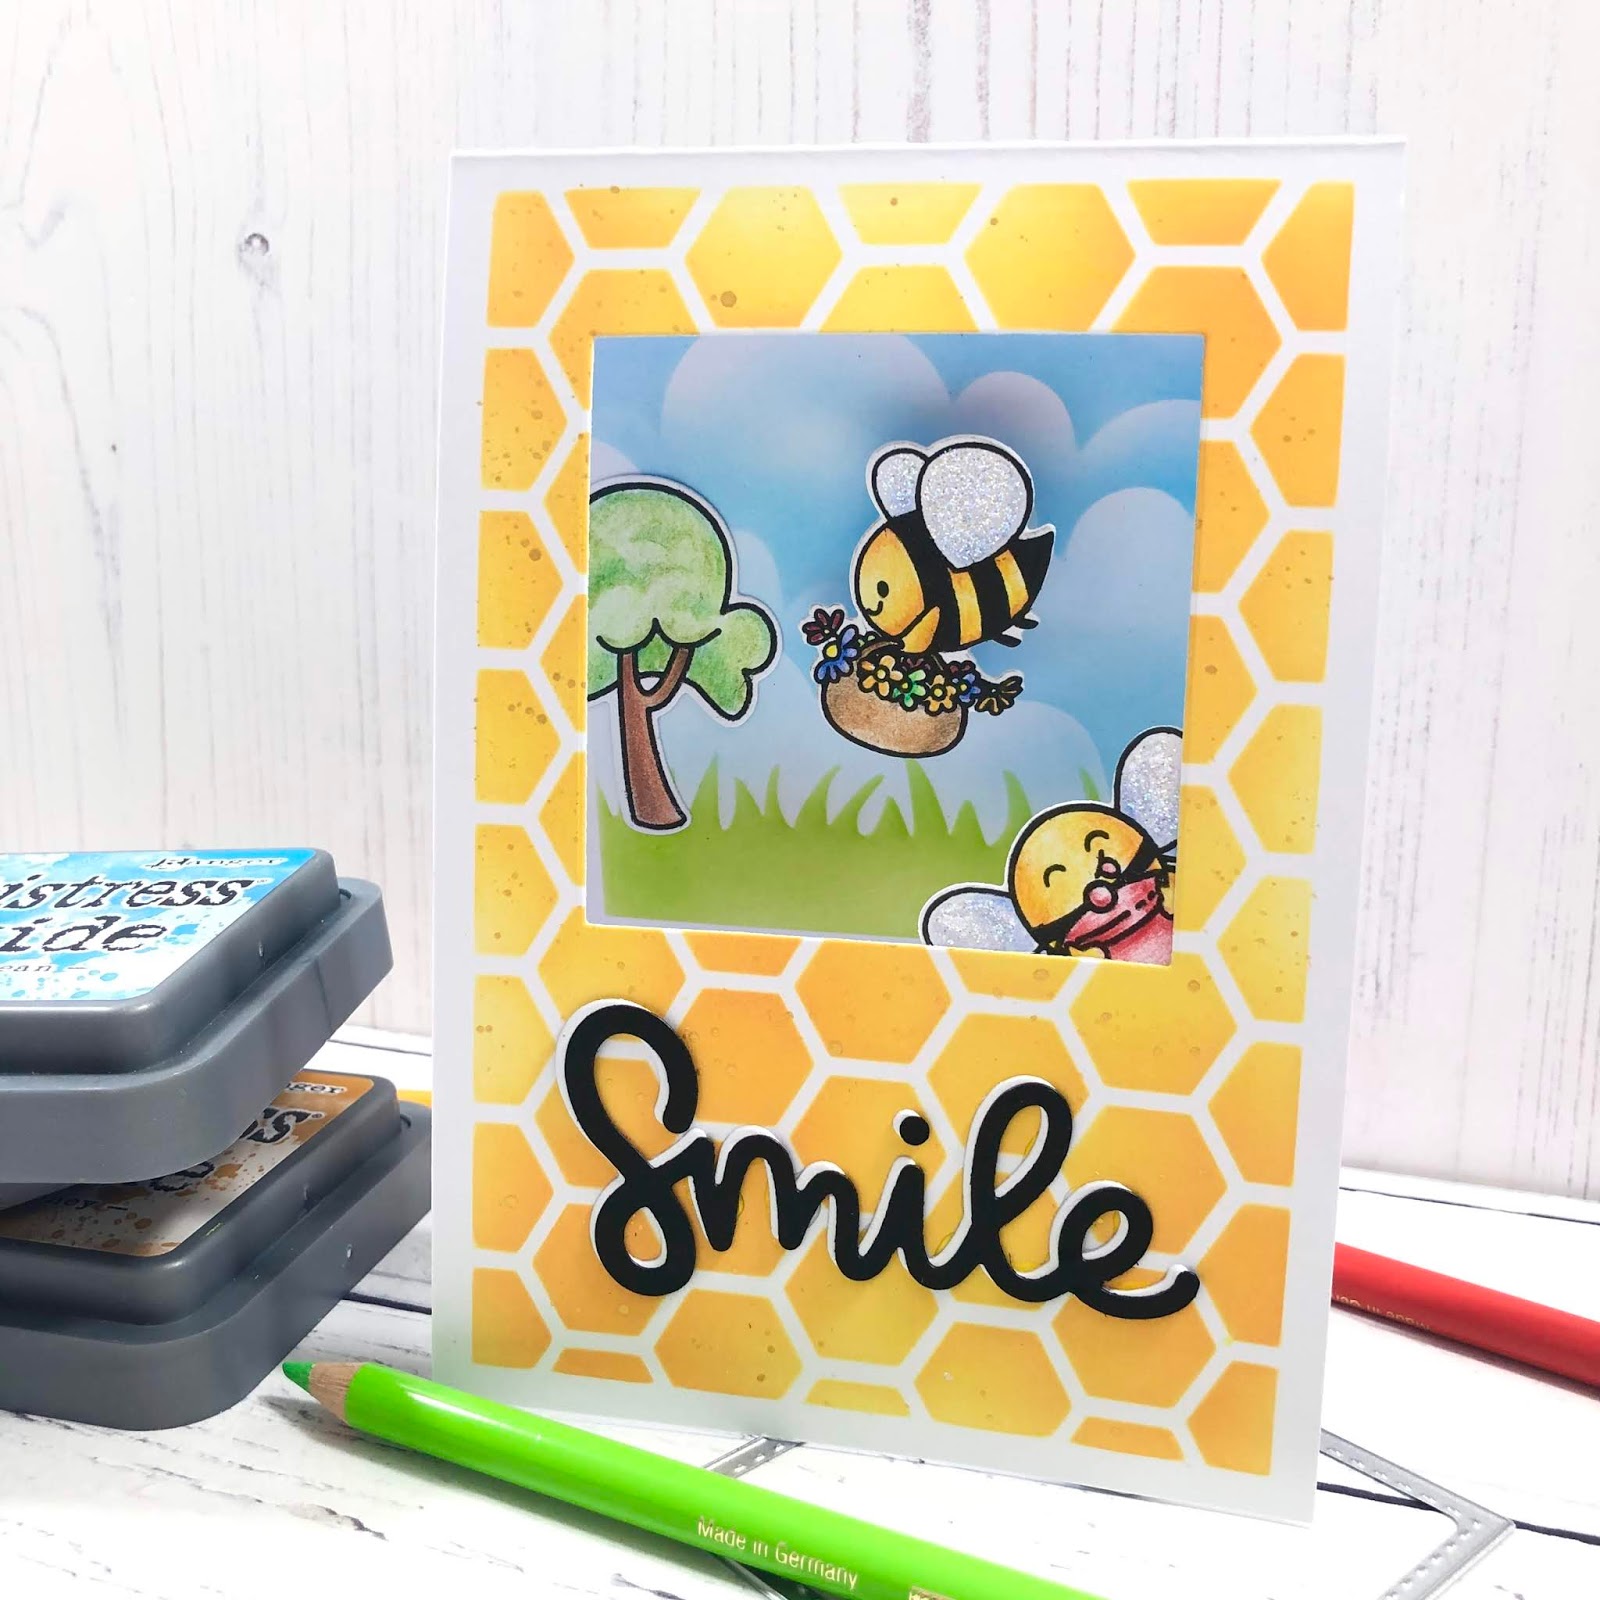
I stencilled my Bee Hive background directly onto my card base using my Beautiful Blender Brushes and Distress Oxide Inks.
I then opened my card and used my Large Square Masking stencil the mark out where I wanted my garden scene. The Masking Stencil has etched lines that allow you to line up your stencil onto an A6 UK card base or an A2 US card base.
I then used the Sunny Side Up Again 6x6 Stencil to create my scene. I stencilled the grass & fluffy clouds with this stencil and my Beautiful Blender Brushes.
My super cute Bees were stamped onto super smooth cardstock with my Lawn Fawn Jet Black Ink. I coloured all of my images with my Faber Castell Polychromo Pencils. The tree is from the Moovellous Stamp set and fits perfectly into our scene.
I stamped the Bee Happy sentiment from the Bee Happy Stamp set underneath our scene using Versafine Onyx Black Ink.
I used a die from the Quilted Square Nesting Die set to cut the window from the front of my card. This now creates a view through to our scene on the inside of our card.
I cut the Smile sentiment from the Smile Scalloped Frame Die Set, from white and black cardstock. I layered the black sentiment over the white offset slightly to create a drop shadow effect.
I then added my images. The Bee with his honey jar has been added directly to the front of the card using liquid glue. The Tree has also been adding with liquid glue to the left of my scene.
My adorable Bee carrying his rainbow of flowers has been added with my favourite accessory! The Action Wobbler! This give my Bee some dimension but also means he wobbles and springs when he is flicked gently. Its is so adorable and really makes me smile.
I hope you enjoyed the project today.
We are so grateful to you for your support. We are a small family business (just me, Ant and the cats :)) so we are taking every precaution so we can continue to bring you inspirational projects and new products.
At the moment we are still fully operational as Royal Mail continues to support the nation keeping our post coming to our doors.
Please Stay Home and Stay Safe.
Look out for more inspirational via our FB & IG pages while we continue to work our way through self isolation.
#weareinthistogether
Our next scheduled FB Live will be Thursday 2nd April - 8PM GMT.
The products I used for this card are detailed below.
Hi all! I hope everyone is well this Friday evening!
Jo here with our edited version of last nights Facebook Tutorial.
It's almost Mother's Day here in the UK so I really wanted to create a Spring themed card that would be ideal to send to my mum!
Check out the video below for more detail on how I put together this fun Shaker Card.
Our new Hooray Cover Plate Die has a this fabulous sentiment Die which is a significant size to create a focal point on the front of your project.
I decided to use this die to create my shaker element. I used a piece of our A5 Super Smooth Cardstock for my background. My grass and fluffy clouds were achieved using the Sunny Side Up Again Stencil which is a fabulously versatile stencil for creating scenes.
I added a fine spray of water and then some flicks of acrylic paint in white to add some extra texture to my background.
My images are from the Butterflies Stamp and Coordinating die set. This is such an adorable set and perfect for this time of year.
I stamped the images on the same A5 Super Smooth Cardstock which is 300gsm so a really good weight. I stamped them with my Memento Tuxedo Black Ink and then coloured them with my Copic Markers.
My card base was created from an A4 piece or our Moon Mist Cardstock. I used my scoreboard to fold this in half. My background panel was trimmed down so that a small border of my grey card base can be seen around the edge.
I cut my sentiment from the background panel. The letters were stuck directly to my card base so they can be seen through the aperture I created. I then added a strip of acetate behind my sentiment aperture.
Before attaching my background to my card base I stamped my secondary sentiment "enjoy your day" which is from the Hip Hop Hooray Stamp set.
I added two layers of foam tape to my card base, completely surrounding my sentiment letters. This created my 'well' for my sequins. The double layer means that my sequins will have enough room to move around freely when the card is being shaken.
I added my sequins into the 'well' then removed the backing from tape and adhered my background panel.
I then added all my images. My butterflies were given some sparkle to their wings with my Stardust Stickles.
I also added some glossy accents and Nuvo Crystal Drops to finish off my scene.
Be sure to check out the video to see my shaker card in full sparkly shake! :)
I hope you enjoy the video and it brings a little sparkle to your day!
Don't forget you can join us for our next FB Live every Thursday evening at 8PM GMT.
Hi crafty friends! Are you ready for some new inspiration from Time For Tea Designs? DT Jennifer here with some spring-y fun (in more ways than one!).
For my card today, I'm showing off these adorable bunnies in the brand new Hip Hop Hooray clear stamp set! I just want to squeeze them! I told my husband we should get a pet bunny, but he didn't think that was a great idea...what a party pooper.
I've got a video of this bunny doing his Action Wobble/BOING BOING thing on my Instagram HERE if you're interested!
There's a lot going on here with today's project - it was so much fun to create! I started by cutting my large Smile Scalloped frame die out of Neenah Solar white cardstock and setting it aside. I also cut a piece of Neenah Solar white cardstock the same size as the outside border of the die so I could use it to create my background. I flipped the frame piece over and used it as the outside mask for my background. I knew I was going to add the film strip at an angle, so I masked off a central line to break up the grass and sky using some scrap paper. Using my Beautiful Blender Brushes, I placed Distress Oxide ink (Tumbled Glass) over the entire top background panel. Then I used Stormy Sky with my stencil to add the hearts, fading it out toward the edges. I switched the mask to the other side and repeated with Mowed Lawn ink directly onto the cardstock, layered with the stenciled image using Peeled Paint ink over the top. The blender brushes put the ink on as smooth as silk!! Once everything was all colored, dolled up, and cut, I started adding it to my card base and polka dot background panel. I'm normally COMPLETELY ALLERGIC to stuff being put on my cards "crooked", but I really think it adds some fun and whimsy to this scene to do it that way. I offset the background panel, the frame, and the bunnies as they hop on and off camera to move your eyes across the entire card. I almost forgot - I have a discount code for you to use - T4TJENNIFER10 will save you 10% on your order from the Time For Tea shop! Yayyyy :) I hope you enjoyed my project today. If you've got a moment, head over to join our FB community, follow us on Instagram, and don't forget to play along with our monthly challenges by tagging #timeforteadesigns - so easy! Thanks for stopping by!