Pages

Showing posts with label Elephantastic. Show all posts

Wednesday, 22 December 2021

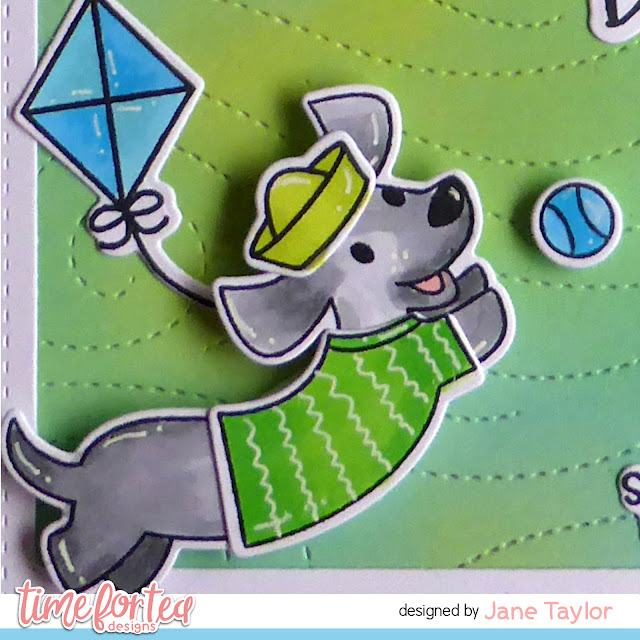
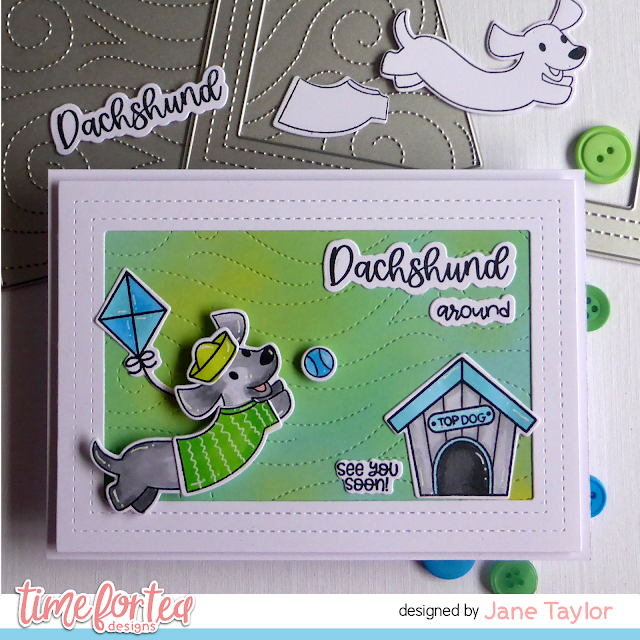
Stop Dachshund Around

 Hello!

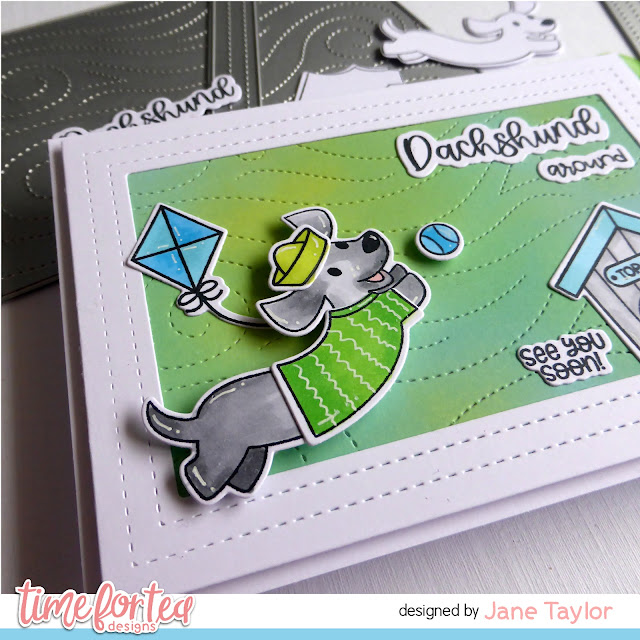
Today I'm sharing a card I created using the T4TD Stop Dachshund Around stamp and die set, the Snow Flurry Cover and Wide Stitched Frame dies from the November release.


I started by inking up a piece of card with three distress oxide colours and then used the Snow Flurry Cover die to create some texture and pattern.


I framed the background in white using one of the Wide Stitched Frame dies. I then had fun stamping, colouring and die cutting the images from Stop Dachshund AroundDog Gone Mutts and Elephantastic. The 'see you soon' sentiment is from Car Critters.


I finished off my dachshund by adding a wavy pattern to his jumper using a white gel pen.

I hope you like my card using the awesome products from T4TD. If you'd like to purchase any items you can get 10% off by using my code - T4TJANE10.

Thanks for looking today. 
Stay safe and keep crafting!

Jane
x

Friday, 13 August 2021

Just a note to say Hello


Happy Friday! Annalisa here sharing a clean and simple card with a couple of happy bees. I love the Bee Happy stamp set so much, and I am so glad it has an updated coordinating die set that also cuts out the sentiments.

To start, I stamped, coloured and die cut the bees and the honey wand. I then die-cut a square base (4.5 x 4.5 inches) and added some Squeezed Lemonade Distress Oxide Ink using my Beautiful Blender Brush


I die-cut some hexagons (using an older T4T die, but you could certainly use the new Bee Hive Slimline Die to create some hexagons), and added some colour with Distress Oxide once again.

I popped up each of the hexagons using varying amounts of foam tape (ranging from a single to triple layer) to create different heights to add interest to the card. I glued down the elements (including a red heart that was die-cut from the coordinating die set) with liquid glue and added white gel pen highlights with my Gelly Roll Pen. Next, I applied some Glossy Accents to the wings, honey pot, heart and honey wand and let it dry.


For the sentiment, I used the 'hello' from the You’re Elephantastic stamp set and did some white heat embossing onto black cardstock, which I cut down to a thin strip. I added some foam tape to this for dimension.

To finish the card, I added the bee scene to some black card stock which I die cut into a 5 x 5-inch card base.

Thank you so much for visiting my blog, you can use code T4TANNALISA10 when you visit the shop to get a 10% discount on your entire order.

Saturday, 24 July 2021

You are Elephantastic Take 2!


 Happy Saturday everyone, have you been enjoying the sunshine this week? It’s been far too hot for the craft room and my mojo seems to have disappeared at the worst time. I needed to make some quick teacher cards and presents though, but what to do when your brain is hot and bothered and the ideas aren’t coming?! 

Everyone seemed to love my elephant card from the other week so I decided to make a couple more of those. I then mixed it up a little for the other teacher adding a little green to the mix and a different elephant. It adds a more masculine feel but I still like that it has a cuteness to it. Mixing up old designs is a great way to get the ideas flowing and to make quick cards.

For my card you can find all the details for on my previous blog post here just with the change of green oxides and a different elephant. Alongside that though I wanted to make some message sticks to add to my presents. I got three little succulents from IKEA and I wanted to add a little message to them. To do this I used the You are Awesome sentiment die

I cut the outline out twice once in white card-stock and again in white fun foam and layered them on top of each other. Then for the You are awesome sentiment I coloured up the white cardstock with some Kitsch Flamingo Distress Oxide ink and then cut it out. With it being small it's much easier doing it this way around. To make sure my letters were all lined up when adding it onto the foam and card base I used the negative die cut as a template. Laying it over the top and piecing the letters back in that way. Its a bit fiddly but its the best way I've found to get them centred, straight and the same width between the letters. I made three of these one for each plant once the top was all finished I got out my wooden skewers and chopped them down to size I went so they were just a little taller than the plant. To stick them together I used my glue and stuck it at the back if you wanted you could also add a little peg and add a little note underneath but I didn't think about that until after typically lol!

So that's my project finished up for this week I hope you like it those message sticks are perfect for all occasions I've made Christmas ones before, you could also do Happy Birthday ones wherever your imagination takes you. If you want to get ay of the products I used today in the shop or anything else you can get 10% off your order using code T4TNATALIE10. Have a great weekend and I will see you all next week.

Saturday, 10 July 2021

You are Elephantastic!


Hi everyone its DT member Natalie here and the weekend is here again! I'm so ready for my Saturday off. The weather is miserable so a day in and catching up on crafting and time with the boy. 
I have been enjoying getting out my older sets and I finally got time to colour up the sweet elephants from the Elephantastic Clear Stamp set. Its the first time I've made a vellum shaker card and I love the soft look it gives. 
To make my card I began by stamping out my elephant onto copic paper. I coloured it up using warm greys and R11 for the cheek and inside of the ears. Then R27 for the love heart with a touch of R29 for some shading. Not much colouring today which is a change for me but it was a nice change from scene cards for once.
The base of the card is made up using the new Smile Inverted Scallop frame Dies which I cut out twice using some 360gsm smooth white card stock. Using one of the inner panels I blended Dried Marigold and Kitsch Flamingo distress oxide inks. I didn't bother too much about adding texture as you cant really see it so well behind the velum. Then with the other panel I cut out I took the Lots of Love Slimline Dies and cut that out from it. This just adds some added interest in the background. I stuck the blended panel and one of the frames together at the back using double sided tape. Then layered the heart inside it using liquid glue then my base for the shaker was ready. I added fun tape around the edge of the frame and took the paper off first and then added the sequins. I find if I do it this way if I do get my fingers stuck to the tape the sequins don't bounce out and get stuck to the tape. 
Once the sequins were added I just used a mix of yellows and pinks I found in my drawer I added the vellum on top. Then popped the other frame on top of that to give it that finished look. 
For the sentiment I cut out the Thank You Die out of the smooth white cardstock twice and layered it together and popped it onto my card. Adding the are elephantastic underneath in white embossing with the same oxide colours blended on top. Then added my elephant and that was my card finished up. 
I hope you like it and as always you can get 10% off in the shop using code T4TNATALIE10.
Have a great weekend and I will see you all next week with another super fun card to share.

Saturday, 18 January 2020

Awesome Friend Birthday


Hello everyone! Annalisa here showcasing the new large square masking stencil from Time For Tea Designs on not one, but two cards. In this release, there are 13 different stencil shapes to choose from! On each stencil, there are etched lines that indicate the Card Sizes A2 (US) & A6 (UK). You use these markings to line up your card blank to get the perfect placement for your mask which makes them easy to use. Also, they come with both the negative and the positive stencil which is so useful.

I used the outside of the square masking stencil and coloured the inside using the Distress Oxides Cracked Pistachio, Peacock Feathers and Chipped Sapphire. I then covered the inside with the second mask and added the Magical Snowflake Stencil on top. After securing it down I added several drops of Distress Ink re-inker in the colour picked raspberry to some Wendy Vecchi embossing paste and applied it to the stencil.

After everything had dried I stamped the words "Happy Birthday to an Awesome" (from Say Anything) using VersaMark ink to the blue backgrounds. I heat embossed it using some Icicle ultra fine embossing powder by Brutus Monroe. I die cut the Friend Sentiment Die Set and adhered it to the cards.

To finish up the cards, on one I added an elephant from You’re Elephantastic and the other two cute snowmen from hello Bluebird's Frosty Littles Stamp set.

Thursday, 14 November 2019

You Make me Smile


Hello! DT Annalisa here and today I am sharing a box card I created using some of the newest arrivals in the Time For Tea Designs shop; the Thanks A Whole Bunch and You’re Elephantastic stamp sets as well as the Box Clever Die Set. I also used the Butterflies Clear Stamp Set and Smile Sentiment and Scalloped Frame Die Set from previous releases. It's always great to be able to mix and match new and older stamp sets.

First I die cut out the Box Clever Die Set from some Neenah Solar White 110 lb card stock. Next, I stamped the flowers from the Thanks A Whole Bunch stamp set and coloured them with copics. I coloured in the base pieces from the die set with Twisted Citron and flicked on some Mowed Lawn for some extra detail.

I stamped, coloured and die cut the girl and other elements on the box card and adhered them to the base elements. I cut out some openings in the back base lawn piece using Lawn Fawn's Sandy Beach Accents die set. I used these openings to slip in the happy girl and flower. I used some acetate to pop up the cute butterfly so it looks like she is flying next to the girl.

For the sentiment, I stamped 'you make me' in black ink and used the 'Smile' sentiment from the Smile Sentiment and Scalloped Frame Die Set. I used Wilted Violet to colour some card stock and add some droplets of water before die cutting the smile sentiment.

Monday, 4 November 2019

Elephantastic Big Hugs

Hi everyone! 
It's Cat here! 

Today I have a Time for Tea Designs DT card to share today, using the Elephantastic Stamp and Die set!. 


For this card I used Tim Holts Distress Ink 'Spun Sugar' to slightly distress the backing card. I then coloured, with Promarkers, and die cut the elephant and hearts from the Elephantastic set. I then used my stamping platform to stamp the 'BIG HUGS' sentiment from the same set. Finally i then used the Hello Rectangle Nesting Dies to cut out the black strip and the rectangle piece to place on the 6x4 Card. Finally i used a white gel pen to add the 'x'.

I hope you like it!

The products I used are listed below.

Crafty Hugs

Cat
-x-

Other Posts You Might Like