Happy Weekend everyone hope your all well and loving the new release!
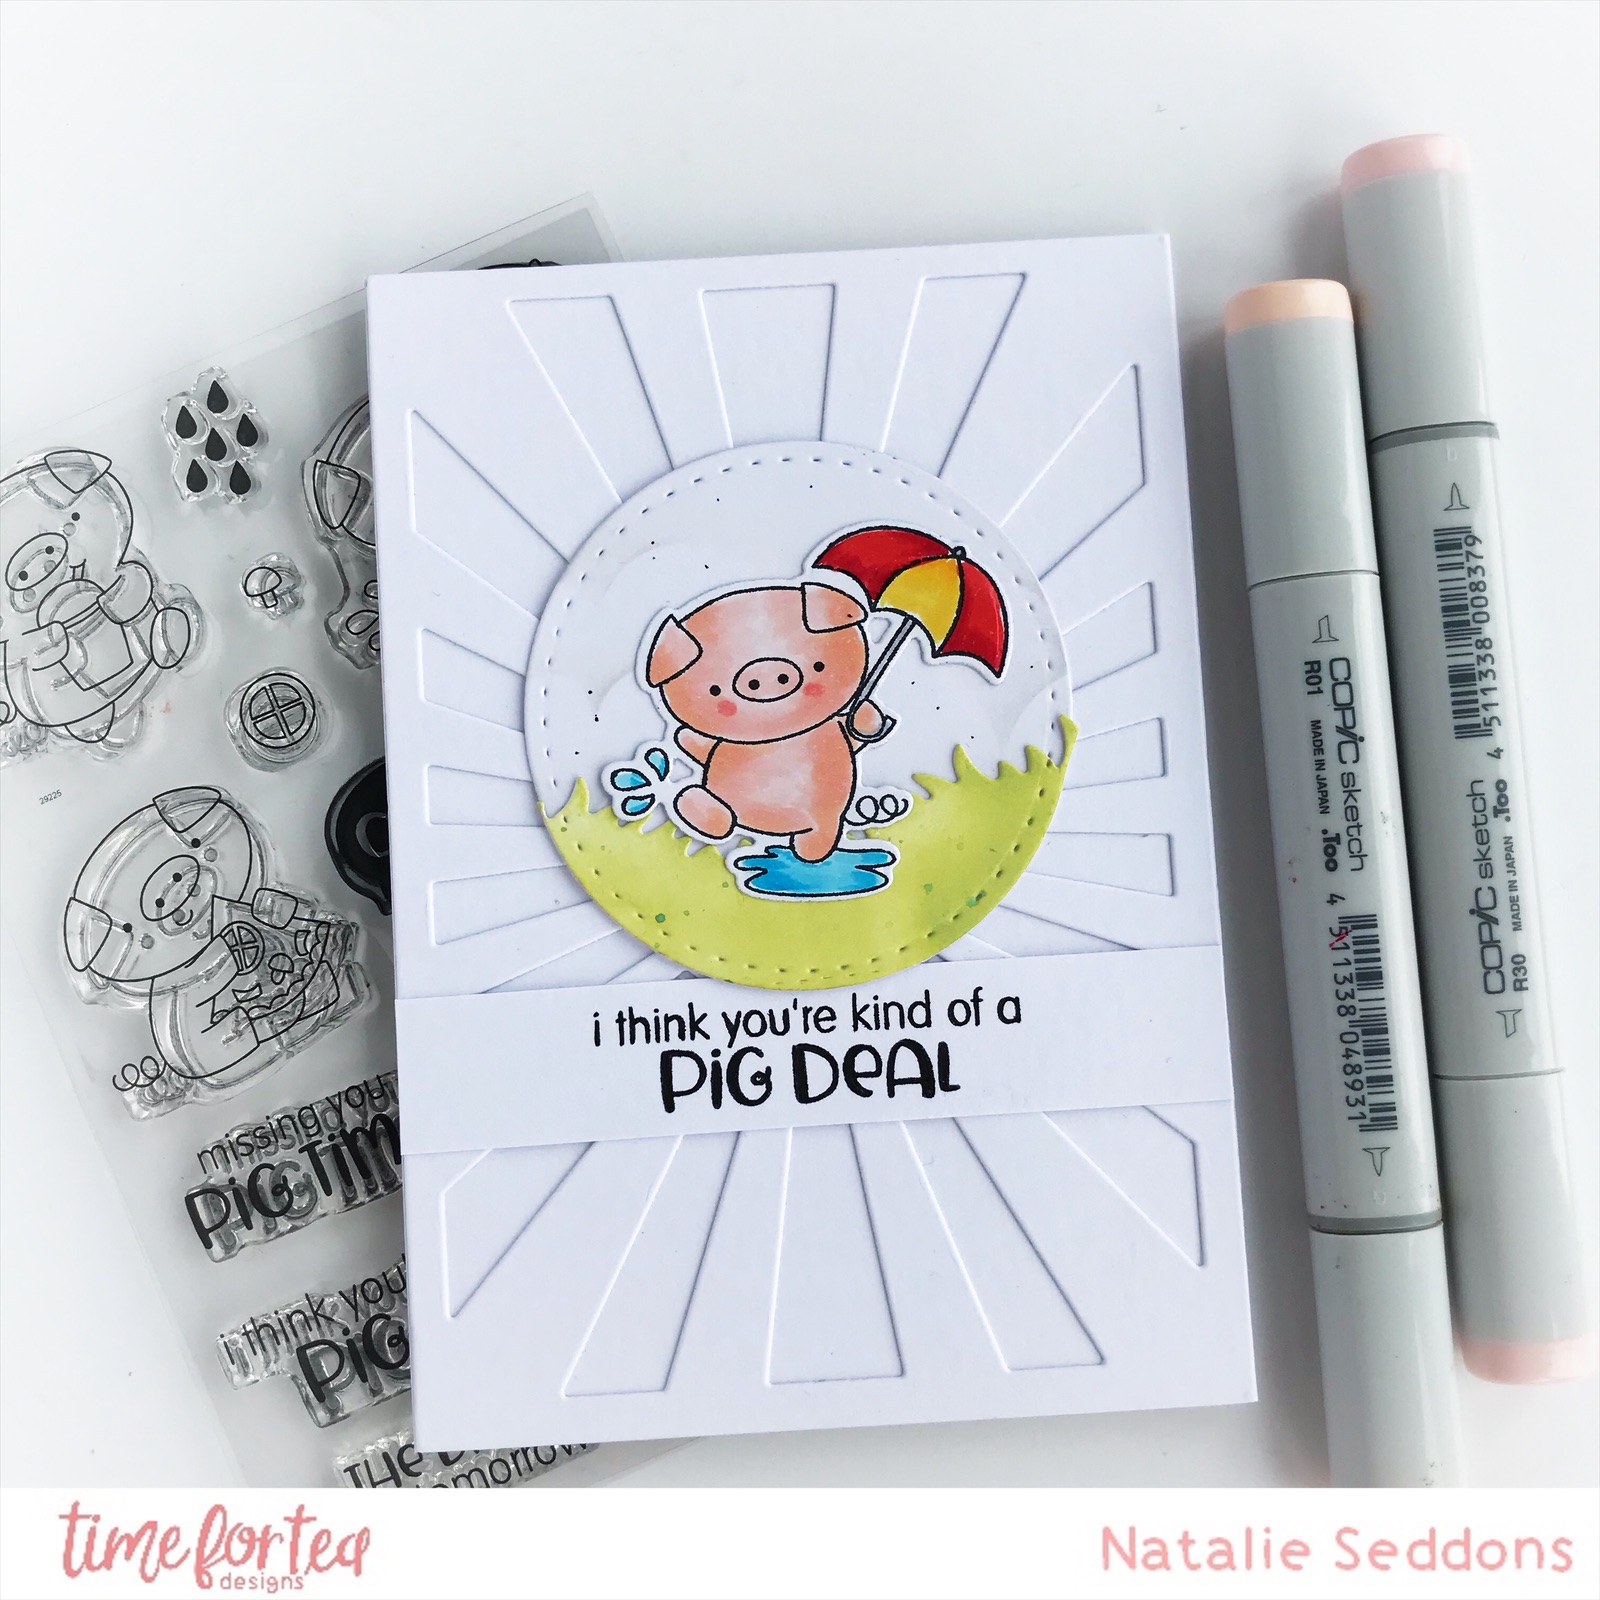
I have a fun clean and simple card for you today on the blog today using the new Hogs and Kisses stamp set. I love the white on white with the die cut background it gives it a bright, clean look whilst making the image pop.
The die cut background is the Sunburst cover plate die from last months release its super versatile and I've used it so much I just popped it on a card base and cut the card base down to fir the size.
For the topped I used the Circle of Love Nesting dies and cut out two circles one I inked up some grey clouds using the Sunny Side up stencil. The other I cut out some grass using the new Landscape Edge standalone die and I ink blended with some Twisted Citron Distress Ink. The cute little pig is just so fun I can see me using him so much, I coloured him up and stuck my topper together and popped it on the base then added my sentiment strip and that was my card finished up.
It was super quick to make but still looks striking I hope you liked my card for today and don't forget you can get 10% off in the shop using code T4TNATALIE10
Morning all well its been a full week already since the new release and it looks like your all loving it as much as we are! I love how everything works so well with each other I combined the Storms don't last Forever and the Grateful for You Landscape stamp sets for this sweet card.
I started out by cutting out two large circles from the Circles of Love Nesting Dies and two circles the next size down. Using the smaller circle I ink blended some clouds using the Sunny Side up Again Stencil and Pumice Stone Distress Oxide ink. I finished it off with some splatters of Iced Spruce Distress Oxide then I set it aside to dry.
Using the other small circle I cut I stamped the Grateful for You landscape image on and coloured up with Copic markers. I fussy cut it out right on the line and chopped off some of the other elements just keeping two of the mountains and one tree. This just gives it a different look and gives more room for the Rainbow in the background.
The rainbow I stamped out using Worn Lipstick and Picked Raspberry Distress Oxide then the middle arch I heat embossed with Gold embossing powder. The cloud is die cut with the cloud die I just didn't stamp it and the sun is from the Grateful for You Landscape set.
For the sentiment I added some Worn Lipstick distress oxide on some card then stamped straight on top and die cut it out. Then all was left to do was stick everything together and pop on the back of the card the second larger circle I cut and my card was finished.
It's DT Shabneez here and I hope you've enjoyed seeing all the elements from the new release which is now available to buy in the Time for Tea Designs store!
I've combined a couple of the new release stamp sets on my card today to form a cute scene. It's definitely somewhere I'd love to live as it looks so idyllic!
I used the Circle of Love dies to make my circular Easel card. Next, I stamped and masked the Background Scene stamp and used the Sunnyside Up stencil as the backdrop. Once I'd coloured in the background using a mix of pens and ink pads to form a scene, I went on to die cut the rabbit and bees from the All Occasion Critters stamp. After colouring them in I adhered them to my scene.
I used one of the frames from the Mini Frame & Banner Die set to act as a stopper for the easel.
I have a new video tutorial for you on our YouTube channel today.....
PLUS an opportunity to win the card we made this week in a fun competition
You’ll have to watch the video though to find out how you
can win! 😊
This week I created a slimline card using our Fairy Garden
Stamp set. I was especially excited to make this card as we now have the coordinating
dies in store. These dies not only cut out all the images but the sentiments
too! This makes putting together your project so easy!
We also used the large Thank You sentiment which is stunning,
especially when it’s given some dimension like this.
Check out the video for all the details on how we completed
our sunset background and all the little finishing touches.
I really hope you enjoyed todays card & lots of luck with our competition!
Details of all the products I used including the new Fairy
Garden Coordinating Dies, are listed below.
It is a NEW RELEASE day! EEK! So many new goodies! DT Annalisa here and my card features the new Buzzing For You A7 Stamp set and dies. The bees are adorable and I just LOVE the huge BUZZING sentiment, it really pops on a card.
To start I stamped the bees, clouds and sentiment. I then coloured the bees and the sky behind them using Copics. I used the largest die from the Bee Happy Hexagon Stitched Nesting Dies to cut around the bees.
For the background, I applied Squeezed Lemonade and Dried Marigold Distress Inks on the Sunny Side up Again stencil on some white card stock. I framed this on some black card stock to which I added some dotted white lines with my Gelly Roll Pen.
I glued the bee mini-scene onto the sun and black card base and then added some clear rhinestones and a single heart which I have had in my stash forever!
If you are interested in purchasing any of the T4T products used in my project, I have a 10% discount code for the T4T store which can be used on anything, anytime and has no time limit - T4TANNALISA10
Hi DT Sharon here and today I'd like to show you a card I made using lots of lovely Time For Tea products.
The unicorns are a real favourite of mine and when I saw the new clear drops embellishments I knew they'd go well together.
So first of all I made the background. I die cut the square with a die from Square Quilted nesting die set and I then stencilled the clouds using the Sunny Side Up stencil and broken china distress oxide ink. Using the Circle of Love nesting dies I created the framed circle. I stencilled the circle with the new Splish Splash stencil and the same oxide ink. I stamped and die cut the images and then coloured them with alcohol pens. I added lots of clear sparkle glitter pen to make them shine. These were adhered with 3D foam pads. I then added the gorgeous clear drops to add more detail to the card.
You can find all the products in the T4T store here https://timeforteadesigns.co.uk/
You can also get 10% off anything across the store by using my code T4TSHARON10
DT Anila on the blog today, sharing this cute Hello Foxy card.
I began by die-cutting a Hexagon using the Scalloped hexagon die. Blended the sky and the grass using distress oxides.
Stamped the tree and the foxy image. Coloured with Zig markers and die-cut them using the co-ordinating dies.
On a card base, I adhered the hexagon and stamped the sentiment in black around all the edges of the hexagon. The "Hello" sentiment is from the Bee Happy stamp set.
Adhered the tree and foam mounted the Fox over it. Added the tiny butterfly to the card.
All products used are listed below.
You can avail a 10% discount across the store by using my code T4TANILA10
I really hope everyone is keeping well, staying safe and is remaining positive while social distancing.
Last night's FB Live Craft with Jo and Ant was such a tonic for us and hopefully for you too. It means so much to be able to craft along with you, chat about craft and do something that is a welcome distraction from the current situation.
Be sure to watch the edited version of the Live Event below to see all the steps in more detail.
For today's card I wanted to create a fun interactive card that feels like Spring is on its way!
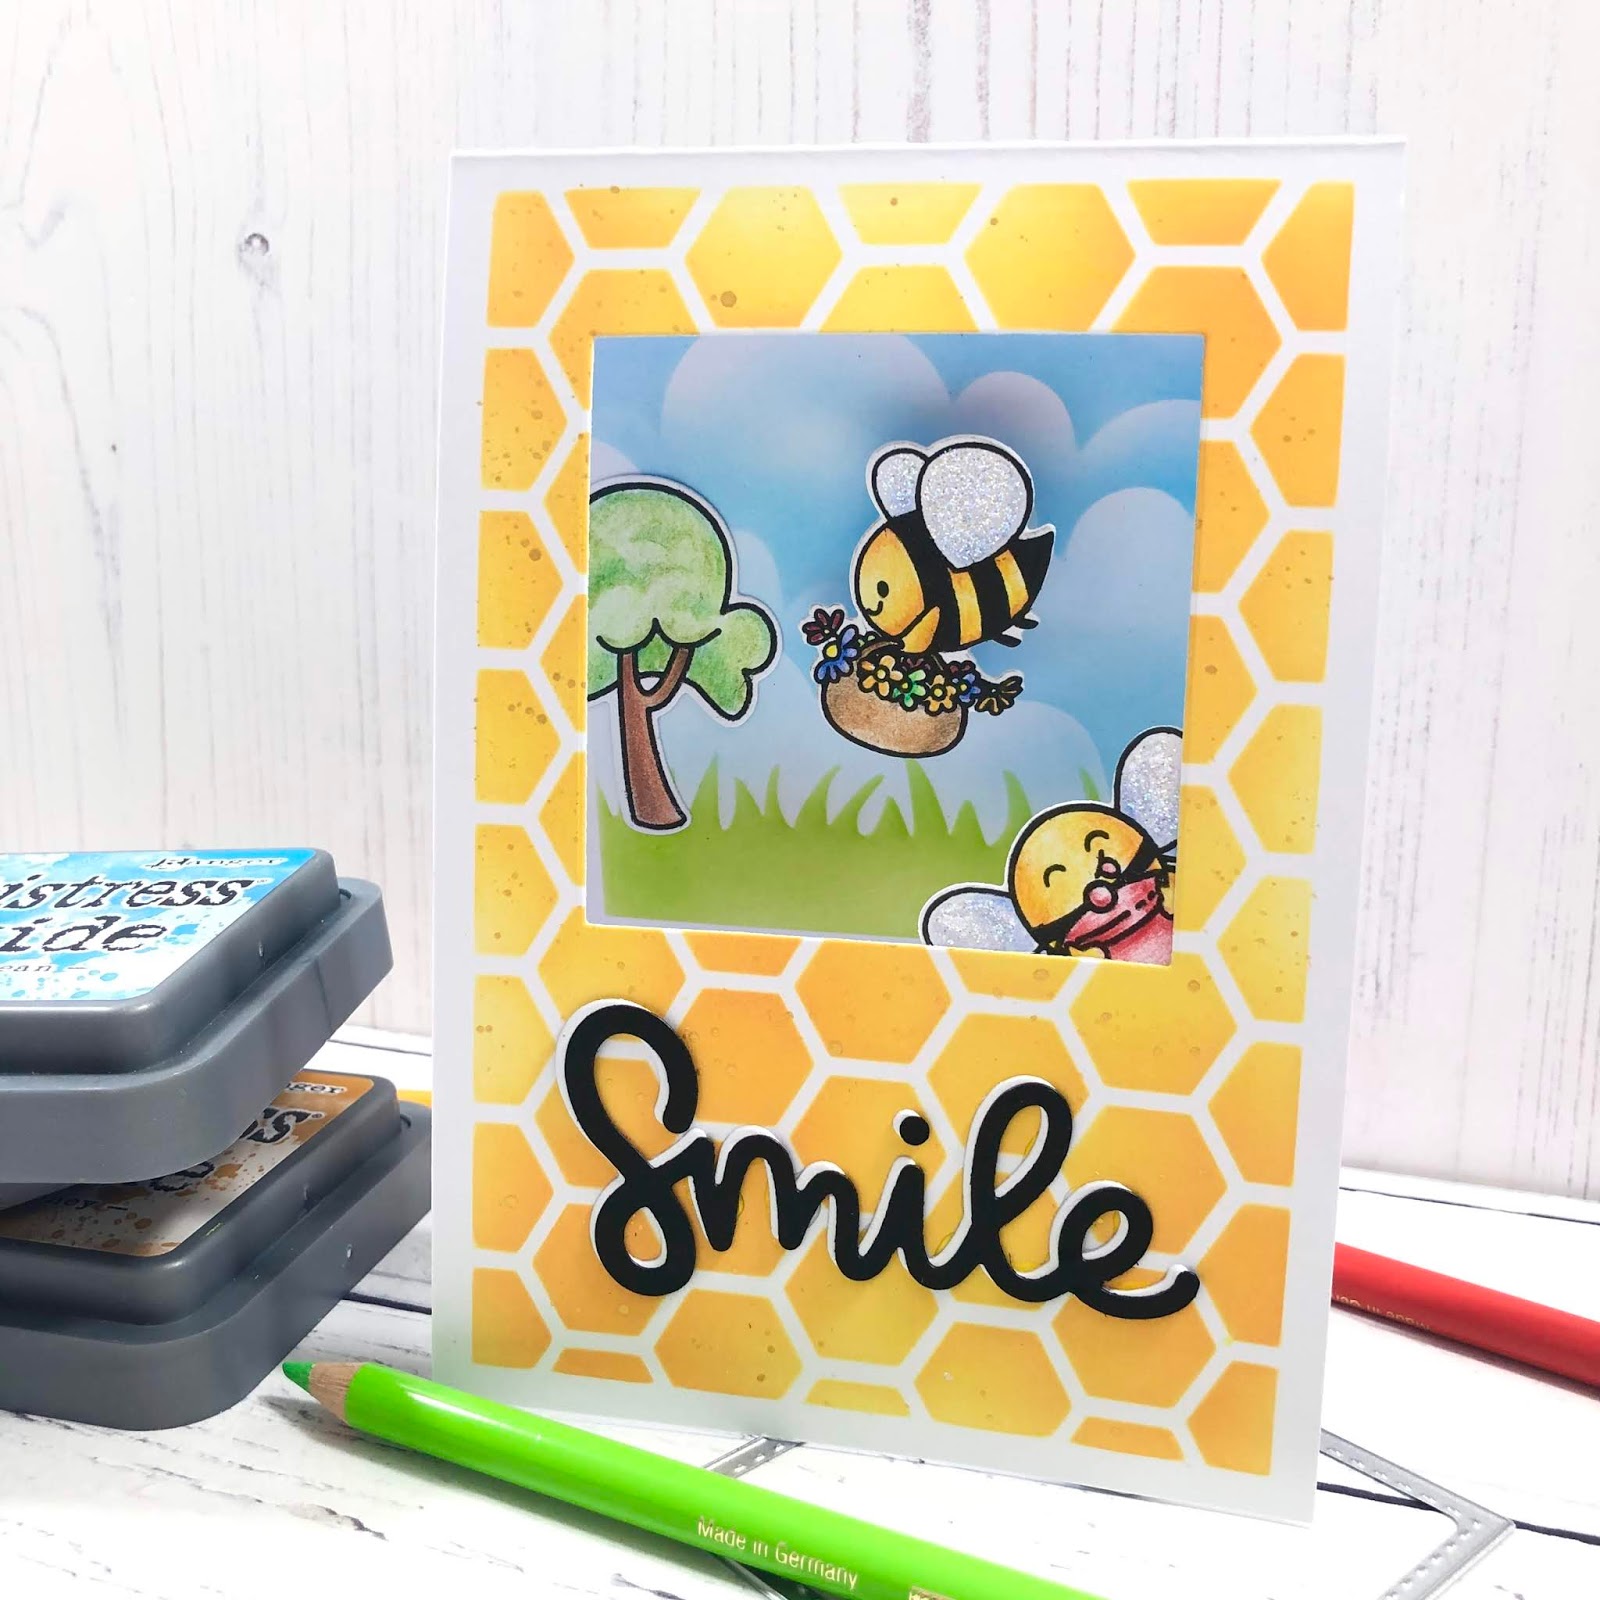
I stencilled my Bee Hive background directly onto my card base using my Beautiful Blender Brushes and Distress Oxide Inks.
I then opened my card and used my Large Square Masking stencil the mark out where I wanted my garden scene. The Masking Stencil has etched lines that allow you to line up your stencil onto an A6 UK card base or an A2 US card base.
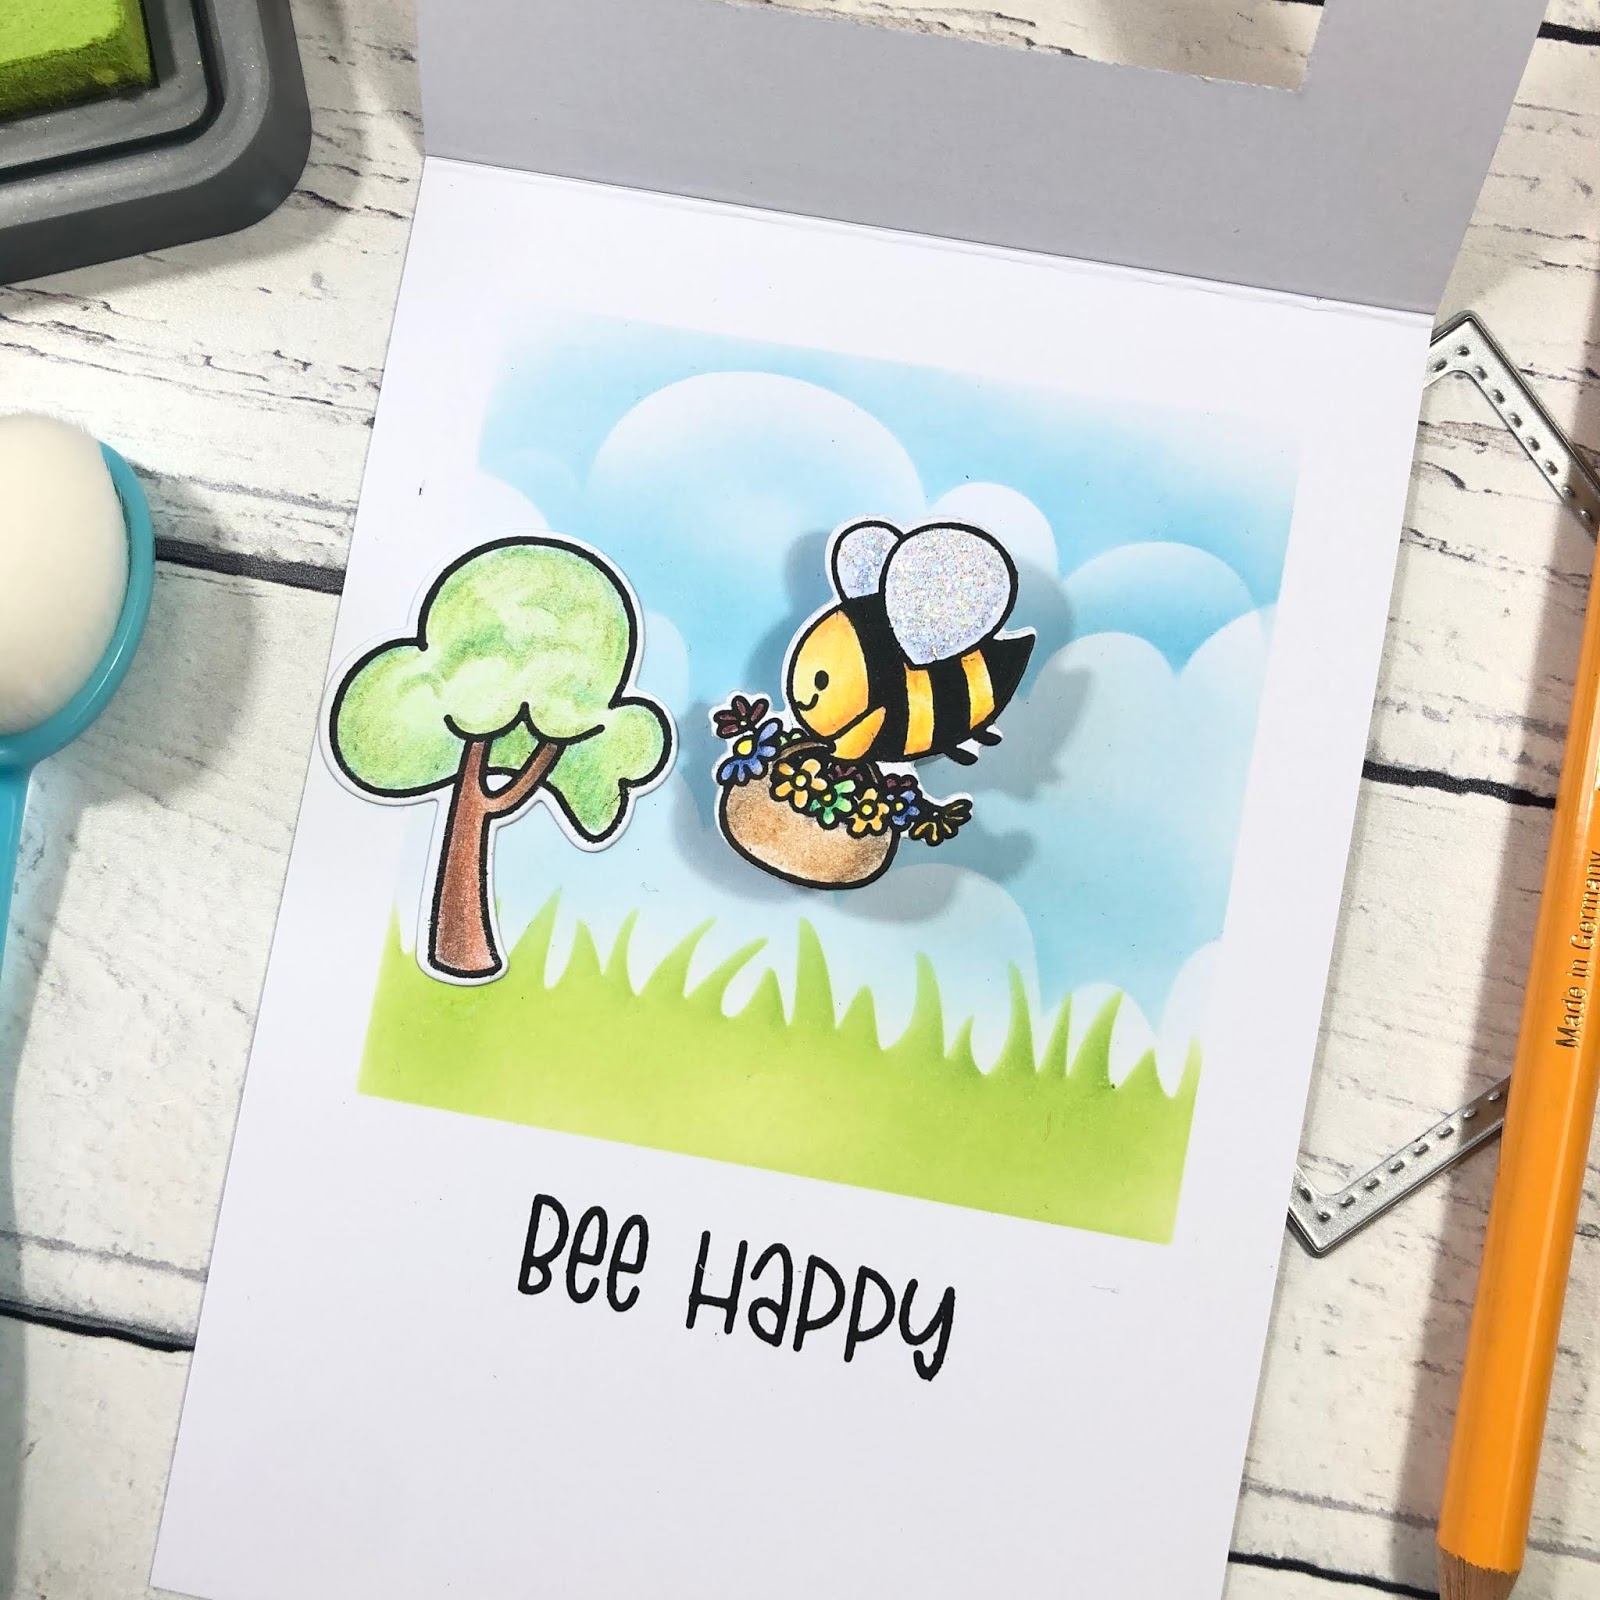
I then used the Sunny Side Up Again 6x6 Stencil to create my scene. I stencilled the grass & fluffy clouds with this stencil and my Beautiful Blender Brushes.
My super cute Bees were stamped onto super smooth cardstock with my Lawn Fawn Jet Black Ink. I coloured all of my images with my Faber Castell Polychromo Pencils. The tree is from the Moovellous Stamp set and fits perfectly into our scene.
I stamped the Bee Happy sentiment from the Bee Happy Stamp set underneath our scene using Versafine Onyx Black Ink.
I used a die from the Quilted Square Nesting Die set to cut the window from the front of my card. This now creates a view through to our scene on the inside of our card.
I cut the Smile sentiment from the Smile Scalloped Frame Die Set, from white and black cardstock. I layered the black sentiment over the white offset slightly to create a drop shadow effect.
I then added my images. The Bee with his honey jar has been added directly to the front of the card using liquid glue. The Tree has also been adding with liquid glue to the left of my scene.
My adorable Bee carrying his rainbow of flowers has been added with my favourite accessory! The Action Wobbler! This give my Bee some dimension but also means he wobbles and springs when he is flicked gently. Its is so adorable and really makes me smile.
I hope you enjoyed the project today.
We are so grateful to you for your support. We are a small family business (just me, Ant and the cats :)) so we are taking every precaution so we can continue to bring you inspirational projects and new products.
At the moment we are still fully operational as Royal Mail continues to support the nation keeping our post coming to our doors.
Please Stay Home and Stay Safe.
Look out for more inspirational via our FB & IG pages while we continue to work our way through self isolation.
#weareinthistogether
Our next scheduled FB Live will be Thursday 2nd April - 8PM GMT.
The products I used for this card are detailed below.