
Happy New Year, tea-timers! Welcome to the first step-by-step blog of 2022! Today we're going to be looking at creating a scene using masking, which was requested by one of our Facebook group members. Let's dive straight in!

Here's what you'll need:
- Stamps for your chosen scene (I've used the Smitten Kittens stamp set and the Winter Backgrounds set)
- A stencil, if you'd like to create your scene within a small area (I used this heart stencil)
- Ink for stamping (I used Gina K Onyx Black amalgam ink, as it is Copic friendly)
- Markers or other colouring medium
- Masking paper, masking tape or even Post-It paper or tape (I use Gina K Masking Magic)
- Scissors for fussy cutting
- Inks for blending (I used distress oxides in Blueprint Sketch, Chipped Sapphire and Black Soot)
- Blender brushes or foams
- Black fineliner and white gel pen
- White and black cardstock

Instructions
1. Create a guide - I like to grab a piece of scrap paper and stamp out my scene, as a guide. You don't need to worry about masking anything off at this point, you're just working out where you want your images to go. You can then refer to this guide later when creating your actual scene, or even lay it down in your MISTI/stamping tool, line your stamp up on your guide, pick the stamp up with the MISTI door, remove the guide, then stamp your image down on your card.
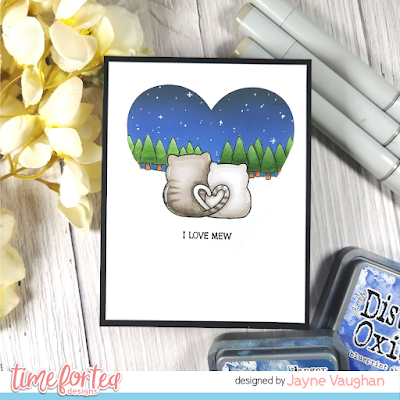
2. Today, I'm going to create my scene inside a heart, for Valentine's Day. I used washi tape to fix my cardstock to the reverse of the stencil, then I stamped my images within the heart frame.
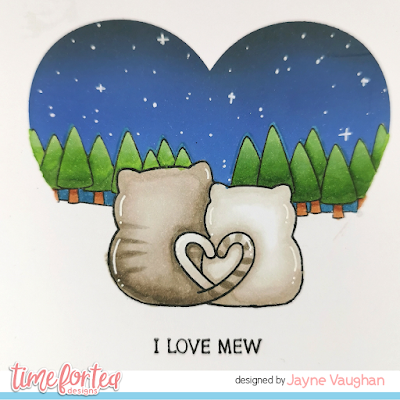
3. The key to creating a one-layer scene with masking, is to stamp the image you want in the foreground first. Here, it's our kitties. Then, stamp the same image on to masking paper and fussy cut along the stamped line.
4. Place your mask over your stamped image, being careful to line it up precisely.
5. Stamp your next image over the masked-off image. For this scene, it's our line of trees. Again, stamp the image onto some masking paper and fussy cut, then apply over the stamped image on your card. Keep going with as many images as you want to use, going from the front to the back.
6. After stamping and masking the trees, add some post-it/masking paper to the bottom of the image to protect it, and ink blend the night sky above the line of the trees. Use the lightest colour at the base of the trees, working up to the darkest colour at the top.
7. Peel off your masking paper to reveal your scene!
8. Colour in your image with your preferred medium. I used Copics in the following shades:
Cat 1: W5, W3, W1
Cat 2: W3, W1, W0
Trees: YG67, YG17, G24 / W27, W25
Sky (above tree line): B97
9. Add some stars to the night sky using white gel pen, and some accents to the kitties also with white gel pen.
10. Draw in the bottom of the kitties below the stencil line, using black fineliner.
11. Stamp your sentiment below the scene.
12. Finally, add the finished scene to a black card base!
Is there anything you'd like to see in a future tutorial? Let me know!
And don't forget, if you're buying anything from the T4TD store - use discount code T4TJAYNE10 to get 10% off your entire order! Happy crafting!


No comments:
Post a Comment
Thank you for leaving a comment, it really does brighten my day!