Pages

Showing posts with label Shaker. Show all posts

Thursday, 11 May 2023

How to Create A Double Sided Shaker Card


Hey there, Tea Timers!!  It's Amanda here sharing a really cool shaker card with you today!

Keep reading to see how I created this interactive card!

First, I die cut 2 scalloped frame dies of the same size.  You could use any frame dies for this project.  You could also use regular rectangle dies and just layer 2 of them to create your own frame!
Once cut, I put a thin strip of double sided tape around the entire frame.

Next, I cut down TWO pieces of acetate/window plastic to fit the frame.  I trimmed them with my trimmer, but you could also die cut them with your frame dies and they will fit perfectly!
Once I had them trimmed down, I removed the backing from my double sided tape and adhered the acetate to the frames.

Next, I used thin strips of deep foam tape to border ONE of the frames.

Then, I added my sequin/shaker mix in the center of the acetate of the non-taped frame.  After that, I simply removed my tape backing and attached the 2 frames together!


Now, for creating the rest of the card!  I stamped my images from the Just Married and You're Engaged Stamp Sets.  

Note:  These stamps sets are designed to work together!!  How cool is that?!  The cars, kitties and champagne glasses all line up so that you can create a 2 sided card!

Then, I colored them with Copic markers and die cut them out using the coordinating dies.  
Now, I can start adhering my images to the front and back of the card!


The last step is to create my sentiments for both sides of the card!  I trimmed 2 pieces of black cardstock that are the same size, stamped my sentiments with embossing glue ink, applied white embossing powder, and then melted the powder with my heat tool.

That's it!  Here are some more images of the finished card!


Thank you so much for stopping by the Time for Tea Designs blog today!  Don't forget!  You can shop the New Release now!
Xx, Amanda


Thursday, 23 June 2022

Interactive Shaker Card


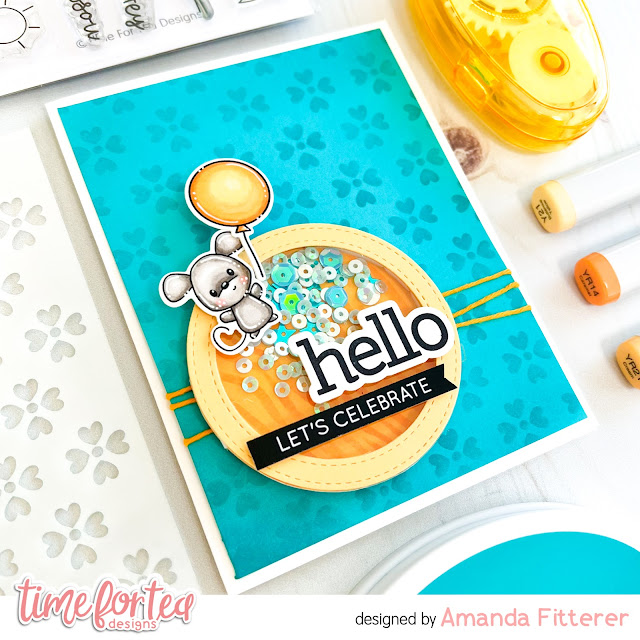
Hello friends!  It's Amanda back with another fun project using items from the NEWEST RELEASE!  

Today, I'm sharing how I have created this interactive shaker card!
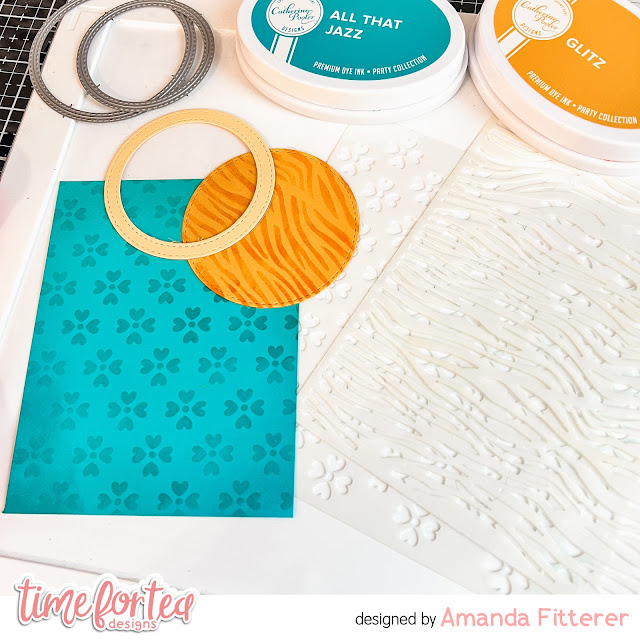
First, I'm starting with a piece of teal cardstock cut down to 4" x 5.25".  Next, I'm going to blend All That Jazz Ink through the Flirty Flowers Stencil.  Once I've removed the stencil, I'm also going to blend the ink on the edges.

For my shaker, I'm going to cut a few circles.  I'm layering 2 circles to create a circle border out of a lighter yellow.  I'm also cutting out an orange circle and using the Tiger Stripes Stencil on it.  Lastly, I'm cutting a piece of acetate with the larger circle.

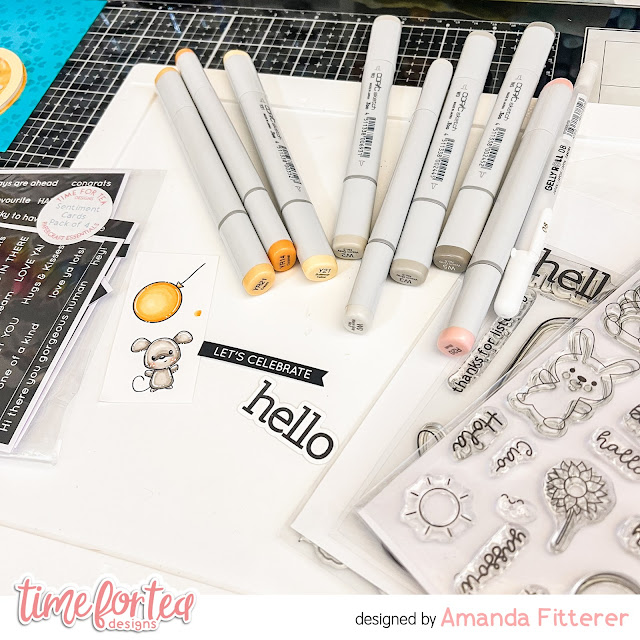
I'm stamping out my images from the Hey There Critters Stamp Set and the "hello" sentiment from the Let's Chat Stamp Set.  I've also grabbed another sentiment from the Brighter Days Sentiment Cards.  I'm coloring my images with Copic markers and then will die cut them with the coordinating dies.

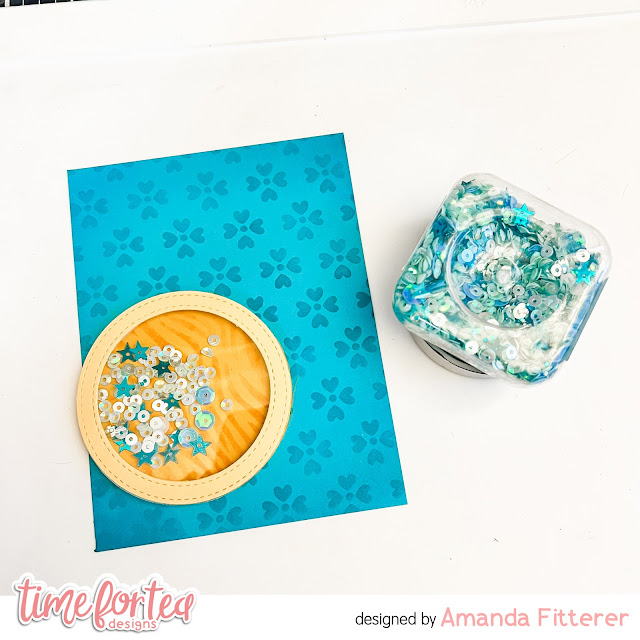
Now, I'm ready to assemble my shaker element using 3D foam tape and some sequins.

Once my shaker is ready, I'm going to wrap some twine around my card front and then adhere my shaker, stamped images, and sentiments to my card front using 3D foam squares.

Now, I can attach my card front to an A2 sized card base!


That's it for me today!
Don't forget, you can use code T4TAMANDA10 to get 10% off your purchase!
Until next week.... Xx, Amanda 


Thursday, 28 April 2022

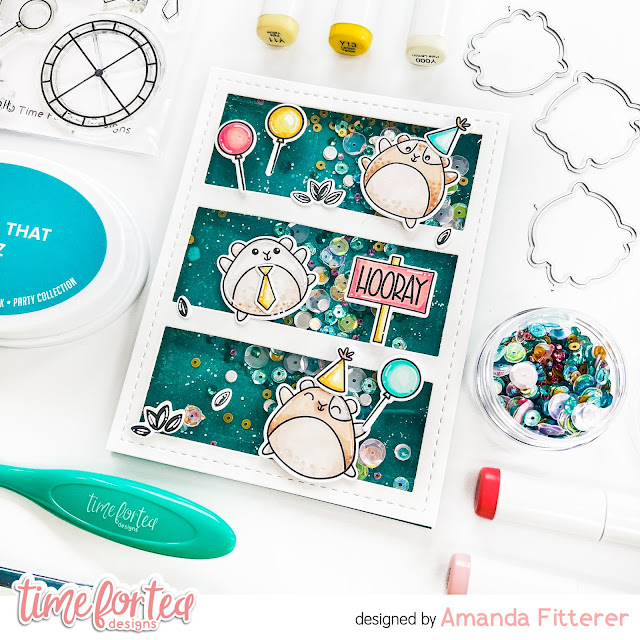
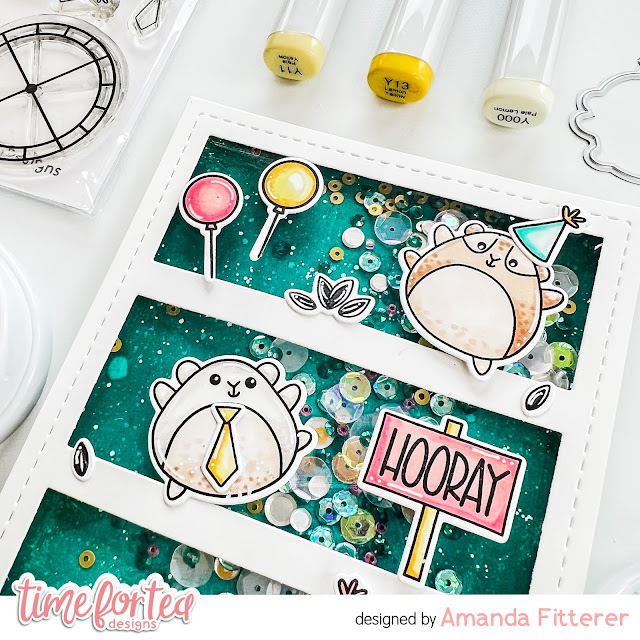
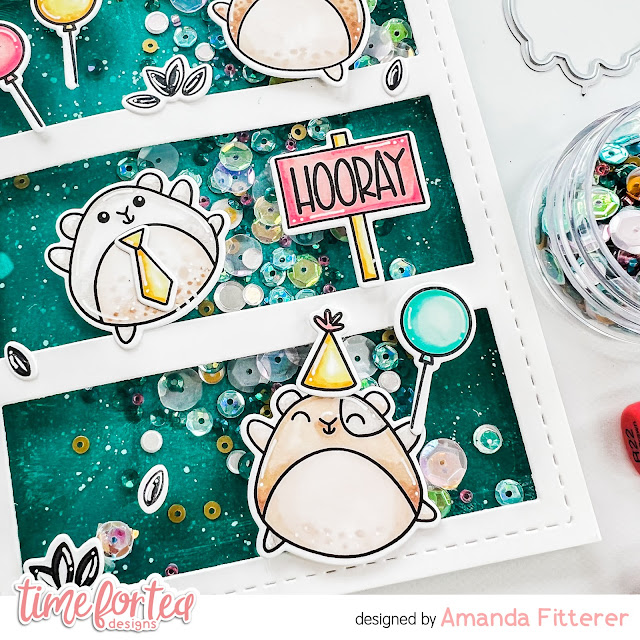
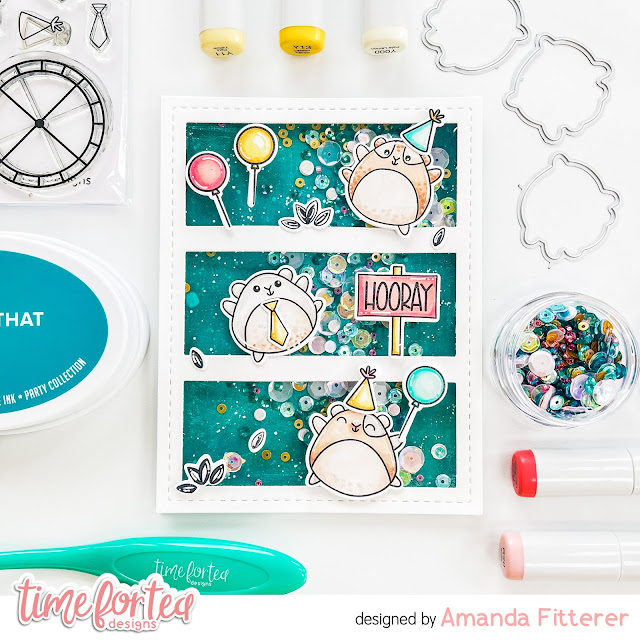
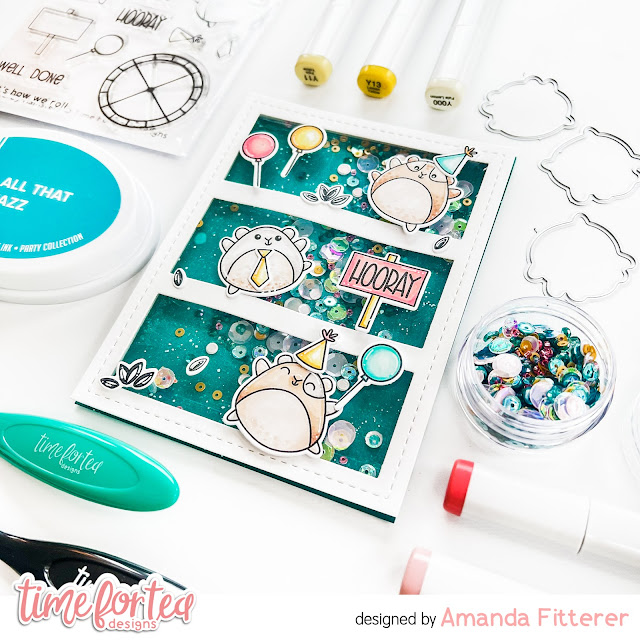
Shaker Card with Hooray Hamsters


Hey, crafty friend! Are you ready for a shaker card today??  Me too!  
This card is super fun to make and super fun to shake!
I used a piece of A2 white cardstock and blended the background with All that Jazz ink.  Then, I used the darker Uptown ink around the edges to create some depth.  I spritzed the background with water and splattered a bit of white paint on it as well.  

I die cut my frame and placed a piece of clear acetate behind it.  Then, I added some deep foam tape around the edges.  This tape will hold my shakers inside the card.  I placed my sequins on my ink blended background, directly into the center.  Then, I placed my frame on top, being careful to avoid the sequins getting trapped under my foam tape.

I stamped my cute images from the Hooray Hamsters stamp set, colored them with Copic markers, and then die cut them out with the coordinating dies.  Then, I simply attached them to the front of the card with liquid glue and 3D foam squares.


That's it for me this week, friends!  I hope you loved this happy shaker card and it inspires you to make something fun today!

Don't forget, you can use code T4TAMANDA10 to get 10% off your purchase!
Until next week.... Xx, Amanda 

Tuesday, 9 November 2021

Warm Winter Wishes Bookmark

Hi Tea Timers! Welcome back to the T4TD blog! It's Miki here and today I'm back with some new inspiration. This time I used the Warm Winder Wishes stamp set to create a magical bookmark. I love reading and I have many friends who do too so I thought this would be great for a hand made Christmas gift.


To start with, I used the smallest die in the Slimline Scallop Nesting Dies set and paired it with a smaller rectangle to die cut a window in my panel. I cut this combination from white card stock 5 times. I then took one of my frames and ink blended it using Tumbled Glass Distress Oxide. To create the shaker, I cut some acetate to go behind my blue frame and glued it down. I then glued 3 of the white frames on the back of that. I picked some cute sequins and added those into my window. Mine are a bit flat, so 3 layers of card stock was enough for them to move around but if your sequins have more dimension, you should add more layers to your bookmark. Once my sequins were in I glued another sheet of acetate to the back of the bookmark. This creates the window. To make sure none of that glue was visible form the back I then glued my last frame on top of the acetate, at the back.


Next, I focused on the scene. I die cut another piece of card stock using that small Slimline Scallop die and then die cut it twice again using one of the Landscape Edge Standalone Die - the aim here is to create two "hills" with that scallop pattern around the edges. To add some interest, and let's be real for some fun sparkle, I chose to add embossing powder all over my hills. I took my Versafine embossing ink and applied it all over my two hills - any embossing ink will work here. Then I applied a generous layer of WOW Embossing Powder in Sparkling Snow - isn't that a fitting name? and heat set it. Please make sure you get rid of any excess powder before heat setting. I didn't and ended up covered in glitter - not that it's a bad thing haha! Once my hills were nice and sparkly I glued them on the front of my bookmark, at the bottom.

Moving on to the images. I thought long and hard about what my scene should be and in the end I settled on the cute penguin decorating his Christmas tree. I stamped the penguin and the tree along with some bulbs and colored them in using my Spectrum Noir Illustrator markers. I then die cut them using the matching dies and added some white highlights. I arranged them as a scene and glued them together. I then used some foam tape and added those to the front of my bookmark.

I couldn't figure out a way to add a tassel to my bookmark so I didn't add one, but if you have a Crop-A-Dile Hole Punch I'm pretty sure it would be fine to pierce your acetate without all your sequins flying out.

Thank you for joining me here on the blog today, I hope you like this project and don't forget to use my code T4TMIKI10 for 10 % off your order in store. 

Hugs,
Miki

Other Posts You Might Like