Pages

Showing posts with label Die Cutting. Show all posts

Thursday, 11 May 2023

How to Create A Double Sided Shaker Card


Hey there, Tea Timers!!  It's Amanda here sharing a really cool shaker card with you today!

Keep reading to see how I created this interactive card!

First, I die cut 2 scalloped frame dies of the same size.  You could use any frame dies for this project.  You could also use regular rectangle dies and just layer 2 of them to create your own frame!
Once cut, I put a thin strip of double sided tape around the entire frame.

Next, I cut down TWO pieces of acetate/window plastic to fit the frame.  I trimmed them with my trimmer, but you could also die cut them with your frame dies and they will fit perfectly!
Once I had them trimmed down, I removed the backing from my double sided tape and adhered the acetate to the frames.

Next, I used thin strips of deep foam tape to border ONE of the frames.

Then, I added my sequin/shaker mix in the center of the acetate of the non-taped frame.  After that, I simply removed my tape backing and attached the 2 frames together!


Now, for creating the rest of the card!  I stamped my images from the Just Married and You're Engaged Stamp Sets.  

Note:  These stamps sets are designed to work together!!  How cool is that?!  The cars, kitties and champagne glasses all line up so that you can create a 2 sided card!

Then, I colored them with Copic markers and die cut them out using the coordinating dies.  
Now, I can start adhering my images to the front and back of the card!


The last step is to create my sentiments for both sides of the card!  I trimmed 2 pieces of black cardstock that are the same size, stamped my sentiments with embossing glue ink, applied white embossing powder, and then melted the powder with my heat tool.

That's it!  Here are some more images of the finished card!


Thank you so much for stopping by the Time for Tea Designs blog today!  Don't forget!  You can shop the New Release now!
Xx, Amanda


Thursday, 15 December 2022

Let it Snow Penguins


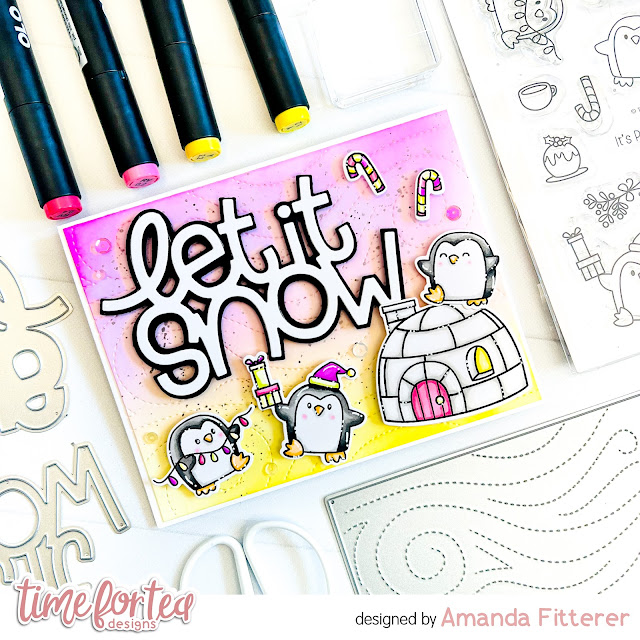
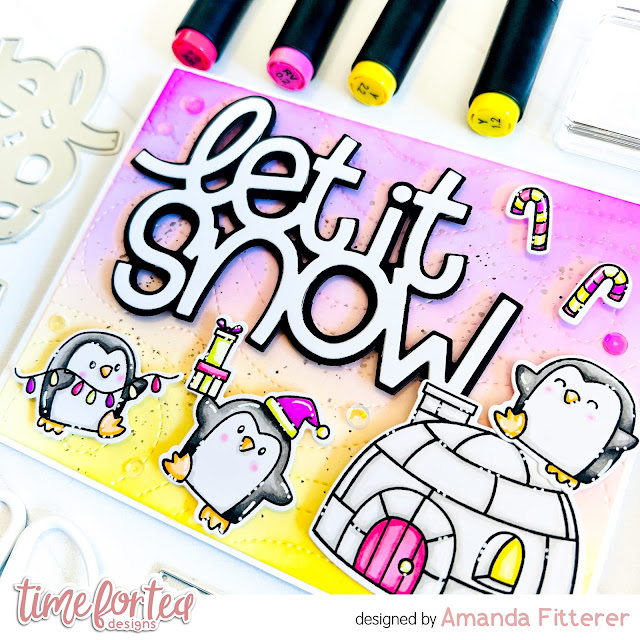
Happy Thursday, Tea Timers!  It's Amanda here!  Today, I get to share with you the cutest little penguins from the It's Penguin-ing to Look A Lot Like Christmas stamp set!

To create this card, I created a beautiful background blend using Catherine Pooler's Pucker Up and Chiffon ink pads.  I used the Snow Flurry Cover Die to create a fun texture in the background!  Although it may look subtle, it really helps pull the card together, doesn't it?!


I used the NEW Let it Snow Sentiment Die Set to create my sentiment.
I stamped and then colored my cuties from the It's Penguin-ing to Look A Lot Like Christmas stamp set.  I used OLO markers to color my images and then used a White Gelly Roll pen to add some highlights and dots.


I had SO much fun making this bright and cheery card and I hope you enjoyed it too!


Thank you so much for stopping by the blog today!  I hope you're feeling inspired by this post!  Come back next week for another happy card!
Xx, Amanda

Wednesday, 17 August 2022

Video: Fintastic Friend Mini Underwater Scene Card

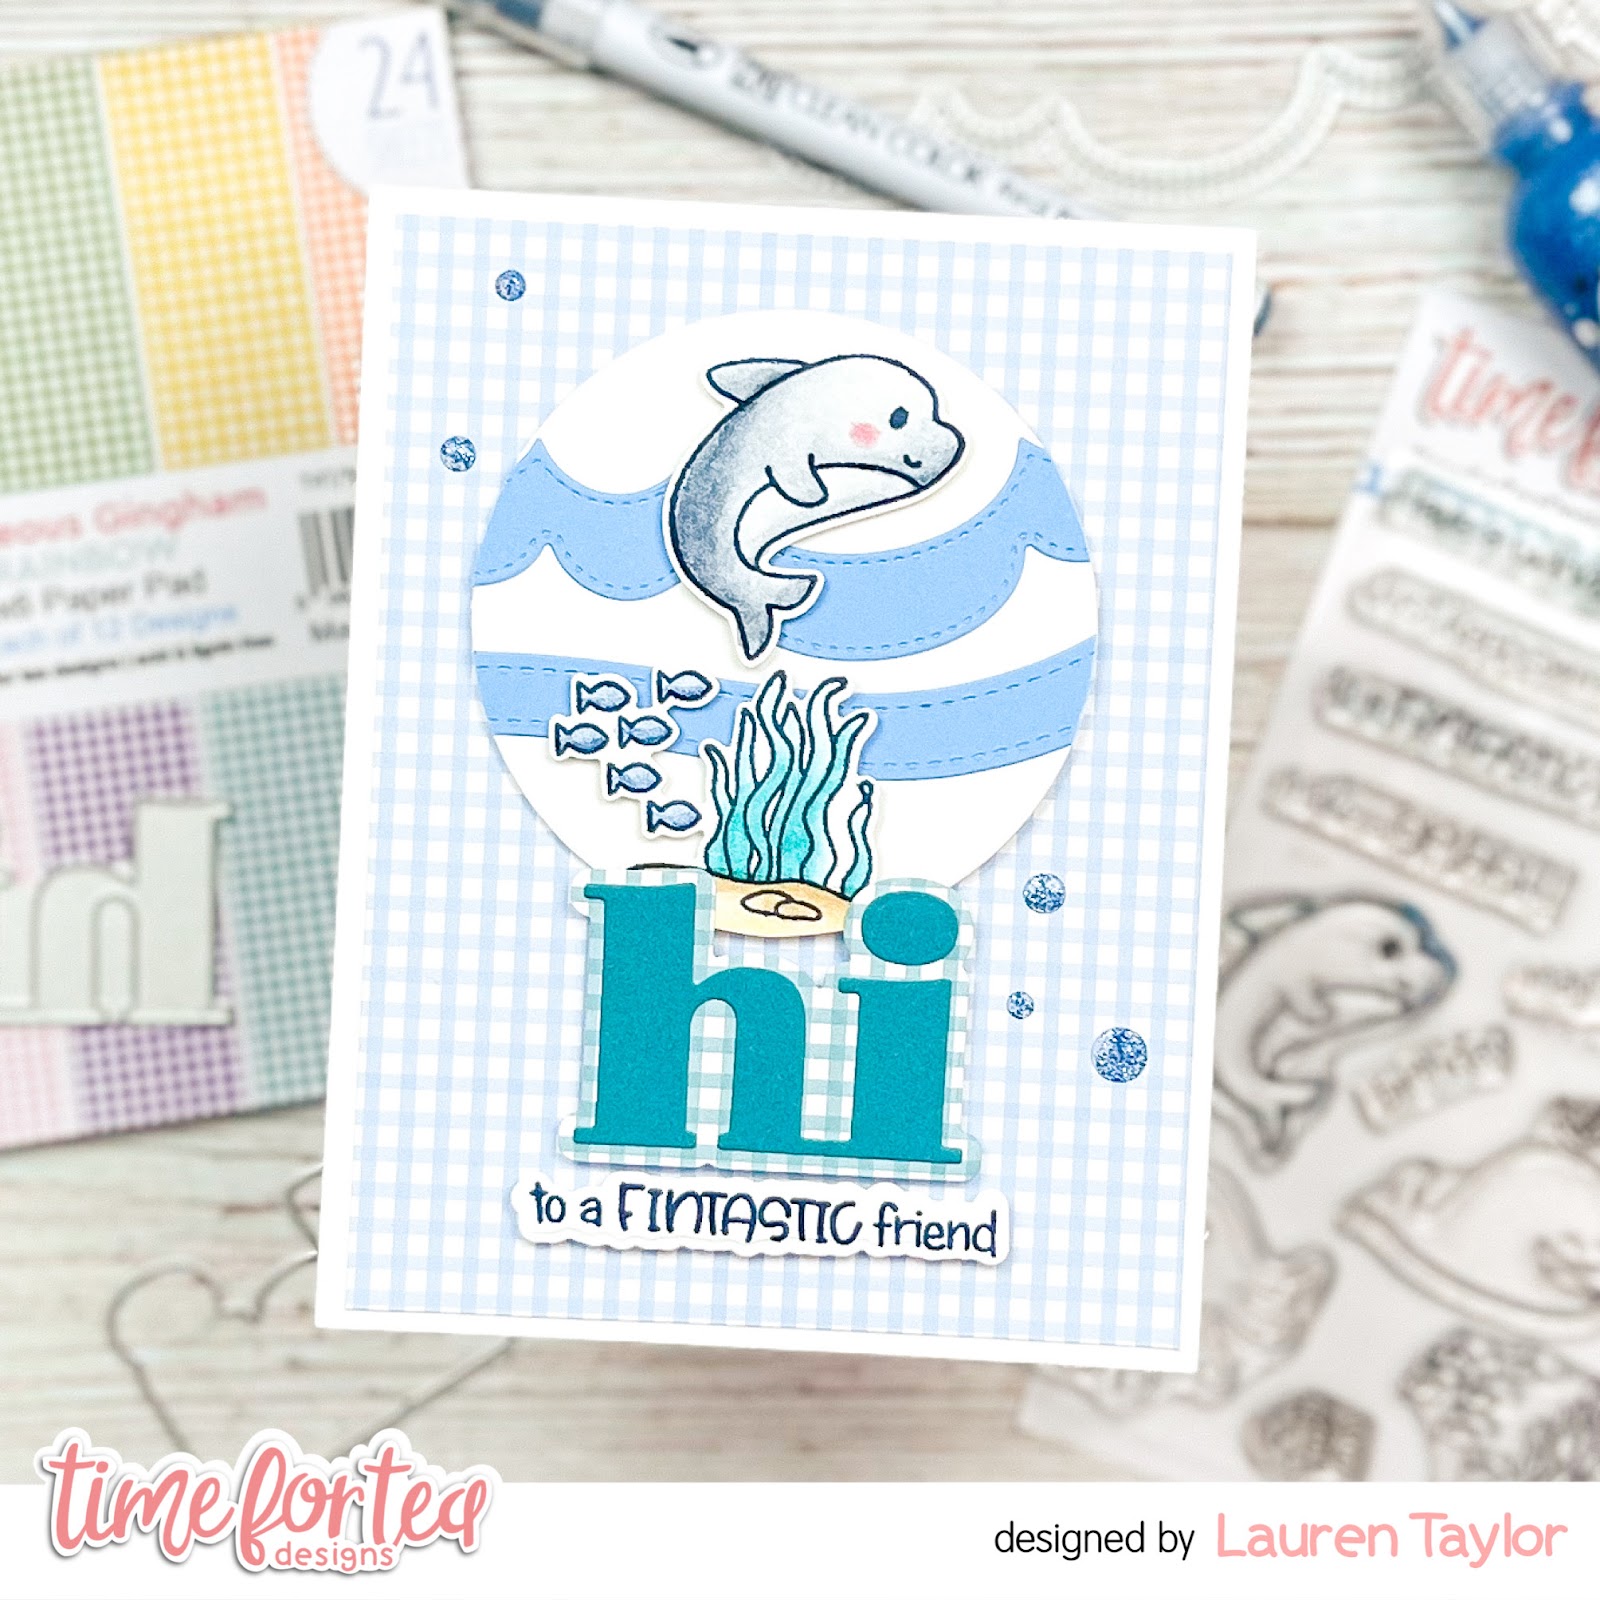
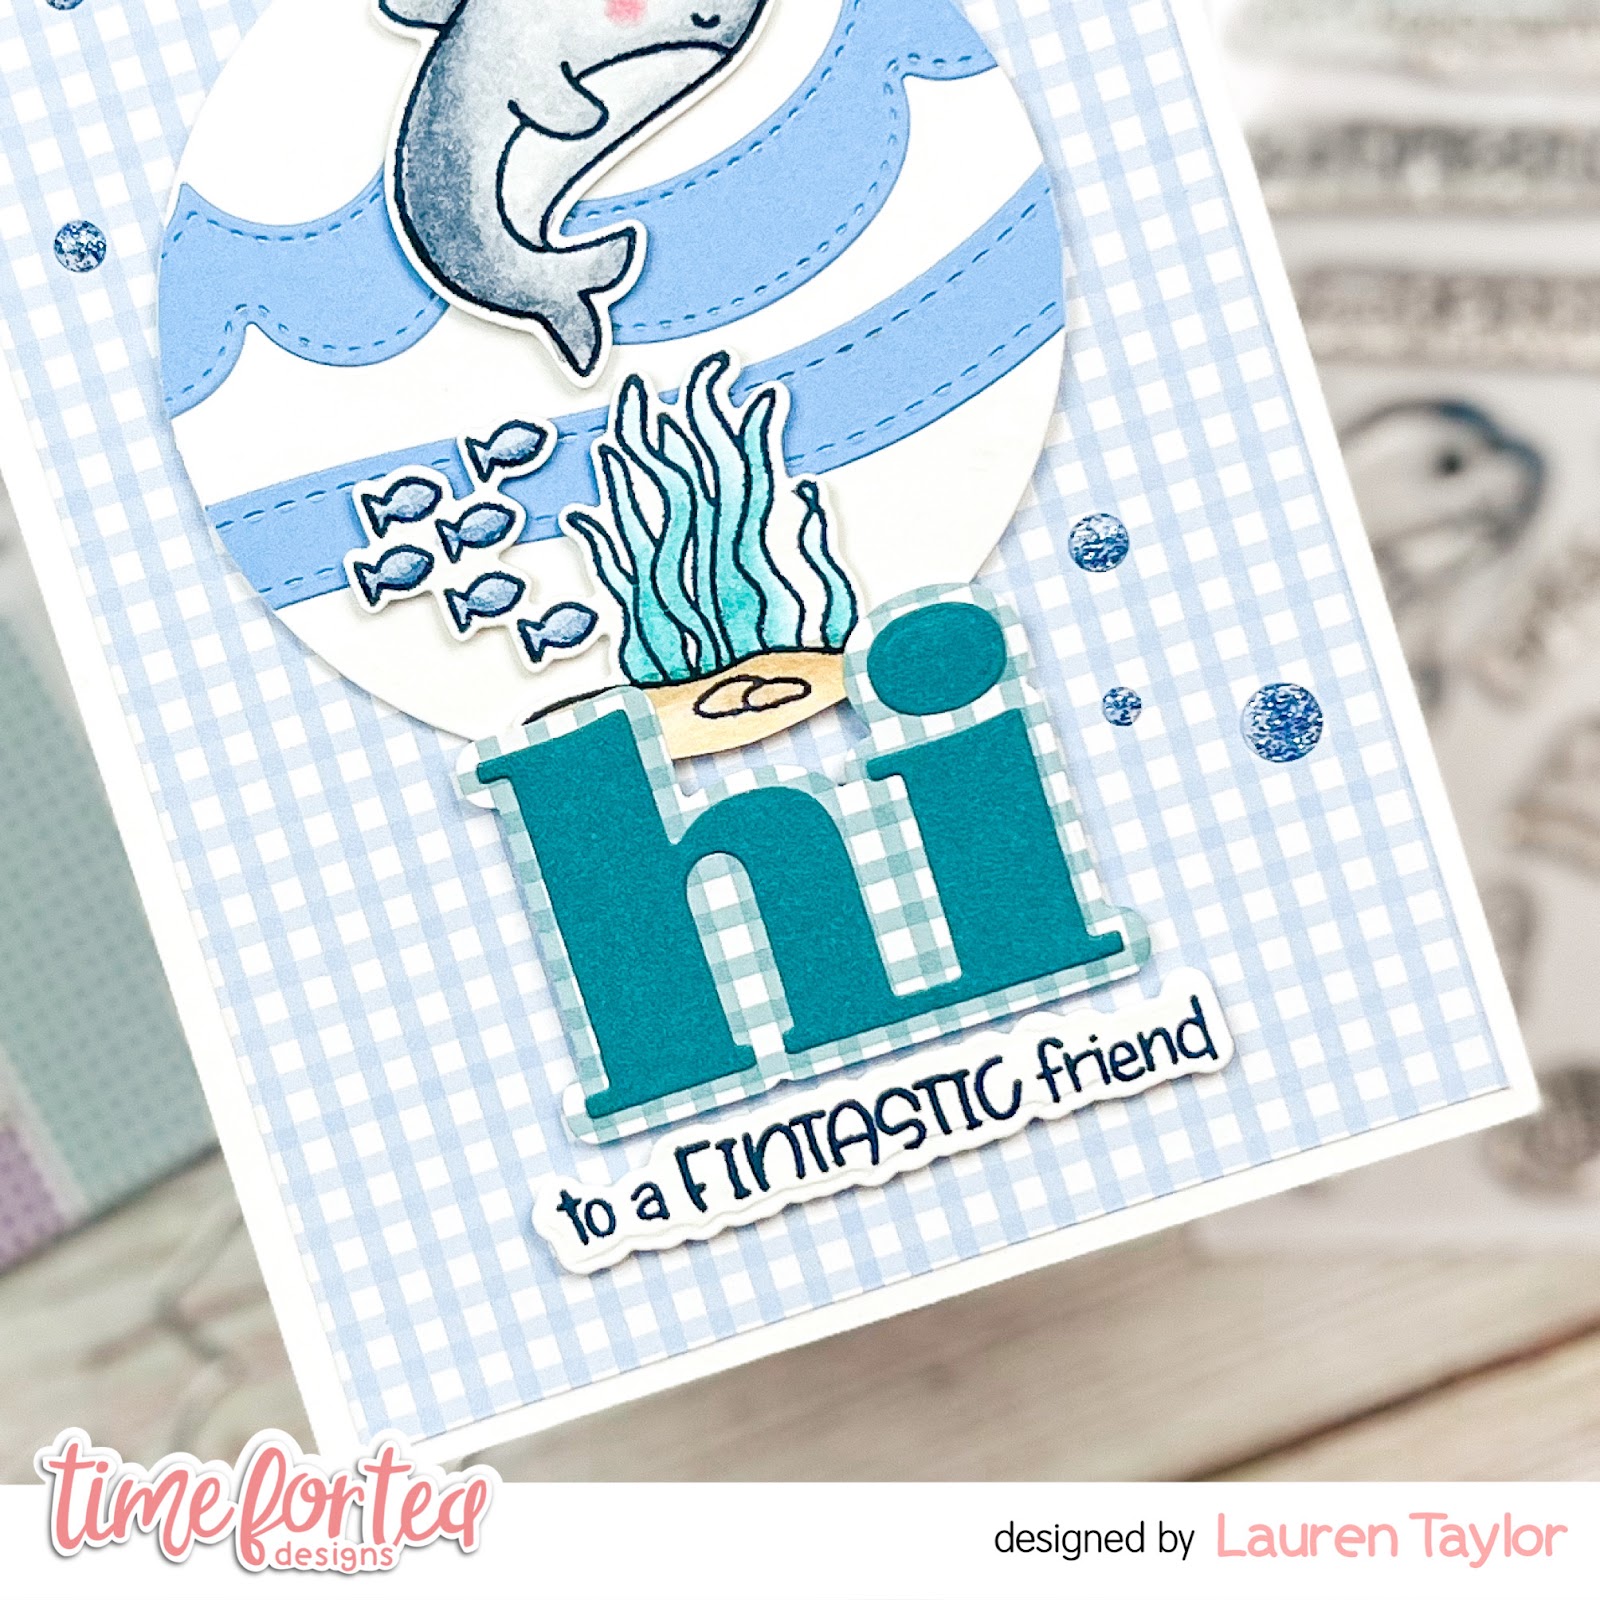
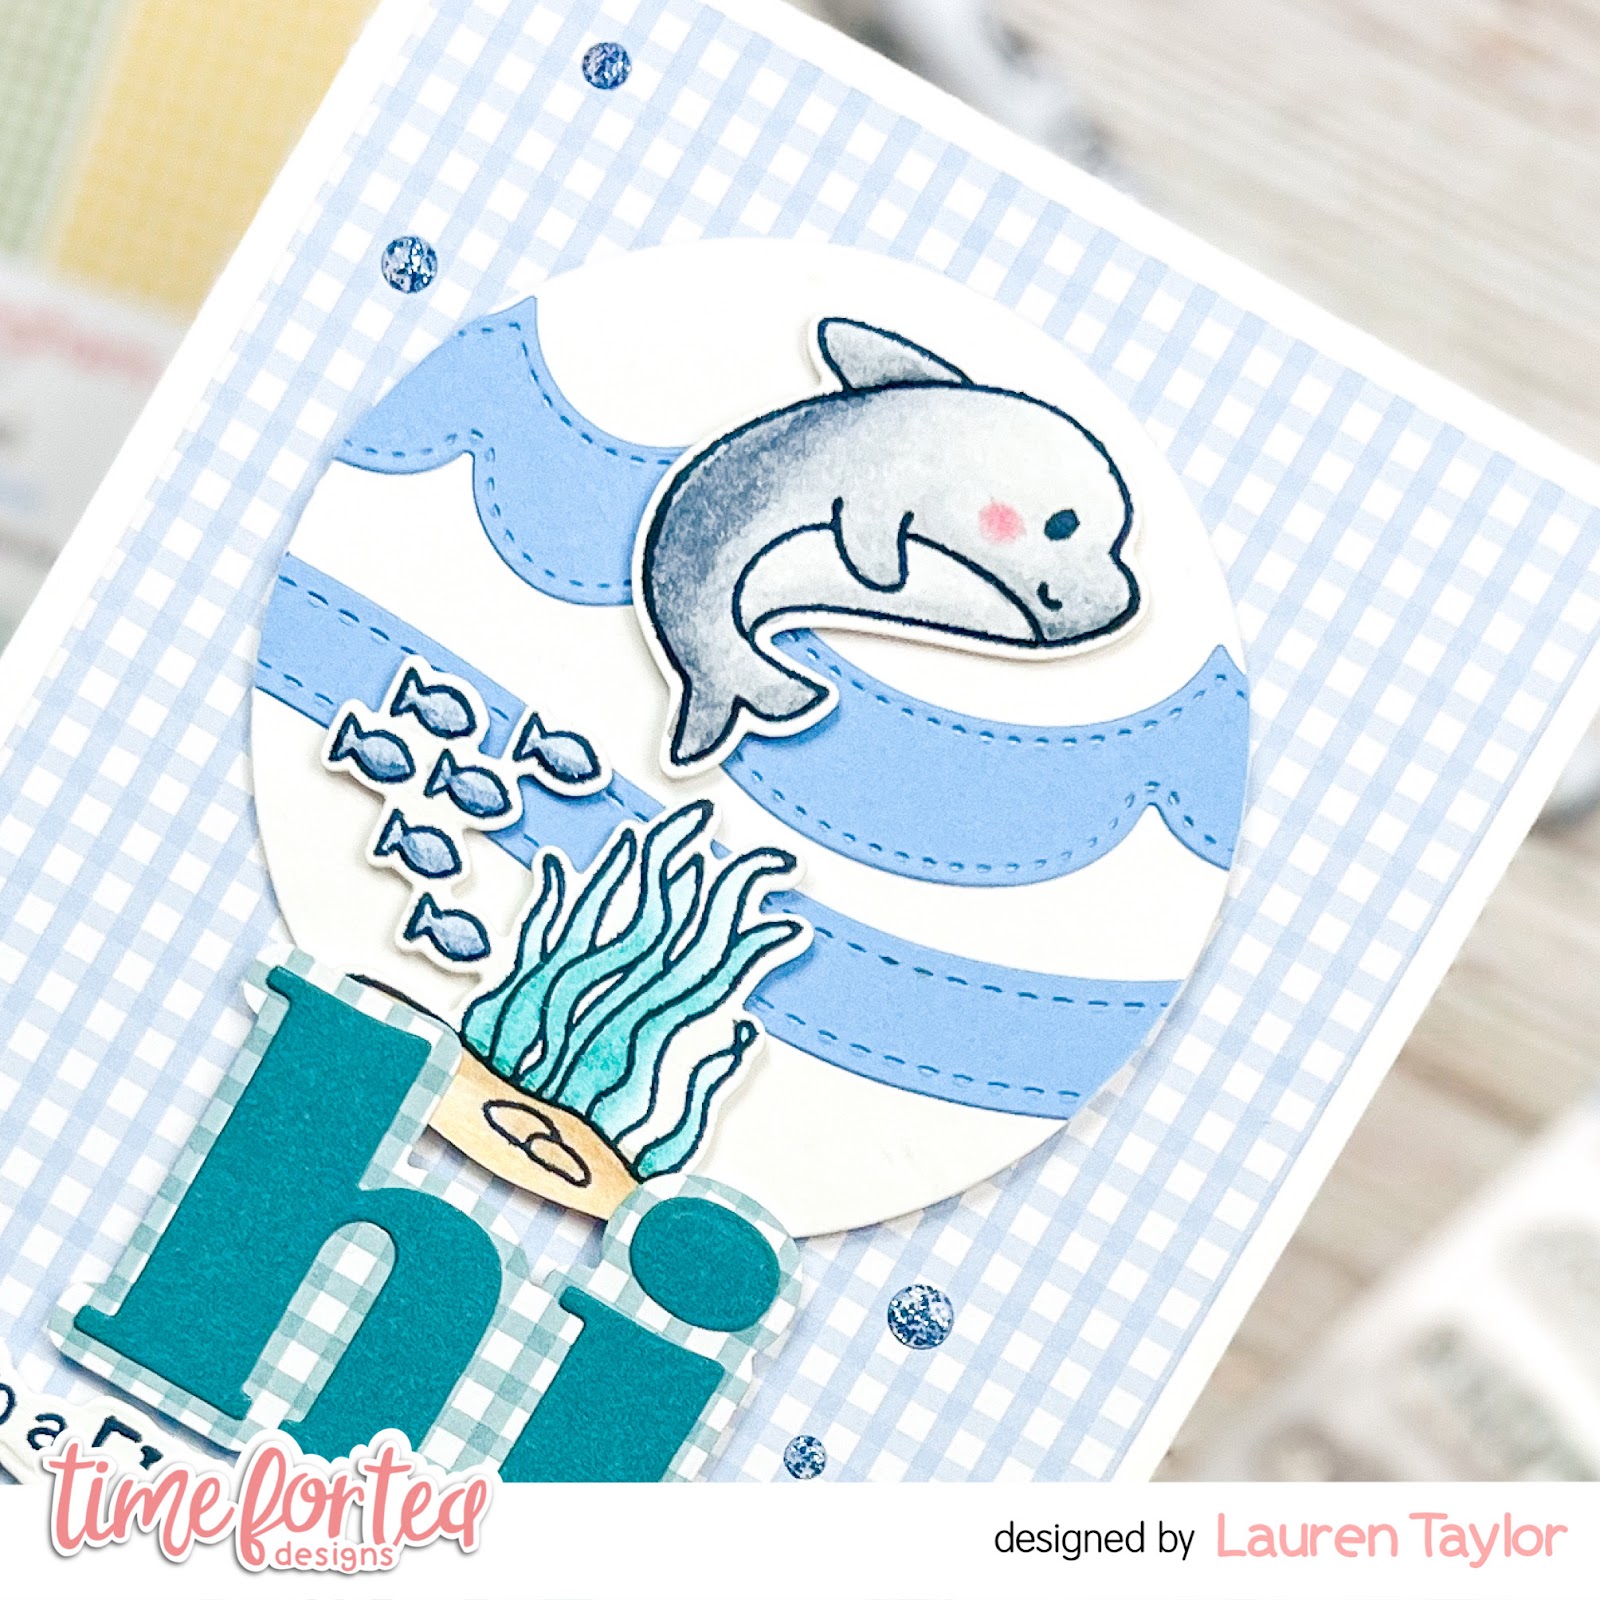
Hi, Friends! Lauren here and I'm back with a new video tutorial on YouTube! This month I am featuring the adorable Finstastic Friends stamp set on my card. I wanted to create a mini scene to be the focal point on the card and used edger dies to create border strips of waves. The colors I used were inspired by the rainbow colors from the Gorgeous Gingham paper pack.

To color in my images, I stamped with a watercolor friendly ink and used my Zig Clean Color Brushes. I love the softness you can create with these colors and the Blender. You can watch today's video to see how I colored and assembled my card!

Click the image below to start the video and make sure to leave a comment if you have any questions!


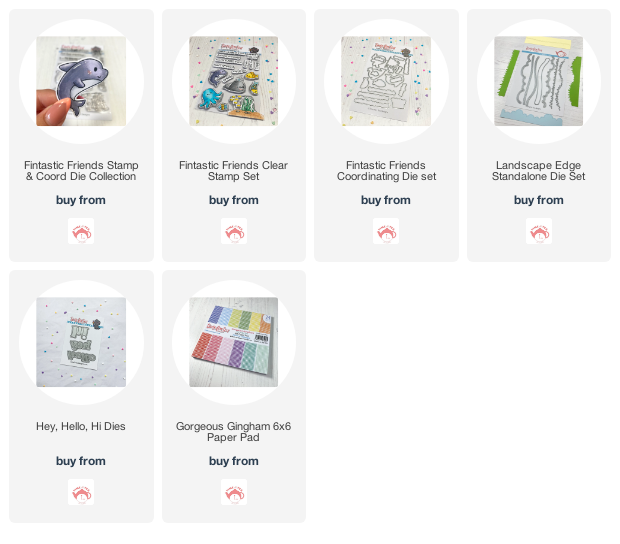
Here is a quick list of the Time For Tea Designs supplies I used and make sure to enter my code T4TLAUREN10 at checkout for 10% off your order!

Thanks for joining me today and for spending time with me these past six months!

XO. Lauren

Find me on my social media here!

Wednesday, 15 June 2022

Video: Sentiment Die Shaker Card

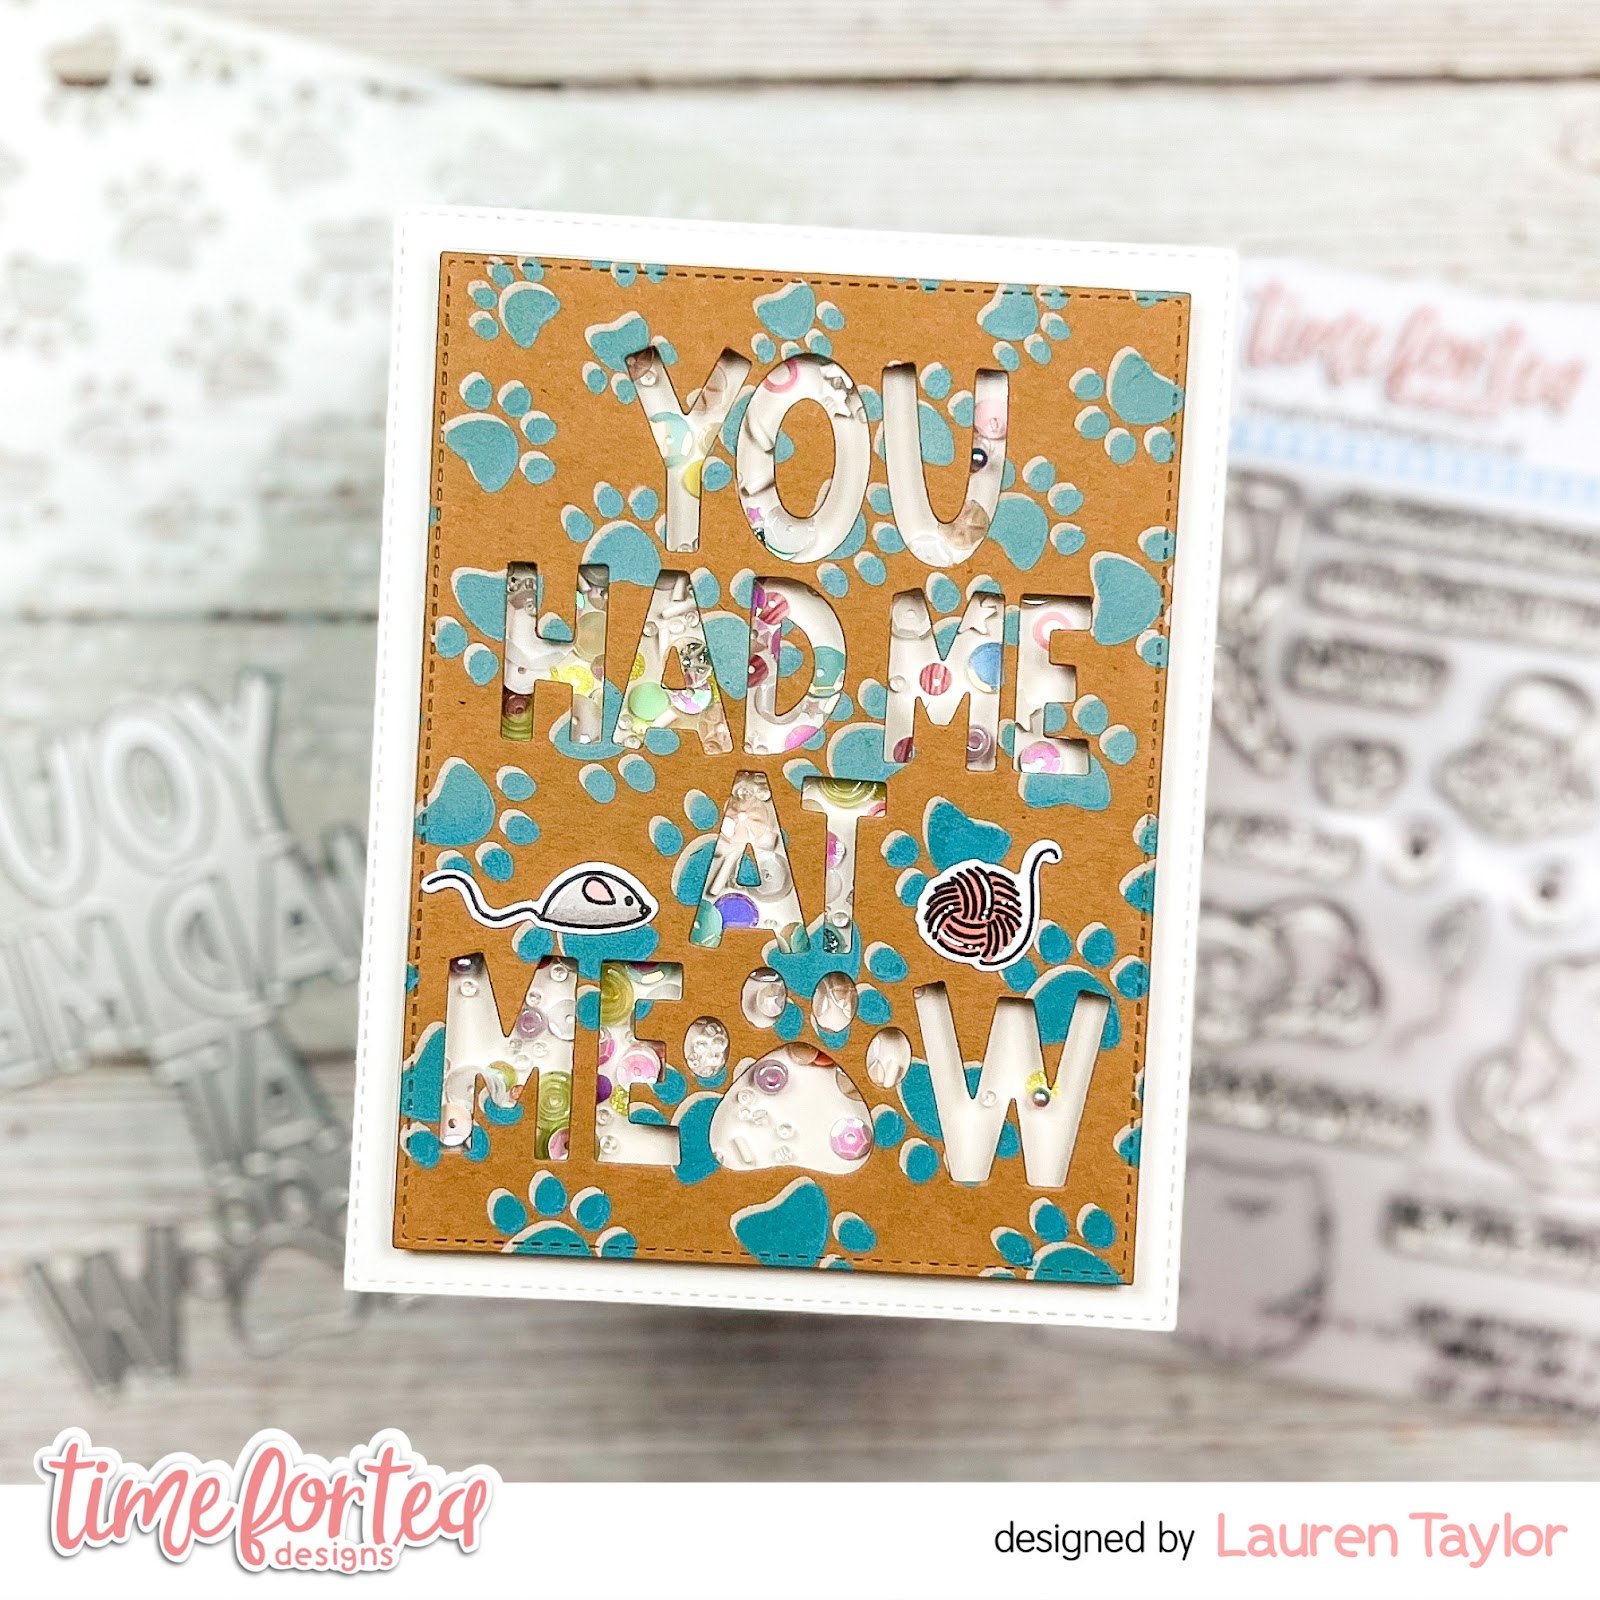
Hi, Friends! Lauren here and I'm back with a new video tutorial on YouTube! One of my favorite ways to use the new large sentiment dies is as a shaker window. In today's video, we're going to create a fun, stenciled background, die cut it with a sentiment die and then turn that panel into a large shaker. Of course we'll have some cute stamped images to bring some fun to the card - especially the inside!

If shaker cards are not your favorite, or maybe you don't have all of the supplies, this can be easily made into a regular panel card. Just glue the die cut panel to your card base instead of popping it up to be a shaker!

Click the image below to start the video and make sure to leave a comment if you have any questions!


Here is a quick list of the Time For Tea Designs supplies I used and make sure to enter my code T4TLAUREN10 at checkout for 10% off your order!

Thanks for joining me today and see you next month!

XO. Lauren

Find me on my social media here!

Wednesday, 18 May 2022

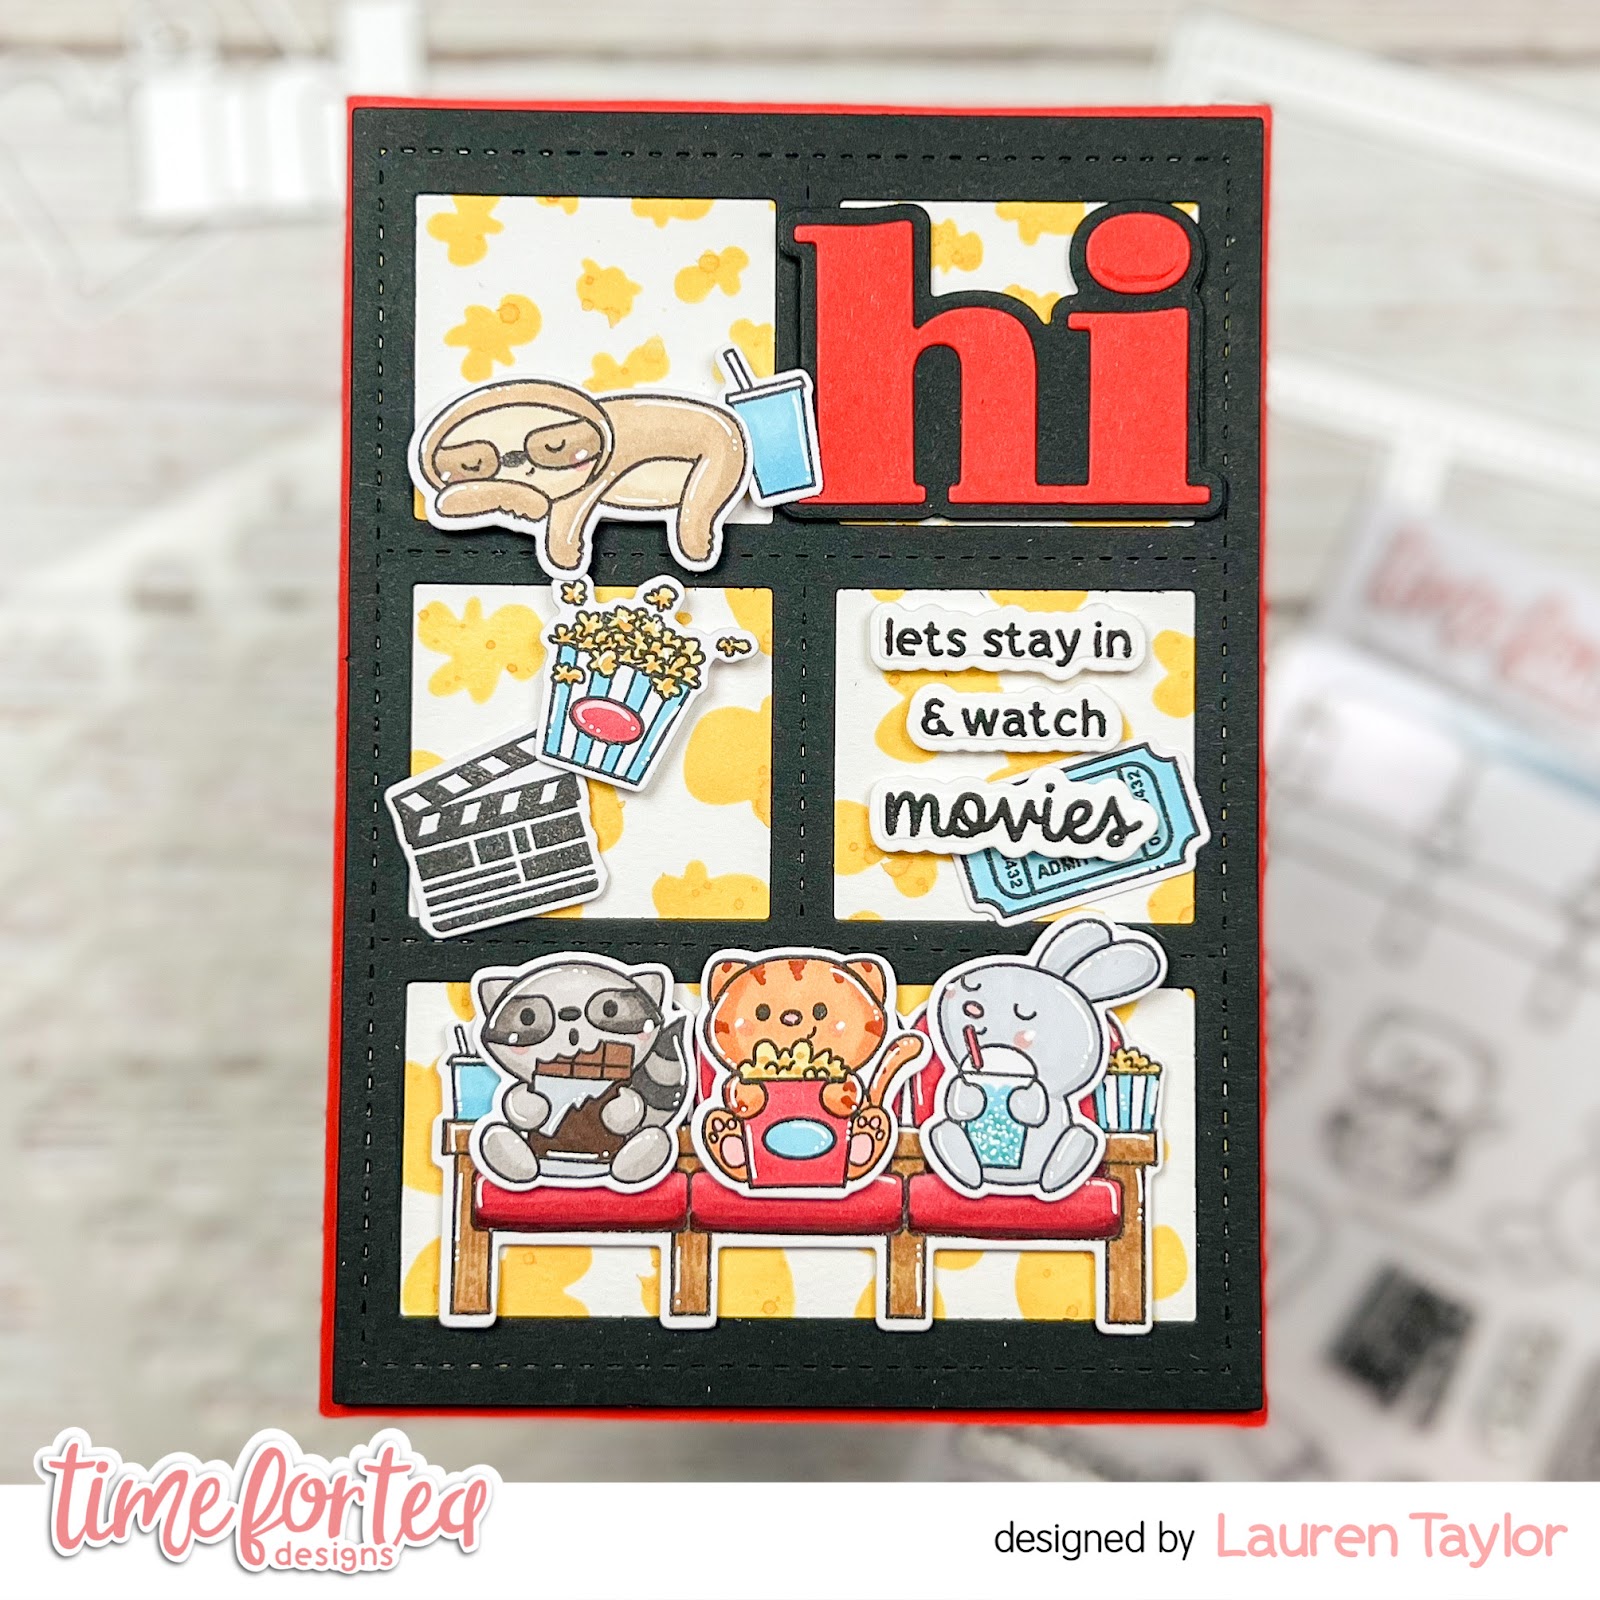
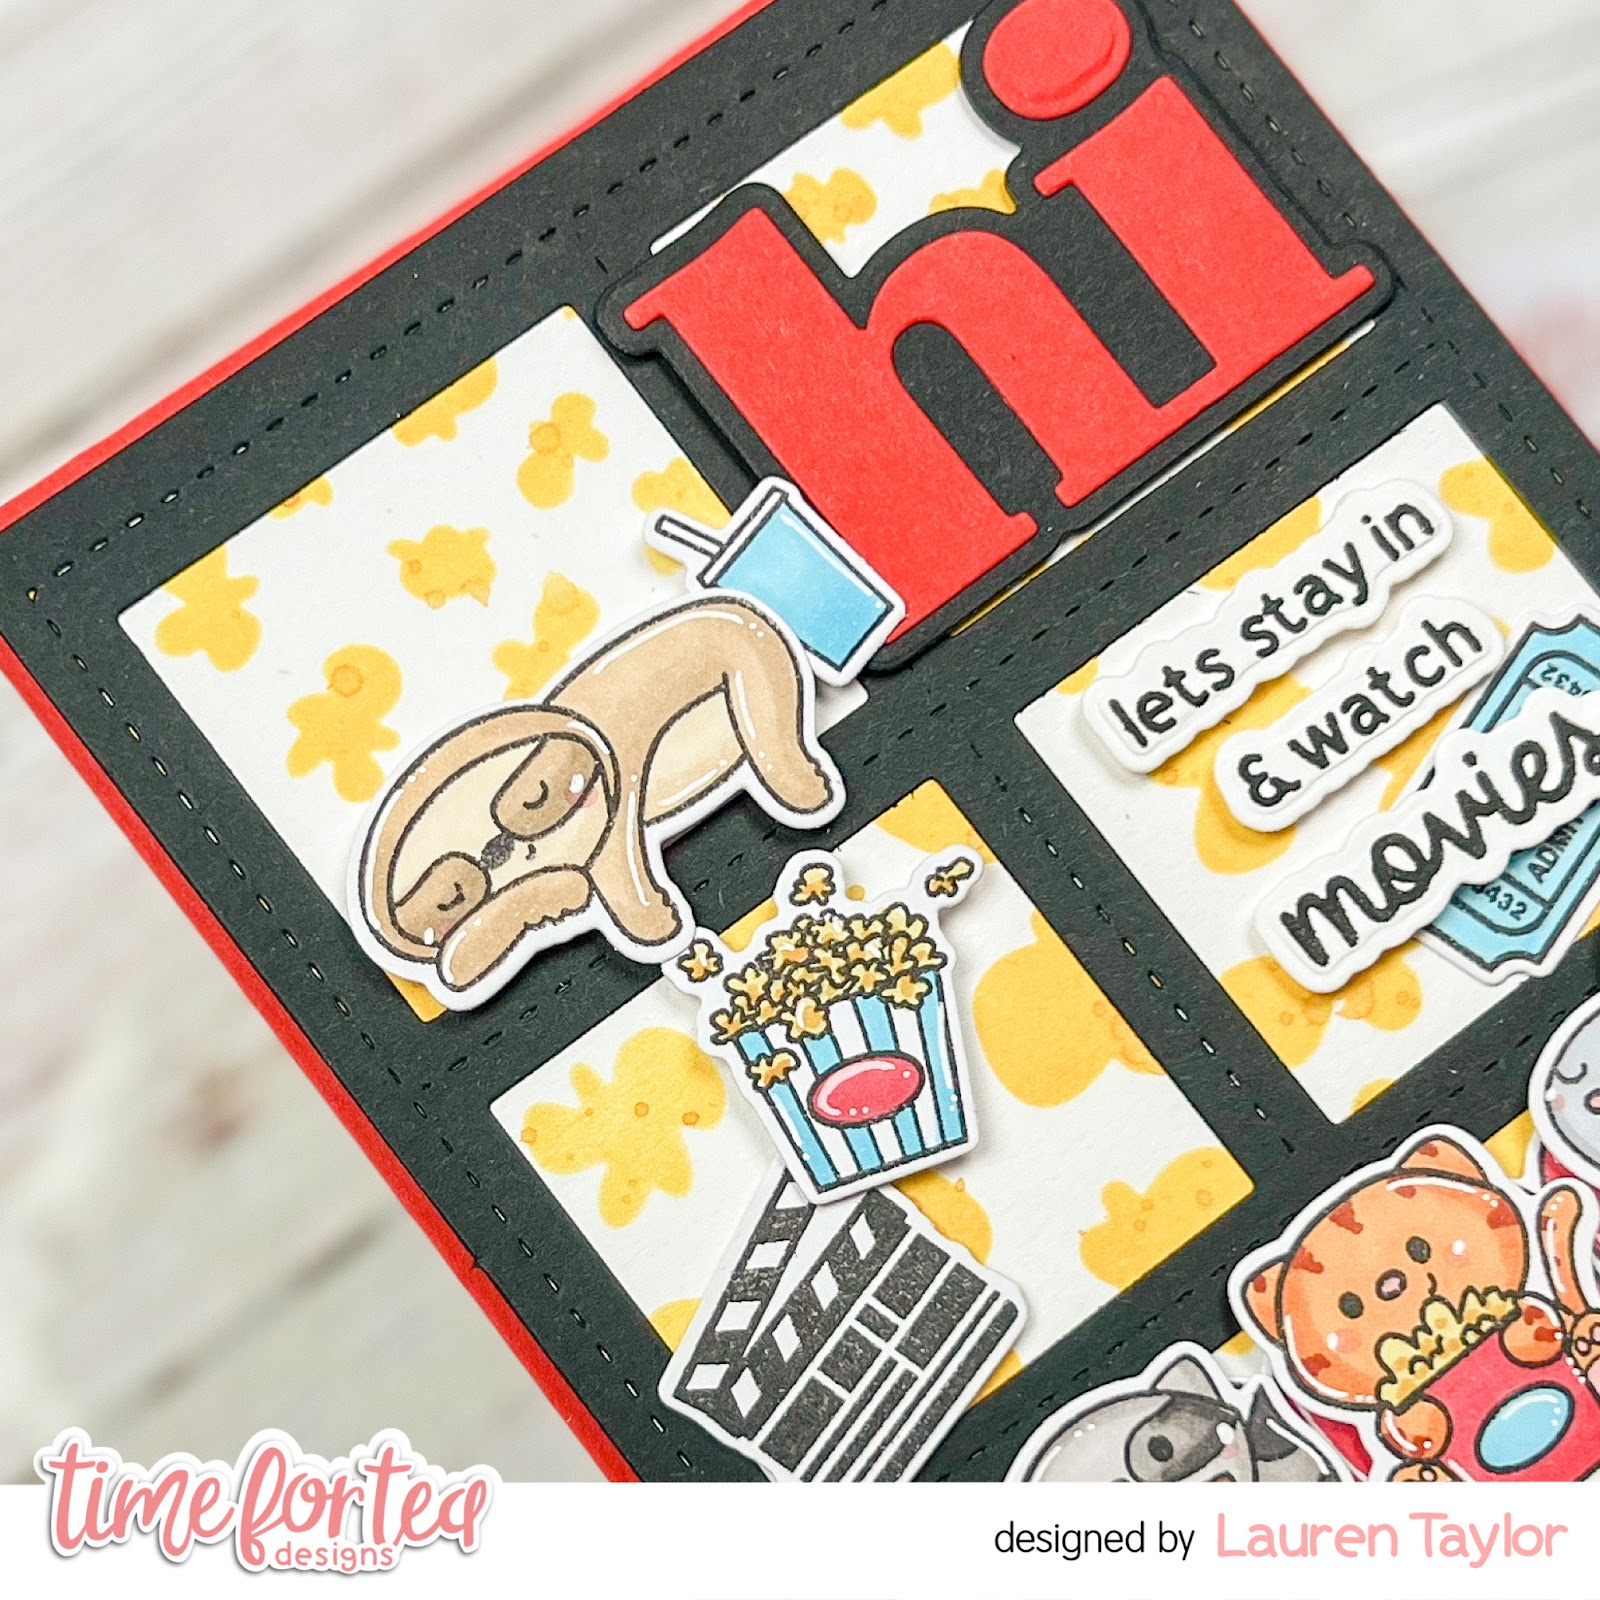
Video: Movie Night & Popping Popcorn Card

Hi, Friends! Lauren here and I'm back with a new video tutorial on YouTube! This month I using some of my favorite new products from the latest release. Can you spot the Popping Popcorn Stencil, Movie Night Stamps with Coordinating Dies, Stitched Window Cover Die and the Hey, Hello, Hi Dies?

In today's video I will share with you how I created my background and share how I laid out my design. There is a lot of layering in this card, but you can easily remove some layers by gluing elements of this card with glue rather than foam adhesive.

Click the image below to start the video and make sure to leave a comment if you have any questions!


Here is a quick list of the Time For Tea Designs supplies I used and make sure to enter my code T4TLAUREN10 at checkout for 10% off your order!

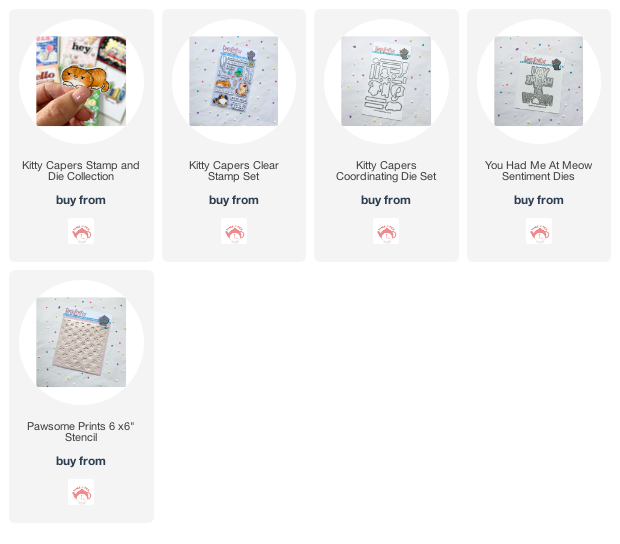
Movie Night Stamp and Die Collection

Movie Night Clear Stamp Set

Movie Night Coordinating Die Set

Stitched Window Cover Die

Hey, Hello, Hi Dies

Popping Popcorn 6 x6" Stencil

Thanks for joining me today and see you next month!

XO. Lauren

Find me on my social media here!

Thursday, 28 April 2022

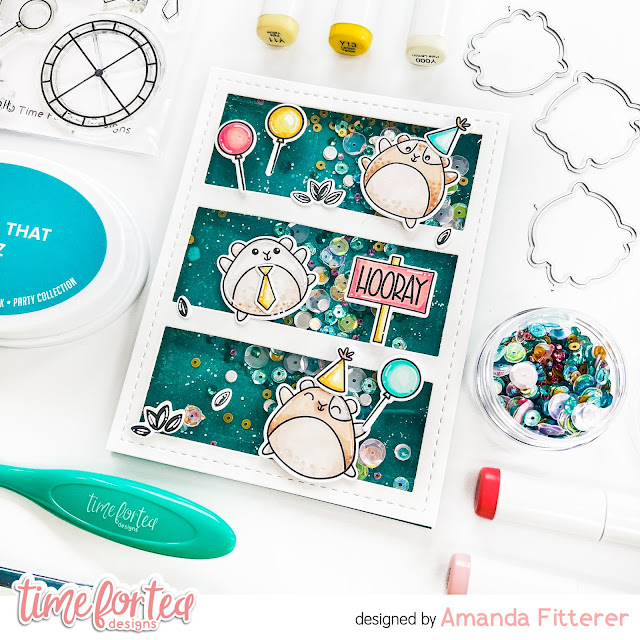
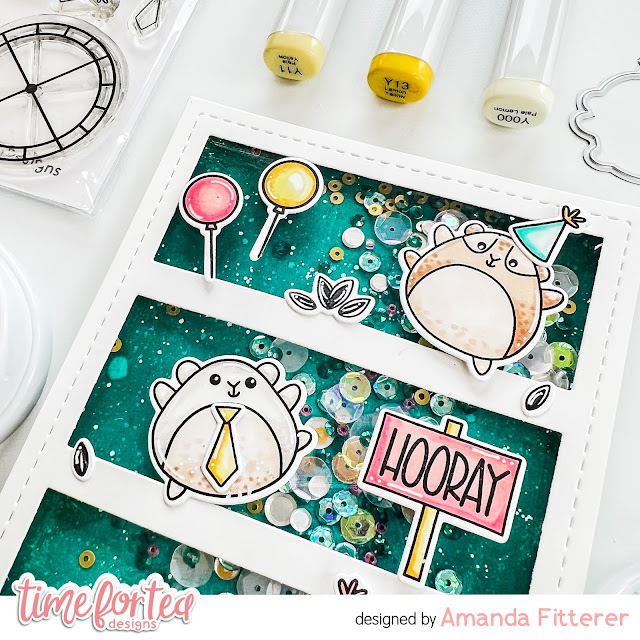
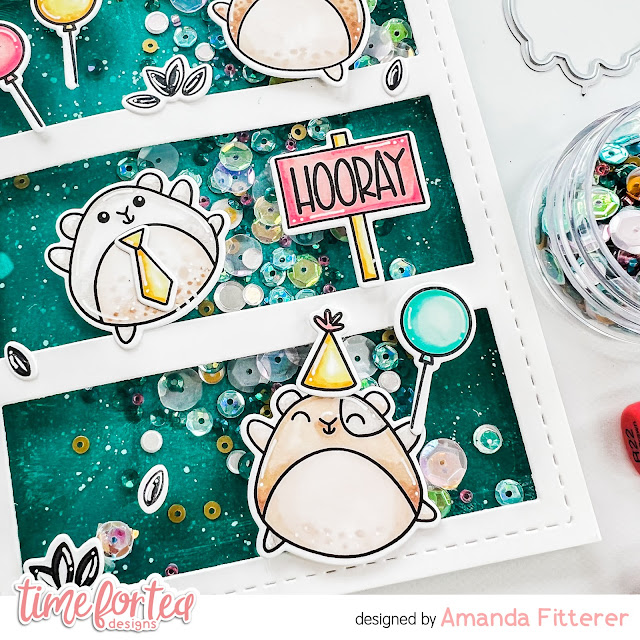
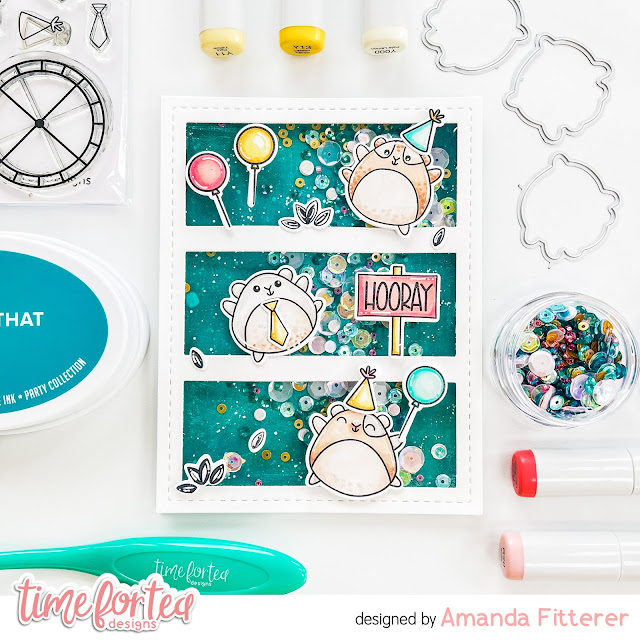
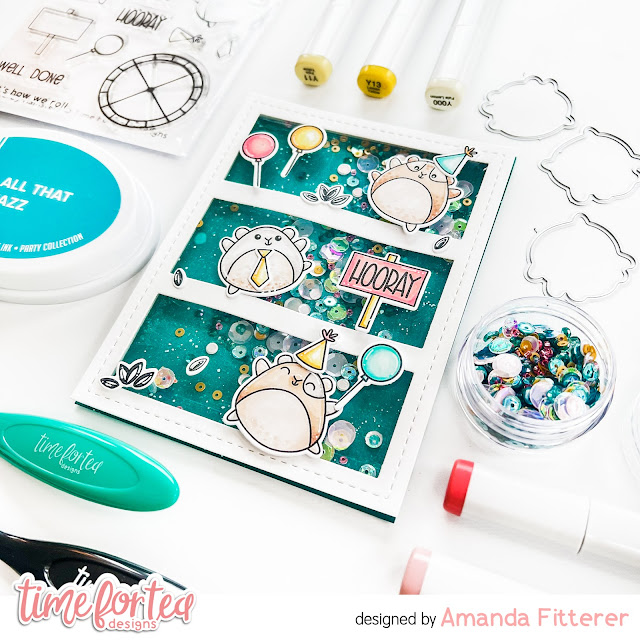
Shaker Card with Hooray Hamsters


Hey, crafty friend! Are you ready for a shaker card today??  Me too!  
This card is super fun to make and super fun to shake!
I used a piece of A2 white cardstock and blended the background with All that Jazz ink.  Then, I used the darker Uptown ink around the edges to create some depth.  I spritzed the background with water and splattered a bit of white paint on it as well.  

I die cut my frame and placed a piece of clear acetate behind it.  Then, I added some deep foam tape around the edges.  This tape will hold my shakers inside the card.  I placed my sequins on my ink blended background, directly into the center.  Then, I placed my frame on top, being careful to avoid the sequins getting trapped under my foam tape.

I stamped my cute images from the Hooray Hamsters stamp set, colored them with Copic markers, and then die cut them out with the coordinating dies.  Then, I simply attached them to the front of the card with liquid glue and 3D foam squares.


That's it for me this week, friends!  I hope you loved this happy shaker card and it inspires you to make something fun today!

Don't forget, you can use code T4TAMANDA10 to get 10% off your purchase!
Until next week.... Xx, Amanda 

Wednesday, 20 April 2022

VIDEO: Lucky Duck Mother's Day Display Card

Hi, Friends! Lauren here and I'm back with a new video tutorial on YouTube! This month I am sharing a sweet scene using the fabulous Die-namic Display Card Dies. I just love how this die makes scene building with perspective and dimension easy!

While Mother's Day has already passed this year for the UK, it is coming up in May for those in the US and I wanted to use the super cute sentiments from the Lucky Ducks stamp set. Especially since they have their own die cuts! Plus, those cute little ducks are just so adorable... Don't you agree?

There are lots of fun details using other dies (Windmill Add On Die Set and Landscape Edge Standalone Die Set) but I think my flying bee with acetate is my favorite part of the card!

Click the image below to start the video and make sure to leave a comment if you have any questions!


Here is a quick list of the Time For Tea Designs supplies I used and make sure to enter my code T4TLAUREN10 at checkout for 10% off your order!

Lucky Ducks Clear Stamp Set

Lucky Ducks Coordinating Die Set

Windmill Add On Die Set

Landscape Edge Standalone Die Set

Die-namic Display Card Dies

Thanks for joining me today and see you next month!

XO. Lauren

Find me on my social media here!

Wednesday, 16 March 2022

Video: Create a Floral Spring Scene with Blooming Bunnies!

Hi, Friends! My name is Lauren and I'm so excited to be a part of the Time for Tea Designs Video Team! I have my first video today and I thought I would I would share a tutorial of a typical card I love to create - a scene with lots of perspective and layering.

For this card I grabbed my Blooming Bunnies stamp set and dies, then went through my die sets to help me create a floral, Spring scene.

In the video I share which dies I use and how I add depth to die cut pieces of colored cardstock. Then I will walk through how I create each layer of the card using foam squares to create more dimension and perspective on the card.

Click the image below to start the video and make sure to leave a comment if you have any questions that I can help with in creating a scene!


Here is a quick list of the Time For Tea Designs supplies I used and make sure to enter my code T4TLAUREN10 at checkout for 10% off your order!

Blooming Bunnies Clear Stamp Set

Blooming Bunnies Coordinating Die Set

Windmill Add On Die Set

Landscape Edge Standalone Die Set

Thanks for joining me today and see you next month!

XO. Lauren

Find me on my social media here!

Thursday, 10 March 2022

Good Luck Hamster

 
Hey friends!  It's Amanda back here again with another card to share with you!
Today's card is a fun Hooray Hamster and Scattered Hearts Die card!
I started by blending Serenade and Drive-In inks, focusing the darker color on the edges.  Then, I die cut the Scattered Hearts Die and trimmed it down to 4" x 5.25".  I also trimmed down a piece of black cardstock to 4" x 5.25".

Next, I stamped my images from the Hooray Hamster stamp set and colored them with Copic markers.

I grabbed my Brighter Days Sentiment Cards and cut out the "Wishing you lots of luck" sentiment.  I used my scissors to cut out little triangles on the edges.

I saved all my cut out hearts and propped up a few with 3D foam squares.  I also saved them for some upcoming cards!  ;)


I used glue and 3D foam squares to assemble the entire card!

And that is it for me today!  I hope you've enjoyed this post and feel inspired to make something fun!
Crafty hugs!  Amanda


Monday, 13 December 2021

Cosy winter & alcohol inks

Hello, Tea Timers! 

Natalia here with you today. I have a quick card to share with you today.

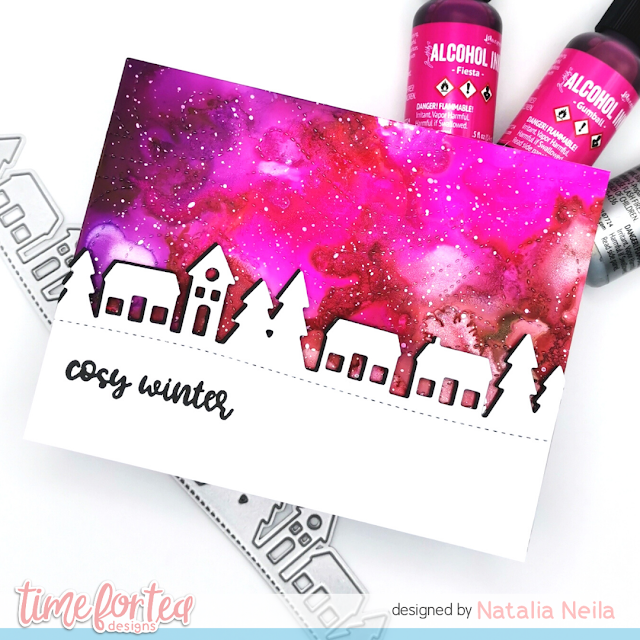
To start with, I made my background panel with alcohol inks. I used Fiesta, Gumball, Boysenberry and Sterling Alloy. I also added some splatters with white gouache.

Once that was dry and ready, I used the Snow Flurry Cover die to give it some texture. I really like this die - it is so beautiful!


The next step was to die cut the Slimline Mini Village die twice, once from black cardstock and once from white cardstock. I stamped the sentiment 'cosy winter' from the A5 Cosy Winter Stamp set twice with Onyx Black Versafine ink onto the front panel.

I glued the black die cut houses behind my white panel to give it some shadow and extra depth - I learned this technique from my lovely friend Raquel who is a master with die cuts! 

I used double sided foam tape to stick the houses onto my alcohol ink background panel, and that's it! That completes this card. 

Do you use alcohol inks often? I certainly want to use mine more!

If you are looking to buy some goodies from the shop, either for you or for a crafty friend, use code T4TNEILA10 for a 10% off your shop!

Sending hugs,

Natalia


Friday, 10 December 2021

Vellum Christmas Card Video Tutorial

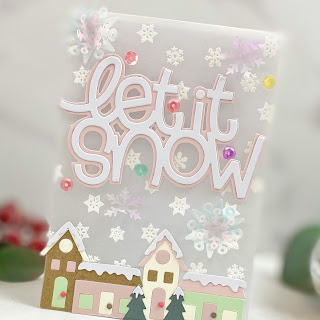
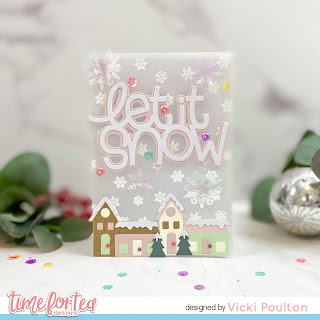
 Hello! DT Vic here today and I am sharing a fun video tutorial. I have made a video on how to create a card using vellum as your base. I love using vellum as a card base and it also looks really lovely too.


In my video I will take you through each step on how I made this Christmas card. Plus there is no colouring or stamping used so if your a fan of die cutting this is perfect for you, however if you want to add any stamped images then this will also look great.


To make the card you will need the following products: 

Stop Dachshund Around Stamp Set

Home For Christmas Dies 

Let It Snow Sentiment Die

Falalala Scalloped Slimline Dies

Vellum 

Sequins

PVA Glue

Coloured Cardstock

White Embossing Powder


I loved how this card turned out and I hope you have as much fun as me using vellum. Don't forget you can save 10% off your order using the code: T4TVICKI10 at the checkout this includes the new release products too. 

Thank you so much for popping over today!

Vic 

Other Posts You Might Like