Pages

Showing posts with label sequins. Show all posts

Thursday, 11 May 2023

How to Create A Double Sided Shaker Card


Hey there, Tea Timers!!  It's Amanda here sharing a really cool shaker card with you today!

Keep reading to see how I created this interactive card!

First, I die cut 2 scalloped frame dies of the same size.  You could use any frame dies for this project.  You could also use regular rectangle dies and just layer 2 of them to create your own frame!
Once cut, I put a thin strip of double sided tape around the entire frame.

Next, I cut down TWO pieces of acetate/window plastic to fit the frame.  I trimmed them with my trimmer, but you could also die cut them with your frame dies and they will fit perfectly!
Once I had them trimmed down, I removed the backing from my double sided tape and adhered the acetate to the frames.

Next, I used thin strips of deep foam tape to border ONE of the frames.

Then, I added my sequin/shaker mix in the center of the acetate of the non-taped frame.  After that, I simply removed my tape backing and attached the 2 frames together!


Now, for creating the rest of the card!  I stamped my images from the Just Married and You're Engaged Stamp Sets.  

Note:  These stamps sets are designed to work together!!  How cool is that?!  The cars, kitties and champagne glasses all line up so that you can create a 2 sided card!

Then, I colored them with Copic markers and die cut them out using the coordinating dies.  
Now, I can start adhering my images to the front and back of the card!


The last step is to create my sentiments for both sides of the card!  I trimmed 2 pieces of black cardstock that are the same size, stamped my sentiments with embossing glue ink, applied white embossing powder, and then melted the powder with my heat tool.

That's it!  Here are some more images of the finished card!


Thank you so much for stopping by the Time for Tea Designs blog today!  Don't forget!  You can shop the New Release now!
Xx, Amanda


Thursday, 20 April 2023

Ewe are the Best with Fun Ink Blending!


 Hi crafty friends!!  It's Amanda here sharing a sweet "EWE are the Best" card!  This card features the Ewe Are the Best Stamp and Die Set!


To make this card, I am starting out by stamping my images from the Ewe Are the Best stamp set with alcohol marker-friendly black ink.  I colored them with alcohol markers and then die cut them with the coordinating dies.

With the Scene Builder Stencil, I ink blended grass with Catherine Pooler's Lemongrass, Melon Ice, and Grass Skirt inks.  For my background, I used a sun ray stencil with Catherine Pooler's Pucker Up ink!  I love how BRIGHT and cheery this color combo makes the card!


I love adding sequins as a finishing touch to a card that just needs one more piece of flair!  ;)  That's all for me today!  I hope you find some time to get crafty today!!  Xx, Amanda


Thursday, 2 March 2023

You Mean a LATTE to Me


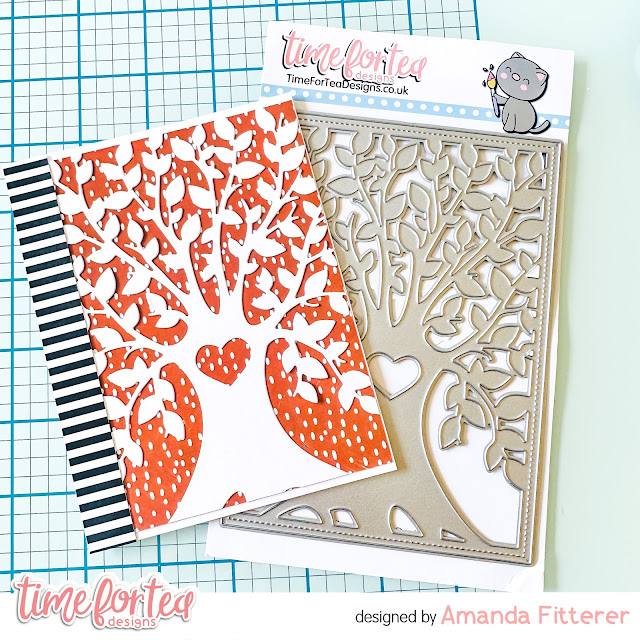
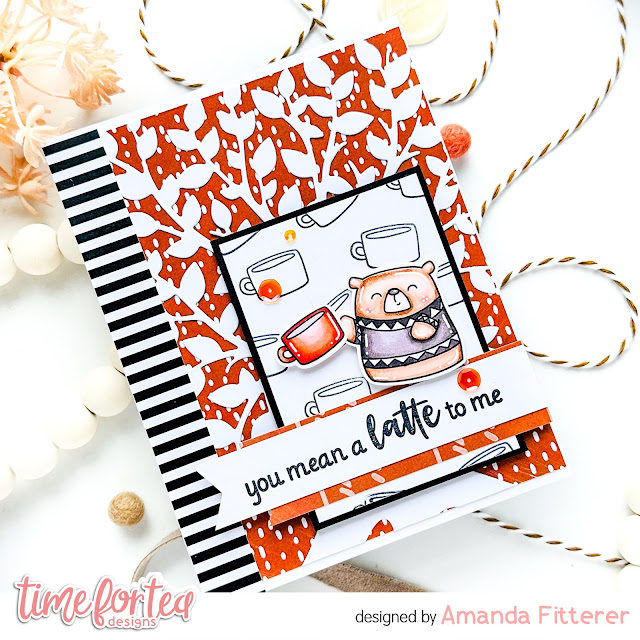
Hello, Tea Timers!  I'm excited to be here today to share this gorgeous card with you!  I created this card by cutting out the Tree of Love Cover Die in white cardstock.  I adhered some patterned paper directly onto my A2 card base using liquid glue.  Then, I used my Bearly Arts precision glue to adhere my tree.

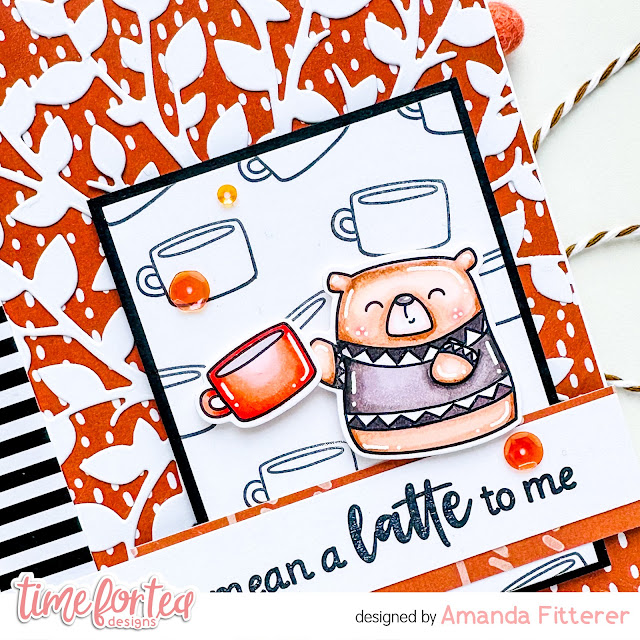
Next,  I stamped my images from the Happy Trails Stamp Set.  Once colored with alcohol markers, I cut them out using the coordinating die set.  I also trimmed a small white panel down and stamped the mugs directly onto it, evenly spacing them out, using a small acrylic block.


I trimmed down a piece of black cardstock that was just .25" bigger than my white panel.  I glued my white panel to the black panel.  I propped that up onto my card base using strips of 3D foam tape.


I trimmed down another piece of patterned paper and glued that to my white panel.  I grabbed my sentiment from the Perfect Blend Stamp Set and stamped that onto a piece of white cardstock in black ink.  I trimmed that down with my scissors and created a little flag/banner at the end.  I glued that onto my patterned strip.

The last thing to do is add on my stamped images with 3D foam squares and glue a few sequins down!


I hope you enjoyed this card and are feeling inspired by my post!  Have fun getting crafty today or whenever you can!  Xx, Amanda


Thursday, 19 January 2023

Creating a Shaker Card using the Walrus Be Friends Stamp Set


Happy Thursday, Tea Timers!  It's Amanda here!  Do you LOVE making shaker cards?!  I just think they're SO much fun and worth the amount of time that it takes to make them!

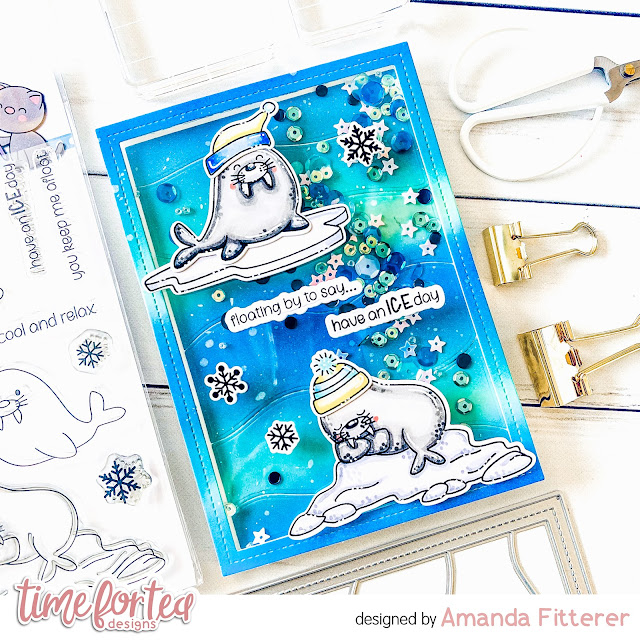
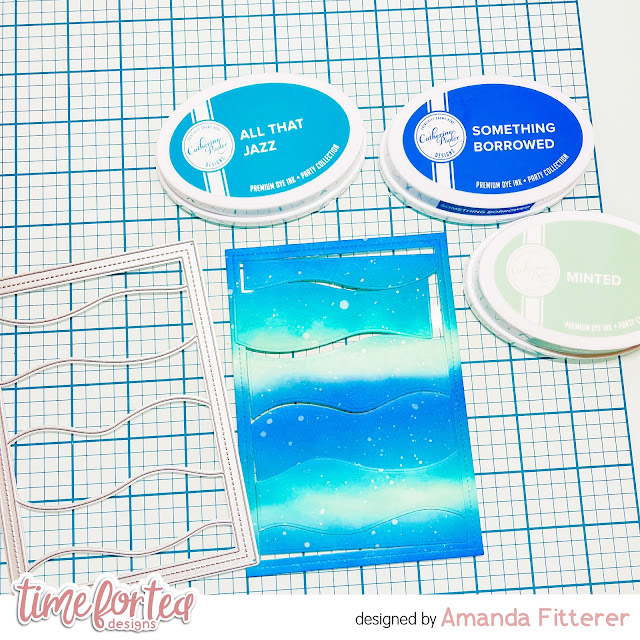
To create this card, I first ink blended a piece of white cardstock with Minted, All That Jazz, and Something Borrowed Catherine Pooler inks.  Then, I used the Waves Cover Die to cut it out.

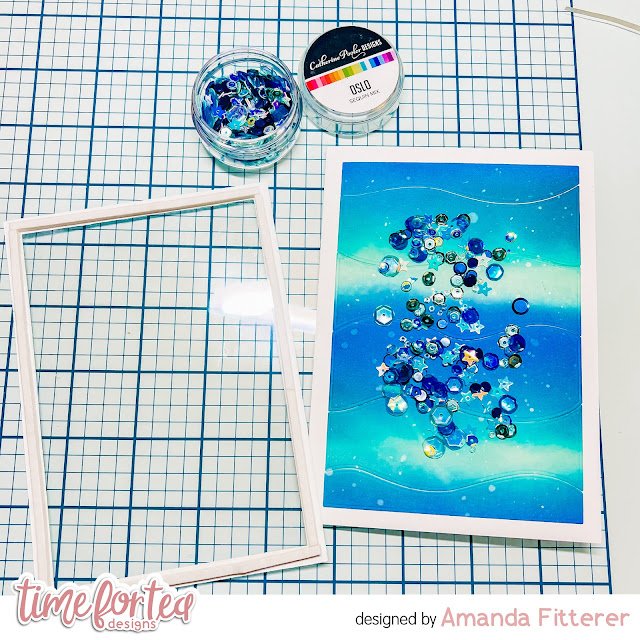
Next, I glued my waves directly onto my white card base.  I added some sequins to the center.  I used double sided tape to adhere my acetate sheet to the die cut frame.  Then, I placed Deep Foam Tape around the entire edge of the frame.  Then, I could place my frame on my card base.

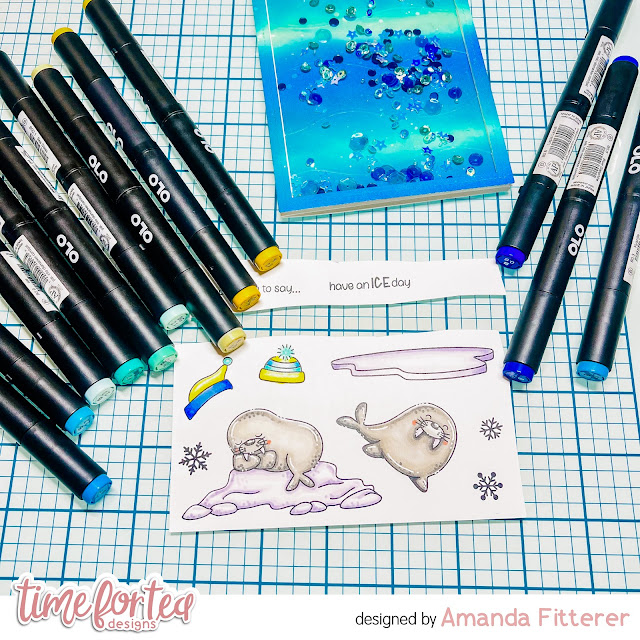
I then stamped my images from the Walrus Be Friends Stamp Set and colored them with OLO markers.  Then I die cut them with the coordinating dies.

The last step is to adhere my stamped images and sentiments to the card using 3D foam squares!

That's it for me today, friends!  I'll be back next Thursday for some more inspiration!  Xx, Amanda


Thursday, 3 November 2022

Movie Time Shaker Card!

Happy Thursday, Tea Timers!  It's Amanda here!  Today I get to share with you how I made this birthday shaker card!  I don't know about you, but I just love making interactive cards!

To make this card, I grabbed a piece of red cardstock and ink blended Maker Forte's Telephone Box ink through the Popping Popcorn Stencil.  I also blended the edges all the way around.

Out of yellow cardstock, I die cut a framed die.  Any frame die would work, including the Waves Cover Die or the Stitched Window Cover Die.

To create the shaker part, I added an acetate sheet behind my yellow frame.  Then, I used deep foam tape all around the edge of my yellow cardstock.  I sprinkled some sequins and stars on my red cardstock and then placed my frame on top.
For my adorable little movie scene and sentiment, I stamped some images from the Movie Night stamp set.  I colored them with OLO Markers and then die cut them out with the coordinating dies.  Then, I attached them to my card front with 3D foam squares.  I also cut out the letters for "Happy Birthday" with some alphabet dies.


Thank you so much for stopping by the blog today!  I hope you're feeling inspired by this post!  Come back next week for another cheery card!

Xx, Amanda


Thursday, 28 April 2022

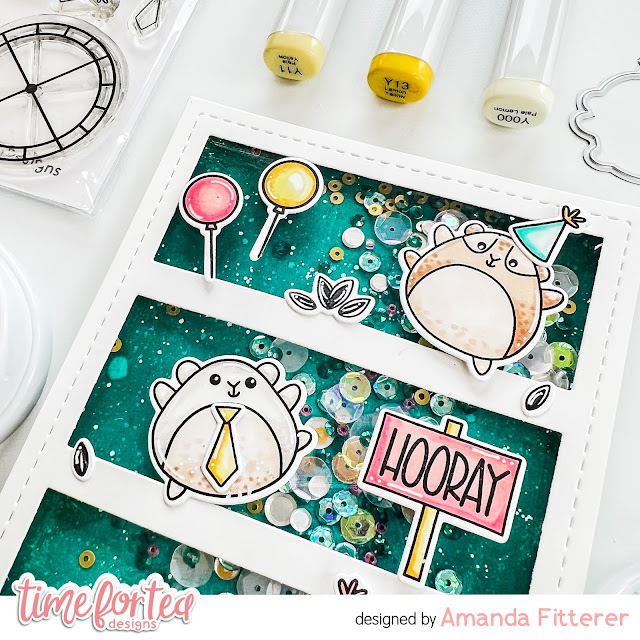
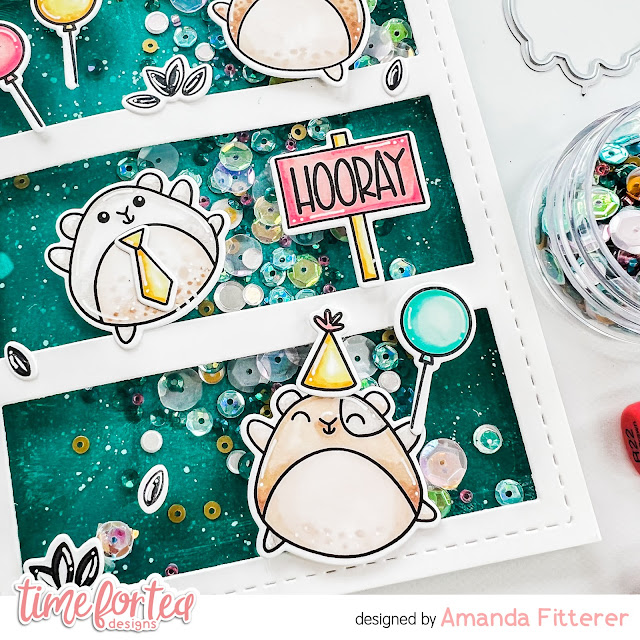
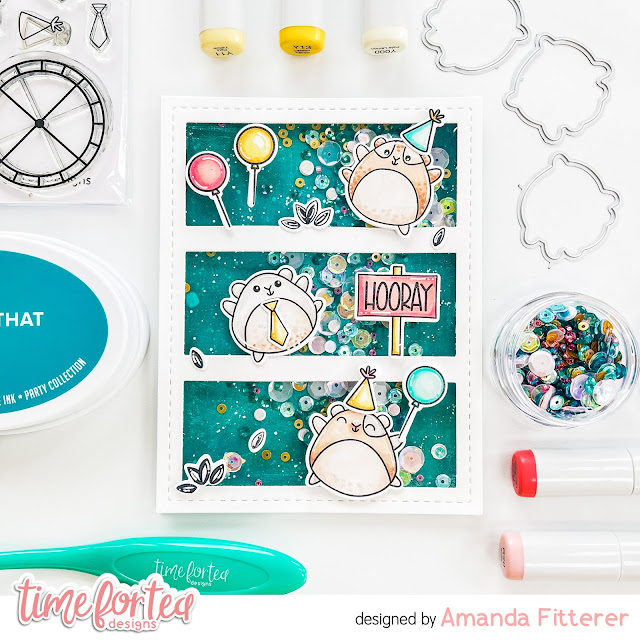
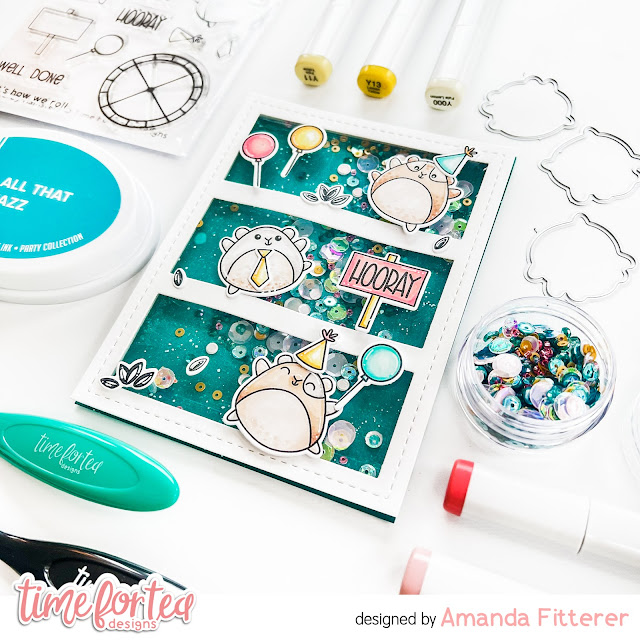
Shaker Card with Hooray Hamsters


Hey, crafty friend! Are you ready for a shaker card today??  Me too!  
This card is super fun to make and super fun to shake!
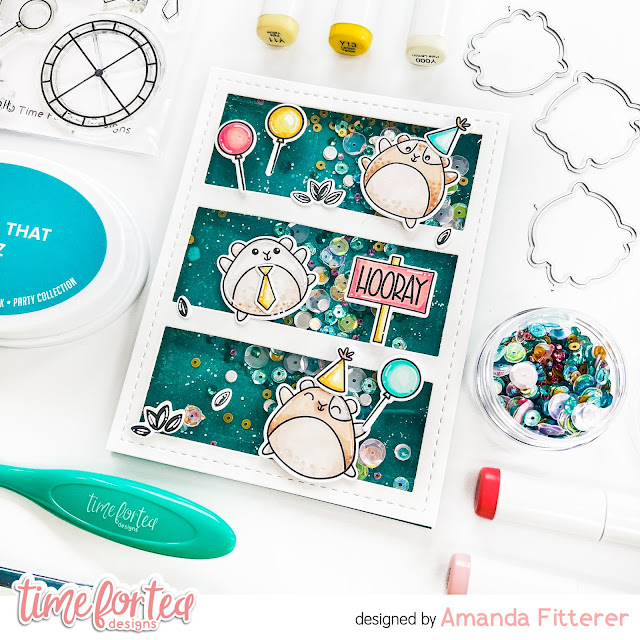
I used a piece of A2 white cardstock and blended the background with All that Jazz ink.  Then, I used the darker Uptown ink around the edges to create some depth.  I spritzed the background with water and splattered a bit of white paint on it as well.  

I die cut my frame and placed a piece of clear acetate behind it.  Then, I added some deep foam tape around the edges.  This tape will hold my shakers inside the card.  I placed my sequins on my ink blended background, directly into the center.  Then, I placed my frame on top, being careful to avoid the sequins getting trapped under my foam tape.

I stamped my cute images from the Hooray Hamsters stamp set, colored them with Copic markers, and then die cut them out with the coordinating dies.  Then, I simply attached them to the front of the card with liquid glue and 3D foam squares.


That's it for me this week, friends!  I hope you loved this happy shaker card and it inspires you to make something fun today!

Don't forget, you can use code T4TAMANDA10 to get 10% off your purchase!
Until next week.... Xx, Amanda 

Other Posts You Might Like