Pages

Showing posts with label Windmill Die. Show all posts

Thursday, 31 December 2020

New Home Card


 Hello happy New Year’s Eve! DT Vic here today and I wanted to share a card I made recently using the adorable Cozy Winter stamp set. 


I started my card by stamping by images and colouring them in. I used Cozy Winter, and the Moovellous Stamp Set. I coloured them in with my copic markers and then using the coordinating dies I die cut them out. Next I cut down a piece of white card and using the Making Waves Stencil I used the large cloud and added some pastel inks to my card using my Beautiful Blending Brushes

I wanted to add some hills so I used my Landscape Edge Dies and some light green card and added a couple of hills to the bottom of my card. I adhered them down with some foam tape and I then started to add some of my images onto the card.  

For my house I thought it would be fun to use the Windmill Builder Standalone Die and turn it into a house. I drew some curtains on the window and added a heart on the door. I then drew a sold sign and placed this in front of the house. I added some more birds and flowers to my card and for my sentiment I stamped congrats from the Speech Bubbles Stamp Set. I used a light pink ink for this and adhered this down onto my card. 

I love how this turned out and it will make a really sweet new home card. 

I hope you have a fantastic New Year’s Eve and don’t forget you can save 10% off your order using the code: T4TVICKI10 at the checkout. 

Thanks so much for stopping by today!

Vic 

Thursday, 10 December 2020

Mouse Mushroom House

 Hi Vic here today and I have a cute card to share with you. I absolutley love the Baked Wirth Love Stamp Set the mice are just the cutest and I wanted to create a card using one of the mice images. 


For the mushroom house I actually used my silhouette for this, I took a mushroom image and welded the house together to make a card base. I then die cut all the elements that went with the mushroom house using some plain white card. I ink blended the parts seperatley using some red ink, light brown ink and grey ink. I then embossed the outside part of the mushroom where the door and window is using an embossing folder. Next I added a piece of vellum behind the window. I then adhered all the parts together using some PVA glue. 


Next I stamped a mouse using the Baked Wirth Love Stamp Set  and coloured him in with my copic markers. I then used the Coordinating Dies to die cut him out. I wanted the mouse to be holding something so I used the Bears Picnic Stamp Set and stamped the cupcake from the images. Next I used the Be Owlsome Stamp and stamped a few flowers and coloured them in with my copic markers. I added some green die cut leaves and started to put my card together. Once everything was adhered down I used the Storms Don't Last Stamp Set and with the sentiment I stamped this onto a piece of black card and heat embossed the greeting with White Embossing Powder. I then used the Coordinating Die Set and run this through my die cutting machine.


I adhered the sentiment down onto the top of the mushroom house. If you don't have a silhouette machine you can make this using the Windmill Builder Set and have the mouse stand near the door. 


Don't forget you can save 10% off your Time For Tea Designs Purchases using the code: T4TVICKI10 at the checkout. Jo will also be live on the Facebook page tonight at 8pm. 
Have a lovely day!

Vic


Friday, 18 September 2020

Happy Days Windmill Scene


Happy Friday! DT Annalisa here sharing a fun interactive windmill scene. This certainly was a labour of love as it took longer than my usual projects! For this scene I used several products from the August release - the Windmill Builder Standalone Die, Windmill Add On die, Treat Yourself Clear Stamp Set, Plaid Background Clear Stamp Set, Hogs & Kisses stamp set and coordinating dies.

I started by colouring white cardstock with distress oxides and inks in the colours I wanted for each of the elements in the windmill and add on die sets. For the windmill, I used Faded Jeans, Chipped Saphire, Pumice Stone and Squeezed Lemonade Distress Oxides. I cut the elements out and assembled the windmill - for a great tutorial on how to do this, check out the instructional video on YouTube.

For the add on die set, I used the following Distress Oxides: Walnut Stain Peacock Feathers, Squeezed Lemonade, Spiced Marmalade, Mowed Lawn, Lucky Clover and Picked Raspberry. I added some splatters to the greenery for interest. Next, I cut out all of the elements and adhered them to the card base after I had created the sky and the grass areas. I used Squeezed Lemonade and Spiced Lemonade Distress ink for the sky and Twisted Citron and Mowed Lawn for the grass. This process took quite some time due to all the small elements, especially all of the flowers!

I stamped and cut the adorable critters from the Hogs & Kisses, Treat Yourself stamp sets and adhered them to the card. The butterfly and ladybug (inside the house!) are from the Fairy Garden stamp set; the little bird is from the Moovellous Clear Stamp Set.

To finish the card I stamped the sentiment from the Plaid Background Clear Stamp Set.

Check out my Instagram account to see this card in action!

If you are interested in purchasing any of the T4T products used in my project, I have a 10% discount code for the T4T store which can be used on anything, anytime and has no time limit - T4TANNALISA10


Monday, 7 September 2020

Interactive Windmill Video Tutorial


Hello Vic here today! 

Today I’m sharing a Video tutorial using the Up, Up & Away Stamp Set and the Windmill Builder Die


I had so much fun creating this card especially making the windmill.


I started with a DL size card and die cut a panel using the Scalloped Slimline Die. This die is so pretty to add to your DL cards.


I then stamped and coloured my images. All the copic markers are listed on the screen in the video.

Next I added some ink blending onto the panel using the Wonderful Waves Stencil  and some distress oxide ink. Once this was completed I adhered this onto my card base.

I then die cut all the pieces from the Windmill Builder Die and started to put the windmill together. This is so fun to use and once you put one windmill together you will see how fun it is to make.


 I then adhered the windmill and all my stamped images onto the card.


Lastly I stamped my sentiment and heat embossed the sentiment with white embossing powder. I trimmed this down and adhered this onto my card.


To finish the card off I added some sequins.
Thank you so much for stopping by today. You can see all the Time For Tea Designs Here. Don’t forget you can save 10% off your order using the code: T4TVICKI10 at the checkout.
Have a lovely day!
Vic

Sunday, 23 August 2020

Windmill Interactive Die


 Hello Vic here today!

I’m super excited to be sharing the Windmill Die and the Windmill Add On Die today! 


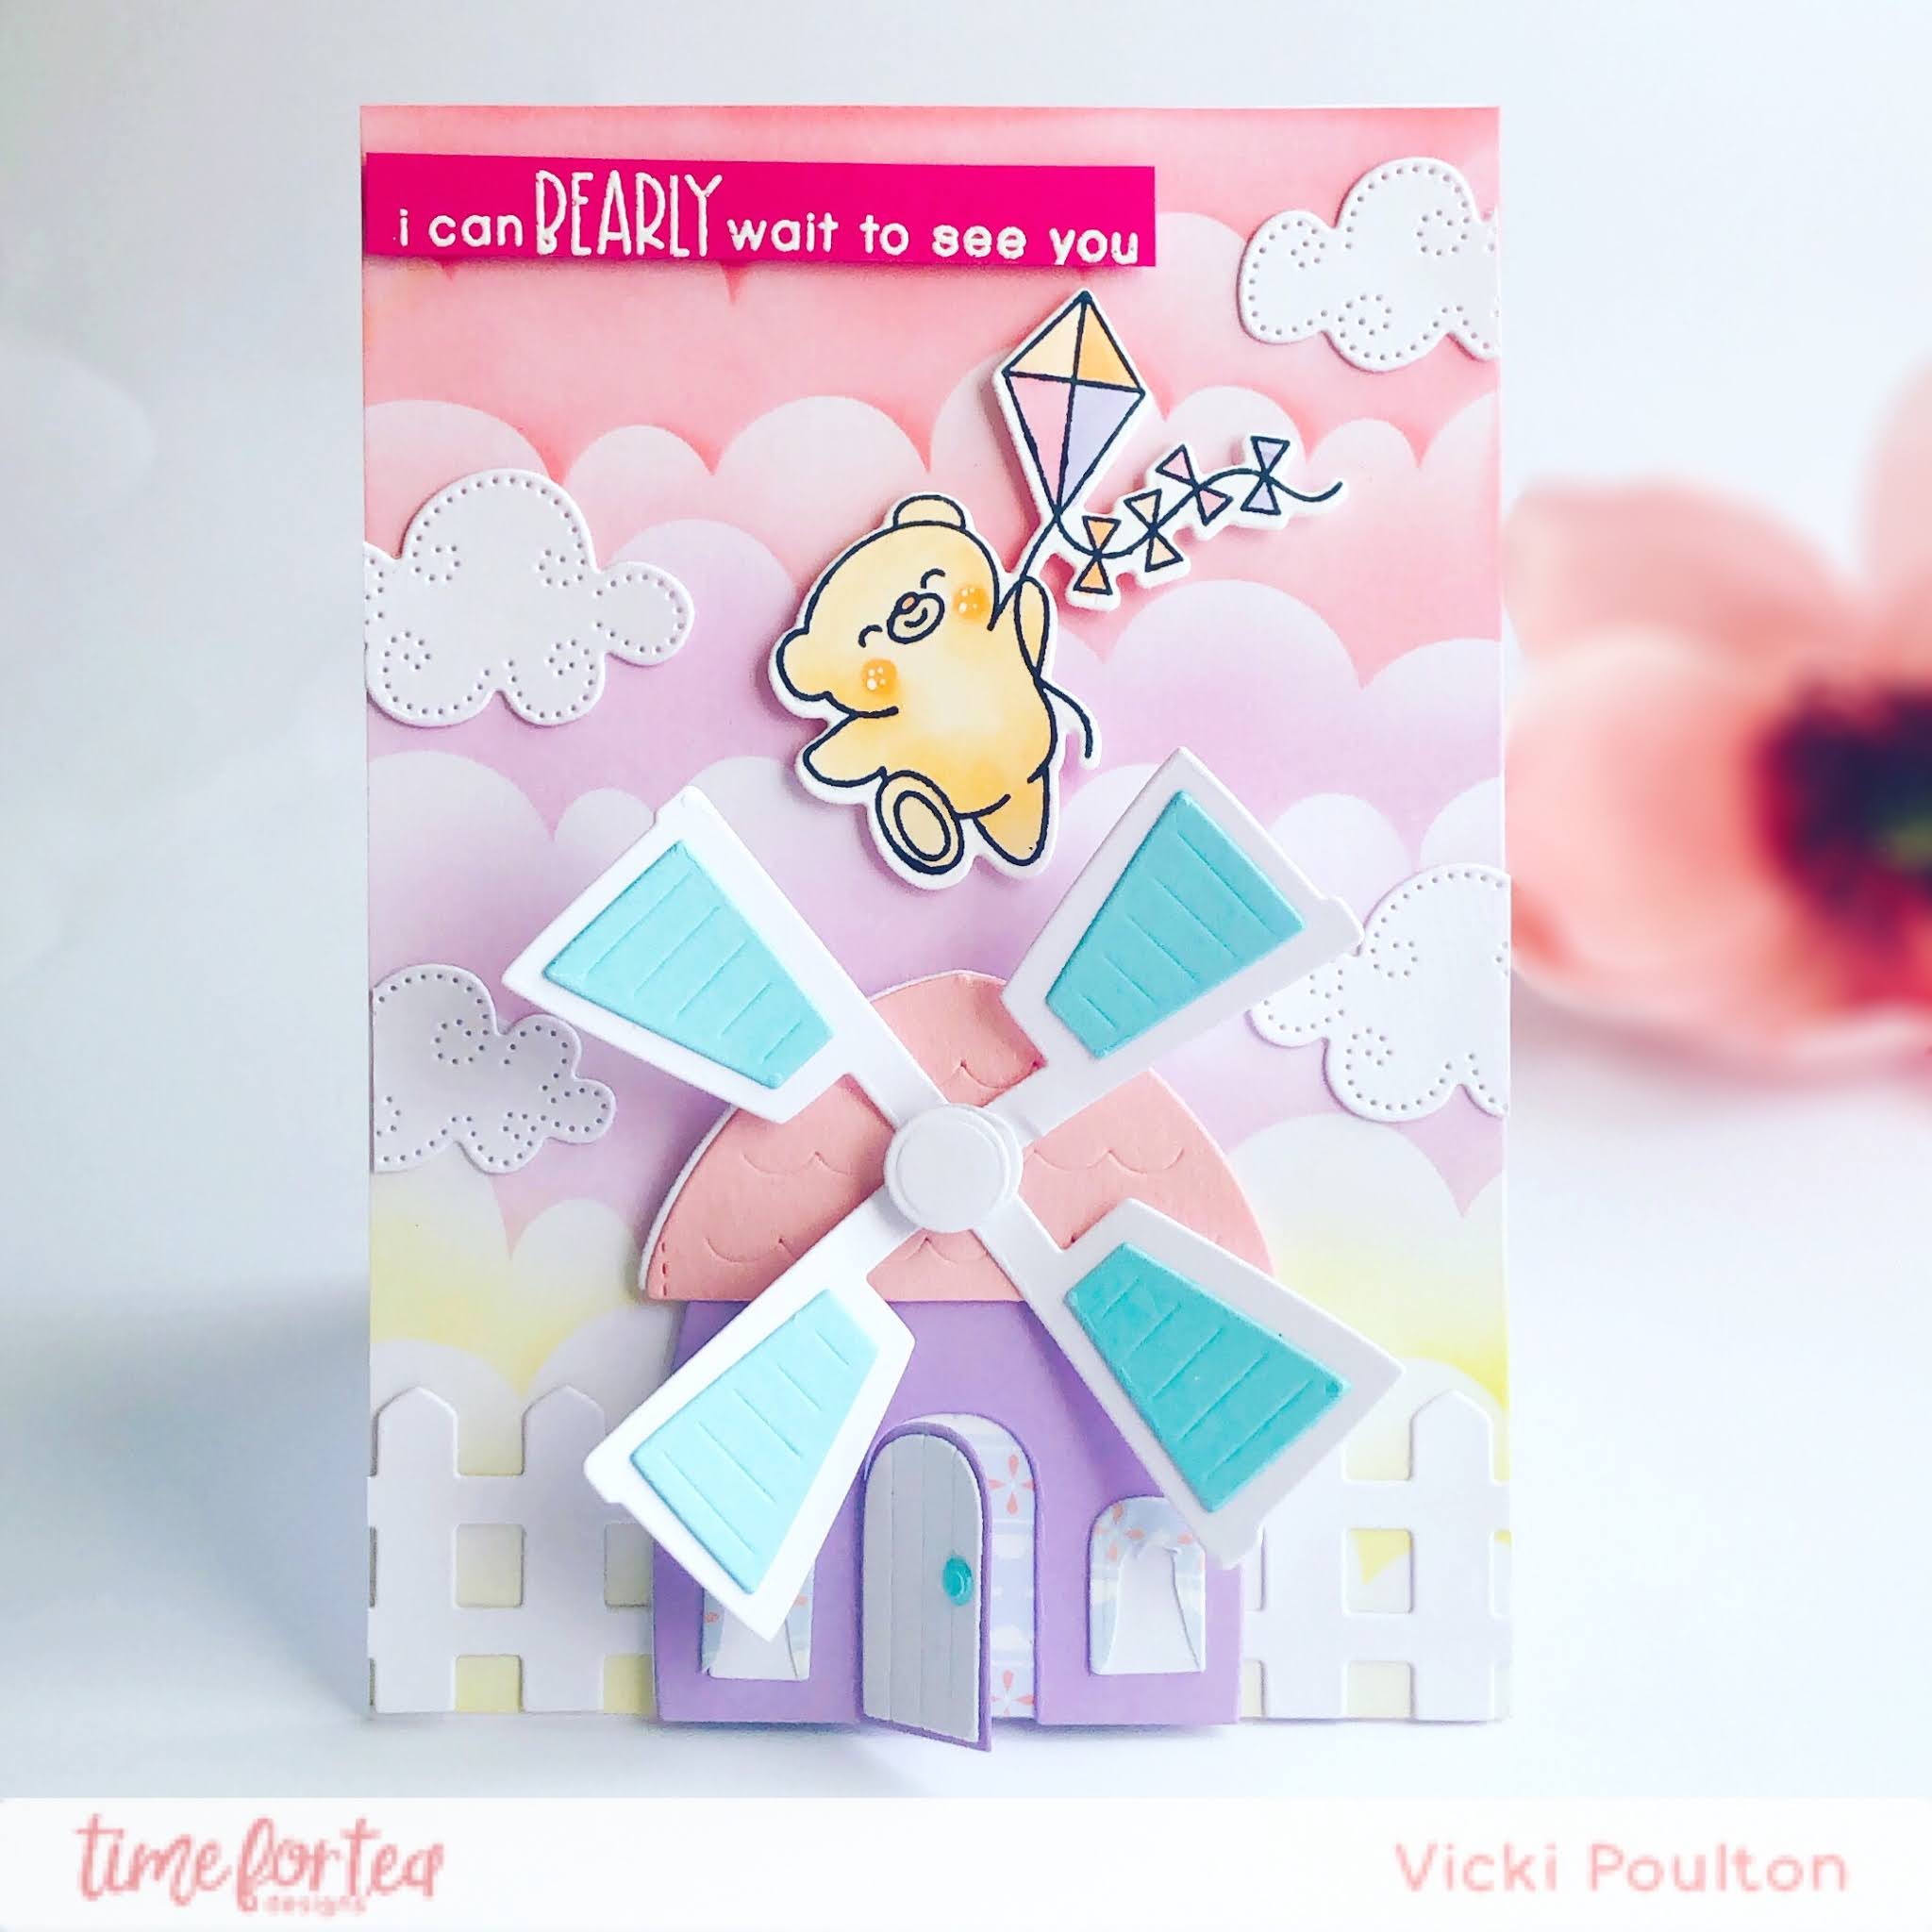
This windmill die is so adorable and the sail actually spins around! Plus the little door also opens up! I had so much fun putting the windmill together. 

The cute fence and clouds are part of the Windmill Add On Die. 

I hope your enjoying all the exciting sneak peeks so far.. not long to wait now!!

Have a lovely day 

Vic


Other Posts You Might Like