Pages

Showing posts with label Treat Yourself Stamp & Die Set. Show all posts

Friday, 29 January 2021

Sending Paper Hugs


Happy Friday, DT Annalisa here sharing a slimline card filled with hearts - perfect for sending to a friend for Valentine's Day. It features the brand new Happy Mail Critters stamp set from the Time For Tea Designs January collection that was released last week.

I created the base panel by die cutting some blue card stock with the largest die from the Slimline Scalloped Trio Circle Nesting Dies. Next, I cut some white card stock using the Scalloped Slimline Die for the middle panel. For the top panel, I used the dotted heart in the same die set and cut it out three times. I coloured the card stock using Spun Sugar Distress Oxide and my Beautiful Blender Brush. I stamped the little heart from the Be Kind Be You stamp set several times onto the pink panel with Worn Lipstick Distress Oxide Ink. 

I adhered the white scalloped frame down to the blue panel using liquid glue and then added some Lawn Fawn patterned paper on top of this. I stamped the sentiment 'sending paper hugs' using Versafine Onyx Black ink. I love this ink for sentiments as it stamps so crisply. I then adhered the pink panel with some foam tape on top of this.

Then it was time to add all of the adorable critters and accessories - all from the Happy Mail Critters stamp set except for the little mouse who is from the Treat Yourself Clear Stamp Set. I did some mirror stamping for the little bird with the envelope but if you prefer not to do this you could use the little bird from the Happy Mail Critters Digi Stamp Add On Collection which is still free (for a limited time)! I stamped, coloured (with my copics) and cut out all of the images. I then either used liquid glue or foam tape to adhere the elements down to the top panel.

This card makes me smile and I really enjoyed making it. Please be sure to use T4TANNALISA10 for 10% off your order. This really helps me to continue to be on the T4T design team which I love so much!


Friday, 15 January 2021

Treat Yourself to an Ink Blended Rainbow Background!


Did you see our FB Live on Thursday night? If not you have to watch the Replay here to see how I created this GORGEOUS Rainbow background! :)


This bright and cheerful card was perfect for shooing away the winter blues!


We have quite a bit of snow here in Sheffield, UK & some minus temperatures that I AM NOT a fan of! :) These colours and the super cute images really cheered me up!


I used 2 stamp sets for my images. Treat Yourself & Bearing Gifts.


I added sparkle with my Stickles to the ice cream and Glaze with a Gelly Roll pen to my Donut.


My Rainbow Beautiful Blender Brushes were awesome for creating our Rainbow background. I inked my Distress Oxides through the Speech Bubble Stencil to get this amazing effect.


I added dimension with craft foam cut to size with my Quilted Square Nesting Dies and our foam roll tape for the images.


I hope you like todays project.

I have listed the  products I used below. Next week is an exciting week so be sure to follow us on FB & YouTube to get the first peeks of the brand new release which is due in store from the 22nd January.

Our first Reveal Show will be on Tuesday 19th at 8pm BST on Facebook. Day 2 will be on YouTube. You can check back here or on any of our Social Media pages for the latest updates.

Happy Crafting and have a great weekend Tea Timers! :)


Thursday, 5 November 2020

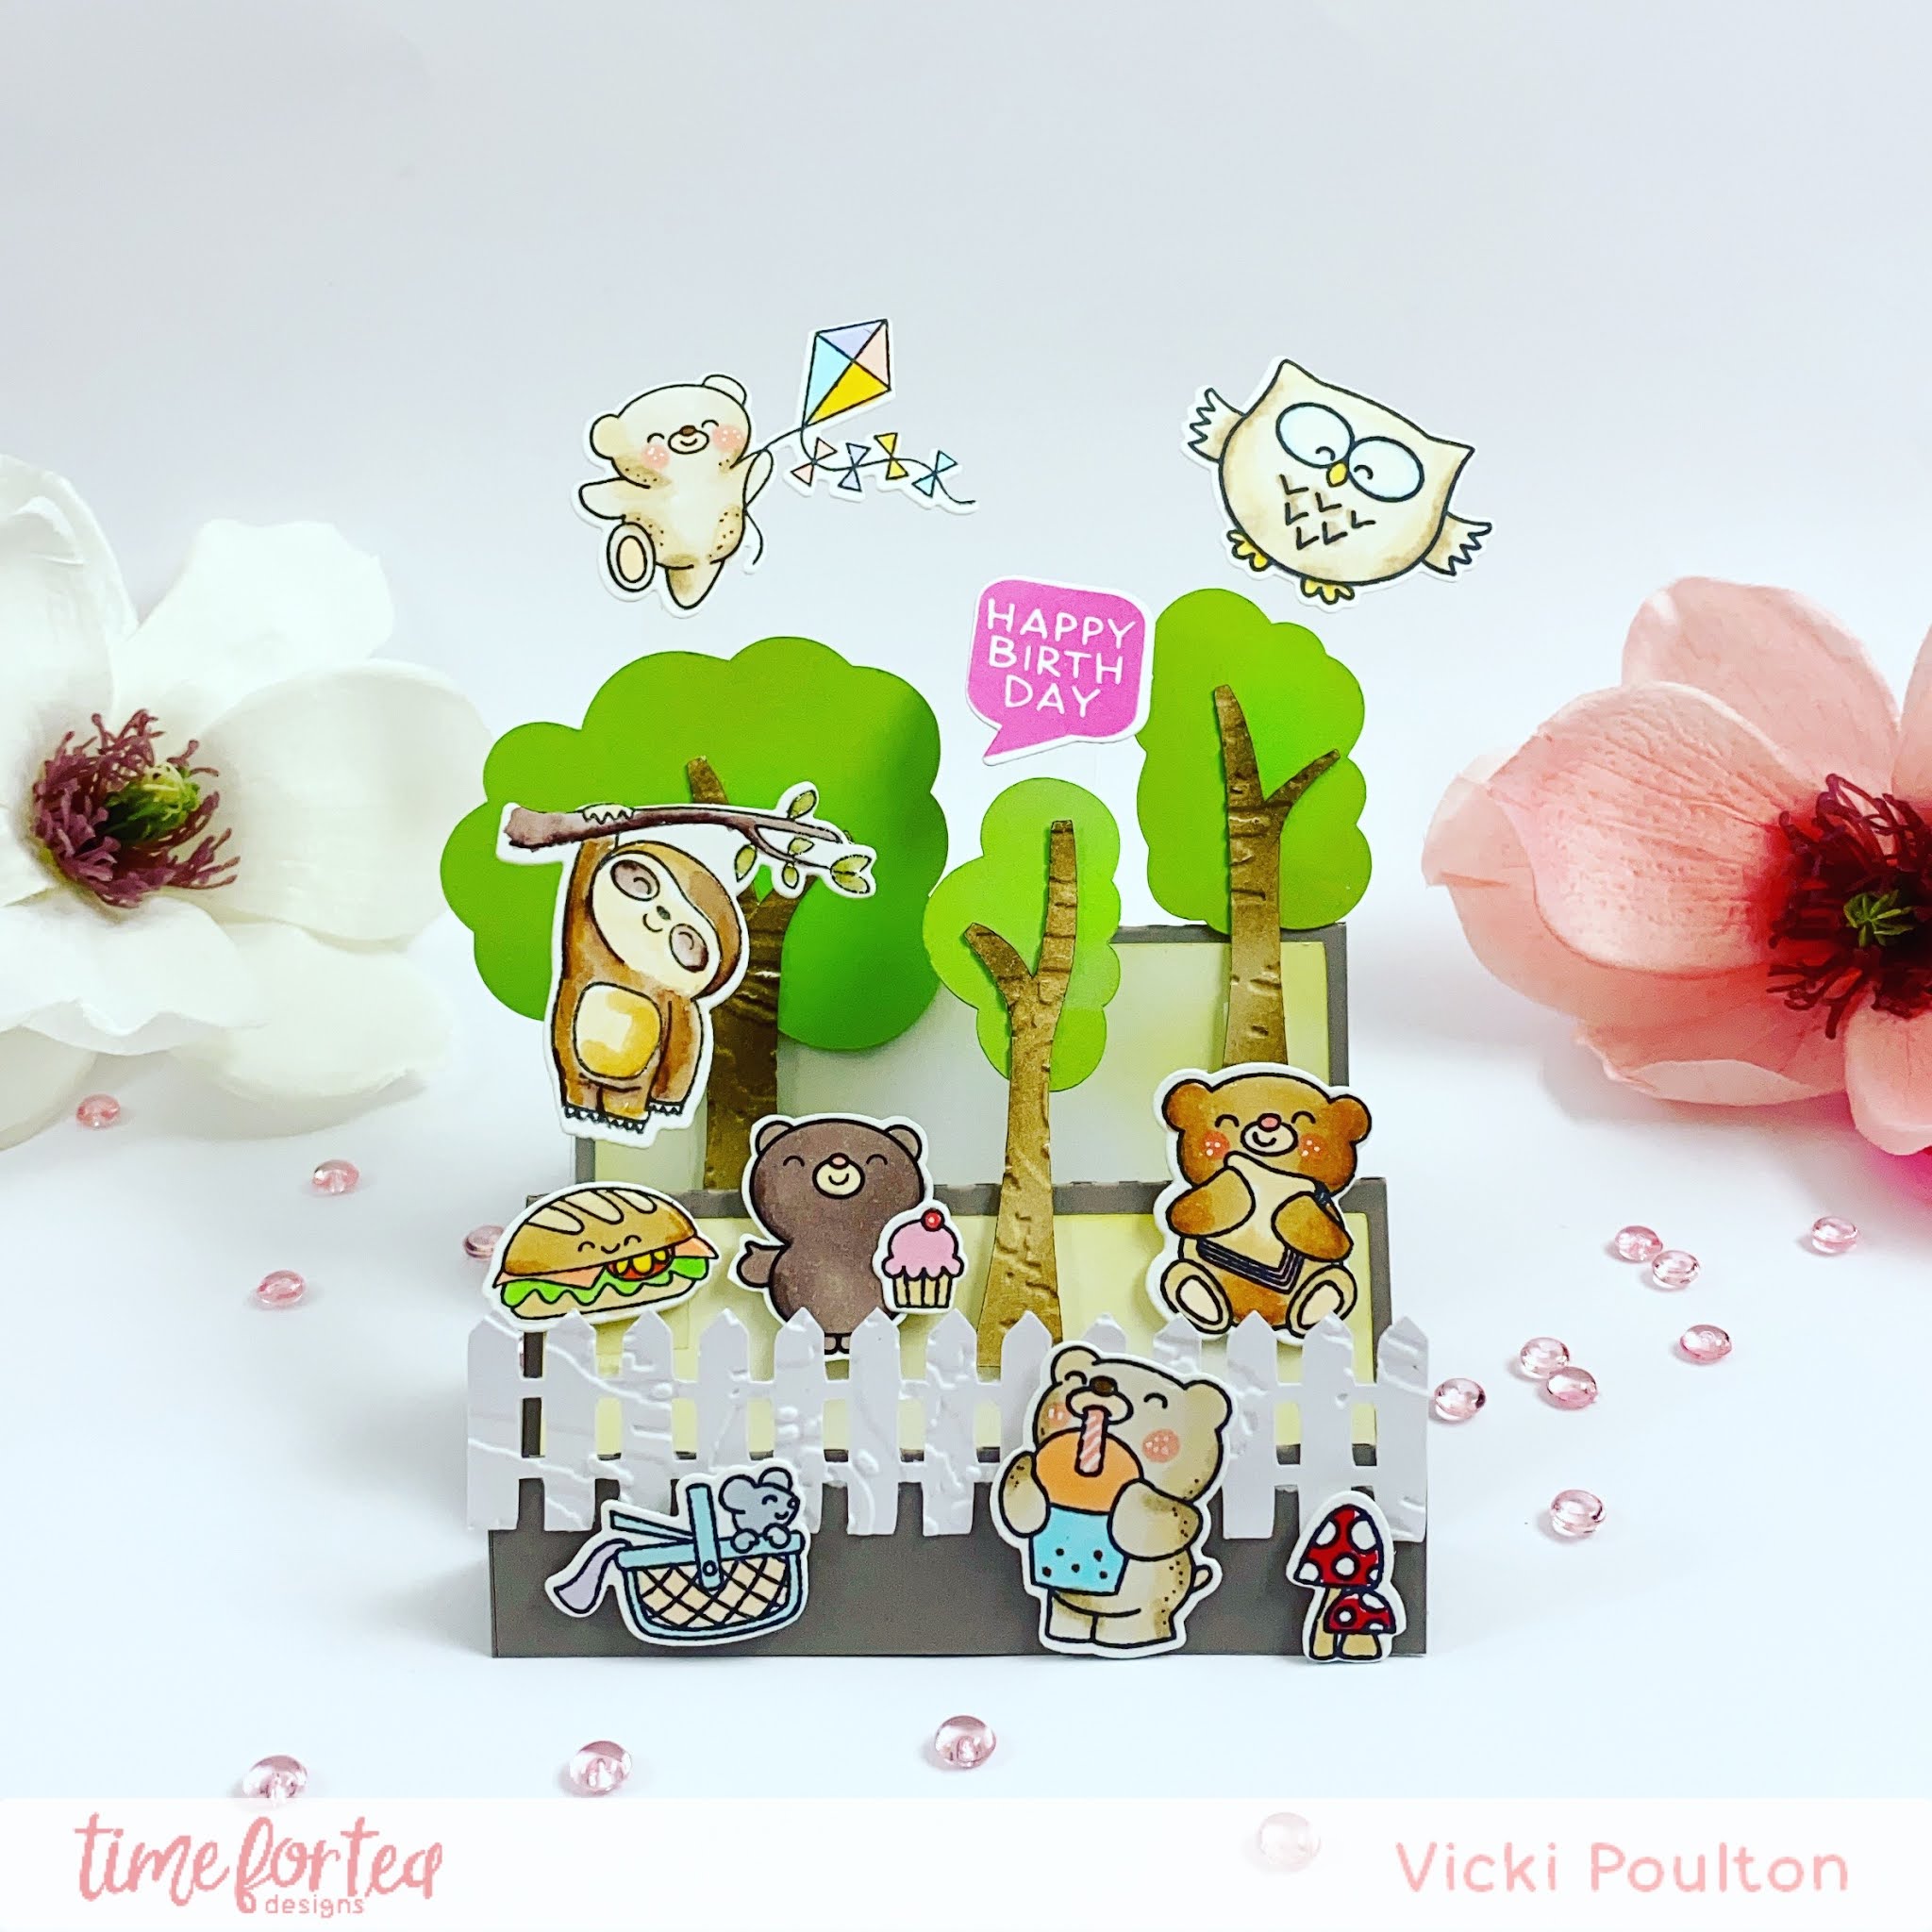
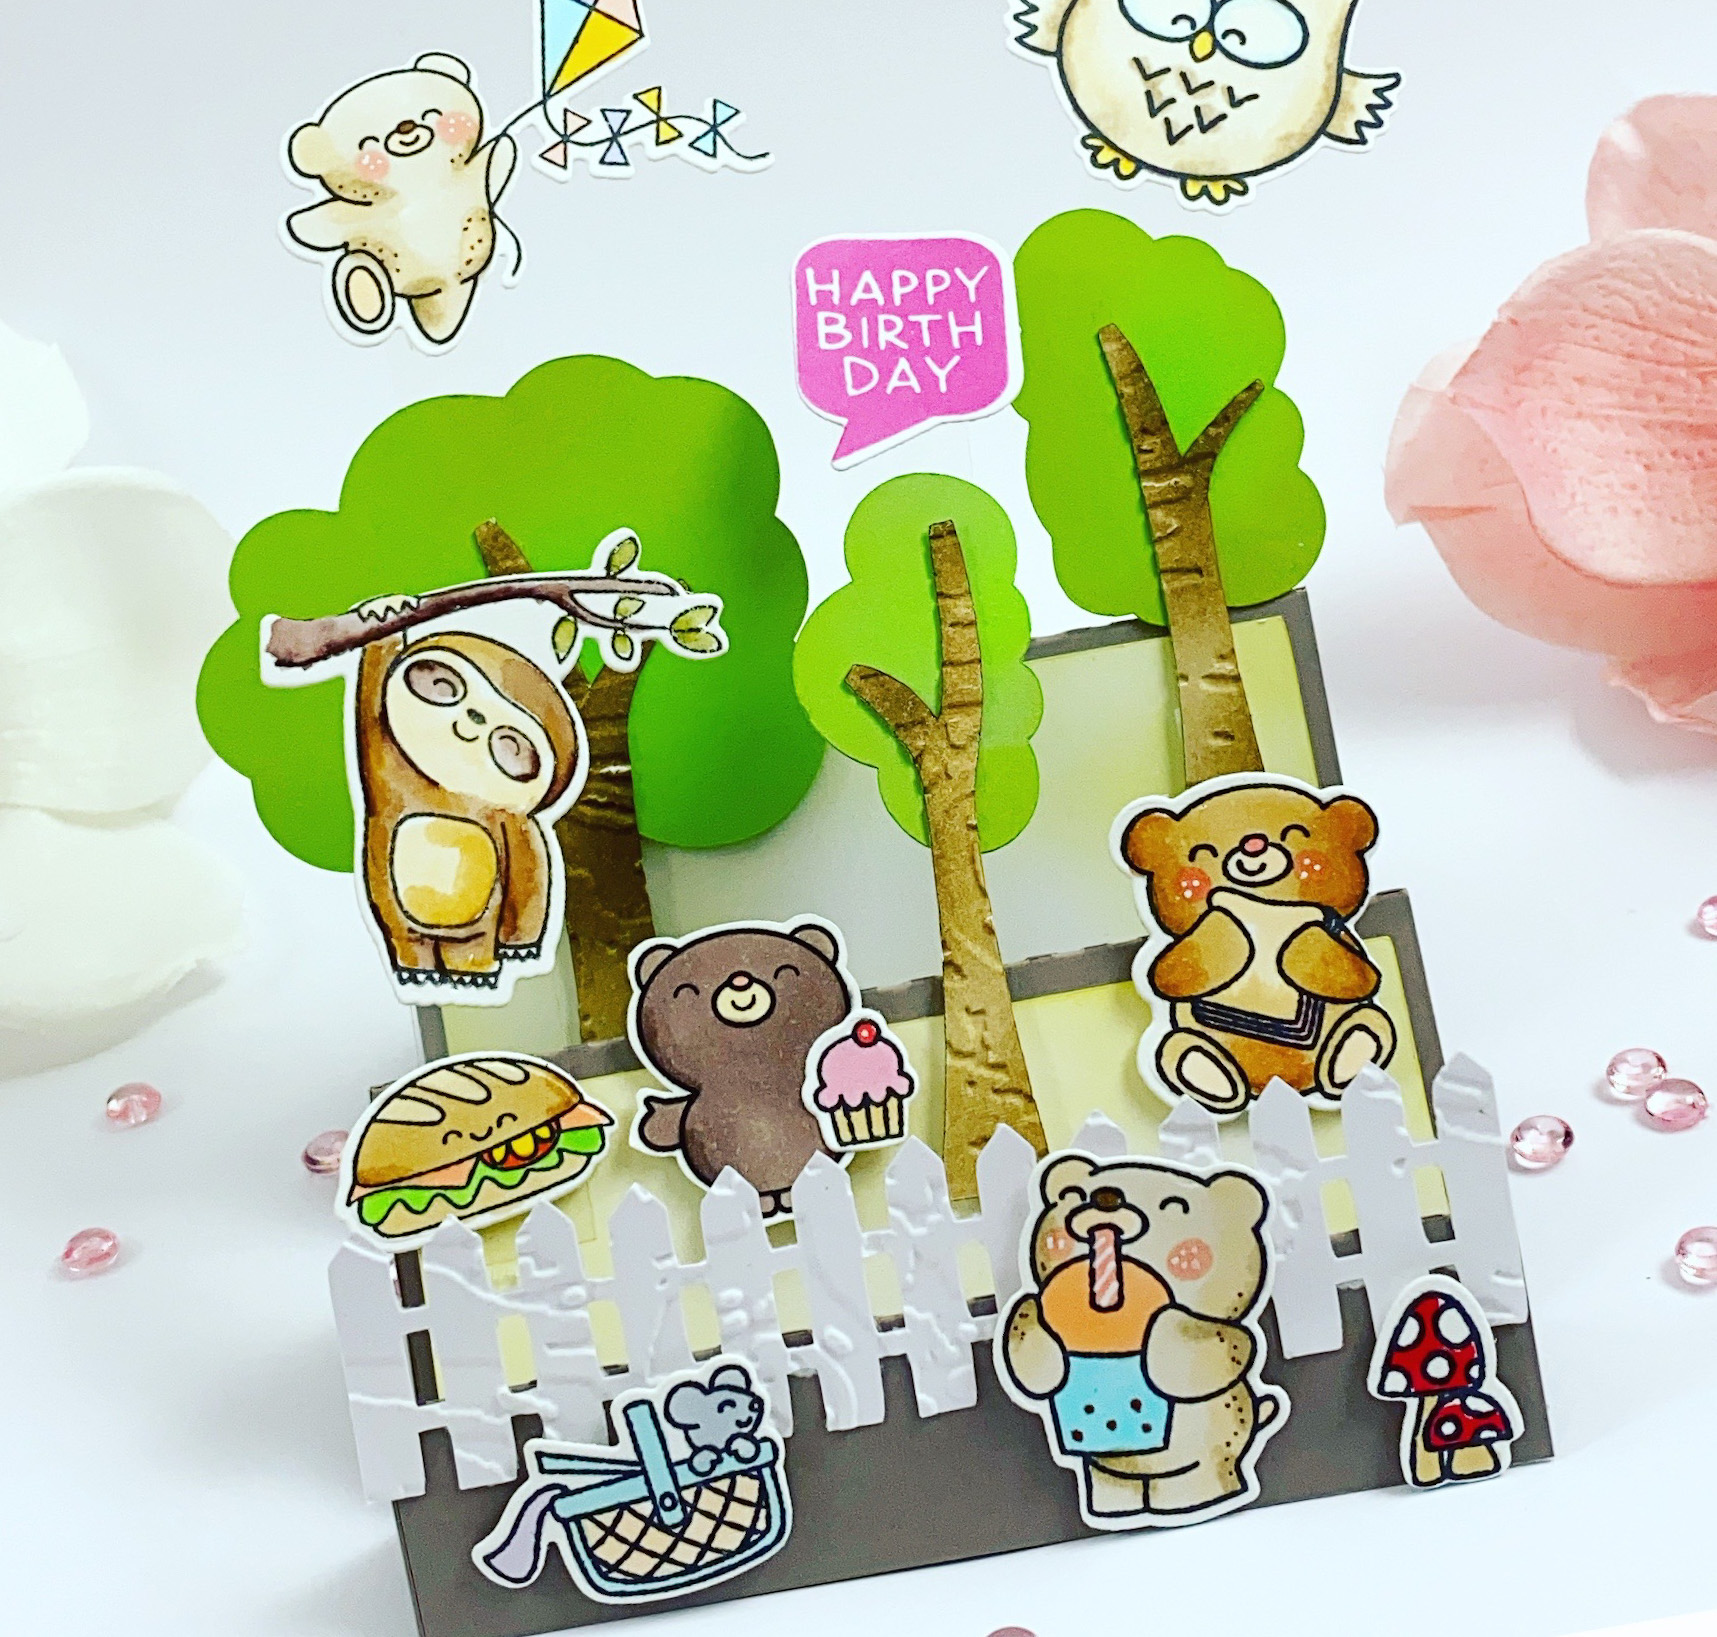
A Card Full Of Critters


Hello Vic here today! I wanted to make a card that’s crammed with cute Time For Tea Designs images. The best way for me to do this was to use a stepper card. 


I cut my card using a silhouette machine along with the trees and started to put the card together. Once my stepper card was completed I started to stamp my images. I used Be Slothy Stamp SetSpeech Bubbles Stamp Set , Treat Yourself Stamp SetUp, Up & Away Stamp SetBearing Gifts Stamp Set ,Bears Picnic Stamp Set and the Be Owlsome Stamp Set. Once my images were all stamped I coloured the images in with my copic markers. Using the coordinating dies I then ran them through my die cutting machine. 

Next I used the Windmill Add On Die and using the fence die and some white card I ran this through my die cutting machine and adhered this onto the first fold of the stepper card. I then added some images to the card  using foam tape. For the owl, bear with a kite, sloth and greeting I added some acetate to the images and adhered them into my card to make it look like the images are floating. 


I loved how this card turned out and it’s fun to make too! You can use any stamps for this design I thought it would look really cute using the chosen images. 

Thank you so much for stopping by today! Don’t forget you can save 10% off your order using the code:T4TVICKI10 at the checkout. 

Have a wonderful day!

Vic


Saturday, 17 October 2020

You are Spooktacular!


Hi everyone it's DT member Natalie here with another cute Halloween card. Halloween has to be one of of my favourite occasions to craft for purely because they are just so much fun to create. I love to customise regular stamps sets and make them Halloween themed like this one. I used the new Home Sweet Home set to create a sweet, spooky living room scene. The rest of the elements come from the Treat Yourself and Spooktacular Stamp sets. I stamped out, coloured and cut out all my elements. Then created my scene.
I cut out a black frame using the new A2 Nesting Frame Dies then used the size to cut out a rectangular piece of card to fit behind it. I drew a line for the floor and used my copics to create a woodgrain effect then used the Fossilized Amber Distress Oxide to create a warm glow behind the fire. 
Once this was done I popped on my frame and added my scene and sentiment I love how well the sets just work together but then Time for Tea stamps sets always do which is what I love about them. It really helps stretch your stamps to get the most out of them. 
I hope you have enjoyed my card for today don't forget you can get 10% off in the shop using code T4TNATALI10 

Friday, 18 September 2020

Happy Days Windmill Scene


Happy Friday! DT Annalisa here sharing a fun interactive windmill scene. This certainly was a labour of love as it took longer than my usual projects! For this scene I used several products from the August release - the Windmill Builder Standalone Die, Windmill Add On die, Treat Yourself Clear Stamp Set, Plaid Background Clear Stamp Set, Hogs & Kisses stamp set and coordinating dies.

I started by colouring white cardstock with distress oxides and inks in the colours I wanted for each of the elements in the windmill and add on die sets. For the windmill, I used Faded Jeans, Chipped Saphire, Pumice Stone and Squeezed Lemonade Distress Oxides. I cut the elements out and assembled the windmill - for a great tutorial on how to do this, check out the instructional video on YouTube.

For the add on die set, I used the following Distress Oxides: Walnut Stain Peacock Feathers, Squeezed Lemonade, Spiced Marmalade, Mowed Lawn, Lucky Clover and Picked Raspberry. I added some splatters to the greenery for interest. Next, I cut out all of the elements and adhered them to the card base after I had created the sky and the grass areas. I used Squeezed Lemonade and Spiced Lemonade Distress ink for the sky and Twisted Citron and Mowed Lawn for the grass. This process took quite some time due to all the small elements, especially all of the flowers!

I stamped and cut the adorable critters from the Hogs & Kisses, Treat Yourself stamp sets and adhered them to the card. The butterfly and ladybug (inside the house!) are from the Fairy Garden stamp set; the little bird is from the Moovellous Clear Stamp Set.

To finish the card I stamped the sentiment from the Plaid Background Clear Stamp Set.

Check out my Instagram account to see this card in action!

If you are interested in purchasing any of the T4T products used in my project, I have a 10% discount code for the T4T store which can be used on anything, anytime and has no time limit - T4TANNALISA10


Wednesday, 16 September 2020

Plates of Food!

Happy Wednesday!

It's DT Shabneez here with a fun slimline card using the Treat Yourself Stamp & Die set together with the Scalloped Slimline Die set.

For this creation in my head I had a picnic blanket with plates on it so that's what I tried to recreate!  Of course picnics need food and I added some cute mice enjoying themselves.


All the images were stamped and coloured using my Chameleon pens then die cut with their co-ordinating dies to make life easier!


I made the plates using 2 sizes of circle nesting dies and adhered them to the picnic table!

Happy Crafting!

Products Used:


Wednesday, 2 September 2020

Food Stalls!

Happy Wednesday!

It's DT Shabneez here sharing a couple of fun cards using the newly released Treat Yourself stamp and die set as well as the Happy Birthday die set.


I had the idea for an ice cream stand as soon as I saw the stamp set and the Rainbow Brights Paper pad was an ideal addition, as it's double sided, to help make the stands.


For the ice-cream stand, I stenciled a background and added the new Happy Birthday die set which I can see myself using a lot.  All the images were stamped, die cut and coloured using my Chameleon Pens.


The wheels on the fast food stall were created using the hamster wheel die from the Hooray Hamster set - simple yet effective!

I hope you enjoyed seeing seeing these and enjoy crafting!

Products Used:


  Rainbow Brights Essentials Paper Pad 6x6"  


Other Posts You Might Like