Hey there, Tea Timers!! It's Amanda back with how to create a cloudy skies background!
First, we're going to grab our Scene Builder Stencil. Although this stencil only has one side of clouds, you can still use it to create a complex sky!
For my sky, I'm using Catherine Pooler inks. Starting at the top, and working my way down, I'm starting with Sangria, then Flirty Fuchsia, then Polished, then Bellini, then Glitz, and finally Limoncello.
I start at the top and blend my first color. I clean my stencil thoroughly, move it over either left or right, and then do my next color. Sometimes, I blend 2 of the colors together to create an even smoother transition.
Next, we're going to stamp our images from the Love is in the Air Stamp Set. Once I've colored these little guys with Copic markers, I cut them out with the coordinating die set. I love that the sentiments also come with matching dies!
Now, I'm ready to assemble my card. I prop up my stamped images with 3D foam squares and use liquid glue to adhere my card front to my card base.
Hey there, Tea Timers!! It's Amanda here with a really cute birthday card featuring the I Really Dig You stamp and die set!
For my background, I used the Scene Builder Stencil. I blended the background with All That Jazz and Matcha.
I stamped my images and then colored them with Copic markers.
After die cutting the images out with the coordinating dies, I used 3D foam squares to attach them to the card panel. Then, I glued my panel to the A2 card base.
That's all for me today! I hope you find some time to get crafty today! Xx, Amanda
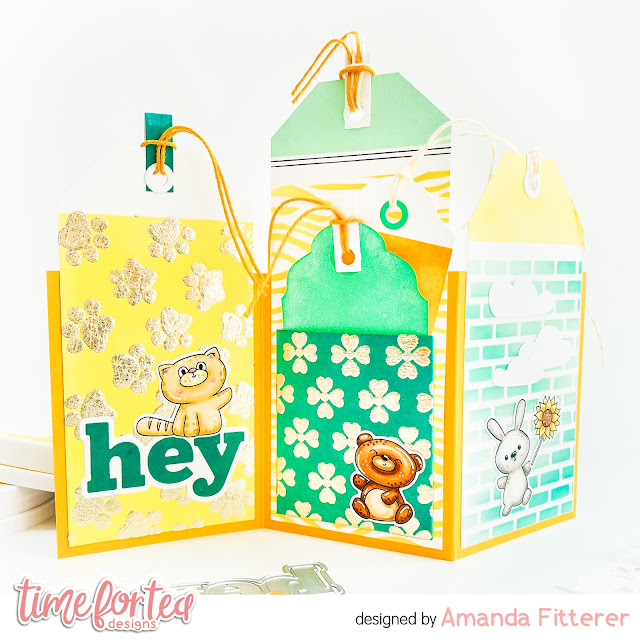
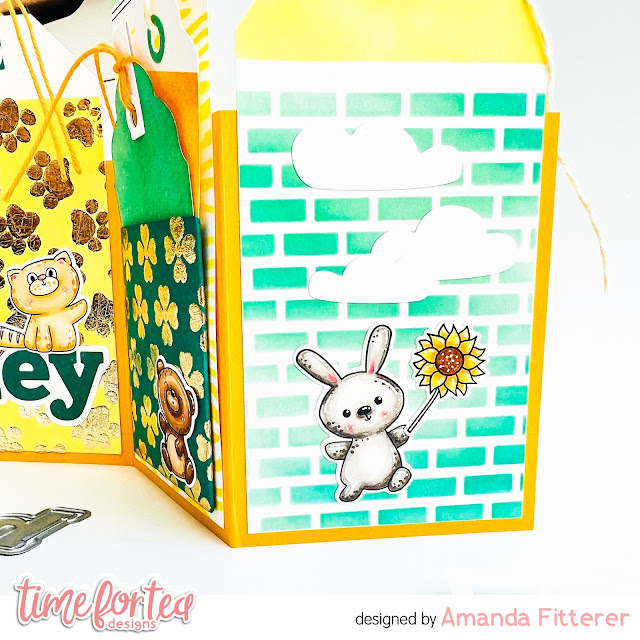
Happy Thursday, Tea Timers! It's Amanda back with another fun project showcasing the NEW RELEASE! This card is a unique card because it's a trifold tag card. It's super easy to make, but looks quite impressive!
1. Trim a piece of cardstock to 10.5″ x 4″.
2. Score at 3.5″ and 7″ and fold into a “Z”.
3. Make some tags for each panel.
Trim 2 pieces of cardstock to 3.25″ x 5″ and 1 piece to 3.25″ x 6″. Trim off the corners of each piece of cardstock to create a tag and add a hole punch in the center.
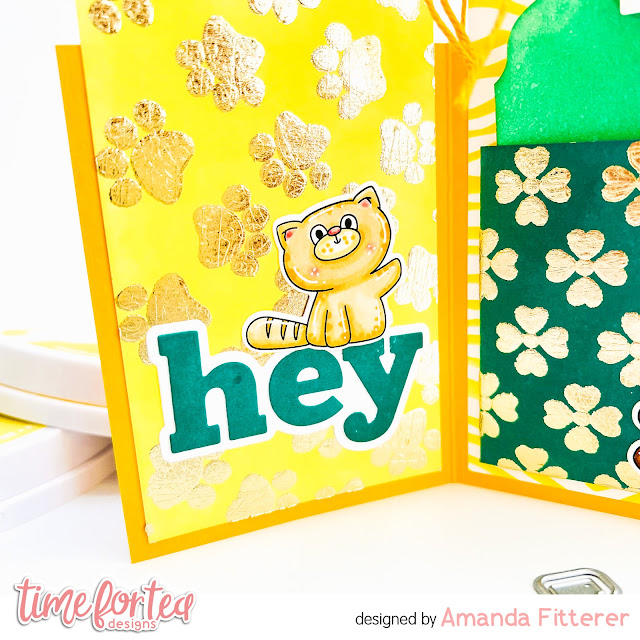
For this tag, I've used the the same Hey There Critters Stamp Set along with the new Hey, Hello, Hi Dies. For my background, I used some Foil Transfer Gel Duo with the new Pawsome Prints Stencil and some gold foil.
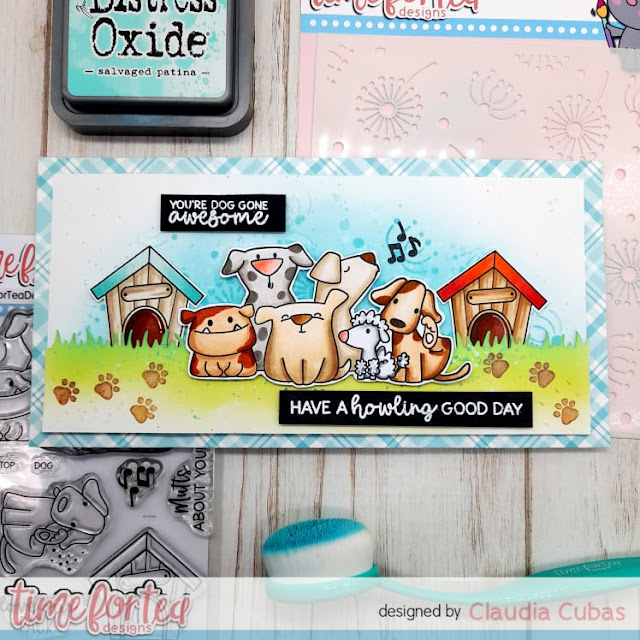
Hello dear Tea Timers, today I'm telling you about my love for dogs. I have two at home that I love, but I also have a cat that is mischievous. In this card I imagined them together with their neighborhood friends.
I had so much fun creating this card especially making the windmill.
I started with a DL size card and die cut a panel using the Scalloped Slimline Die. This die is so pretty to add to your DL cards.
I then stamped and coloured my images. All the copic markers are listed on the screen in the video.
Next I added some ink blending onto the panel using the Wonderful Waves Stencil and some distress oxide ink. Once this was completed I adhered this onto my card base.
I then die cut all the pieces from the Windmill Builder Die and started to put the windmill together. This is so fun to use and once you put one windmill together you will see how fun it is to make.
I then adhered the windmill and all my stamped images onto the card.
Lastly I stamped my sentiment and heat embossed the sentiment with white embossing powder. I trimmed this down and adhered this onto my card.
To finish the card off I added some sequins.
Thank you so much for stopping by today. You can see all the Time For Tea Designs Here. Don’t forget you can save 10% off your order using the code: T4TVICKI10 at the checkout.
First I die cut the mini gift box die to make the complete box and then embossed it with the Magical Snowflakes stencil and a clear sparkle embossing powder.
Next I blended some distress oxide inks over the whole box and splashed a little water onto it to add some texture.
I then stamped the fairies and the elements and coloured them with alcohol pens.
I added glitter to their wings and some parts of the elements.
The sentiment was stamped onto the blended ink heart which comes as part of the gift box.
The images were adhered to the box with 3D foam pads and then I added the ribbon.