Pages

Showing posts with label Be Owlsome. Show all posts

Friday, 3 September 2021

Have a Cool Birthday


Hello everyone! DT Annalisa here sharing an ice cream-themed birthday card featuring the Cool Critters Clear Stamp Set from Time For Tea Designs.

To start I stamped, coloured and then die cut the elements from Cool Critters using the coordinating die set. The branch is from Be Owlsome, the butterfly is from Up, Up & Away and the flower is from Brighter Days. I also stamped and die cut the sentiments. I do love how there is a beautiful white and rounded border around these with the coordinating dies.

I created my background using an older stencil (Sunny Side up Again) from T4T and my Beautiful Rainbow Blender Brushes and Distress Oxides in the colours Speckled Egg, Tumbled Glass, Squeezed Lemonade and Mowed Lawn. 


I die cut out the panel with a stitched rectangle die in my stash, then used my paper trimmer to cut down the dotted patterned paper from the Sweet Summer 6x6' Paper Pad. I used liquid glue to adhere the panel down to the patterned paper and then began adding all of the elements of the card. The extra cloud in the sky was die-cut using the Windmill Add On die.

To finish off my card, I used some foam tape to pop up the kitty, raccoon and the sentiments. 

Thank you so much for reading my blog post, I hope it inspires you to make your own ice cream-themed cards! Don't forget, you can use code T4TANNALISA10 when you visit the shop to get a 10% discount on your entire order.


Friday, 25 June 2021

It's A Beautiful Day


Happy Friday, DT Annalisa here, sharing a sun-filled scene using several Time For Tea Designs stamps and dies. 
Just a heads up, starting today, a 30% off super Summer sale on all stand-alone dies! Now is a great time to grab any of those dies you have had your eye on!

For the card base, I used my Brother Scan N Cut SDX125e to cut a card base design from Lori Whitlock's SVG Shop (Center Box Card Beautiful Day), which I adapted to create my card. I used the new Brighter Days 6x6' Paper Pad for the sky panels of this card as it is perfect for this scene. The tree and grass areas are also from the SVG file and I coloured them with Lucky Clover Distress Oxide ink and Twisted Citron using my Beautiful Rainbow Blender Brushes.

You can easily create this card using the Die-namic Display Card Dies. I just don't happen to have it in my stash. It is such a great die when creating adorable scenes. 

With the card base ready, it was time to get my elements ready to go. I used the Windmill Add On die for the flowers, pots and fence, which I coloured with Distress Oxides. I can't tell you how useful this set is, I use it SO much. I cut out two fences and glued them down to the grass area and added a pot and green bush in front to make it look like it was one big fence.

For the critters and other elements, I used the following stamp sets: You’ve Got Mail, Happy Mail Critters, Happy Mail Critters Digi Stamp Add On Collection, Up, Up & Away, Be Owlsome and Buzzing For You A7 clear stamp set. I coloured them all with Copics, added white highlights with my trusty white Gelly Roll Pen and cut them out. Once everything was ready, the fun part of slowly adding everything to the card and making it come to life began. This part is when I am in my happy place - how could I not be with all of these adorable critters?!


To finish the card, I added the sentiment from the Be Kind Be You Clear Stamp Set which I stamped and cut out using the coordinating dies.

Thanks so much for reading along, I so appreciate it. You can use code T4TANNALISA10 when you visit the Time For Tea Designs shop to get a 10% discount on your entire order.


Thursday, 7 January 2021

Buzzing Critter Card

 Hi DT Vic popping in today with a jam packed critter card. I always love to mix up my Time For Tea Designs stamps and make scenes with them and I went overboard on this one!


For my card today I used the All occasions critter stamps, Be owlsome stamp, Buzzing for you stamp, Bee happy stamp and some adorable snails. To start with I ink blended my background using green, pink and blue pigment ink. I then stamped my images and coloured them in with my copic markers. Using the coordinating dies I die cut them out.


For the grass I used some light green card using the Landscape edge dies I ran the grass die through my die cutting machine and adhered the pieces to the bottom of my card. I then started to add all my critters to my card. 


I then heat embossed the sentiment onto some black card and used white embossing powder. I trimmed this down and adhered this onto my card.

I love how this turned out with all the little critters and the tiny bees.

Thank you so much for stopping by today don’t forget you can save 10% off your purchases using the code: T4TVICKI10 at the checkout.

Have a lovely day!

Vic

Thursday, 10 December 2020

Mouse Mushroom House

 Hi Vic here today and I have a cute card to share with you. I absolutley love the Baked Wirth Love Stamp Set the mice are just the cutest and I wanted to create a card using one of the mice images. 


For the mushroom house I actually used my silhouette for this, I took a mushroom image and welded the house together to make a card base. I then die cut all the elements that went with the mushroom house using some plain white card. I ink blended the parts seperatley using some red ink, light brown ink and grey ink. I then embossed the outside part of the mushroom where the door and window is using an embossing folder. Next I added a piece of vellum behind the window. I then adhered all the parts together using some PVA glue. 


Next I stamped a mouse using the Baked Wirth Love Stamp Set  and coloured him in with my copic markers. I then used the Coordinating Dies to die cut him out. I wanted the mouse to be holding something so I used the Bears Picnic Stamp Set and stamped the cupcake from the images. Next I used the Be Owlsome Stamp and stamped a few flowers and coloured them in with my copic markers. I added some green die cut leaves and started to put my card together. Once everything was adhered down I used the Storms Don't Last Stamp Set and with the sentiment I stamped this onto a piece of black card and heat embossed the greeting with White Embossing Powder. I then used the Coordinating Die Set and run this through my die cutting machine.


I adhered the sentiment down onto the top of the mushroom house. If you don't have a silhouette machine you can make this using the Windmill Builder Set and have the mouse stand near the door. 


Don't forget you can save 10% off your Time For Tea Designs Purchases using the code: T4TVICKI10 at the checkout. Jo will also be live on the Facebook page tonight at 8pm. 
Have a lovely day!

Vic


Thursday, 5 November 2020

A Card Full Of Critters


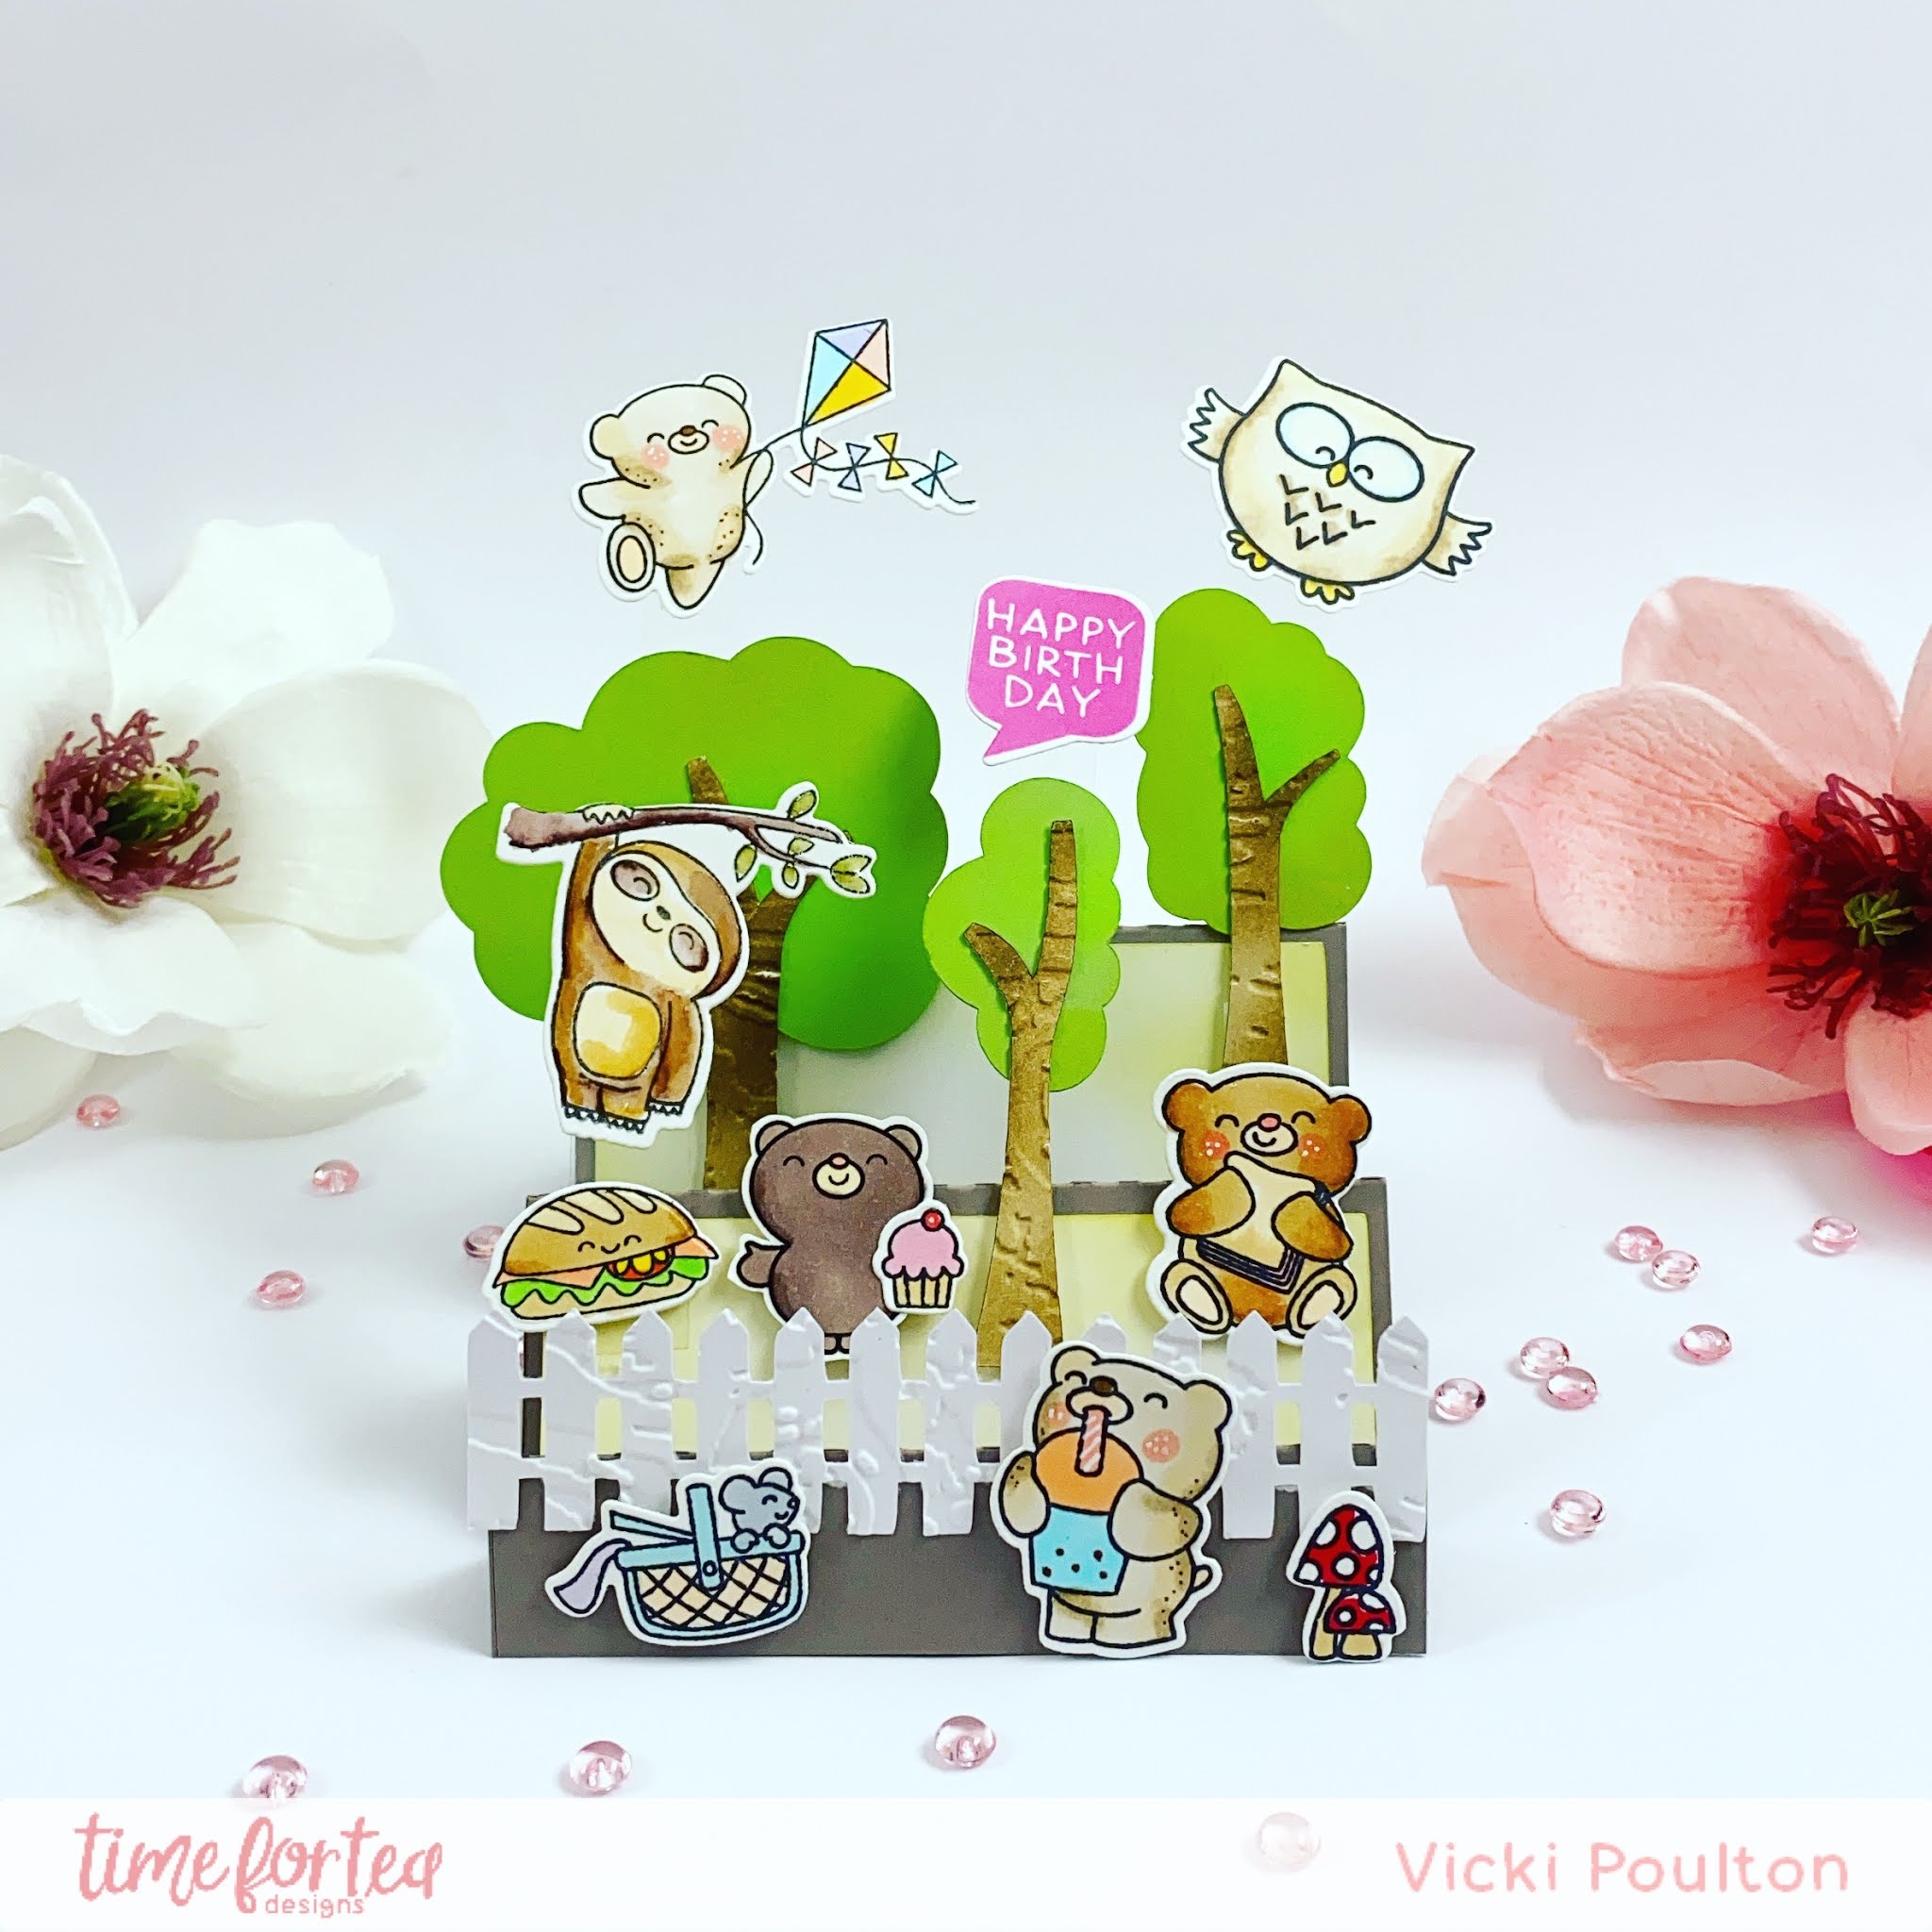
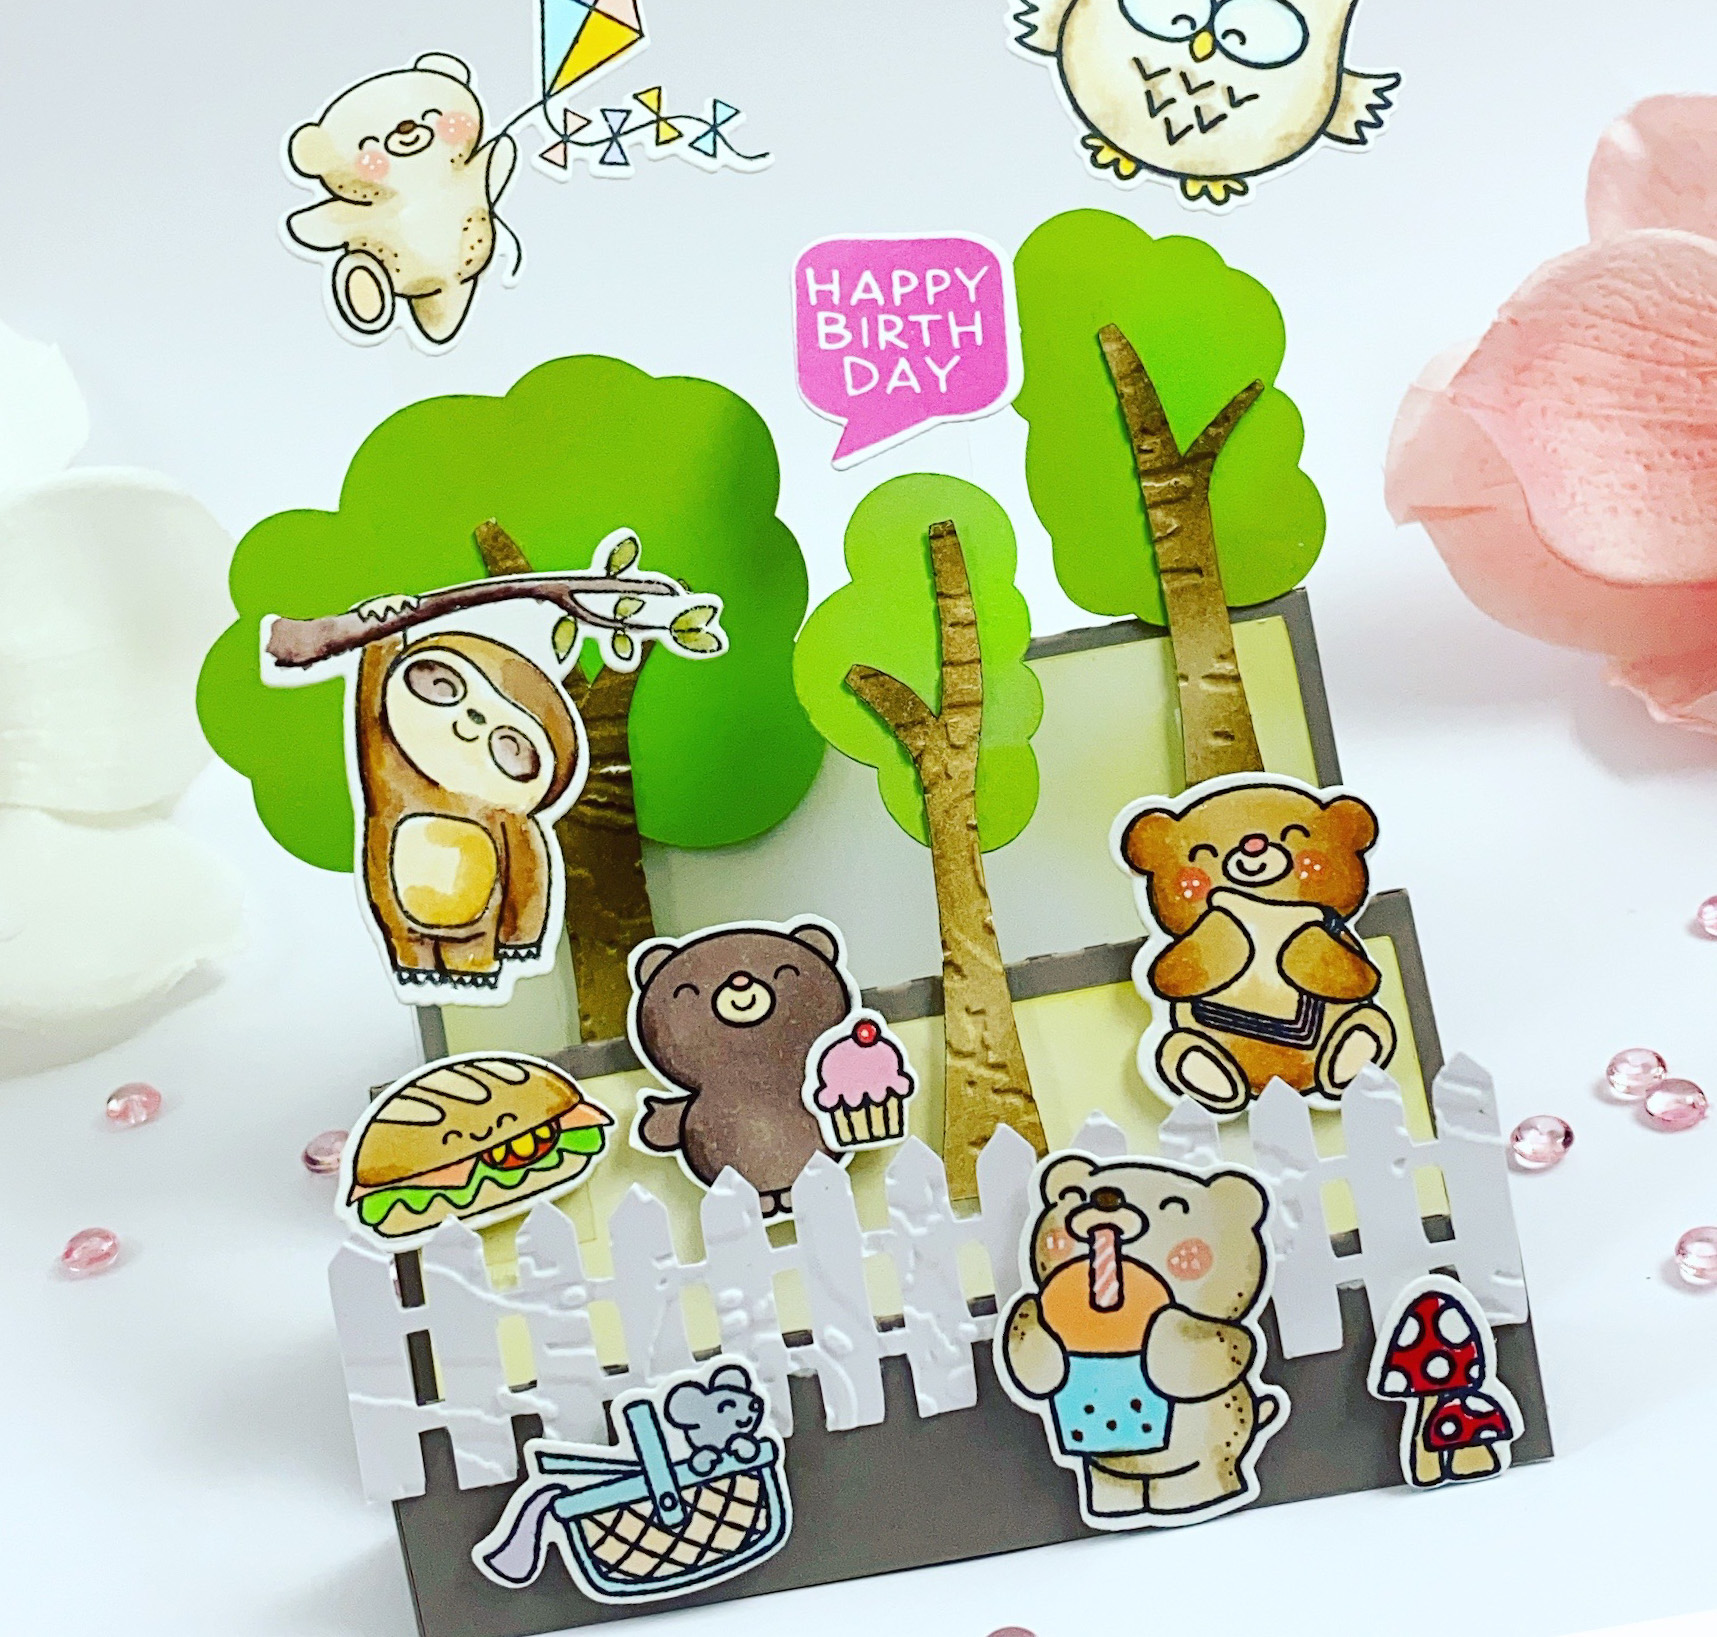
Hello Vic here today! I wanted to make a card that’s crammed with cute Time For Tea Designs images. The best way for me to do this was to use a stepper card. 


I cut my card using a silhouette machine along with the trees and started to put the card together. Once my stepper card was completed I started to stamp my images. I used Be Slothy Stamp Set, Speech Bubbles Stamp Set , Treat Yourself Stamp Set, Up, Up & Away Stamp Set, Bearing Gifts Stamp Set ,Bears Picnic Stamp Set and the Be Owlsome Stamp Set. Once my images were all stamped I coloured the images in with my copic markers. Using the coordinating dies I then ran them through my die cutting machine. 

Next I used the Windmill Add On Die and using the fence die and some white card I ran this through my die cutting machine and adhered this onto the first fold of the stepper card. I then added some images to the card  using foam tape. For the owl, bear with a kite, sloth and greeting I added some acetate to the images and adhered them into my card to make it look like the images are floating. 


I loved how this card turned out and it’s fun to make too! You can use any stamps for this design I thought it would look really cute using the chosen images. 

Thank you so much for stopping by today! Don’t forget you can save 10% off your order using the code:T4TVICKI10 at the checkout. 

Have a wonderful day!

Vic


Wednesday, 8 July 2020

Thanks for Being Owlsome

Happy Wednesday!

It's DT Shabneez here and today I'm using the new release Be Owlsome stamp set.  I absolutely love this set and I think it's a perfect one for teachers as we are nearing the end of the school year.


I began by using the Scene it 6 x 6 Stencil to create the background with the Beautiful Blender brushes and distress oxide inks.  I then stamped, coloured and die cut my images.


I die cut the Best Fishes Border from Lilac card stock and the 'Thanks' sentiment a couple of times from white cardstock.   To finish, I added a little glitter glue to the flowers and glossy accents to the owl's eyes which give a lovely domed effect.

Don't forget you can get 10% off the entire store using my code T4TSHABNEEZ10.

Happy Crafting!

Products Used:

Load image into Gallery viewer, Be Owlsome A7 Clear Stamp Set  Load image into Gallery viewer, Be Owlsome Coordinating Die set Load image into Gallery viewer, Best Fishes Banner & Border Die set

Load image into Gallery viewer, Thanks Sentiment Die Set

Thursday, 2 July 2020

Owl be here for you

Hi DT Sharon here today and I'd like to show you a card I made using the "Be Owlsome" stamp and die set. Be Owlsome is just one of the new releases from T4T.


I've also used the "Hello Nesting Rectangles to make the backgrounds. For the inked background I used distress oxide inks and blended them up the card in light to dark colours and then splashed a little bit of water on the piece. I've coloured the images with alcohol pens and adhered them onto the inked moon with 3D foam pads. 
You can see all the new releases and more in the Time For Tea Designs store here

https://timeforteadesigns.co.uk/

and if you use the code T4TSHARON10 You get 10% off the whole store.

Happy crafting!

Sharon x

Other Posts You Might Like