Pages

Showing posts with label clouds. Show all posts

Thursday, 3 August 2023

Flying by to Say THANK YOU!

Hey there, Tea Timers!!  It's Amanda back with a super sweet card featuring the Love is in the Air stamp set!
To create this card, I started by creating my background!  I blended Catherine Pooler's Sixteen Candles, It's a Girl, Do-Si-Do and Bellini inks through the 6x6 Scene Builder Stencil cloud side.

Next, I stamped and colored my images with Copic markers.  I used their coordinating dies to cut them out.
I stamped my sentiment directly onto my card front.
Then, I used liquid glue and 3D foam squares to attach my stamped images to my card front.

For a finishing touch, I added some Clear Bubbles Enamel Dots.

And then, I used liquid glue to adhere my card front to my card base!

Here are a few more close-up images!


Thank you so much for stopping by the Time for Tea Designs blog today!  Xx, Amanda


Thursday, 15 June 2023

How to Make a Multicolored Cloudy Skies Background


Hey there, Tea Timers!!  It's Amanda back with how to create a cloudy skies background!

First, we're going to grab our Scene Builder Stencil.  Although this stencil only has one side of clouds, you can still use it to create a complex sky!
For my sky, I'm using Catherine Pooler inks.  Starting at the top, and working my way down, I'm starting with Sangria, then Flirty Fuchsia, then Polished, then Bellini, then Glitz, and finally Limoncello.  

I start at the top and blend my first color.  I clean my stencil thoroughly, move it over either left or right, and then do my next color.  Sometimes, I blend 2 of the colors together to create an even smoother transition.
Next, we're going to stamp our images from the Love is in the Air Stamp Set.  Once I've colored these little guys with Copic markers, I cut them out with the coordinating die set.  I love that the sentiments also come with matching dies!
Now, I'm ready to assemble my card.  I prop up my stamped images with 3D foam squares and use liquid glue to adhere my card front to my card base.

The last step is to add some Clear Bubbles Enamel Dots using liquid glue.


Thank you so much for stopping by the Time for Tea Designs blog today!  I hope you find some time to get crafty today!
Xx, Amanda


Thursday, 25 May 2023

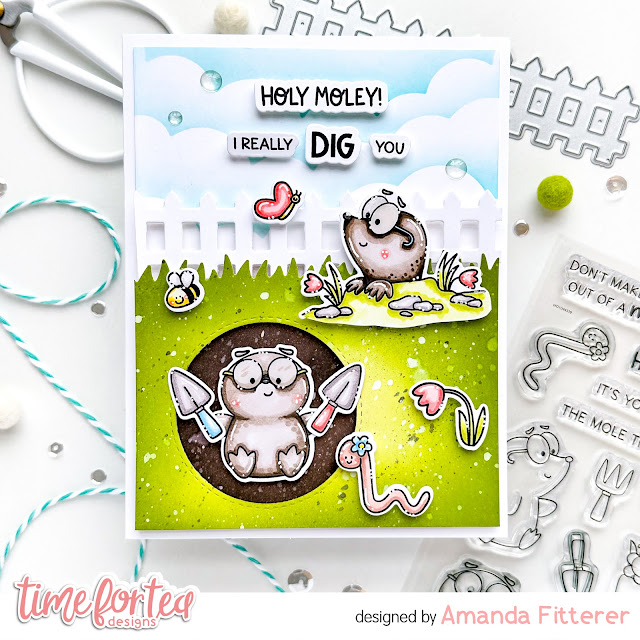
Holy Moley - Check out this birthday card!

Hey there, Tea Timers!!  It's Amanda here with a really cute birthday card featuring the I Really Dig You stamp and die set!

For my background, I used the Scene Builder Stencil.  I blended the background with All That Jazz and Matcha.

I stamped my images and then colored them with Copic markers.

After die cutting the images out with the coordinating dies, I used 3D foam squares to attach them to the card panel.  Then, I glued my panel to the A2 card base.


That's all for me today!  I hope you find some time to get crafty today!  Xx, Amanda


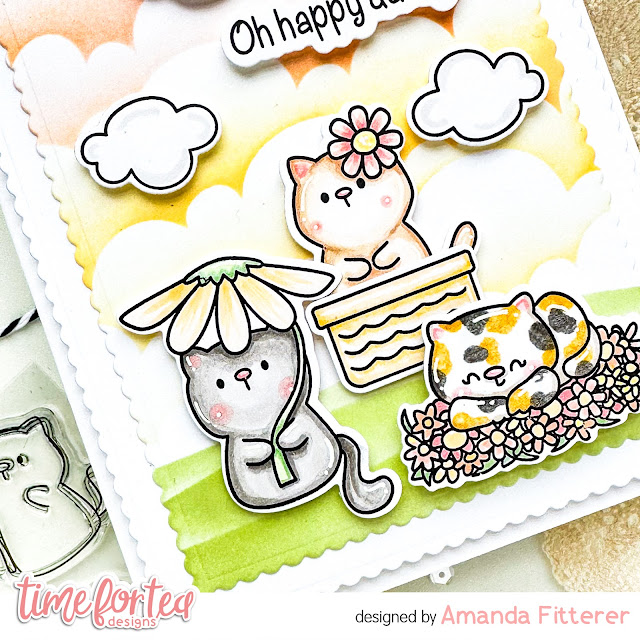
Thursday, 4 May 2023

How to Create an Easy One-Layer Landscape Backdrop


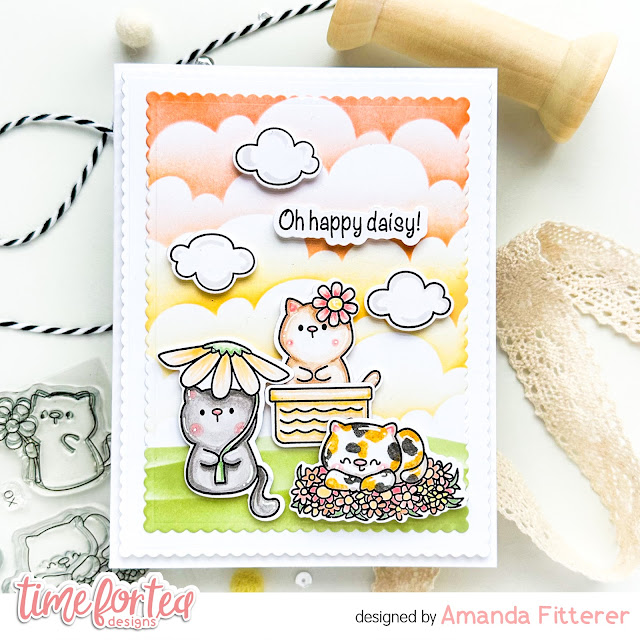
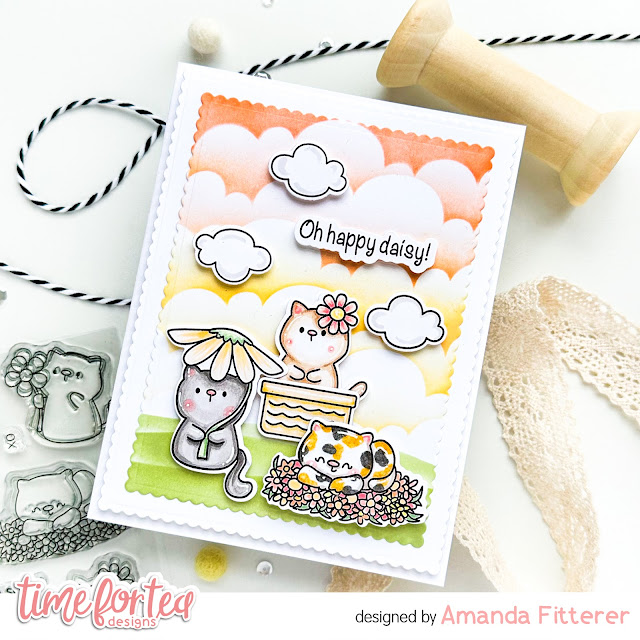
 Hi crafty friends!!  It's Amanda here sharing a sweet kitty card with you!  Today, I wanted to share with you how to create an easy one-layer backdrop that has lots of dimension!

To create this landscape, I'm only going to use the 6x6 Scene Builder Stencil, some blending brushes, and some inks!

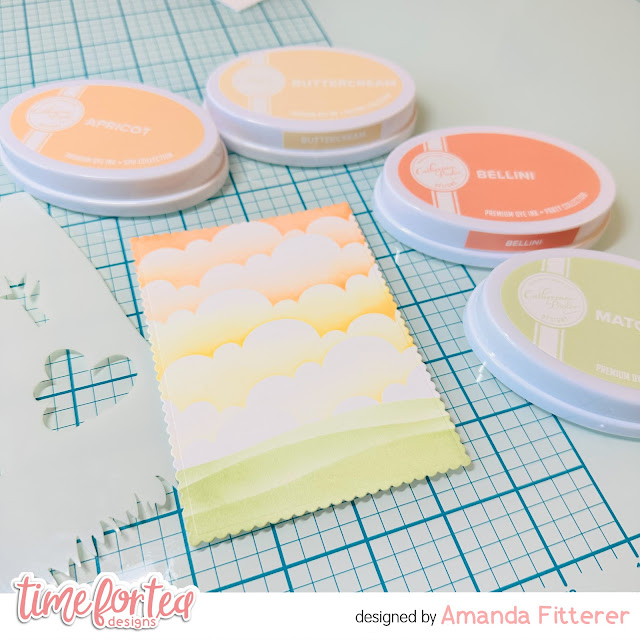
First, I will start the grassy hills.  I'm going to start by grabbing my Catherine Pooler Matcha ink (but you could use any green ink) and using the edge of the stencil that looks like a slight hill.  I'm going to do the first hill the darkest and starting at the bottom of the panel.  This will be the one closest to the viewer and the most "clear".  Next, for my middle hill, I'm just not going to push my blending brush down AS hard as I did on the first hill.  I'm going to clean my stencil and flip it over to get a different slope.  For my last hill, the "farthest" one, I'm going to very lightly blend with the ink that's left on the brush.

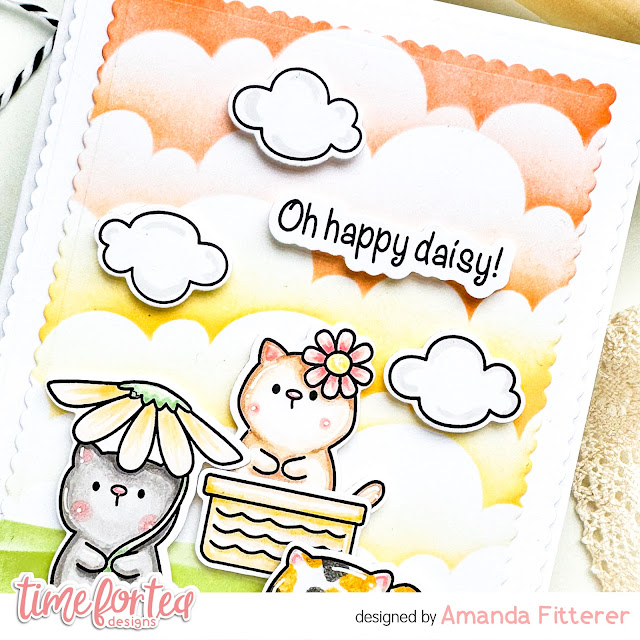
For my clouds, I'm going to start with my darkest color at the top.  For me, that is Bellini.  Next, I'm going to blend Apricot, then Buttercream.  As I'm doing each cloud, I'm letting some of the previous color stay on the stencil, that helps me get a nicer gradient!

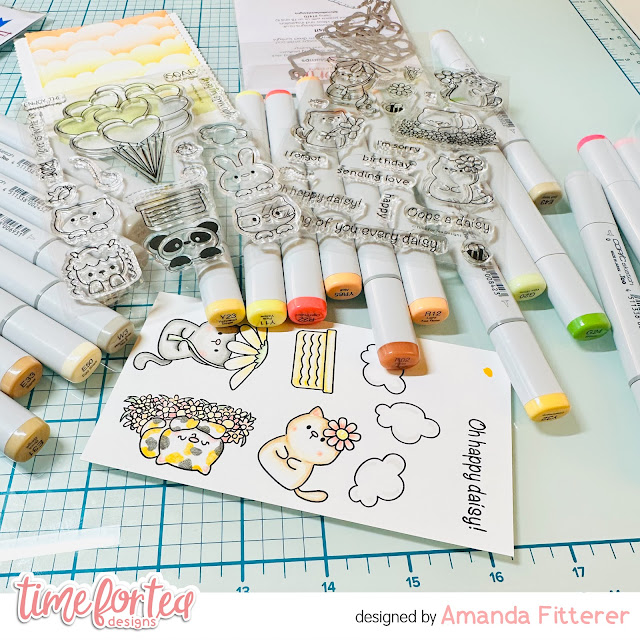
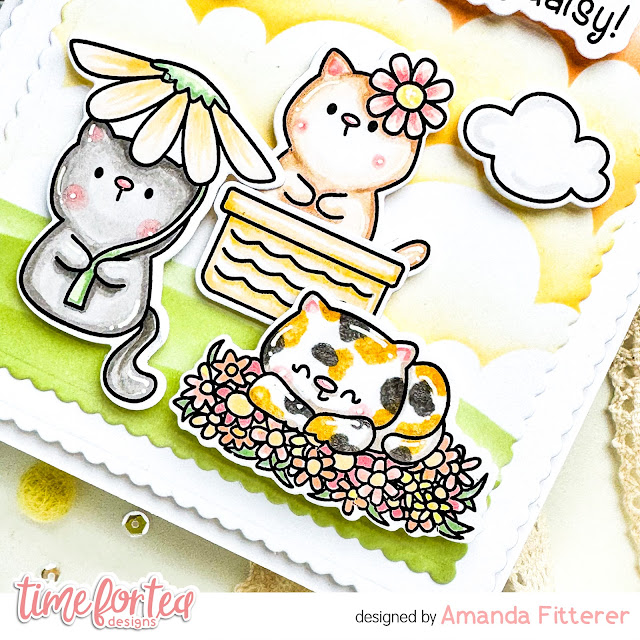
Now, I'm going to stamp and color my images from the NEW Oops a Daisy stamp set!  I'm going to stamp them with Memento Tuxedo Black Ink and then color them in with Copic alcohol markers.  I am going to use the coordinating dies to cut them out.

The last step is to start assembling the card!  I'm using 3D foam squares to adhere my cute kitties.  For the kitty laying down, I've given her 2 foam squares so she's popped up a bit more than the others.

I use large foam tape to attach my white scalloped panel to my white card base and then liquid glue to adhere my landscape panel.

That's all for me today, friends!  I hope you've gotten some inspiration from this post and have time to get crafty today!  See you back here in a week with another post using the New Release!

Xx,Amanda



Thursday, 27 April 2023

How to Create a Scene Card with Amanda Fitterer
 Hi crafty friends!!  It's Amanda here sharing a really fun scene card with you today!  Today, I'm going to share my tips and tricks on how I create an entire scene in one A2 card!

When I create a scene card, I like to leave a white 1/8" border around the entire edge of my card.  This helps frame the scene in.  So, I plan my scene on a piece of white cardstock that is 4" x 5.25". 

First, I am going to work on my foreground.  My foreground will appear closer to the viewer.  To do that, I'm going to prop it up with foam tape.  

I am trimming a piece of white cardstock to 4"x 3".  Then, I am ink blending it with Catherine Pooler's Melon Ice and Martini inks, concentrating the lighter color in the center and the darker color on the edges.

Next, I'm using a circle die to cut out my hole and the Landscape Edge Standalone Dies for the grass. I've also cut a fence using the Fenced In Dies


Now, I'm planning my background!  This will appear farthest away from the viewer.

I'm taking a piece of white cardstock trimmed to 4.25"x5.5.  I'm creating some clouds using Cummerbund ink and a cloud stencil.  The Scene Builder Stencil has some clouds you can use!

On the bottom of the card, I'm blending the "inside" of my hole with Sand Castle and S'mores.  Once I'm done ink blending, I'm trimming the panel down to 4"x5.25".


Now, we're going to add our focal images!  I've stamped my images from the I Really Dig You stamp set and then colored them with alcohol markers.  I've die cut the little guys out and used scissors to trim the grass down.  To make their glasses look more realistic, I'm adding Glossy Accents to them and then will allow them to dry!


Now, I can stamp my sentiments and die cut them out with the coordinating dies!  


Now, that we have all the elements ready to go, we can assemble the scene!
First, I'm going to adhere my background panel onto the A2 card base by using liquid glue.  This gives me some wiggle room in case I don't place it perfectly.

Next, I'm going to place foam tape all along the back of my grass and my fence.  Then, I will adhere my grass first, then the fence (behind the grass).

Then, we'll put foam squares behind all our stamped images.  This gives another layer of dimension!


Lastly, I've added a few Clear Bubbles Enamel Dots for just a bit more excitement!


That's it!  Such a fun and dimensional scene card! I hope you enjoyed this post and I hope you find some time to get crafty today!!  

Xx, Amanda


Thursday, 13 April 2023

Thinking of EWE!


Hi crafty friends!!  It's Amanda here sharing a sweet "Thinking of Ewe" card!  This card features the Ewe Are the Best Stamp and Die Set and the Wonky Windows Cover Die!

To make this card, I am starting out by stamping my images from the Ewe Are the Best stamp set with alcohol marker-friendly black ink.  

For the fence to look how I wanted it, I stamped it out on a separate piece of white cardstock.  I placed a piece of masking tape over the image and traced the "grass line" from the stamped image.


After cutting my masking tape on the pencil line, I am ready to color my grass.  I am using Catherine Pooler's Lemongrass and Martini inks to blend my grass.


Now, for the background!  I'm blending Cummerbund, All That Jazz, and Uptown using the Scene Builder Stencil.


Now, let's color our cuties!  I'm using the OLO alcohol markers!


We can't forget our adorable sentiment!  I'm stamping the sentiment on black cardstock with Wow! Embossing Glue, applying white embossing powder, and then melting the powder with my heat tool.  I'm die cutting them out with the coordinating dies.


The last step is to assemble the card!  I'm using foam tape to prop up my windows panel and then foam squares for my stamped images and sentiments.


That's all for today, friends!  I hope you've enjoyed this card today and are feeling crafty inspired!   Xx, Amanda


Other Posts You Might Like