Pages

Showing posts with label diecutting. Show all posts

Thursday, 14 September 2023

Let's Eat Cake!


Hey there, Tea Timers!!  It's Amanda here and today I am sharing another card using some products from the New Release

For this card, I used the 6x6 Confetti Stencil in my background.


I stamped my images from the Birthday Cake stamp set, colored them with Copic markers, and then cut them out with the coordinating dies.


I've also used the Let's Party Large Sentiment Die that I have diecut out of black cardstock.


That's all for me today, friends!  I hope you have had a great time here on the Time for Tea Designs blog and come back for more inspo soon!

Xx, Amanda


Thursday, 15 June 2023

How to Make a Multicolored Cloudy Skies Background


Hey there, Tea Timers!!  It's Amanda back with how to create a cloudy skies background!

First, we're going to grab our Scene Builder Stencil.  Although this stencil only has one side of clouds, you can still use it to create a complex sky!
For my sky, I'm using Catherine Pooler inks.  Starting at the top, and working my way down, I'm starting with Sangria, then Flirty Fuchsia, then Polished, then Bellini, then Glitz, and finally Limoncello.  

I start at the top and blend my first color.  I clean my stencil thoroughly, move it over either left or right, and then do my next color.  Sometimes, I blend 2 of the colors together to create an even smoother transition.
Next, we're going to stamp our images from the Love is in the Air Stamp Set.  Once I've colored these little guys with Copic markers, I cut them out with the coordinating die set.  I love that the sentiments also come with matching dies!
Now, I'm ready to assemble my card.  I prop up my stamped images with 3D foam squares and use liquid glue to adhere my card front to my card base.

The last step is to add some Clear Bubbles Enamel Dots using liquid glue.


Thank you so much for stopping by the Time for Tea Designs blog today!  I hope you find some time to get crafty today!
Xx, Amanda


Thursday, 18 May 2023

THREE Mother's Day Cards with Amanda

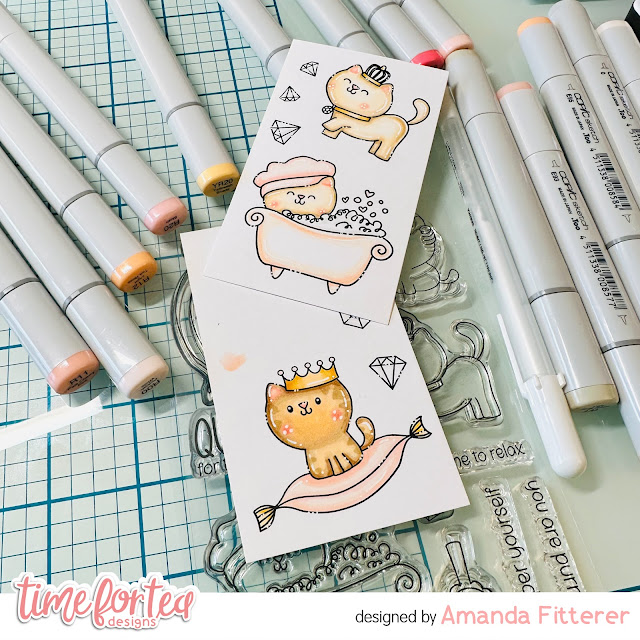
Hey there, Tea Timers!!  It's Amanda here with THREE Mother's Day cards using the Queen for the Day stamp set.

To make these cards, I cut some patterned paper down to 4"x5.25" and then glued them to my A2 card bases.
Next, I die cut some gold vellum and white cardstock with some oval dies and propped them up with white foam tape.
Then, I stamped my images and colored them in with Copic markers.  I die cut them out with the coordinating dies.
Here are a few more photos of the finished cards!


I hope you find some time to get crafty today!  Xx, Amanda


Thursday, 5 January 2023

Happy Trails! Love Our Adventures Together!


 Happy Thursday, Tea Timers!  It's Amanda here!  Today I'm sharing a Happy Trails card!  

To create this card, I first blended a background using Sixteen Candles and Grape Crush inks.  I spritzed the background with water and white paint flecks.  I then cut out some of the Winter Trees Dies and glued them to my background.

Next, I stamped my images from the Happy Trails Stamp Set, colored them in with OLO markers, and then cut them out using the coordinating dies.

I adhered my images to the background using 3D foam squares.

Here are some more images closer up!


Thank you so much for stopping by the Time for Tea Designs blog today!  I hope you've enjoyed this post and are feeling inspired to create something fun today!
Xx, Amanda


Thursday, 29 December 2022

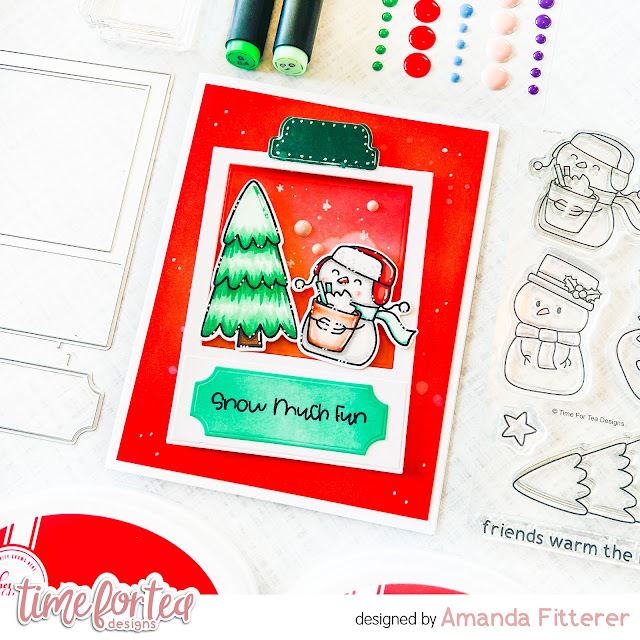
Snow Much Fun Polaroid Card


Happy Thursday, Tea Timers!  It's Amanda here! Do you love using the polaroid and tab dies from the Memory Keeping Essential Die Set?  If you don't have this die set, you HAVE to get it!  It's not just for memory keeping; that's for sure!  I love using all the elements for cards!

For this card, I grabbed my new Snow Much Fun stamp set and stamped out a few images.  I colored them with OLO markers, added some white highlights with a Gelly Roll pen, and then cut them out with the coordinating dies.

For my background, I blended Bellini and Rockin' Red Catherine Pooler inks and spritzed with water and white paint flecks.

Wondering where my "snow much fun" sentiment frame came from?  It also came from the Memory Keepers Die Set!  Yup!!  How perfect is it?  I used Minted and Aquatini to color the frame before stamping my sentiment.

For my final touches, I added some Festive Fun Enamel Dots!
I hope you have enjoyed this blog post and it makes you feel inspired to make something!  Sending you SNOW MUCH FUN!  Xx, Amanda


Thursday, 10 November 2022

A Cute Cafe Scene


Happy Thursday, Tea Timers!  It's Amanda here!  Today I'm sharing how I used my yellow cardstock cutouts from my last blog post.

I have created my layers for my card base using a white A2 card base, an ink blended layer (using Maker Forte's Blue Moon and Lady Liberty Inks) and then my yellow cutouts.  On my yellow cutouts, I ink blended the Tiled Wall Stencil with Yellowstone ink.  I also splattered some white and black paints on my background.

Next, I die cut some clouds using the Cloud Dies.
I stamped some images from the Cafe Critters Stamp Set and then colored them with OLO Markers.
My sentiment came from the Let's Chat Stamp Set.  I stamped it on black cardstock with clear glue ink, then applied white embossing powder.  I melted the embossing powder with my heat tool and then die cut it out with the coordinating die.
I assembled my card using liquid glue and 3D foam squares.


That's it for me today, friends! Thanks for stopping by the Time for Tea Blog today!  See you here next week! Xx, Amanda


Other Posts You Might Like