Pages

Showing posts with label Boho Tiles Stencil. Show all posts

Tuesday, 8 February 2022

Let's Spoon note cards

Hi friends! It's Miki here and today I have some super cute note cards to share with you. I used the Let's spoon stamp & die set to create these and I think they're so adorable!

I started by stamping my images - I picked the pizza, the spoons, the light bulb and the switch and die cut them using the matching dies. I then coloured them in using my Spectrum Noir Illustrator markers and added some white highlights. 

Next, I cut some 3.5" x 3.5" panels and used a stencil to ink blend an abstract background. The one that I used is no longer available, but the Boho Tiles stencil would work just as well. The distress oxides that I chose are:

  • Cracked Pistachio
  • Kitsch Flamingo
  • Tumbled Glass
Next, I stamped and embossed the matching sentiments in white on black cardstock and used the dies to cut them out.

To assemble the notecards I used some pattern paper from the Joyful Winter paper pad, glued it to 4"x4" card bases and added the ink blended background on top with foam tape. I then added my images on top and the sentiments, glued some heart gems and that was it.

These note cards were super quick and fun to make and I think they're perfect to give to your special someone for Valentine's day.

I'm up on the T4TD Instagram page with a reel showing you the process so make sure to check that out!

If you shop on the T4TD website, please remember to use my code T4TMIKI10 for 10% off your whole order!

Hugs,
Miki

Tuesday, 11 January 2022

Let's Have Coffee!


Hi friends!

Welcome back to the blog. It's Miki here and today I have a new T4TD card to share with you. Do you remember my card from last week? I used the die cut heart from that panel to create today's project and I hope you like it.

You can go back to last week's post to find out how I made that stenciled panel, link here.

For today's card I took the Boho Tiles Stencil and dry embossed an A2 card panel. I then cut it down to 3.75'' x 5'' and glued it on an A2 card base, leaving a white border around. I then used the nested heart die to cut it from white cardstock 3 times. I glued them together at the back of my stenciled heart to add some dimension and glued it to my embossed panel towards the top.

Next, I used the All Occasions Critters and stamped the little guy with the donut. I coloured him in using my Spectrum Noir Illustrator markers, die cut him using the matching die and added some white highlights. I thought he'd need a coffee so I decided to add a coffee sentiment. I stamped the let's sentiment from the all occasions critters set and embossed it in WOW! Opaque Bright White and cut it using a matching die. I then created some coloured cardstock - I took a scrap piece of paper and added some Kitsch Flamingo distress oxide on top. I used the Coffee sentiment die and die cut the word coffee in pink and then 2 more times from white. I glued them together for added dimension. I then die cut the shadow from vellum and glued my sentiment on top.

I added the critter and sentiment strip to my panel using foam tape and glued the word coffee in between. To finish off the card I added some sequins from the Spring Garden mix from Lucy's Little Things.

I hope you like today's card, I love the critter and I think it goes really well with the sentiment. If you shop on the T4TD website, please remember to use my code T4TMIKI10 for 10% off your whole order.

Hugs,
Miki

Tuesday, 4 January 2022

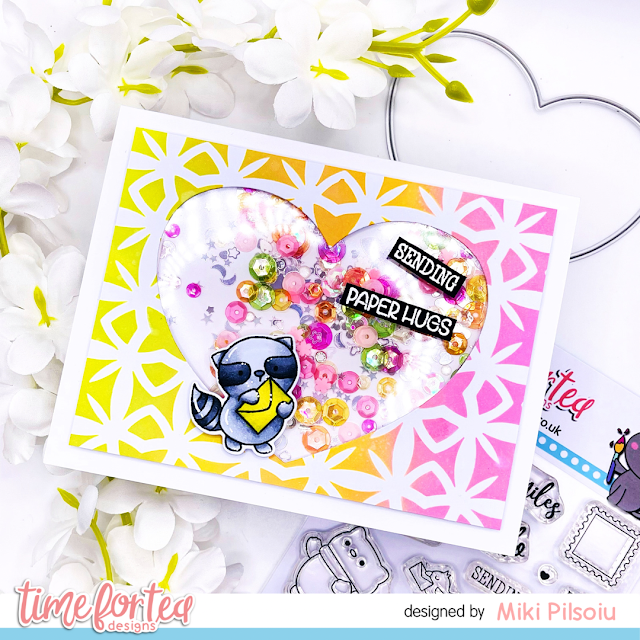
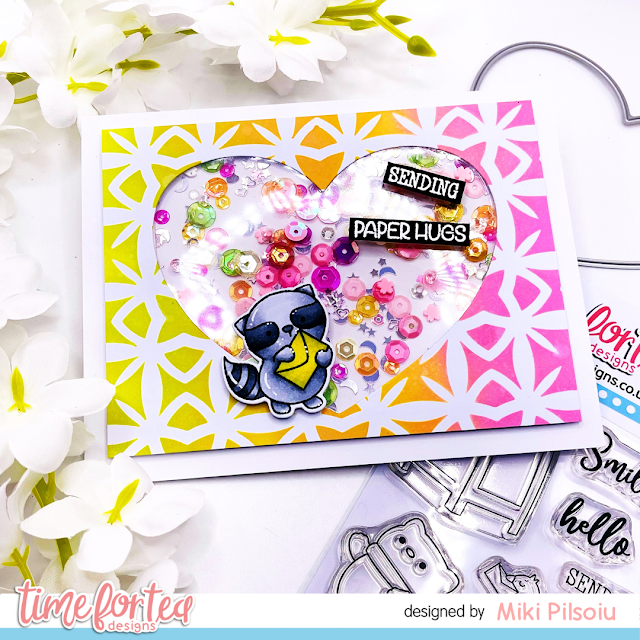
Sending Paper Hugs Shaker Card


Hello tea timers!

It's Miki here and today I'm back with some new inspiration for Time For Tea Designs. It's been a while since I made a shaker so that's what I'm sharing with you today.

To start with, I cut a panel to 3.75'' x 5''. I used the Boho Tiles Stencil with a couple Distress Oxides create my background. These are the colours that I went for:

  • Kitsch Flamingo
  • Fossilized Amber
  • Twisted Citron

  • Next, I took one of the nesting heart dies and cut it from the middle of my panel - or as close to it as I could hehe. I love this set and I've already used it for more projects which I'll share with you soon. I saved the die cut heart for another project and used the panel to create the shaker. I added foam tape on the back of it, filled it with some Lucy's Little Embellishments sequins and glued it to an A2 card base, leaving a white border around it.

    I then stamped one of the critters from the Happy Mail set, coloured him in with my Spectrum Noir Illustrator markers and used the matching die to cut him. I then added some white highlights and added him to my shaker card using foam tape.

    I used the Sending and Paper Hugs sentiments in the same set and embossed them in WOW! Opaque Bright White Regular embossing powder on black cardstock and cut them to size. I added those to my shaker using foam tape for added dimension.

    I hope you like today's card, I really enjoyed making something different after months of creating Christmas cards and using some of my all time favorite T4T stamp set.

    If you shop on the T4TD website, please remember to use my code T4TMIKI10 for 10% off your whole order.

    Sending hugs,
    Miki

    Thursday, 16 December 2021

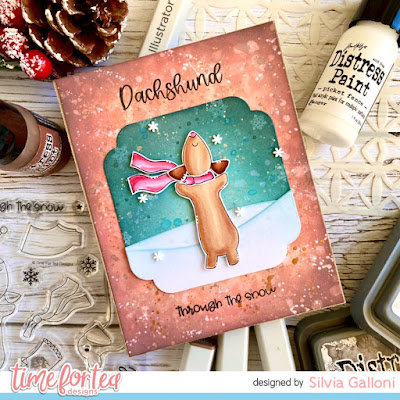
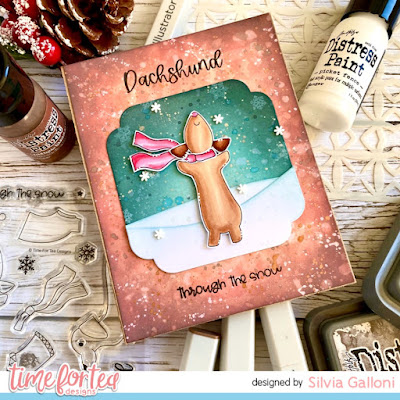
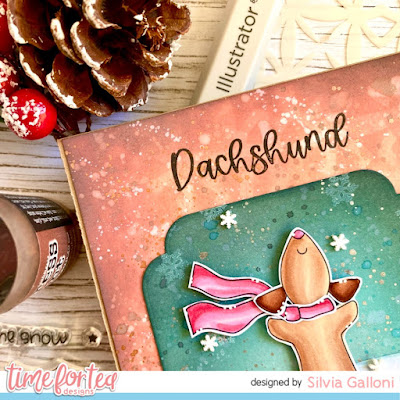
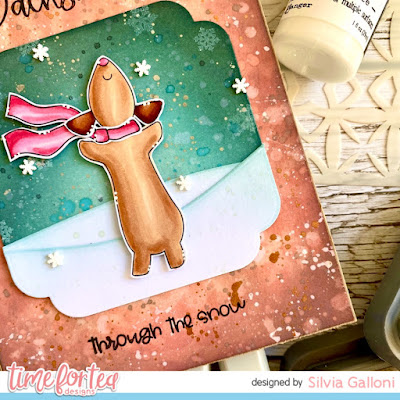
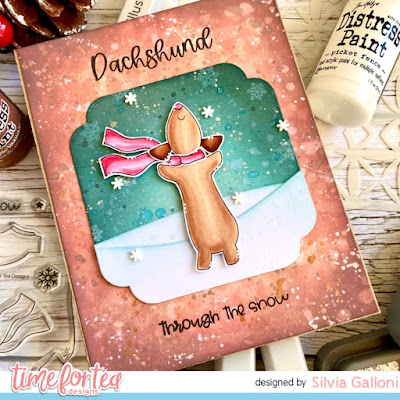
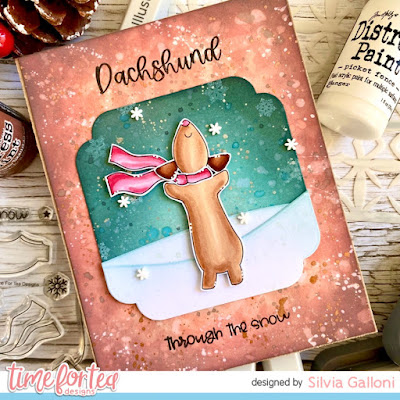
    Duchshund through the snow

     Hello crafty friends! Silvia’s back here today!


    I started making my card cutting a rectangle from white cardstock and ink blending it with the new “Boho Tiles” stencil and tattered rose, abandoned coral, aged mahogany and ground espresso Distress Oxide inks. I splattered with clean water, tone on tone inks and white and bronze acrylic paints.

    I then die cut a white panel with one of the dies from the “Square Labels” set and I ink blended it with speckled egg, peacock feathers and black soot Distress oxide inks. I splattered with clean water and tone on tone inks and I stamped some snowflakes in white here and there. 


    I also die cut two hillside borders, I darkened with speckled egg Distress Oxide ink and I glued on the square panel.

    I then stamped images from the “Stop Dachsund Around" with Memento black ink, I colored them with Spectrum Noir Illustrator alcohol markers and I cut them with coordinating dies.


    I put everything together, I stamped the sentiment with archival black ink and that's all.


    I hope you'll enjoy the card and don't forget you can get a 10% off your Time for Tea order with the code T4TSILVIA10.
    Having an amazing day! Big hugs, Silvia.


    Tuesday, 7 December 2021

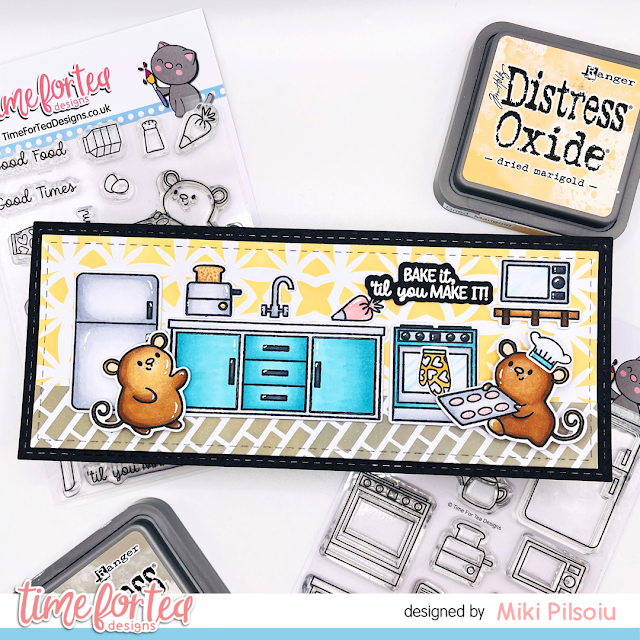
    Bake it 'till you make it


    Hello Tea Timers!


    It's Miki here and today I have an extra yummy scene to share with you! I'm in love with the new release from T4TD and the Baked with love sets are just the cutest!

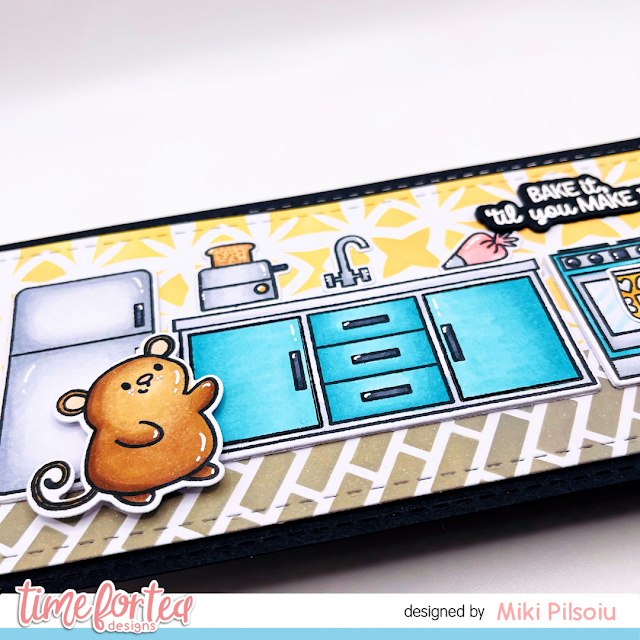
    As always, I started my card by working on the background. This helps me build up my scenes and pick my colours. I used a Distress Oxide in Dried Marigold with the Boho Tiles stencil to create my wall. Since the stencil is 6 x 6 and I went for a slimline card, I had to do a bit of masking, but it's so easy to align, it didn't take long at all! I then took the medium die from the Slimline Scalloped Trio Circle Nesting Dies and cut it to size. Next up was my floor. I used the Tiled Wall stencil at an angle and applied a light layer of the Pumice Stone Distress Oxide to create my tiled floor. Again, I did a bit of masking to cover the whole area. I then used the Slimline Scalloped Trio Circle Nesting die to add that stitched border all around and then cut the top using my guillotine to make it smaller. Next, I went ahead and glued the floor on top of my tiled wall. I then picked the largest die from the same set and cut it from black card stock and glued my scene background to it, leaving a border all around.


    Next, I started building my kitchen using the Baked With Love Kitchen Add On Stamp and Die Collection. I started by stamping all the images in the set and die cut them. Then, I roughly arranged them on to my background to decide what I wanted to include - as you can see I didn't use all the little utensils in the set but you could do! I then coloured them using my Spectrum Noir Illustrator markers. To add some dimension, I used the fridge, counter and oven dies one more time to die cut from white card stock which I glued underneath my stamped & coloured images. You can see this in the picture above. For added details I also included some highlights using a white gel pen. Once I was happy with my scene I glued those on to the background.

    For my critters and sentiment I used the Baked With More Love Stamp and Die Collection. I stamped two of the mice, the Chef hat and some accessories and die cut them using the matching dies. I then coloured them in and added some highlights. I decided the hat should go on the little mice holding the tray so I glued that on his head. I arranged the rest of the images on the scene and glued them down.

    For the sentiment I used WOW white embossing powder on black card stock - I have a soft spot for white on black sentiments, haha! I then used the matching die and cut it twice from black card stock and once for the embossed sentiment. I glued the layers together and then directly on to the scene.

    I then prepped a matching card base to go behind my card panel and that was it. This card was a lot of fun to create and I can't wait to see all your incredible scenes!

    If you shop on the T4TD website, please remember to use my code T4TMIKI10 for 10% off your whole order.

    Crafty Hugs,
    Miki

    Other Posts You Might Like