Pages

Showing posts with label Tall Apha Stamps. Show all posts

Friday, 26 July 2024

My Favourite Bookworm


Happy Friday, DT Annalisa here, for my card, I wanted it to look like the kitty was so absorbed in his reading that he was IN the book he was reading. I like how it turned out and hope you do.

For the background, I used the Tall Alpha Clear Stamp Set. I inked it up with Cornflower Blue Hero arts shadow Ink and stamped it on white cardstock with my MISTI. I reapplied the ink and stamped again a few times for a crisp impression. Next, I ink-blend the Cornflower Blue from the cardstock's edges with my Beautiful Blender Brushes.


I used double-sided tape to stick the inked panel to a blue 4 1/8 by 5 3/4 inch card base.

I die-cut vellum using the new Stitched Circle Dies. I used double-sided vellum tape to stick the circle to the card base.

I stamped and coloured (with Copics) images from the Book Buddies stamp set and cut them out with their coordinating dies. I added white gel pen accents with a Gelly Roll Pen. The butterfly is from Squeeze the Day - I coloured it and die-cut it with the coordinating dies.


I used 1mm double-sided foam tape to stick the critters and sentiment to the card. I added Glossy Accents by Ranger to the glasses and butterfly.

I added the Clear Bubbles Designer Enamel Dots to the card to complete it.


Thank you so much for reading my blog post. Remember to use my discount code T4TANNALISA10 when you visit the Time For Tea Designs shop to get 10% off your order.

Thursday, 10 February 2022

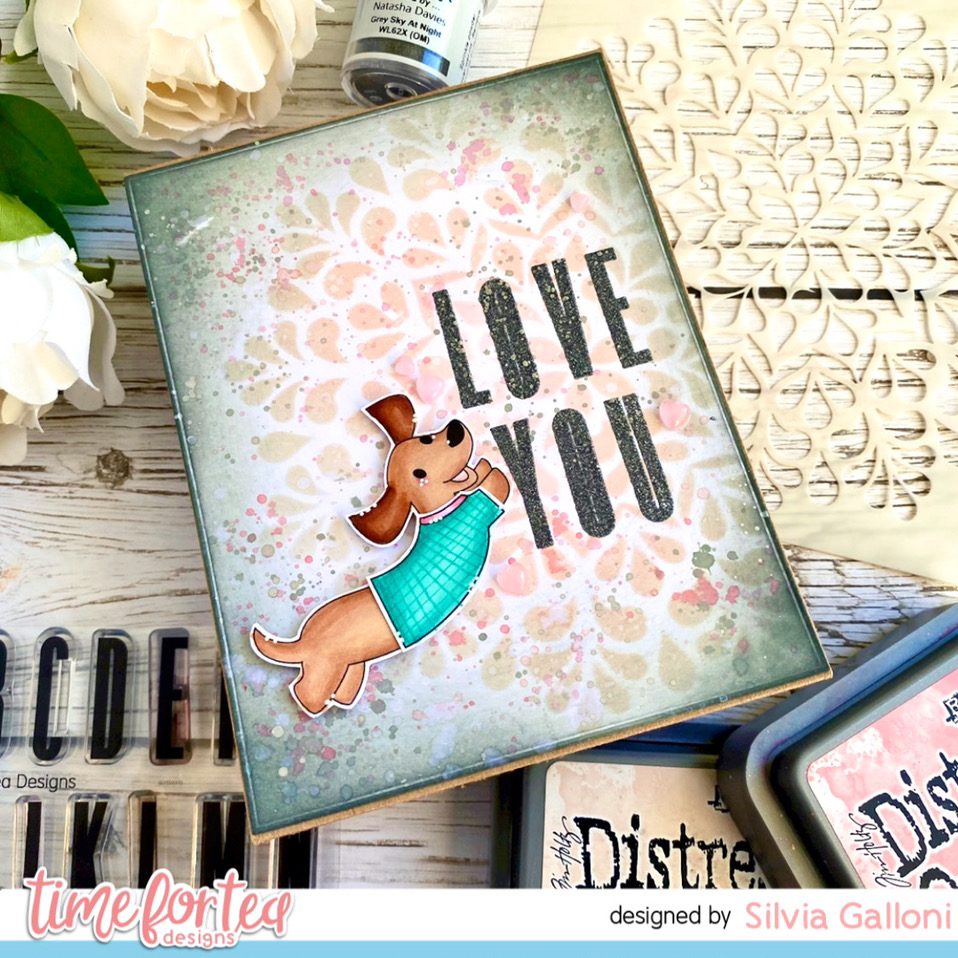
Love you

 Hello there!!!! Silvia’s here with you!

Today I'd like to share a second card I made with the beautiful "Spring Mandala" stencil.

I started cutting a 5,5"x4,25" rectangle from white cardstock, I placed the stencil over it and I started ink blending it from the centar with worn lipstick, tattered rose and pumice stone Distress Oxide inks. 

I darkened edges with black soot Distress Oxide ink, I splattered with clean water and the inks above (loosened with a drop of water) and I let it dry.

I then stamped with the Wow! Embossing ink "LOVE YOU", using the "Tall Alpha" stamp set and I heat embossed it with "Grey Sky at Night" Wos! Embossing powder.

I stamped images from the "Stop Duchshund Around" stamp set, I colored them with spectrum Noir alcohol markers and I cut them with coordinating dies.


I put everything together and that's all. I hope you enjoy it.


Thank you so much for stopping by today and don't forget you can get a 10% off your Time for Tea order with the code T4TSILVIA10.

 I wish you an amazing day. Hugs, Silvia.

Thursday, 20 January 2022

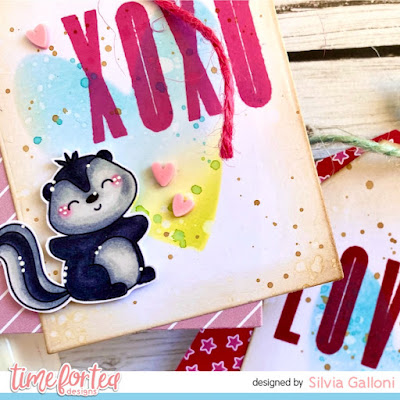
Xoxo

 Hi there and welcome back to the Time for Tea’s blog. Silvia’s here with you today.

For today’s card I decided to create a customize background with the “Tall Alpha” stamp set.

I started cutting a panel from white cardstock (I used one of my Christmas gift to do this, Tim Holtz’s Deckle Torn Edge Trimmer) and I stamped XOXO several time with worn lipstick Distress Oxide ink.

I darkened edges and I splattered with clean water, worn lipstick and vintage photo Distress Oxide inks loosened with water and white and bronze acrylic paint.

Next I stamped one of the cute mice from the “Baked With More Love" stamp set, I colored it with alcohol markers and I cut it with coordinating dies.

I cut my card base from one of the patterned paper you can find in the beautiful “Winter Wonderland" pad and I put everything together. For the sentiment I used the “Brighter Days Sentiment Card/ White on Gray" .

Thank you so much for stopping by and don’t forget you can get a 10% off your Time for Tea order with the code T4TSILVIA10.

I wish you an amazing day. Big hugs, Silvia.

Thursday, 13 January 2022

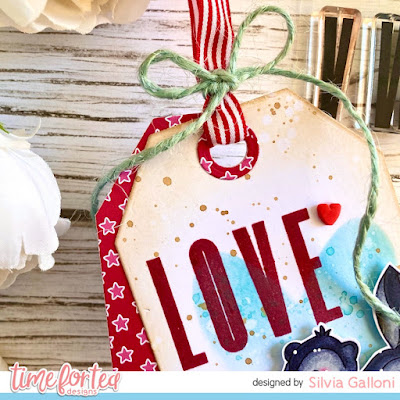
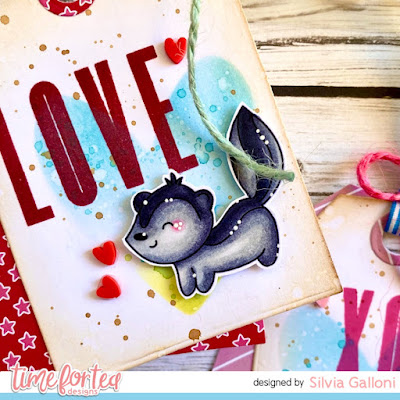
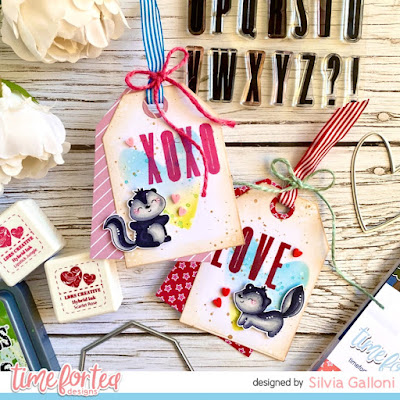
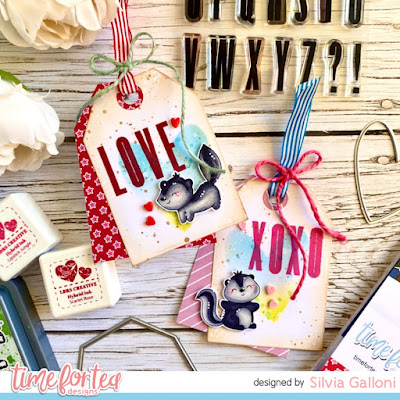
Valentine’s tags

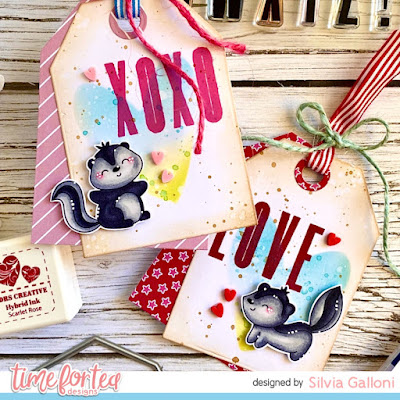
 Hello there and welcome back to the Time for Tea’s blog today! Silvia’s here with some cute Valentine’s tags!


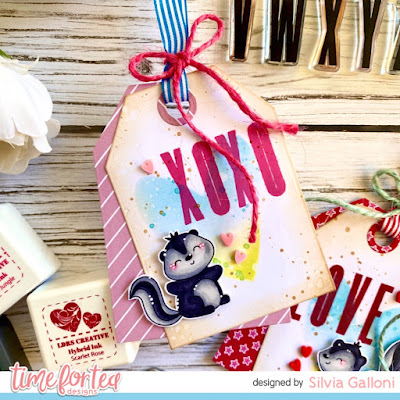
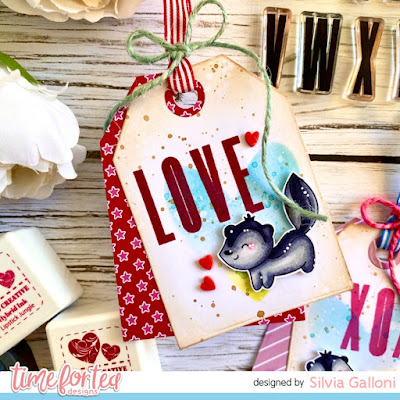
I started cutting for tags with the die from “Memory Keeping Essential" set, two from white cardstock and two from “Winter Wonderland" paper pad.

I then used the biggest heart die from the above die set to create a stencil and I ink blended twisted citron, mowed lawn and broken china Distress Oxide inks through it on the white tags. I splattered with clean water and tone on tone inks to add texture.


I stamped images from the "Stickin' Cute" stamp set, I colored them with alcohol markers and I cut them with coordinating dies.


I added a sentiment using the "Tall Alpha" stamp set and some hybrid inks, I put everything together and that's all.


Thank you so much for stopping by. I hope you like the tags and don't gorget you can get a 10% off your Time for Tea order with the code T4TSILVIA10.

I wish you an amazing day! Big hugs, Silvia.

Thursday, 11 November 2021

My Summer Memory Book

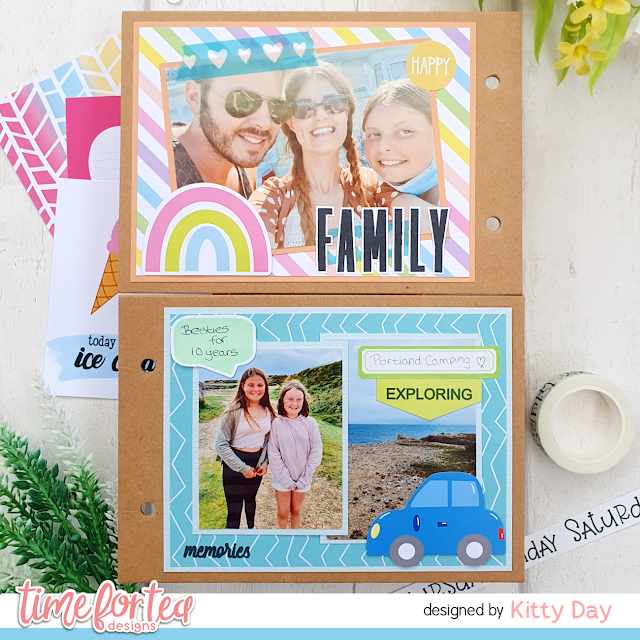
Hello, DT Kitty here! Today I am sharing my summer memory book that I made using lots of the new products from the Memory Keeping Collection. I was going to share just a page of my book, but I thought I would just share the whole thing so there are quite a few pictures! I had so much fun creating this one...


I used a book chipboard book as my base layer for my book and creating each page directly onto each piece. I used papers from both the Sweet Summer Paper Pad and Brighter Days Paper Pad. I used quite a big mix of the embellishments! I used the Sweet Summer Journaling Cards, Sweet Summer Die Cut Ephemera, Enamel Dots, Washi Tapes, Noted Tab & Mood Stickers, Label & Banner Stickers. I used the new Tall Alpha Stamp Set to spell out the word 'Family'. I used the 'Memories' word & 'Location Symbol' from the Creating Memories Stamp Set. I used the Memory Keeping Essential Dies to create the 'Lol' word & heart shapes. You can view all the products from the latest collection here.


I do hope you have enjoyed viewing my book. Don't forget you can get 10% off your next order using the code T4TKITTY10.

Kitty xx

"Together" Summer Memory Pages

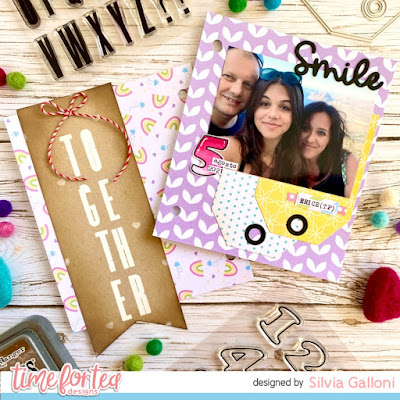
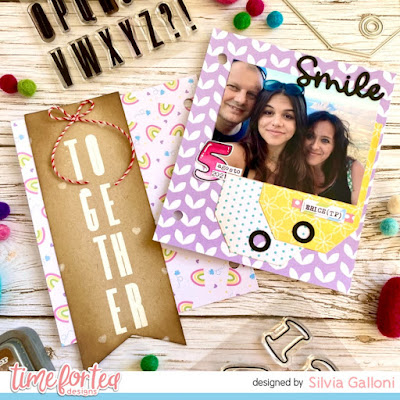
Hi there and welcome back to the Time for Tea blog! Silvia's here today with some new memory pages.


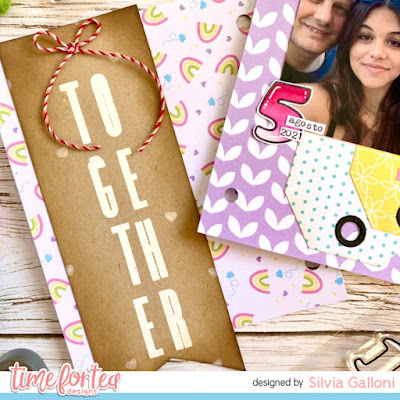
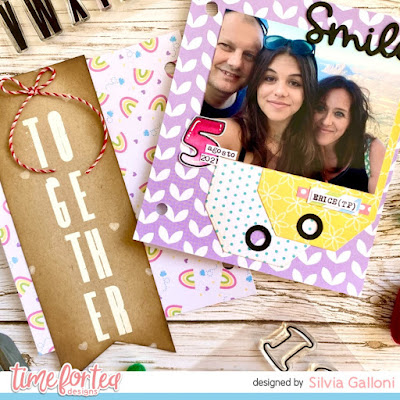
I'm so in love with the new Designer Photo Album, so I decided to create some paper insert to put inside of it...they're a little smaller than the binder but I really love how they turned out.

I chose two patterned papers from the "Brighter Days" 6x6 paper pad, I made the holes with a crop-a-dile and I started decoreted them.

I first cut a stripe from kraft cardstock and I used the new gorgeous "Tall Alpha" stamp set to embossed the word "together" in white. I also darkened edges with walnut stain Distress Oxide ink and I used a white ink to add some tiny heart from the "Brighter Days" stamp set here and there.

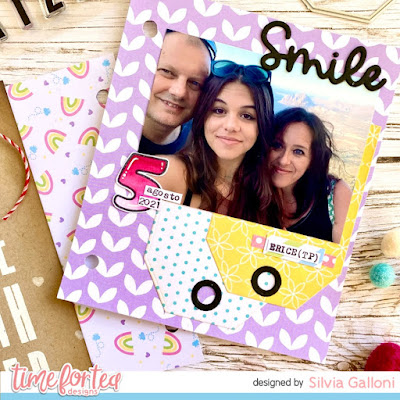
To decorate the second page I die cut two tags with the "Memory Keeping Essential" dies set from the "Sweet Summer" paper pad and the "smile" word with the "Smile Inverted Scallop Frame" die set from black cardstock.

For the date I stamped number five with the "Outline Number" stamp set, I colored it with alcohol markers and I fussy cut it.

I put everything together and that's all.

I hope you'll enjoy these pages and don't forget you can get a 10% off your Time for Tea order with the code T4TSILVIA10.

I wish you an amazing day! Hugs, Silvia.


Friday, 5 November 2021

Fall Memories


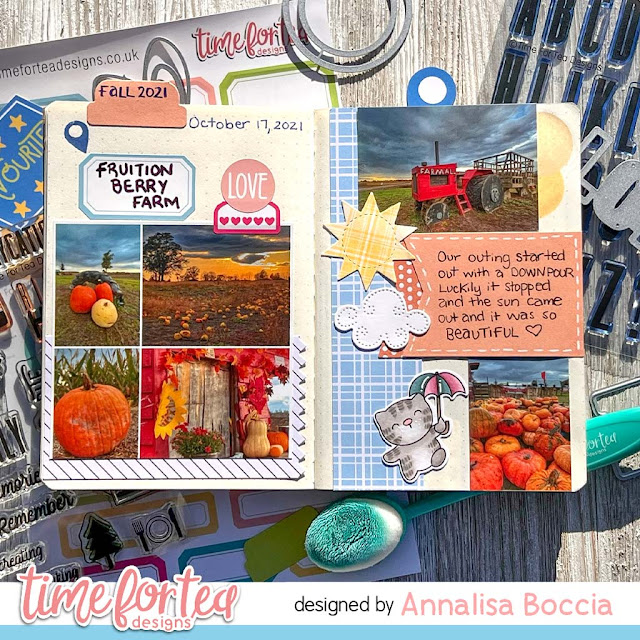
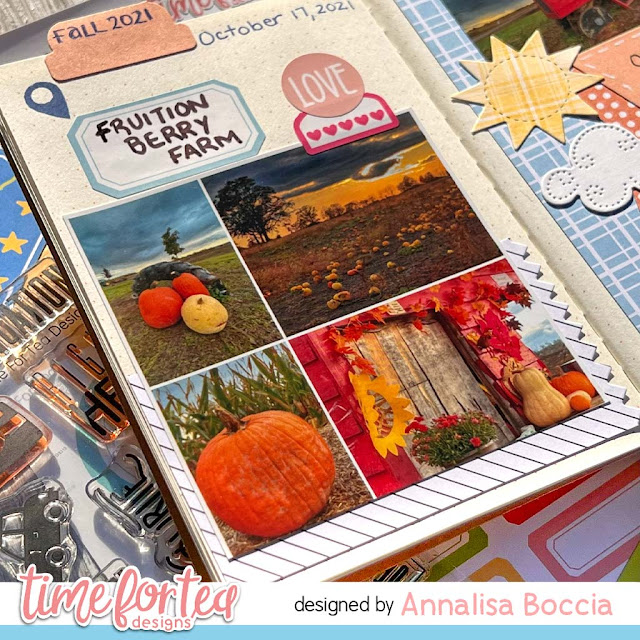
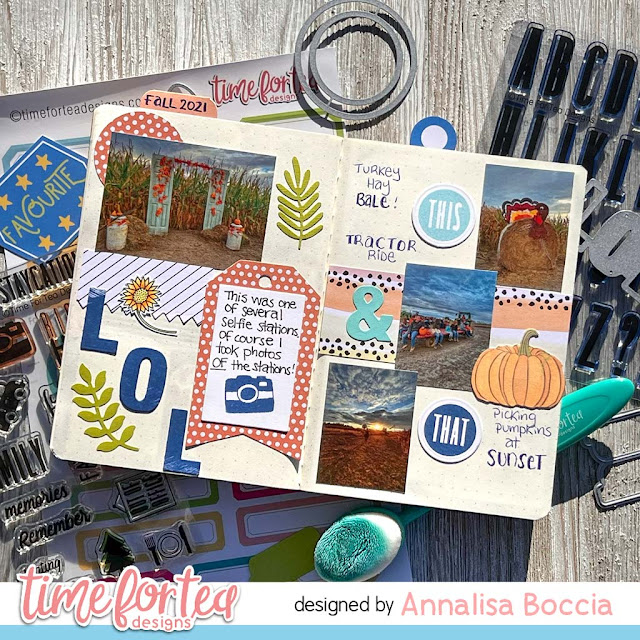
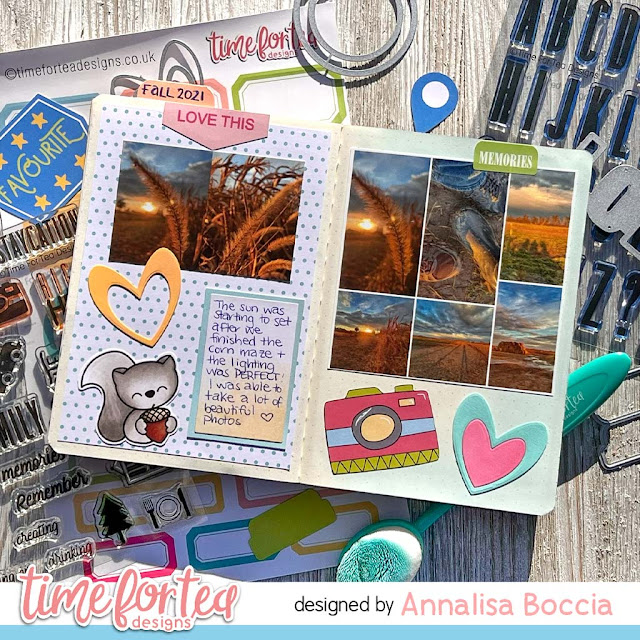
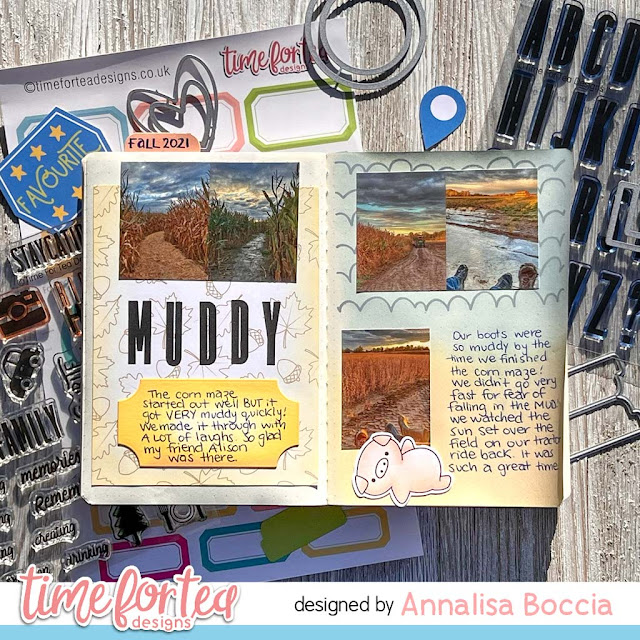
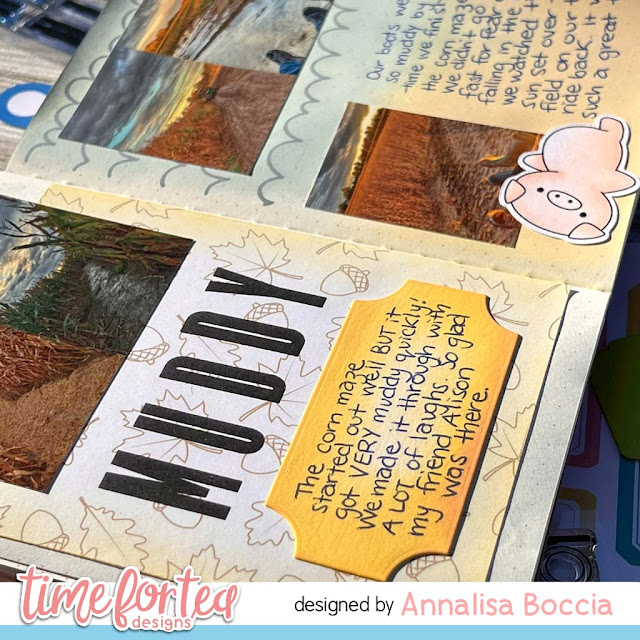
Happy Friday! I am sharing another memory-keeping style using the new Time For Tea Designs October collection. I used the Foiled Mini Travellers Notebook to create a layout to remember a fun outing to a local farm that my husband and I went to. It was so much fun, especially since my friend Alison was there. We went on a tractor, through a VERY muddy maze, and picked pumpkins.

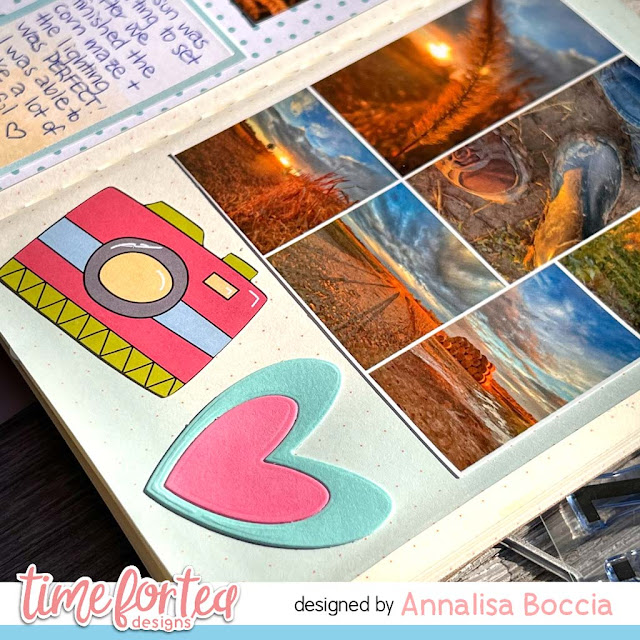
I edited my favourite photos from Fruition Berry Farm with the Snapseed app. I then printed them onto photo paper with my Xerox printer and cut them out with my paper trimmer. For the collages, I used the Adobe Spark app, I really like being able to add images of different sizes to my memory spreads so this app really helps.

I used the tab die from the Memory Keeping Essential Dies to mark where the start of this fall spread was in the notebook. I used a combination of photos, patterned paper, stickers, stamps and die cuts to create this eight-page spread. I used tape runner, double-sided tape and some liquid glue to adhere the various elements to my layout. 


I just LOVE the camera in the Sweet Summer Ephemera Pack, I thought it worked really well on this page as it has a photo collage on it. I matched the camera colours by using Kitsch Flamingo and Salvaged Patina Oxides to colour the heart that I die cut out from the Memory Keeping Essential Dies.


I just love the Tall Alpha stamps as you can customize any word, name or phrase. I just had to use the little piggy for this spread since we got so much MUDD on our boots in the maze! I thought the squiggles looked a little like mud so I stamped it and then added some very lightly blended Weathered Wood Distress Oxide, before adhering down the photo.


I really enjoyed creating this spread and look forward to flipping through it during the cold winter months. I hope my project gets you inspired to give memory keeping a try. I used to do this a lot but got out of the habit, I hope to continue to keep this up, if only for special days and memories like this one.

Thank you so much for reading my blog post, you can use my discount code T4TANNALISA10 when you visit the Time For Tea Designs shop to get 10% off your order.


Friday, 29 October 2021

Memory Keeping Happy Planner Style


Annalisa here, sharing something a little different from my usual card creation. I have made a couple of memory pages in my Happy Planner using elements of the brand new release. My husband and I discovered a love of hiking last year and we have enjoyed so many hikes. I decided to create a spread dedicated to a hike we did this October at Rock Dunder, located in Eastern Ontario. We absolutely LOVE hiking in the fall, as it is cooler and you get to enjoy the beautiful colours of fall.

On all of our hikes, I stop and take A LOT of photos so I needed a two-page spread to showcase the beauty of this location. To start, I went through my photos and added several to my favourites folder on my iPhone. From there, I imported them into one of the most used apps on my phone – Snapseed. I just love editing my photos in this app, mind you with my new iPhone Pro 13 the photos are pretty incredible as is!  

Once the images are edited I import them into Photoshop and I have templates to fit the boxes in the Happy Planner layout. I have ones for one box, two, etc. depending on the photo I want to add. I then print them onto photo paper with my Xerox printer and cut them out with my paper trimmer.
The best part is starting to create my layout and figuring out how I want to show the ‘story’ or memory. For this spread, I used two pages for one day rather than the traditional weekly spread that is in the Happy Planner. I used photos, paper, stickers, etc. to cover up the dates and the calendar and notes sections. I started on the right and finished that page before starting on the left page, I do however layout the images on both pages before starting to adhere anything down.

I use double-sided tape to adhere everything for the most part, as the paper isn’t very thick so I didn’t want it to warp. I used several of the NEW and awesome products including, Memory Keeping Essentials Dies, This & That Stamps, Creating Memories Stamps, Tall Alpha Stamps, Sweet Summer Ephemera Pack, and the two new sticker packages - Noted Tabs and Mood Circle Stickers & A5 Label and Banner Sticker Sheet.

I also paired the new release with some goodies from previous releases: Paper Plane Pals (Panda), You’ve Got Mail (mushrooms), Woodland Critters (acorn, leaf), Butterflies  (mushroom)  Spring Blooms Dies (leaves) and the Sweet Summer 6x6' Paper Pad.

For the journaling, I use my Micron 05 black pen, I am particular with the pens I use as I like a nice thick line. I stamped with various inks including oxides - please note that most inks will show on the other side of the page on this particular paper. I also used Distress Oxides to colour the edges of the pages.


Thanks for stopping by, I hope that this helps inspire you to give memory keeping a try! Don't forget you can get 10% off at the T4T store using my discount code – T4TANNALISA10.


Other Posts You Might Like