Pages

Showing posts with label Paper Plane Pals. Show all posts

Tuesday, 14 July 2026

Just Saying Hello!

Hello Everyone!

Michelle from the Design Team here and today’s inspiration is a postage stamp scene with a trio of curious bunnies. It is so fun and I just love everything about it!

Supplies used: 

Love Is In The Air

Paper Plane Pals

Adventure Awaits


I started with a soft powder blue background stamped and heat embossed with the most charming collection of white outlined travel doodles - paper planes, suitcases, dotted flight paths and fluffy clouds. It gives the card such a dreamy, breezy feel and is the perfect backdrop for everything that follows.

The main feature of this card is three oversized postage stamp frames arranged across the background, each one framing a different adorable character. Tucked inside the stamps are a sweet white bunny, a warm brown bunny and a fluffy grey bunny, each peeking out from behind brightly coloured backgrounds of yellow, teal and pink. They are just the most precious little trio and each one has the rosiest little cheeks!


Dotted between the stamps are three bold black label boxes carrying the sentiment split across them, "Just", "Saying" and "Hello", which is such a fun and creative way to deliver the message. Little pink hearts are scattered around the background adding extra sweetness to the whole design.

The layout is beautifully balanced with the stamps overlapping slightly to give the card real depth and a lovely layered look that draws you right into the scene.


This card is just perfect for popping in the post to someone you have been meaning to catch up with, and what better way to say hello than with three of the cutest bunnies around!


Michelle


Sunday, 22 March 2026

Adventure Together!

Hello Everyone!

Michelle from the Design Team here and today’s card is all about friendship, fun, and a little bit of adventure. These sweet critters are having the best time flying through the sky on their paper planes!
Supplies used:

Paper Plane Pals

Sentiment - Adventure Awaits

I created a soft rainbow cloud sky by inkblending with Worn Lipstick, Carved Pumpkin, Mustard Seed, Mowed Lawn, Peacock Feathers and Shaded Lilac Distress Oxides. The different colours gives the card a warm and happy feel, perfect for what I wanted. I added some gold splatters to add a touch of sparkle.

The bunny and panda each have their own little paper plane, in soft pastel tones tying beautifully with the background and keep everything nice and cohesive. Their scarves and goggles add such a fun detail and really bring the scene to life. I also added some extra clouds and tiny hearts to give moment and extra whimsy!

The “Love our adventures together” sentiment heat embossed onto purple cardstock fits perfectly and makes this a lovely card for a special friend or someone you share lots of happy moments with. 


Michelle


Friday, 12 April 2024

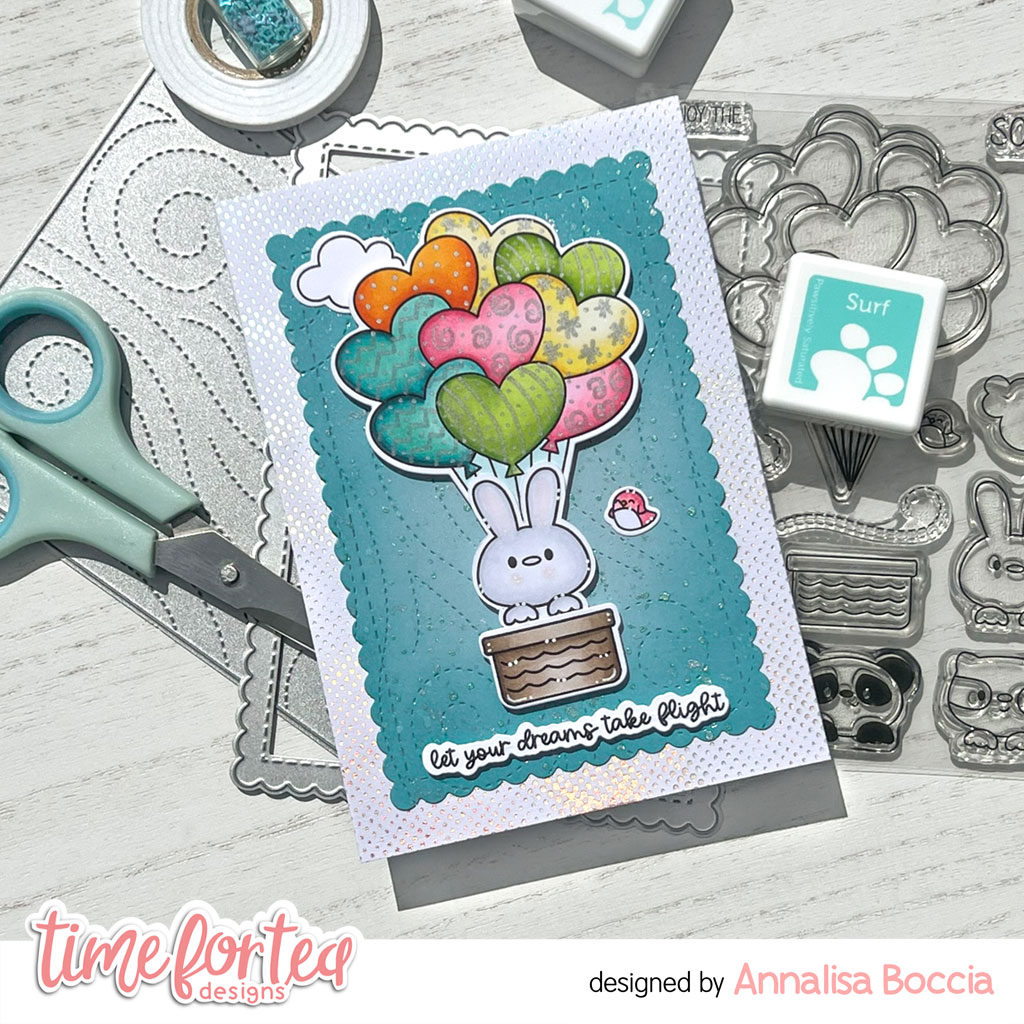
Let Your Dreams Take Flight


Happy Friday! DT Annalisa here with a new card to share that features the Love Is In the Air stamp and its' coordinating dies. I enjoyed colouring in all the cute balloons with my Copic markers.

To create this card, I started with a light blue card stock base that I die-cut with the Sweet Scalloped Dies and then Snow Flurry Cover Die to add texture. Next, I ink-blended the edges using my Beautiful Blender Brush, Surf, and Seafoam Pawsitively Saturated ink. I added silver splatter with a paintbrush, water and silver watercolour. 


Once the blue panel was dry, I adhered it to some silver dotted patterned paper that I glued to a 5 3/4-inch by 4-inch card base.

I stamped and coloured (with Copics) several images from Love Is In the Air and cut them out with their coordinating dies. I added white gel pen accents with a Gelly Roll PenI used a metallic silver marker to different patterns to the balloons. The sentiment is from Paper Plane Pals that I stamped and then cut out with the coordinating dies


I stuck the images to the card base using a combination of liquid glue and double-sided foam tape for dimension.

Thank you so much for reading my blog post, be sure to use my discount code T4TANNALISA10 when you visit the Time For Tea Designs shop to get 10% off your order.


Friday, 23 June 2023

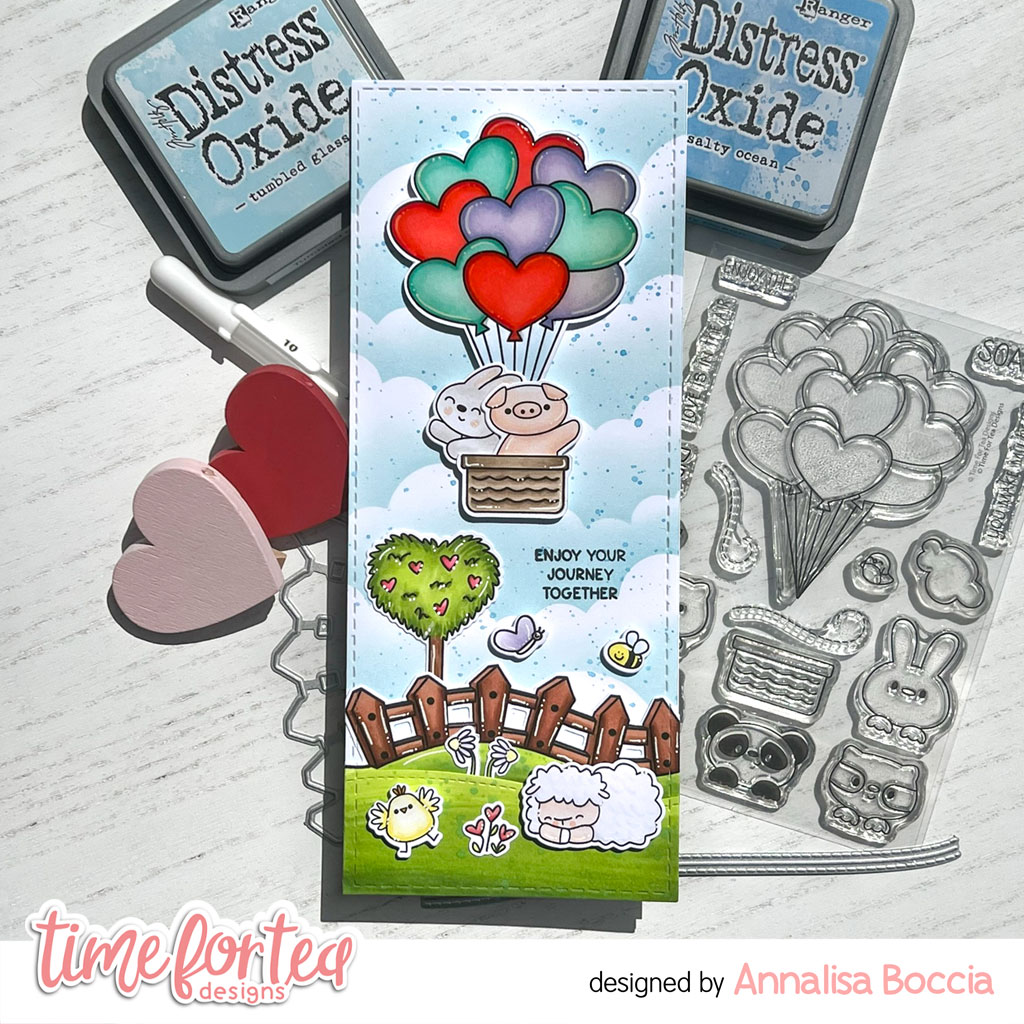
Slimline Anniversary Card

Hello and happy Friday. DT Annalisa here sharing a slimline anniversary card I made for some friends celebrating their 59th wedding anniversary using several stamp and die sets from Time For Tea Designs. How amazing to be celebrating so many years together! 

To create this card, I used the following stamp sets:

Love Is In the Air (hot air balloons and basket)
Just Married (sentiment)
Ewe Are Moovellous (flower)
Oops a Daisy (flower)
Eggstra Special Birthday (chick)
I Really Dig You (bee and butterfly)
Paper Plane Pals (pig and bunny)
Ewe Are The Best (sheep, fence and tree)

I die-cut Distress White Heavy cardstock by Ranger using the largest die in the Slimline Scalloped Trio Circle Nesting Dies. I ink-blended Tumbled Glass over the cloud stencil area on the 6x6 Scene Builder stencil and added Broken China Distress Oxide Ink splatter with a paintbrush. Once the ink was dry, I stamped the sentiment using Versafine Onyx Black. 
For the grass, I die-cut white cardstock with the Landscape Edge Standalone Die and coloured it with my Copics, added ink splatter using Lucky Clover Distress Oxide, water and a paintbrush. I die-cut the grass area with the same stitched rectangle as the background so they would match.

I stamped and coloured (with Copics) several images from the stamp sets listed and cut them out with their coordinating dies. I added white gel pen accents with a Gelly Roll Pen. I used liquid glue to stick several images and double-sided foam tape for the rest. I added Glossy Accents to the hot air balloons to complete the card

Thank you so much for reading my blog post. Remember to use my discount code T4TANNALISA10 when you visit the Time For Tea Designs shop to get 10% off your order.


Friday, 9 June 2023

Interactive Saying Hello Card


Happy Friday. DT Annalis is here sharing a fun interactive shutter card featuring elements from several adorable stamp sets from Time For Tea Designs. The animal friends are having a great time in the warm sunny weather. 

 The following stamp sets were used to create this card: 

Treat Yourself ('flying' mouse)
I Really Dig You (bee and butterfly)
Good Luck Critters (four-leaf clovers)
Beavering Away (wood stump)
Jumping With Joy (porcupine)
Darling Daffodils (sentiments)

To create this interactive card, I used the 'Shutter Card' die and 'Shutter Card Add-On' die from Lawn Fawn and followed several of their instructional videos on YouTube.

I used one of the Slimline Hillside Scene Dies to cut into stencilling material to create a stencil for the grass and sky. I love using my dies with this material to create stencils and get more use out of them.

For the sky, I ink-blended Mermaid Lagoon, Peacock Feathers and Tumbled Glass Distress Oxide Ink using my Beautiful Rainbow Blender Brushes. I added Uncharted Mariner Distress Ink splatter with a paintbrush and water. I ink-blended Twisted Citron and Mowed Lawn Distress Oxide for the grass and added Rustic Wilderness Distress Oxide splatter. 


I stamped and coloured (with Copics) several images from the above stamp sets and cut them out with their coordinating dies. I added white gel pen accents with a Gelly Roll Pen. I used liquid glue to stick all of the images and the sentiments (from Darling Daffodils) to the card.

For the front of the card, the sections were ink-blended with Mermaid Lagoon; the panels are green cardstock that was ink-blended Mowed Lawn Distress Oxide with Lucky Clover Distress Oxide splatter; the outer band is orange cardstock ink-blended with Spiced Marmalade Distress Oxide. I die-cut patterned paper from the Sweet Summer 6x6' Paper Pad for the circle area and ink-blended it with Wild Honey Distress Oxide.  I used liquid glue to stick the duck to this circle.


Thank you so much for reading my blog post. Remember to use my discount code 
T4TANNALISA10 when you visit the Time For Tea Designs shop to get 10% off your order.


Friday, 4 November 2022

Sending Big Birthday Wishes


Happy Friday, everyone! DT Annalisa here sharing a slim line card today featuring several stamps and dies from Time For Tea Designs. I created a bright watercolour background using distress ink reinkers and distress oxides. 

I used Arches cold pressed watercolour paper and painted on a mixture of Distress Ink Reinkers (squeezed lemonade, picked raspberry, peacock feathers) and Distress Oxide Ink (squeezed lemonade, twisted citron) with a paintbrush. I added some white splatter once the inks were dry.

I die-cut the panel using the Snow Flurry Cover Die. I then used the same die to cut some white card stock to get the outline. I used liquid glue to adhere everything to a slimline card base.

I used the Big Birthday Wishes Sentiment Die to cut out the sentiment three times and used liquid glue to adhere them together and then to the top of the card. 


I stamped, coloured (with Copics) and die-cut elements from five different stamp sets Lucky DucksPaper Plane PalsBirthday Bear and Fairy Garden. I used a mixture of liquid glue and foam tape to adhere everything to the card. I added Glossy Accents to the bunny's goggles, balloon, ladybug and the word 'Big.'
 

Thank you so much for reading my blog post. Don't forget to use my discount code T4TANNALISA10 when you visit the Time For Tea Designs shop to get 10% off your order.

Friday, 29 April 2022

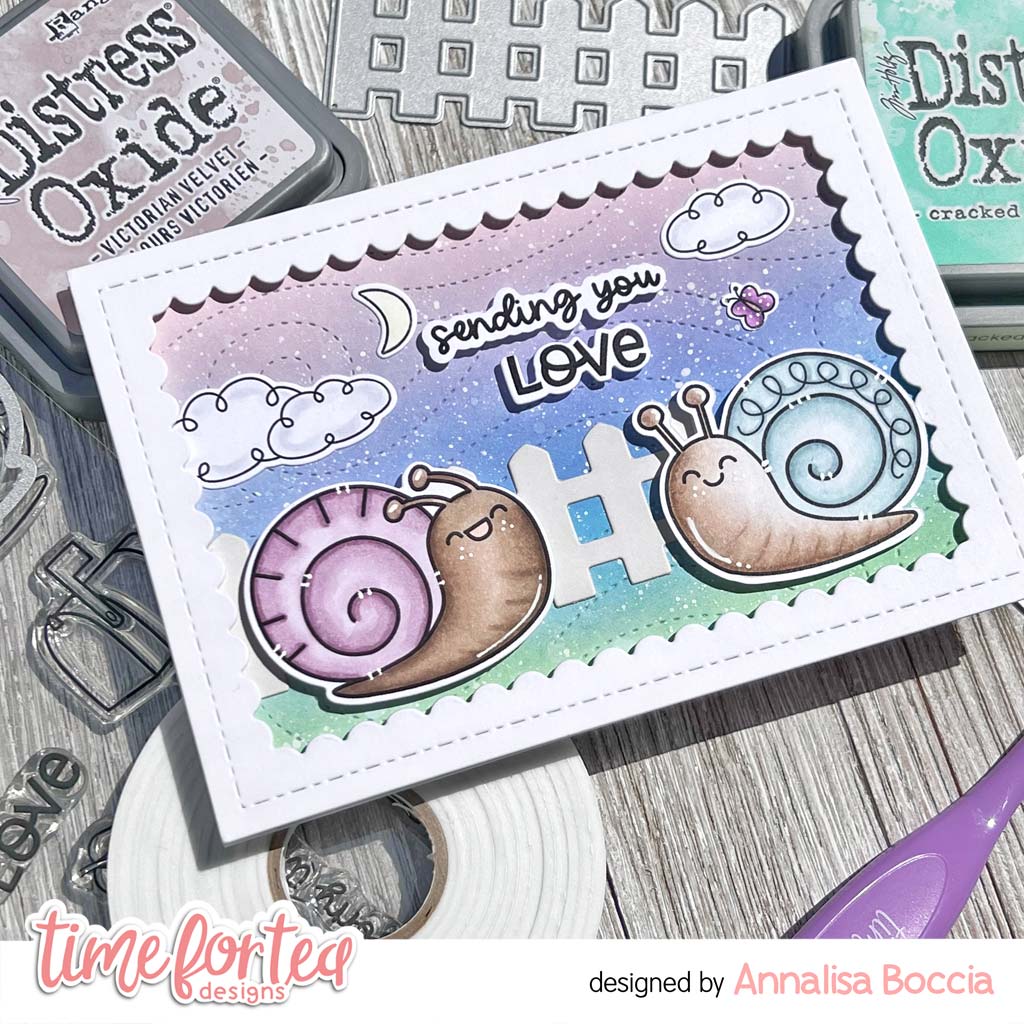
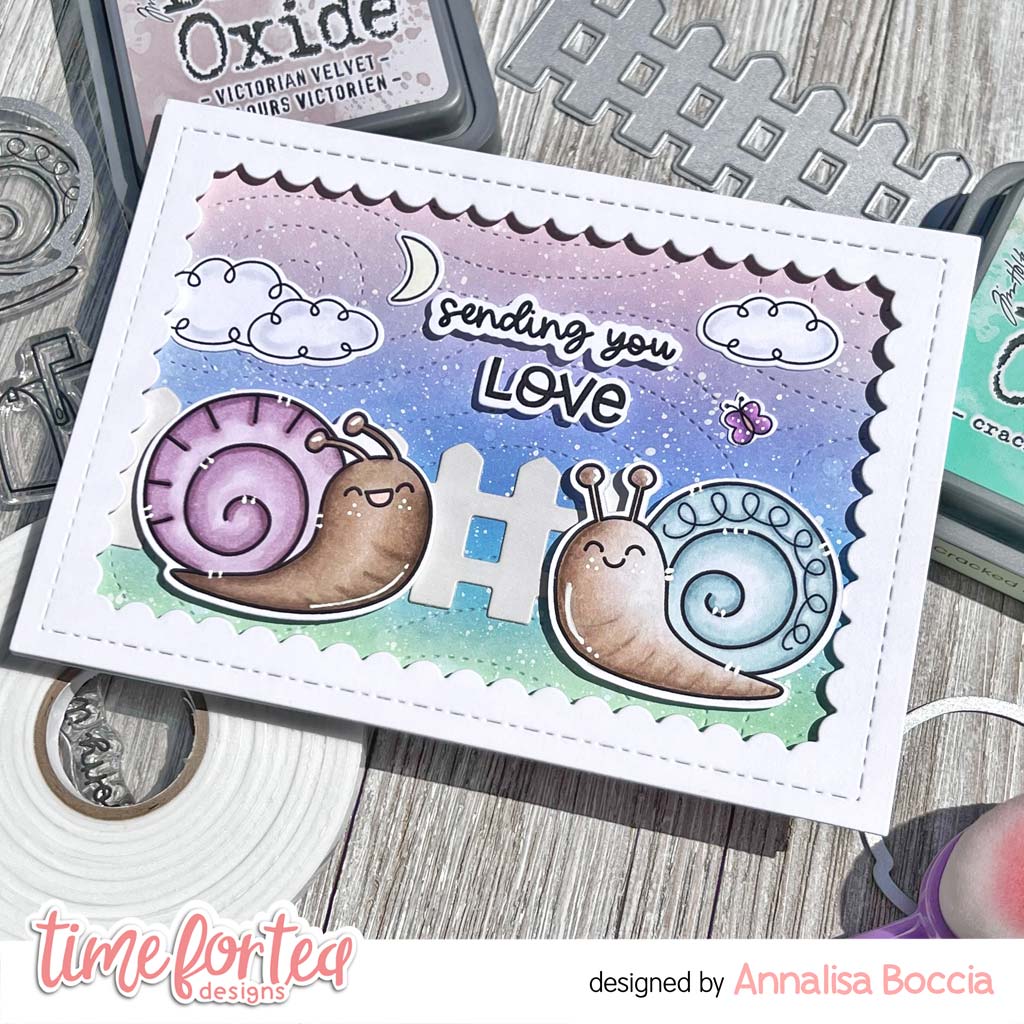
Sending You Love Snails


Happy Friday! DT Annalisa here sharing a card featuring the You’ve Got Mail clear stamp set and the coordinating dies. These snails are so fun to colour!

To start, I ink blended Distress Oxides (Victorian Velvet, Shaded Lilac, Salty Ocean and Cracked Pistachio) onto Distress White Heavy cardstock by Ranger with the Beautiful Rainbow Blender Brushes. I die-cut this panel with the Snow Flurry Cover Die and added white splatter to add inter


I die cut the fence from the Windmill Add On and lightly ink blended on some Weathered Wood Distress Oxide. I used liquid glue to stick this down to the ink-blended panel. I placed this onto a card base using liquid glue.

I stamped, coloured and die cut the snails from 'You've Got Mail.' I did the same with the clouds (Paper Plane Pals), butterfly (Be Slothy) and moon (Hillside Village). I used liquid glue to adhere the moon, clouds and butterfly to the panel. 


I used the larger frame in the Smile Inverted Scallop Frame Dies to die-cut some heavy white cardstock added foam tape to the back and stuck it to the panel. 

To complete the card, I added foam tape to the back of the snails and the sentiments and stuck them down.


Thank you so much for reading my blog post, you can use my discount code T4TANNALISA10 when you visit the Time For Tea Designs shop to get 10% off your order.

I hope you get some time to get inky and creative this weekend and that it makes you as happy as it does me!


Friday, 22 April 2022

Sweet Slimline Scene

 
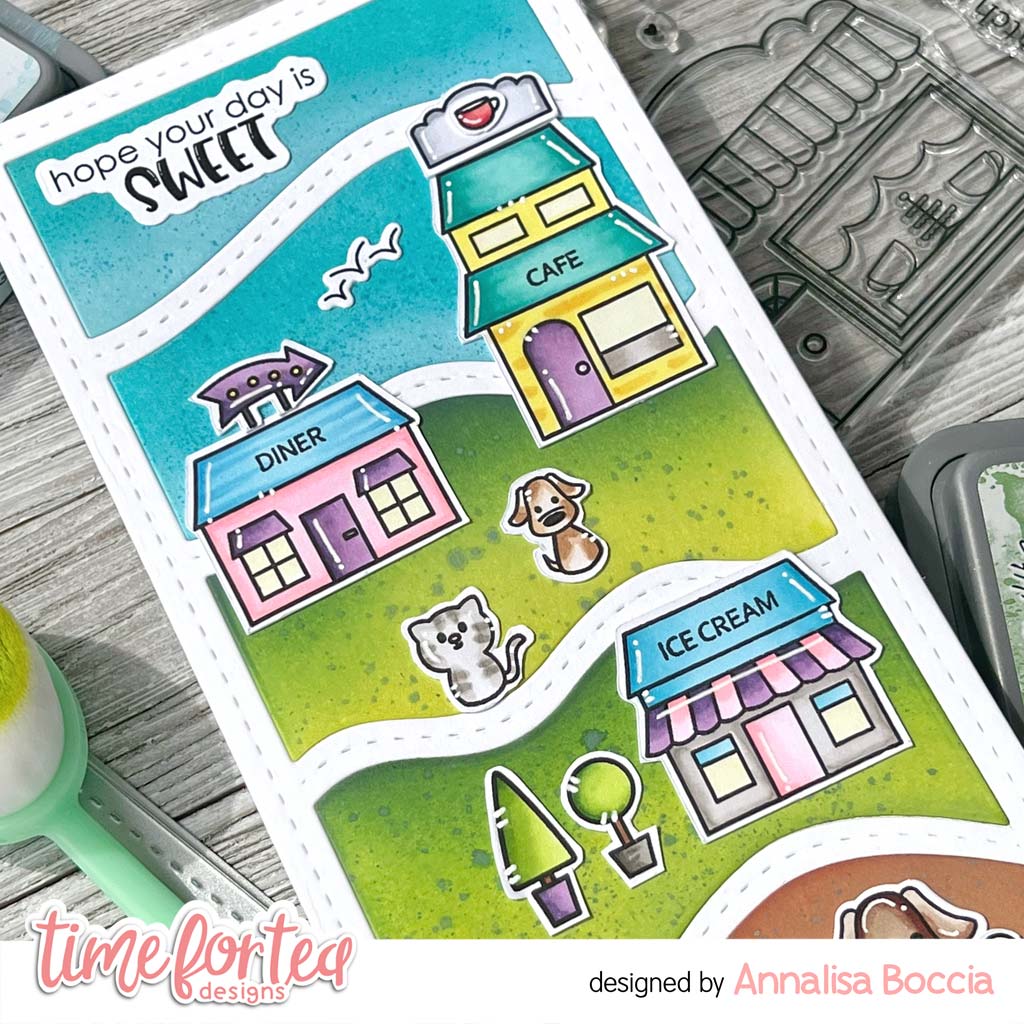
Happy Friday! Today, I am sharing a fun seaside slimline scene that features the adorable Sweet Village Clear Stamp Set and Stitched Slimline Slopes Dies from Time For Tea Designs. I also used the Café Critters and their coordinating dies as I wanted these critter friends to enjoy some coffee beverages during their day at the sea. Who wouldn't want to enjoy an iced coffee in the ocean or an ice cream cone on the beach?

I used the Stitched Slimline Slope dies to trim some white cardstock. I then ink blended the inner pieces separately using Distress Oxides with my Beautiful Rainbow Blender BrushesThe colours were as follows: Salvaged Patina and Tumbled Glass(sky), Twisted Citron and Mowed Lawn (lawn area); Antique Linen, Fossilized Amber and Rusty Hinge (sand); Salty Ocean, Prize Ribbon and Peacock Feathers (ocean). For the splatter on the different sections, I used Salty Ocean (sky), Rustic Wilderness (grass), Vintage Photo (sand) and water (ocean).

I used liquid glue to adhere the white outline to a 3.5 by 8.5-inch card base, followed by the coloured inserts. I used a small stitched die from my stash to add little waves and hills to the water and sand.


Next, I stamped and coloured the houses, critters and accessories with my Copics. Once they were die-cut, I added some white accents and glued them down to the scene.

I stamped the bird trio from the Paper Plane Pals set and die-cut them out with the coordinating dies. To finish the card, I stamped the sentiment from the Cool Critters Clear Stamp Set and die-cut it out using the coordinating die.


Thank you so much for reading my blog post, you can use my discount code T4TANNALISA10 when you visit the Time For Tea Designs shop to get 10% off your order.

Friday, 1 April 2022

Slothy Hugs


Happy Friday! DT Annalisa here today, I have a slimline sloth card to share with you. It features the Be Slothy stamp set and the Slimline Scalloped Trio Circle Nesting Dies from Time For Tea Designs.

 I started by using an older T4T stencil (Tropic Like It’s Hot) and ink blending on Distress Oxides in the colours Twisted Citron and Mowed Lawn using my Beautiful Rainbow Blender Brushes. I added some water and white paint splatters for interest.

Next, I die-cut out the panel using the middle rectangle die and the three scalloped circles die. I added foam tape to the back of this panel and set it aside.

I then stamped, Copic coloured and die cut the Sloths using the Be Slothy coordinating die set. I glued parts of the branches to the back of the green stencilled panel and added foam tape to the rest.

On an 8 1/8 by 3 1/8 inch card panel, I ink blended Tumbled Glass Distress Oxide to the clouds section of the Slimline Scene Builder Stencil and then added some white splatter. I then added the popped-up slimline panel and sloths to the card.

I stamped the small flower in blue and pink ink, die-cut them and glued them to the branches. I then stamped, copic coloured and die cut three butterflies and glued them to the card.

To complete the card, I added the hugs sentiment from Paper Plane Pals and then added some glossy accents to the flowers and butterflies.

Thank you so much for reading my blog post, you can use my discount code T4TANNALISA10 when you visit the Time For Tea Designs shop to get 10% off your order.


Monday, 21 February 2022

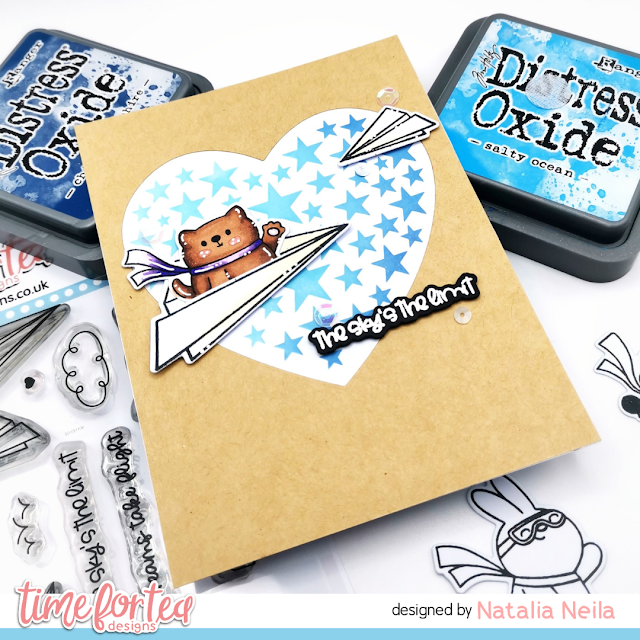
The sky's the limit

Hello, crafty friends! 

Today's CAS card features the paper plane pals stamp and coordinating dies set which is so much fun! I love that it is packed with little stamps to complete your card.

For my background, I used the Starry Heart 6x6" stencil on white cardstock with tumbled glass, salty ocean and chipped sapphire distress oxides.  


I don't use craft card anywhere near enough - it's so pretty and it provides a nice change to the white (which is what I usually reach out for the most!). Does this happen to you too? I feel like I have a favourite set of colour combinations and sometimes it's not easy to use different ones! So it's great to try and leave that comfort zone sometimes. 

I hope you like this CAS card and it inspires you to try something different!

You can use the code T4TNEILA10 for a 10% off your shop. 

See you next week,

Natalia

Tuesday, 16 November 2021

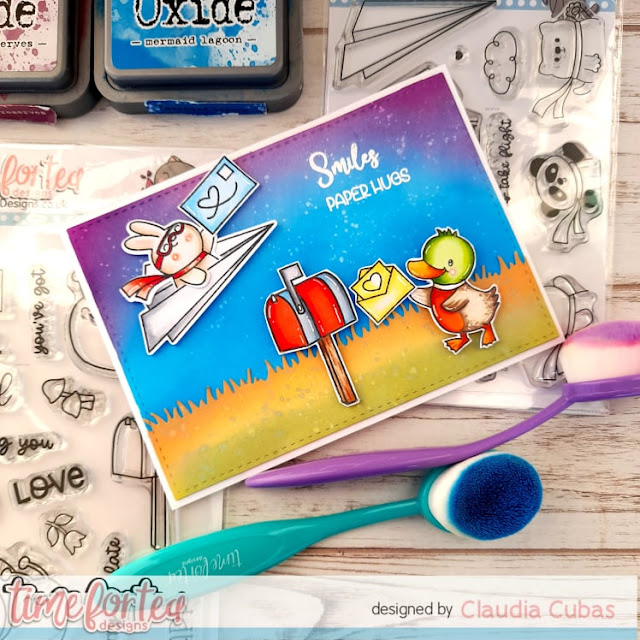
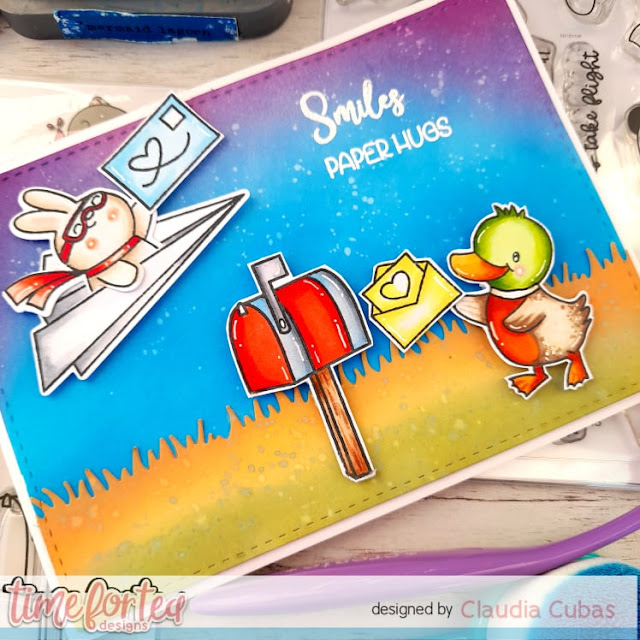
Paper Hugs

 Hello all Tea Timers how are you all doing this week? Have you been thinking about your Christmas cards? I send cards regularly, I love sending my cards in the mail and imagine the beautiful smile on my friends' faces when they receive them. 


 During the Christmas season I make so many!!! This scene is inspired by shipping, some by land and some by air but they all have to get to their destination 


Here I used different sets a lot to compose the scene Lucky Ducks You Got Mail and Paper Plane Pals I blending the DistressDistress for the background, and  Slimline Hillside for lawn. 

 What do you think? I hope you like it! .

 Don't forget to use the code T4TCLAUDIA10 to get a FANTASTIC 10% discount!

Friday, 29 October 2021

Memory Keeping Happy Planner Style


Annalisa here, sharing something a little different from my usual card creation. I have made a couple of memory pages in my Happy Planner using elements of the brand new release. My husband and I discovered a love of hiking last year and we have enjoyed so many hikes. I decided to create a spread dedicated to a hike we did this October at Rock Dunder, located in Eastern Ontario. We absolutely LOVE hiking in the fall, as it is cooler and you get to enjoy the beautiful colours of fall.

On all of our hikes, I stop and take A LOT of photos so I needed a two-page spread to showcase the beauty of this location. To start, I went through my photos and added several to my favourites folder on my iPhone. From there, I imported them into one of the most used apps on my phone – Snapseed. I just love editing my photos in this app, mind you with my new iPhone Pro 13 the photos are pretty incredible as is!  

Once the images are edited I import them into Photoshop and I have templates to fit the boxes in the Happy Planner layout. I have ones for one box, two, etc. depending on the photo I want to add. I then print them onto photo paper with my Xerox printer and cut them out with my paper trimmer.

The best part is starting to create my layout and figuring out how I want to show the ‘story’ or memory. For this spread, I used two pages for one day rather than the traditional weekly spread that is in the Happy Planner. I used photos, paper, stickers, etc. to cover up the dates and the calendar and notes sections. I started on the right and finished that page before starting on the left page, I do however layout the images on both pages before starting to adhere anything down.


I use double-sided tape to adhere everything for the most part, as the paper isn’t very thick so I didn’t want it to warp. I used several of the NEW and awesome products including, Memory Keeping Essentials Dies, This & That Stamps, Creating Memories Stamps, Tall Alpha Stamps, Sweet Summer Ephemera Pack, and the two new sticker packages - Noted Tabs and Mood Circle Stickers & A5 Label and Banner Sticker Sheet.

I also paired the new release with some goodies from previous releases: Paper Plane Pals (Panda), You’ve Got Mail (mushrooms), Woodland Critters (acorn, leaf), Butterflies  (mushroom)  Spring Blooms Dies (leaves) and the Sweet Summer 6x6' Paper Pad.

For the journaling, I use my Micron 05 black pen, I am particular with the pens I use as I like a nice thick line. I stamped with various inks including oxides - please note that most inks will show on the other side of the page on this particular paper. I also used Distress Oxides to colour the edges of the pages.


Thanks for stopping by, I hope that this helps inspire you to give memory keeping a try! Don't forget you can get 10% off at the T4T store using my discount code – T4TANNALISA10.


Friday, 22 October 2021

Bunny Hugs Enclosed


Happy Friday! DT Annalisa here, for my latest card, I have used several Time For Tea Designs goodies that were released this past winter and spring. With so many beautiful new stamps being released, I enjoy giving some love to my older sets!


To start, I cut a panel from some white cardstock with my A2 Layering dies. I stamped the Plaid Background Clear Stamp Set with some dark teal ink onto this panel. I stamped it several times using my MISTI to get a good impression as this is a larger stamp.

I then stamped the clouds from Paper Plane Pals, the bunnies from Blooming Bunnies and the little envelope from the Happy Mail Critters Digi Stamp Add On Collection - I love that T4T has digis that are free for everyone to use. I cut out the images after colouring them with my Copics.

I stamped the sentiment from the Be Kind Be You stamp set and coloured the word 'hugs' using Prismacolor coloured pencils. I then adhered the elements of the scene using liquid glue. To complete the card, I glued some white fun foam to the back of the panel and glued this to an A2 card base. 


I hope you like this card and would love it if you could use T4TANNALISA10 for 10% off your order the next time you purchase anything from Time For Tea Designs.

Other Posts You Might Like