Pages

Showing posts with label distress oxides. Show all posts

Friday, 6 June 2025

All Aboard the Friendship


Happy Friday, DT Annalisa here! I'm excited to share my second card that I created featuring products from the new release from Time For Tea Designs. I used the Boat Buddies stamp set to create this ocean scene; I absolutely love the bunny steering the sailboat!

I first ink-blended Tumbled Glass and Stormy Sky Distress Oxide onto white cardstock through a cloud stencil. After adding white splatter, I adhered this to a card base with double-sided tape.


Next, I used Peacock Feathers Ink on watercolour paper, adding water to achieve a blue ocean background. I then die-cut this with the Ocean Waves Dies. I attached this ocean section to the card base using 1mm double-sided tape.

I die-cut a frame from white cardstock using the Smile Inverted Scallop Frame Dies. I adhered this frame to the card with foam tape and glue.


I stamped several images from the Boat Buddies stamp set, colored them with Copics, and cut them out using the coordinating dies. I added accents with a white gel pen using a Gelly Roll Pen.

Finally, I used double-sided foam tape and glue to attach the images to the card. I also stamped the birds from the Adventure Awaits set directly onto the sky area of the card.


Thank you so much for visiting my blog! Don’t forget to use my discount code T4TANNALISA10 when you shop at Time For Tea Designs to receive 10% off your order.


Friday, 8 November 2024

Dies Only Coffee Card


Happy Friday, everyone! DT Annalisa here and I’m excited to share a card I created using only dies from Time For Tea Designs. While I typically prefer using stamps, I think these four die sets are terrific, and I wanted to make a card featuring them.

I added several drops of Dried Marigold Distress Paint onto my glass mat and sprayed it with water. I then pressed watercolour cardstock into the paint multiple times to create a vibrant orange background. After heat-setting the panel, I added Carved Pumpkin and Lumberjack Plaid Distress Oxide Spray.


Once the panel was dry, I die-cut it using the Snow Flurry Cover Die and adhered it to a panel of black cardstock that I had die-cut with the Sweet Scalloped Dies using liquid glue.

For the sentiment, I applied Salvaged Patina Distress Spray Stain to watercolour cardstock, heat-set it, and then die-cut it with the Warm Hugs Large Sentiment Die. I also die-cut the sentiment from White Silver metallic cardstock by Neenah. I used liquid glue to adhere the two die-cut sentiments with a slight offset before attaching them to the card base.

Next, I used the Takeout Coffee Cup Dies to cut the elements from watercolour cardstock and coloured them with Distress Oxides, inks, and sprays. Below are the colours I used for each part of the coffee cup:

- Milk Foam: Tea Dye Oxide Spray and Ink
- Coffee Cup Base: Lost Shadow Distress Oxide Spray and Hickory
Smoke Distress Ink
- Sleeve: Tea Dye Oxide Spray
- Heart: Salvaged Patina Distress Spray Stain
- Cup Lid: Lost Shadow Distress Oxide

I assembled the coffee cups with liquid glue and attached them to the card beneath the 'Warm Hugs' sentiment.

I added three Designer Enamel Dots from the Sweet Summer collection, to complete the card.

Thank you so much for reading my blog post. Remember to use my discount code T4TANNALISA10 when you visit the Time For Tea Designs shop to get 10% off your order.

Friday, 29 September 2023

Let's Party


Happy Friday! DT Annalisa here, my T4T project today is a celebration card featuring the Let’s Party stamp set. The kitty popping out of the gift is my favourite stamp in the set. When I was a teenager, my parents got me a ginger kitty for my birthday as a complete surprise and I loved it. 

I sprayed Dusty Concord Distress Oxide Spray through the Movie Star 6 x 6" Stencil, removed the stencil and sprayed Salvaged Patina Distress Spray to create the background panel. I added black watercolour splatter once the panel was dry. I added this background to an A6 card base.


I ran white cardstock through my Bigshot twice, once using the Stitched Quilted Cover Die and a second using the Wonky Windows Cover Die. I stamped the Let's Party sentiment to the panel using my MISTI and then used double-sided foam tape to stick it to the card base.

I stamped and coloured (with Copics) images from the Let’s PartyBirthday Fox, and Birthday Cake stamp sets and cut them out with their coordinating dies. I added white gel pen accents with a Gelly Roll Pen


I adhered the images to the card base using liquid glue or double-sided foam tape for dimension. 

Thank you so much for checking out my blog post. Remember to use my discount code T4TANNALISA10 when you visit the Time For Tea Designs shop to get 10% off your order.


Wednesday, 15 June 2022

Video: Sentiment Die Shaker Card

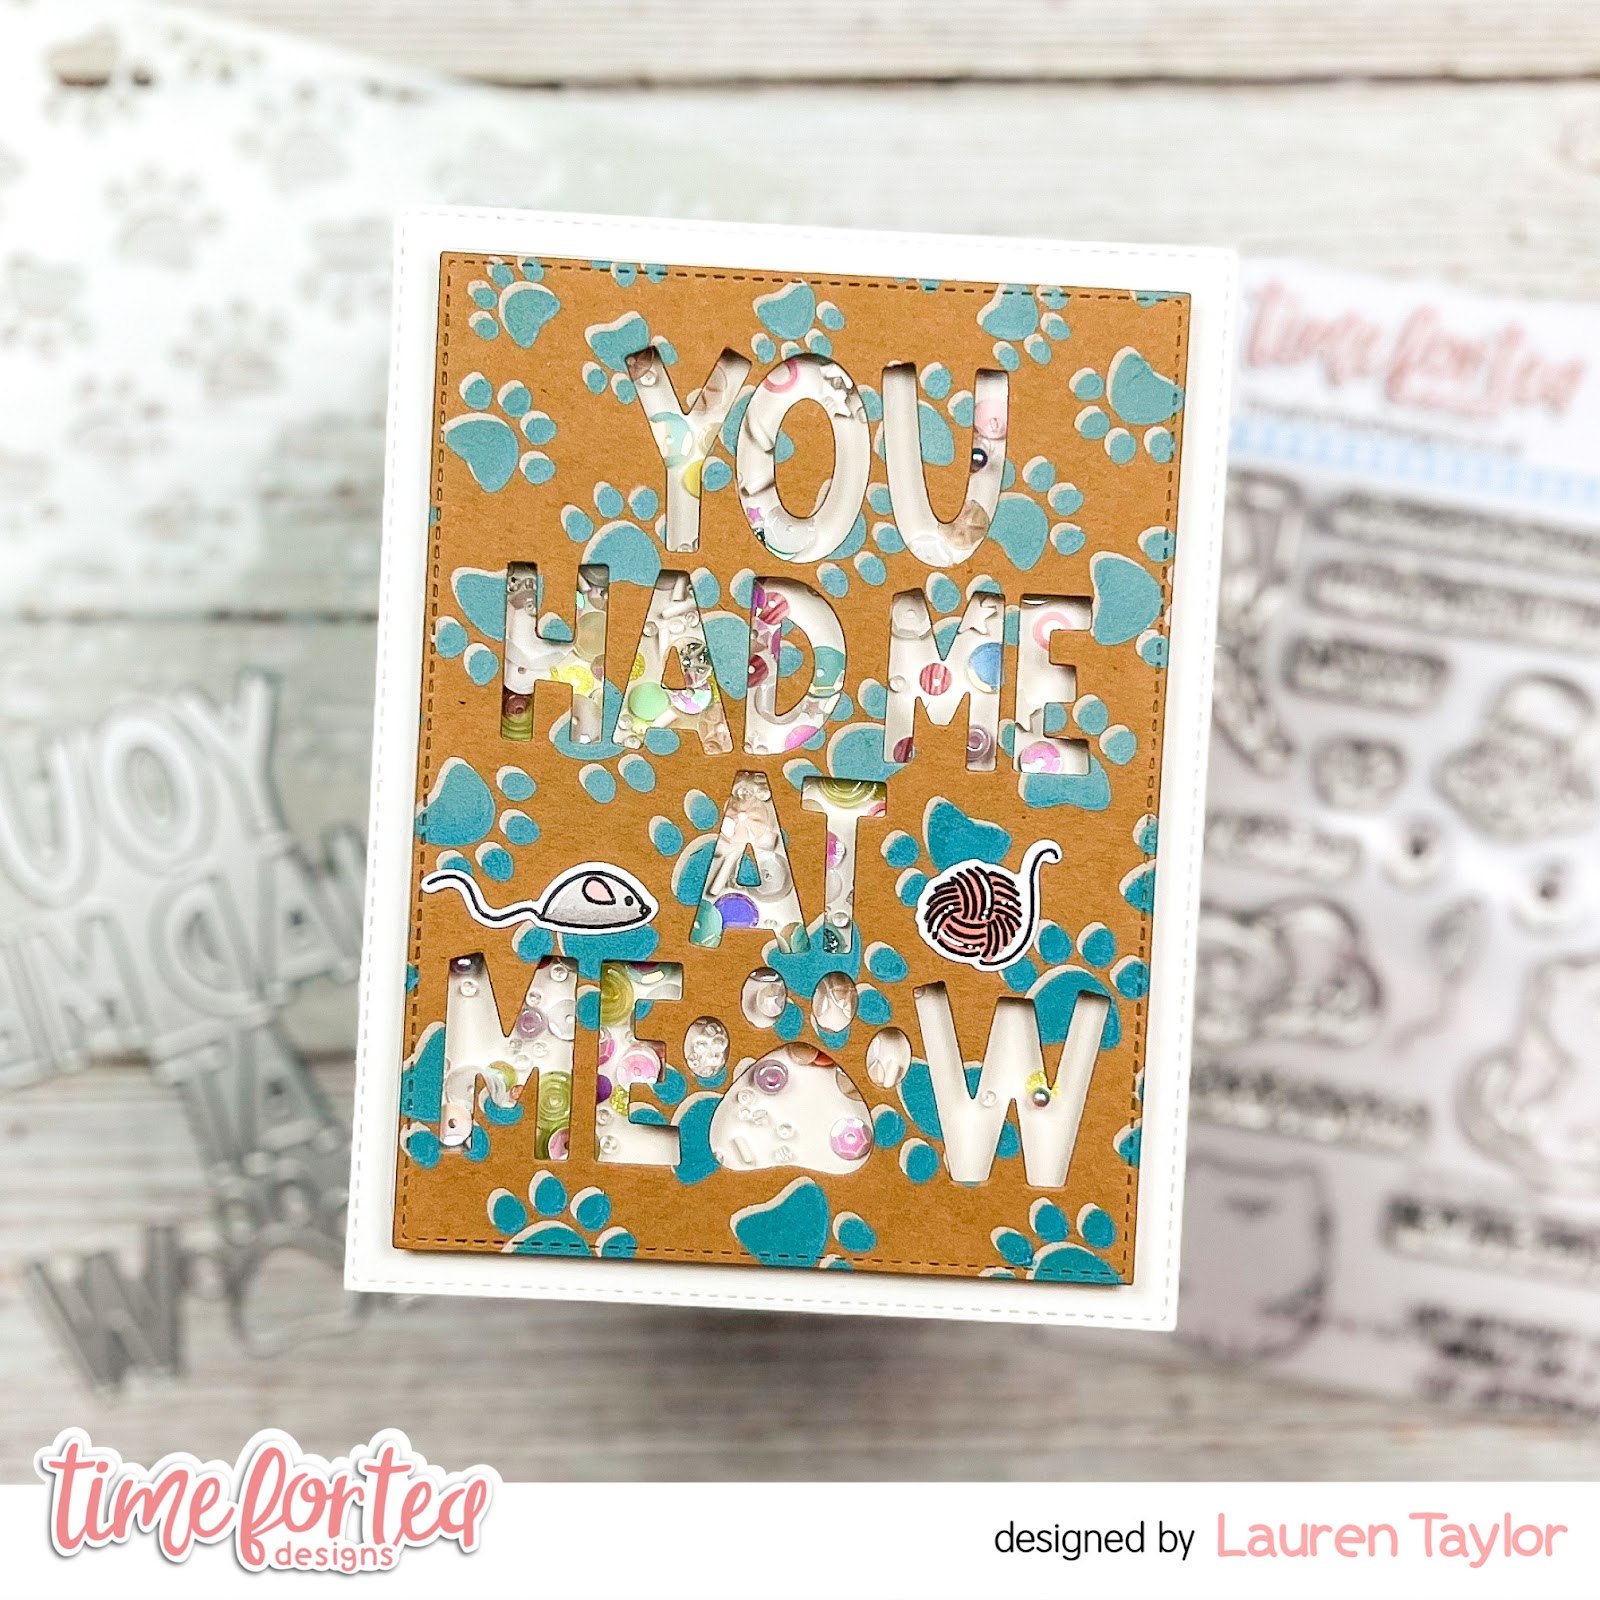
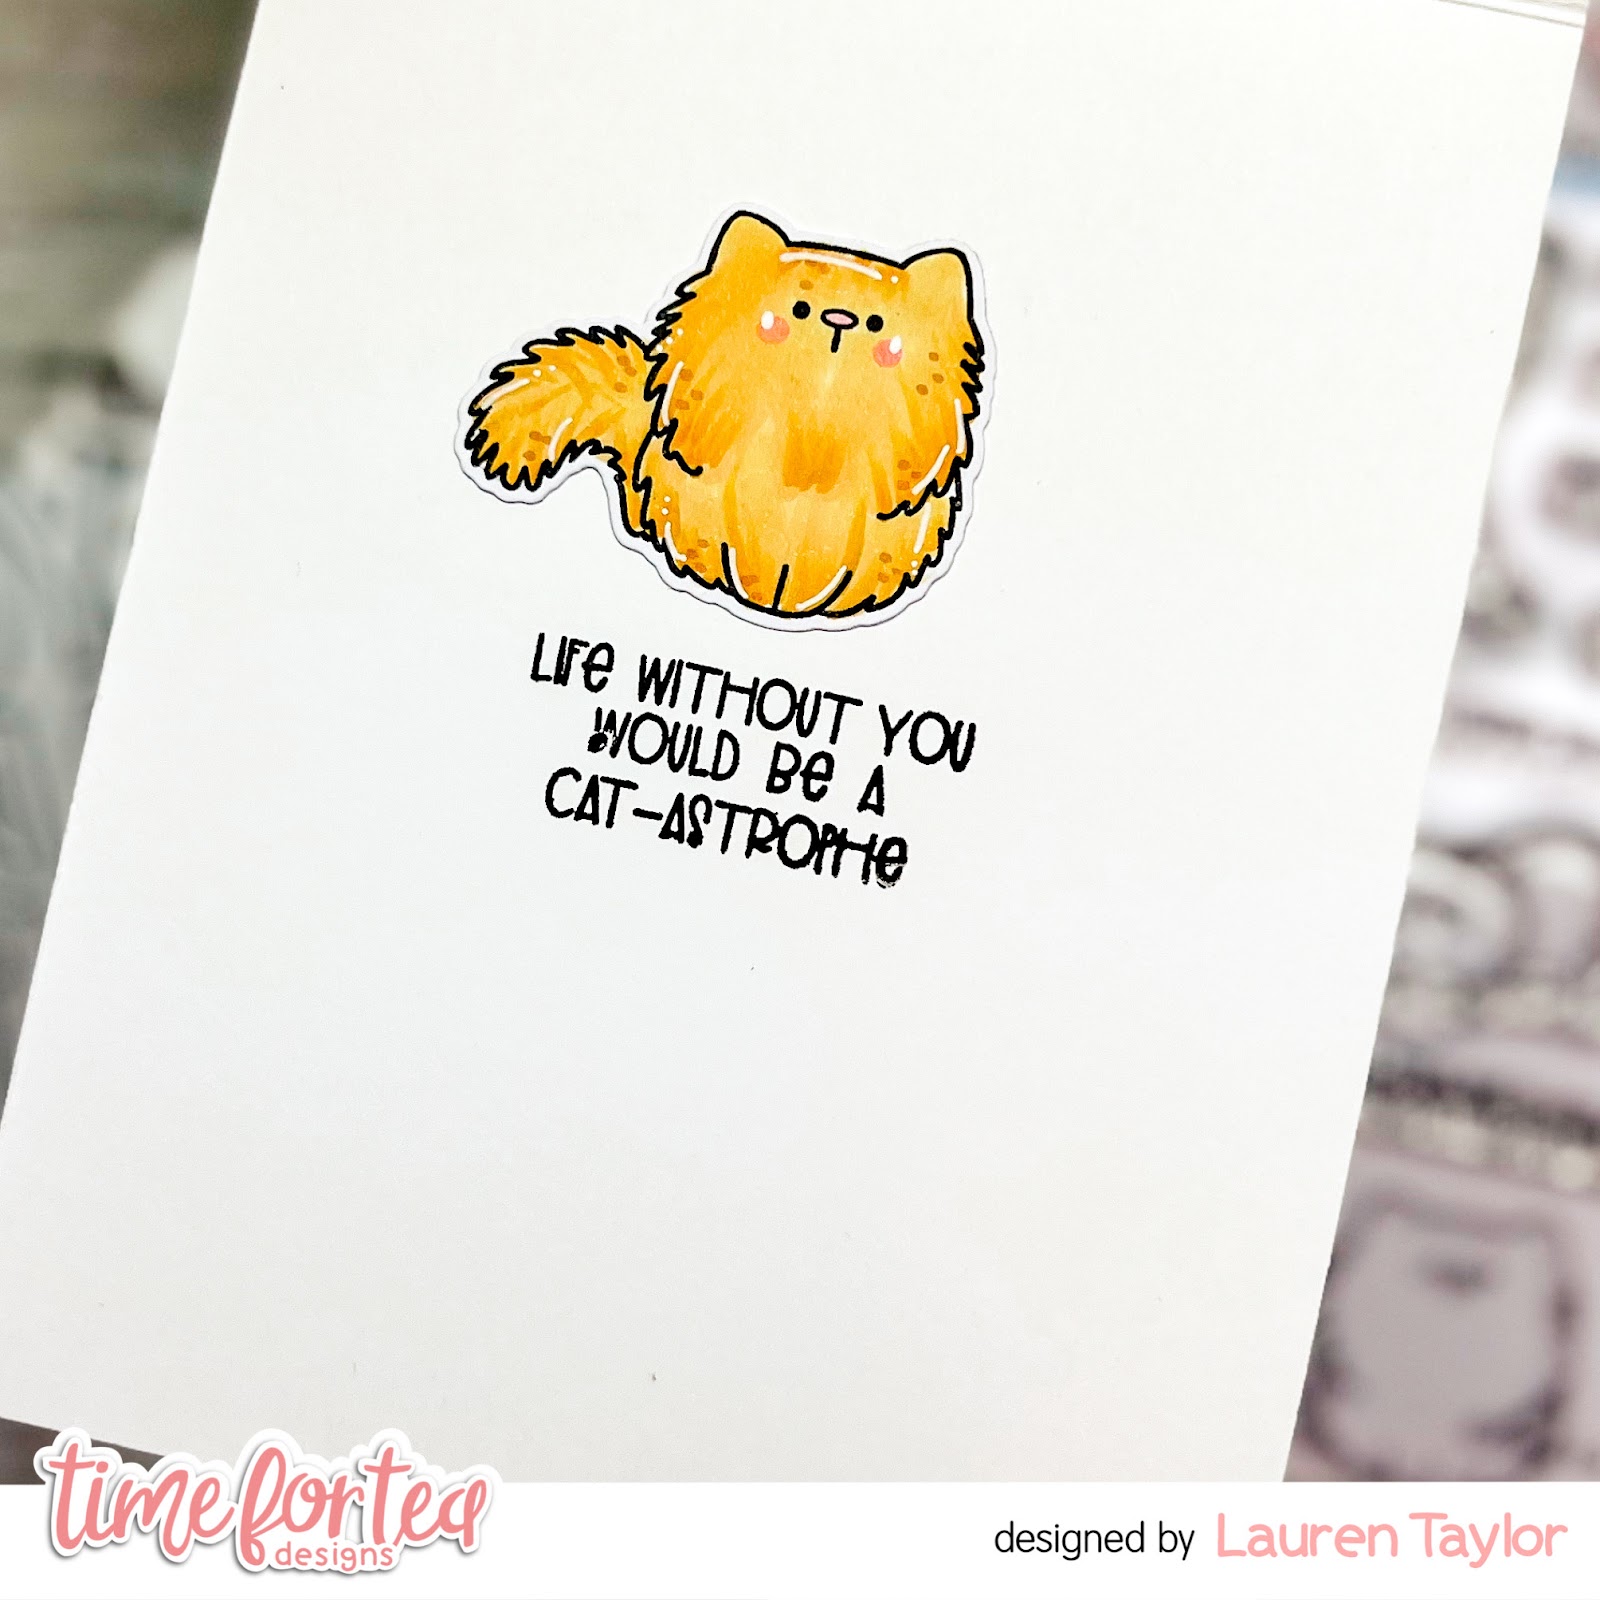
Hi, Friends! Lauren here and I'm back with a new video tutorial on YouTube! One of my favorite ways to use the new large sentiment dies is as a shaker window. In today's video, we're going to create a fun, stenciled background, die cut it with a sentiment die and then turn that panel into a large shaker. Of course we'll have some cute stamped images to bring some fun to the card - especially the inside!

If shaker cards are not your favorite, or maybe you don't have all of the supplies, this can be easily made into a regular panel card. Just glue the die cut panel to your card base instead of popping it up to be a shaker!

Click the image below to start the video and make sure to leave a comment if you have any questions!


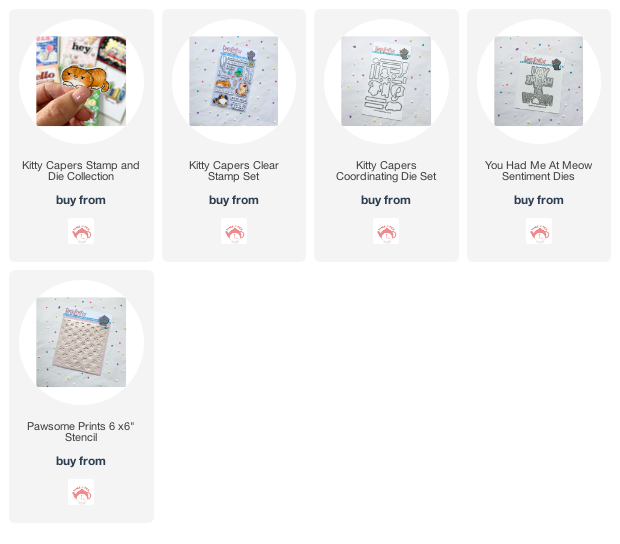
Here is a quick list of the Time For Tea Designs supplies I used and make sure to enter my code T4TLAUREN10 at checkout for 10% off your order!

Thanks for joining me today and see you next month!

XO. Lauren

Find me on my social media here!

Saturday, 13 November 2021

Cosy Winter!

 Happy Saturday Teatimer’s it’s DT member Natalie here with another super cute card to share with you all. I combined a mix of old and new for this snowy winter scene. I love how versatile the new City Break stamp set is from winter to summer it can be used all year round with just a change of characters and colours. 

I mixed the City Break stamp set with the bunnies  from the Cosy Winter Stamp set and the lamppost comes from the Carolling Critters Stamp Set. The Time for Tea Stamps just mix and match so well with each other, which is great if you love building scenes like I do! 

For the black frame I used the Zig Zag Frame and Tag dies it almost give it a comic feel to the card like the final scene in the book with the happy ever after 🥰 

Snowy Scenes are one of my all time favourites to create so I love how this card turned out and I hope you do too!  If you would like to create your own version and want to purchase any of the items I used in the Time for Tea shop or any other goodies you can get 10% off your order using code T4TNATALIE10 ❤️ 

Have a great weekend and I’ll catch you next week!

Other Posts You Might Like