Pages

Showing posts with label Hello Rectangle Nesting Dies. Show all posts

Saturday, 6 February 2021

Hello, I love Mew!


Happy Saturday everyone I have a quick and simple card to share with you all today. It's a layout I've used a few times and works so well. I used the Hello Rectangle Nesting Die to cut out my base it a really great notecard size. Then used the A7 Essential Stripes stamp to create an orange sunset feel using a combination of squeezed lemonade and spiced pumpkin distress oxides.
You have to make sure this is really dry before cutting out the Hello Die otherwise it will smudge, so I  popped it to the side whilst I stamped and coloured up my kitties. You can find this loveable pair in the Smitten Kittens stamp set, its my absolute favourite from the new release. I kept the colours really light just added a little warm grey to both then some spots to the one on the left using E97 and E95. 
Before cutting out the hello I added the I Love Mew underneath the stripes and again made sure my ink was dry before I cut the hello. I cut out the hello on the card making sure to keep the centres of the letters too and out of some fun foam so I could pop it up on my card. I also cut out the matching die for the kitties out of the fun foam too so I could match the height of the hello. 
To put my card together I popped it on my card base then stuck down the fun foam letters where I cut it out then stuck the stamped letters on top. Next carefully adding the inside of the O and the E. I added the fun foam die cut to the kitties but cut off a bit at the top where it layered over the Hello and that stuck it down. That's my card for today I hope you like it and if you want to buy any of the supplies you cab get 10% off in the shop using code T4TNATALIE10 Hope you all have a good weekend and I will see you next week!


Thursday, 21 January 2021

New Release Reveal Day 3!


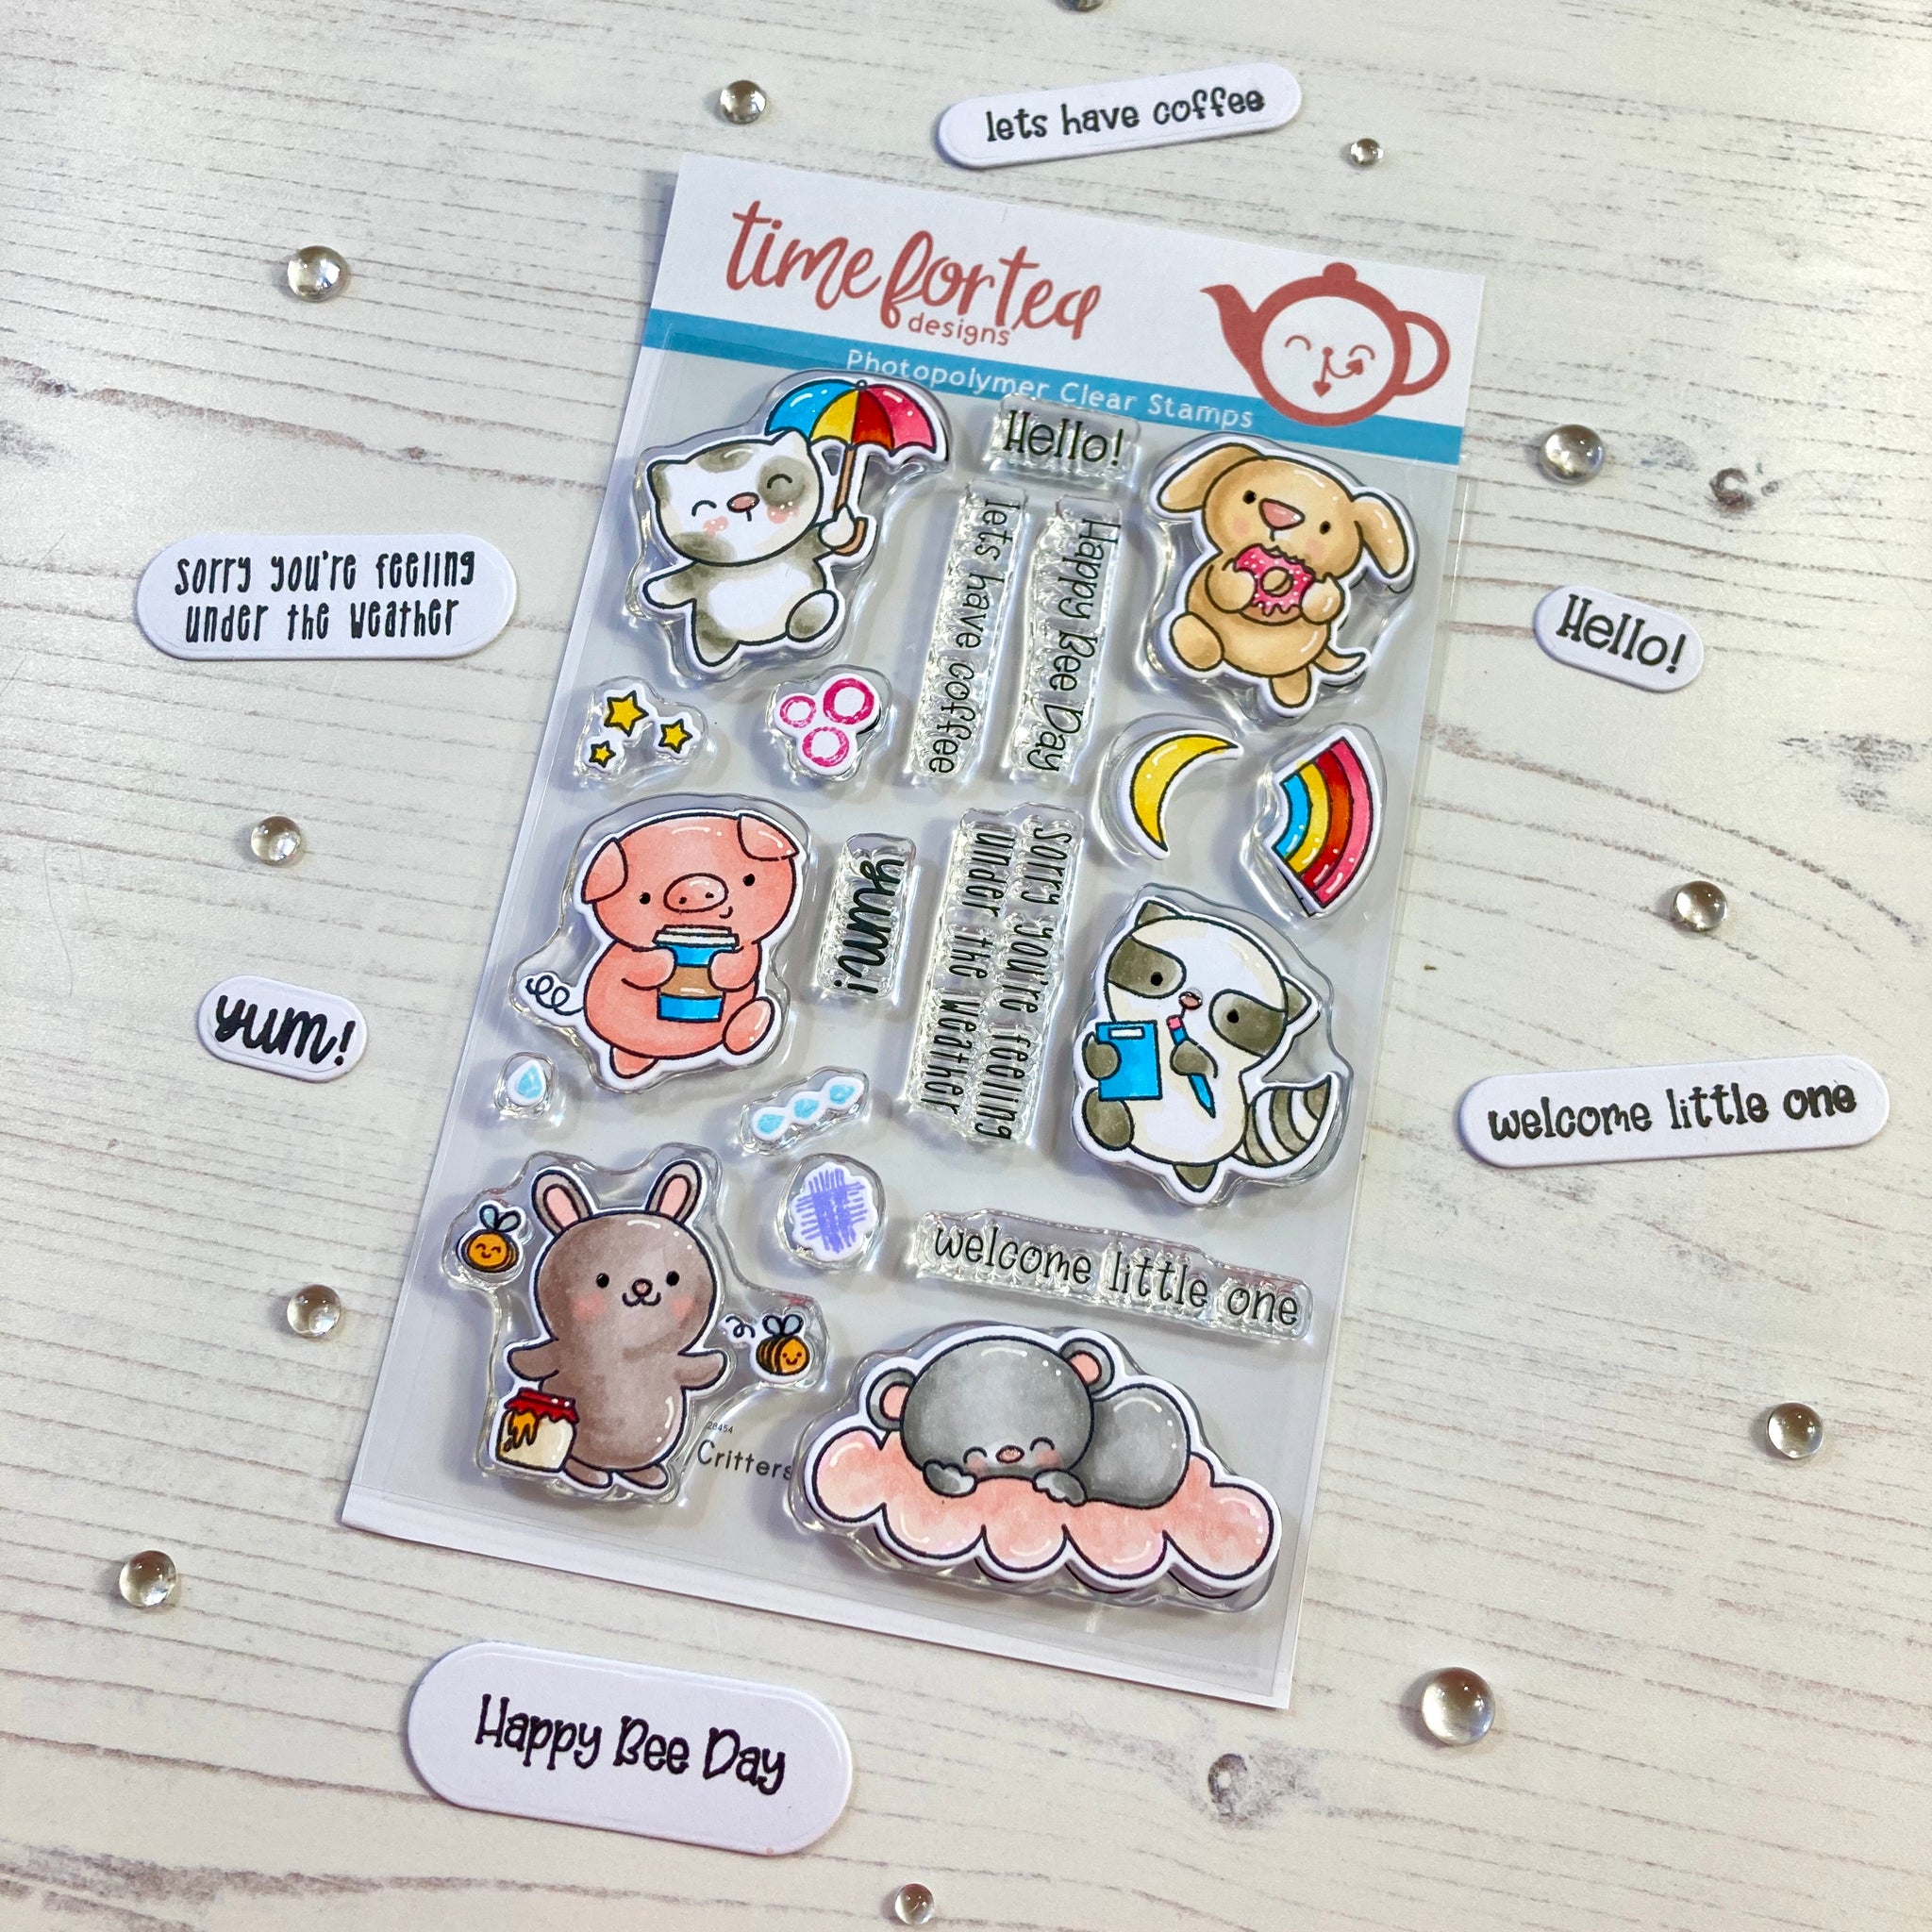
It's the last day of peeks and what a cute release, hard to pick a favourite eh! Today we are sharing the Happy Mail Critters stamp set, it comes with the sweetest critters and a great selection of accessories. 
I just love this sweet kitty and it will work so well with so many other Time for Tea sets. I couldn't resist getting him to climb on the boxes to post his letter. 
I love the clean and simple look of this card the pinks really pop against the white. I used the Hello Rectangle Nesting Die set to cut out my base then stamped the Essential Stripes A7 stamp set to add with some Worn Lipstick Distress Oxide. This takes a while to dry so I popped it to the side whilst I stamped and coloured my images. I used the same Pink Copic tones to colour the letterbox and and accessories. I used a soft blue on the mail and some warm creams for the kitty. Then die cut them out and popped them on my card. I finished off with the sentiment from a great new sentiment set called Be Kind, Be You. 
For more peeks don't forget to watch Jo's live tonight and 8 and the new release will be live in the shop tomorrow. Don't forget you can get  10% off your order using code TIMEFORTEANATAIE10


Friday, 2 October 2020

You are Spooktacular!


Happy Friday everyone, today is another awesome release day for Time For Tea Designs! DT Annalisa here sharing a spooky card featuring two brand new stamp sets - Spooktacular Clear Stamp Set and Life's Ups & Downs Clear Stamp Set both of which are available today just in time for Halloween.

To start I stamped the stars, moons and clouds large circle stamp in black ink. I used my Beautiful Blender Brushes to apply Distress Inks in the colours Squeezed Lemonade, Carved Pumpkin, Rusty Hinge and Pumice Stone to white card stock. For the upper panel, I used Scattered Straw, Dried Marigold, Seedless Preserves and Chipped Sapphire Distress Oxides on some white card stock. I added water droplets as well as splatters in the various Distress colours for interest. 


I then used two dies on the upper panel, one from the Hello Rectangle Stitched Nesting Dies and the other from the Circle of Love Nesting Dies to create the opening. The third-smallest circle die fits the stars, moon and cloud stamp perfectly!

I stamped, coloured the critters and elements and cut them out with a nice white border. To cut out the sentiment I used one of the slider dies from the Hooray Hamsters coordinating die set. It was a bit too big but I did some partial die-cutting and made it smaller and it did the trick! The branch is from the Windmill Add On die which I coloured with Walnut Stain Distress Ink.

I added some foam tape to the outer panel and stuck it down on top of the inner panel. Next, I used foam tape to attach the ghost with the hat, sentiment and upper left bat, while the rest were stuck down with liquid glue.

To finish the card I stuck the two panels to some black card stock.

Don't forget I have a 10% discount code for the T4T store which can be used on anything, anytime and has no time limit - T4TANNALISA10


Wednesday, 12 August 2020

Rainbow Bookmark & Card Set

Happy Wednesday!

It's DT Shabneez here and I am here to showcase a card and gift in one using the All Occasion Critter stamps and the Mini Rainbow Shaker die.


I began by creating the bookmark which is a die from the Hello Rectangle Stitched Border Die set.  I stamped stars from the All Occasions Stamp set for the background then stamped, coloured and cut out the very cute raccoon as my focal character.  I thought it made sense to have him on the bookmark as he was carrying some stationery!


I did some more background stamping to the base of my card then I die cut the rainbows twice and added holographic card making sure not to adhere a couple of the arches so that the bookmark can slot into it.

Don't forget you can get 10% off anything off in the Time for Tea Designs Store using my code T4TSHABNEEZ10.

Happy Crafting!

Products Used:


Thursday, 9 July 2020

Big Hugs!!!

Hi there , DT Sharon here today to show you a card I made using a new A7 die and stamp set called "Big Hugs".


I started off using the Hello stitched rectangle nesting die as a background and I stenciled the triangles using the scattered triangle stencil and distress oxide inks. I then die cut the Hooray sentiment cover plate and again used the inks to colour it. The whole die was a bit too large to fit all of my card so I just cut the top and bottom end off . As you can see it's a versatile die!  The hearts are from the new release and they are the Small Heart xoxo die set. Again coloured with inks. Next I stamped and die cut the little hamsters and coloured them with alcohol pens. I then adhered them to the card using 3D foam pads. Next came the sentiment which I stamped onto a little banner die and adhered with 3D foam pads.

You can find lots of lovely T4T products including the ones I've used in the Time For Tea Designs store here 

If you would like to save 10% off your crafty goodies from the store ( and who wouldn't)! just use this code
T4TSHARON10

Enjoy your crafting!

Sharon x

Thursday, 2 July 2020

Owl be here for you

Hi DT Sharon here today and I'd like to show you a card I made using the "Be Owlsome" stamp and die set. Be Owlsome is just one of the new releases from T4T.


I've also used the "Hello Nesting Rectangles to make the backgrounds. For the inked background I used distress oxide inks and blended them up the card in light to dark colours and then splashed a little bit of water on the piece. I've coloured the images with alcohol pens and adhered them onto the inked moon with 3D foam pads. 
You can see all the new releases and more in the Time For Tea Designs store here

https://timeforteadesigns.co.uk/

and if you use the code T4TSHARON10 You get 10% off the whole store.

Happy crafting!

Sharon x

Saturday, 14 December 2019

Penguin Penny Slider Card

Good Morning!

Jo here with all the details of the project we made during our FaceBook Live Thursday evening.

Be sure to check out the video below which shows the edited highlights from the Live event.

We made this super cute Penguin Penny Slider Card using the new Time For Tea Designs Cardstock and the Warm Winter Wishes Stamp and Die Set along with some other classic sets.


I cut our Tropical Teal Cardstock from one of our Hello Rectangle Nesting Dies and stamped the snowflakes with a stamp from the Christmas Deer Stamp Set.


I stamped our Penguin and Tree from the Warm Winter Wishes Stamp set and coloured on Copic Markers.
I die cut them with the coordinating dies.


I used stickles to add shine to the star and edges of the branches and some Nuvo Crystal Drops to add shine to the baubles.


I used the die from the Christmas Deer Die Set to cut two of my tree and snowy hill landscapes. The one in the fore front had the slider mechanism die cut into it. The Slider Die is from the Best Fishes Die Set.
I doubled up my shaker tape to line the slider panel and used a piece of the same tape to attach my Penguin to the penny that makes the slider mechanism.


My sentiment is from the Christmas Deer Stamp Set and is heat embossed onto our Moon Mist Card stock. I used this same cardstock with the largest Hello Rectangle Nesting Die to make my card blank.

I hope you like the card today. Slider cards are so much fun to receive and even more fun to make! 

All the products I used are listed below.

make sure to watch our FB Live Events every Thursday at 8pm for more demonstrations and inspiration.


Saturday, 7 December 2019

Christmas Deer Card Making Video Tutorial

Good Morning all! Jo here sharing the edited version of Thursday's FB Live.


Do check out the video below as it includes some great techniques for stencilling and colouring your Deer images.


We had great fun during the FB Live making some textured backgrounds with our new Cosmic Shimmer texture Pastes and the new release stencils. We also made this lovely lilac snowy background using distress inks and the snowflake stamps from the Christmas Deer set.


In the video I colour up all 3 of the Deer images from the set. They are adorable and so easy to colour. We decided to mix things up a bit & coloured one of the Deer in grey which looked really great so be sure to check that out. I list all the colours I use on the video too!
 

We used some of our nesting dies to cut out our layers and stamped a simple sentiment from the set to make a Clean & Simple card.


I really hope you like the card we made and enjoy the video.

Please do join us for more videos and live tutorials every week on our FB page and YouTube Channel.

All the products we used are listed below.

Happy Crafting!

Jo


Other Posts You Might Like