Pages

Showing posts with label Love You Lots Large Sentiment Die. Show all posts

Friday, 27 January 2023

Love You Lots Penguins


Happy Friday, everyone! Have you enjoyed Time For Tea Designs' Valentine's Week so far? There has been so much inspiration from the DT and a great sale (20% off the Valentine's collection). Don't forget, there is a Valentine Themed Facebook/YouTube Live this afternoon at 4 PM, followed by the Stinkin' Cute Virtual/Live Class at 3 PM on Saturday. I hope you can join in and create with us. 
 
I am sharing a card with a vibrant and bold sentiment; the Love You Lots Large Sentiment Die is perfect for your Valentine's Day cards. Create a pretty ink-blended background and pair it with some cute critters, and there you go!

I ink-blended white cardstock with Picked Raspberry, Abandoned Coral and Wild Honey Distress Oxide Inks using my Beautiful Rainbow Blender Brushes. I added white splatter with a paintbrush and Copic opaque white.

I die-cut the ink-blended panel with A2 Stitched Hearts Cover Dies and used double-sided tape to adhere it to an A2 card base.


I sprayed Distress Mica Stain in Shiny Bauble to Distress Watercolor Cardstock by Ranger and added water colour metallic silver splatter once it was dry. I cut this panel with the Love You Lots Large Sentiment Die once, cut out three more of this large sentiment from white card stock and glued them together for added dimension. I also used the large heart die from Slimline Postage Stamp Frame Dies on the sprayed cardstock. I cut the heart three more times and glued them all together. 

For the sub sentiment, I stamped the 'you mocha me crazy' from The Perfect Blend stamp set with Versafine Onyx Black for a crisp impression. I used liquid glue to adhere the large sentiment and the heart to the card base. 


 The cute penguins are from the Mistletoe Kisses Digital Stamp Collection. I coloured them with my Copics, fussy cut them out and used a utility knife to cut around the arm of the penguin with the hat on so I could slip in the small coffee cup. It is from Bearing Gifts and fits perfectly in the arm of the penguin! I used foam tape to adhere the penguins to the card. 

I added Designer Enamel Dots, the pink ones are from Sweet Summer, and the pink ones are from Festive Fun.

Thank you so much for reading my blog post, you can use my discount code T4TANNALISA10 when you visit the Time For Tea Designs shop to get 10% off your order.

Tuesday, 22 February 2022

Love You Lots - alcohol inks on vellum


Hello Tea Timers!

It's Miki here and today I'm back with new inspiration! I made this card while I was at Natalia's house and it was so much fun, we tried a lot of alcohol ink techniques.

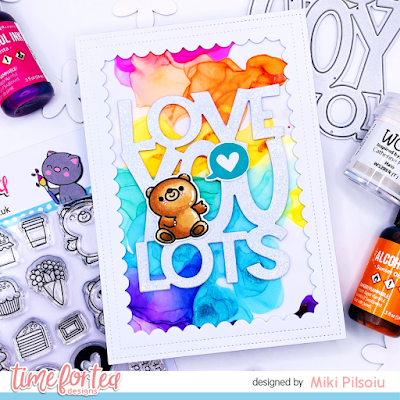
Firstly, I used the Smile inverted scallop die for the frame. I cut it 3 times from white cardstock and glued them together. Next, for the background I used alcohol inks on vellum. The colours that I chose are:

  • Gumball
  • Sunset Orange
  • Dandellion
  • Clover
  • Glacier
  • Boysenberry
I glued the frame on top of the vellum and then added a piece of white cardstock at the back for extra support. 

Next, for the sentiment I used the Love You Lots Large Sentiment Die. I cut it 3 times from white cardstock. To add some interest I embossed one of the die cuts in WOW! Halo embossing powder and then glued all 3 layers together. I added the sentiment to the middle of my card panel.

For the images I used the Bearing Gifts Stamp Set. I stamped the little bear and coloured him in. I then used the matching dies to cut him out. For the speech bubble I used the Concord & 9th Oceanside ink to stamp and the matching die to cut it out. 

I added them to my card panel using foam tape. I then created a matching card base and glued the panel on top.

This card was so much fun to create. I'm no expert in alcohol inks so I don't play with mine often enough, but they're always fun to experiment with. Do you have any technique you'd like to use more?

Please remember to use my code T4TMIKI10 for 10% off your order in the shop.

Hugs,
Miki

Tuesday, 8 February 2022

Love you lots!


Hello everyone friends!!! Today I had fun playing with this awesome stencil Simple Stripes to create my Valentine's Day card. I wanted a special background to highlight the sentiment I used Love You Lots Large Sentiment 
To create the background I placed the stencil first vertically and then horizontally, after that I drew lines with black fine point pen, in the end with white gel pen. I really like the result. 

I added the sentiment from Brighter Days Sentiment Card and for a final touch with Enamel Dots  
I hope you like my card, I find it simple and pretty 
I wish you a wonderful week and I remind you to use the code T4TCLAUDIA10 to get a 10% discount in the shop!

Thursday, 3 February 2022

Love You So Much

Hi, crafty friends, DT Kitty here. I went for a bright colourful card this week which I thought would be a bit different for Valentine's Day...

I started off by creating a simple blended background. I used Picked Raspberry, Spiced Marmalade and Mustard Seed Distress Oxide Inks. I gently splattered the background with a little water and my paint brush then blotted it dry. I used the Stinkin' Cute Stamp Set for all the images. I stamped them, coloured them in and die cut them with the Stinkin' Cute Die Set. The balloons are from the Smitten Kitten Stamp Set. I used the Love You Lots Large Sentiment Die to create the large sentiment and added some white dots with a pen. The stamped sentiment is also from the Stinkin' Cute Stamp Set. To finish I added a few gems.


Thank  you for popping by today. Don't forget you can use my code T4TKITTY10 to get yourself 10% off your next order at Time For Tea Designs.

Kitt yxx

Love you

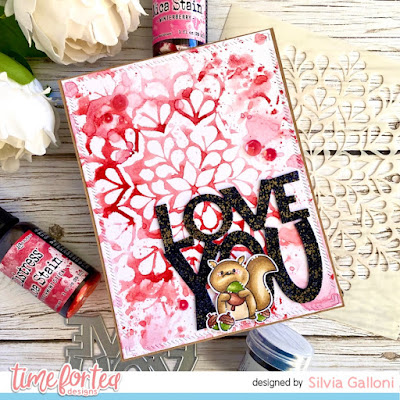
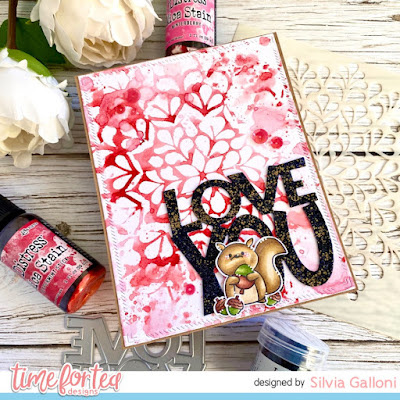
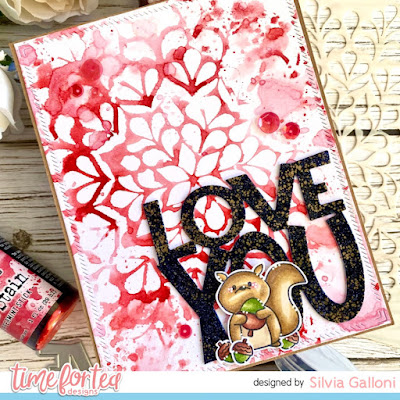
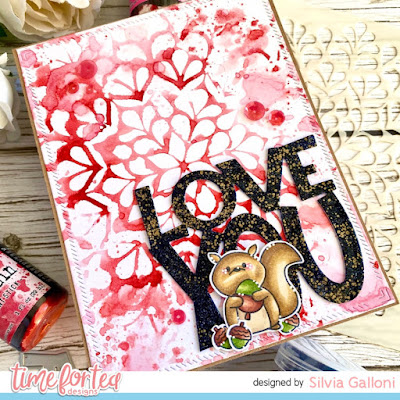
Hello crafty friends and welcome back to the Time for Tea’s blog. Silvia’s here today with a Valentine’s themed card. 


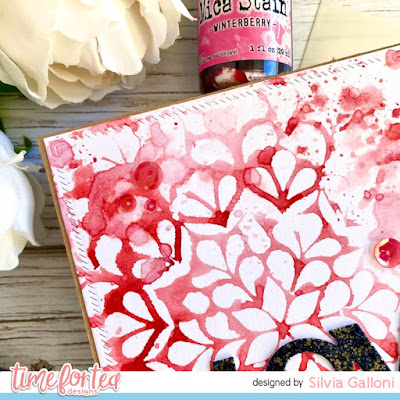
I started cutting a 5,5"x4,25" rectangle from white cardstock and I decided to use one of my favorite stencil as a stamp. So I sprayed some winterberries and peppermint stick Distress Spray Stain on the "Spring Mandala" stencil, I pressed my card base over it and I dried it with a hot air gun.

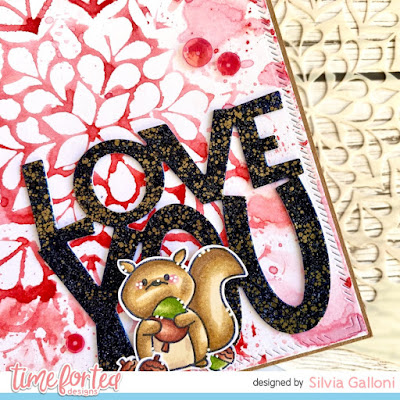
I then heat embossed a piece of white cardstock with Midnight Wow! Embossing powder inspired by Natasha Davis and I die cut the "Love You Lots Large Sentiment" from it. I decide to use only "Love You" for my sentiment, so I cut off the word LOTS. 

I stamped one of the super cute critters from the "Enjoy the Little Things" stamp set, I colored it with alcohol markers and I cut it with coordinating dies.

I put everything together, I added some sequins here and there and that's all.

Thank you so much for passing by and don't forget you can get a 10% off your Time for Tea orders with the code T4TSILVIA10.

I wish you an amazing day. Big hugs, Silvia.


Thursday, 27 January 2022

Love you lots

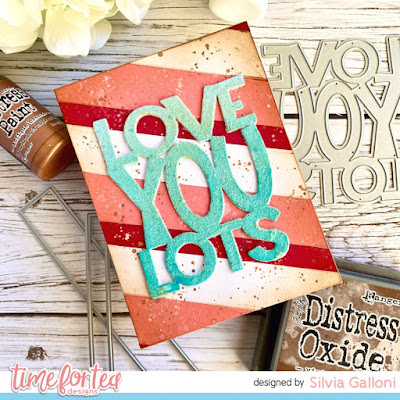
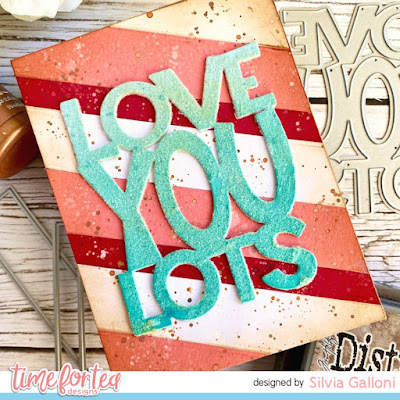
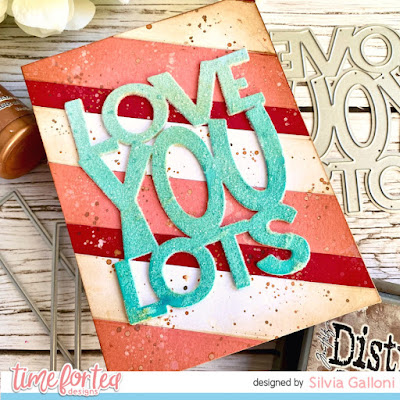
 Hello crafty friends! Silvia's here today with an easy Valentine's card.

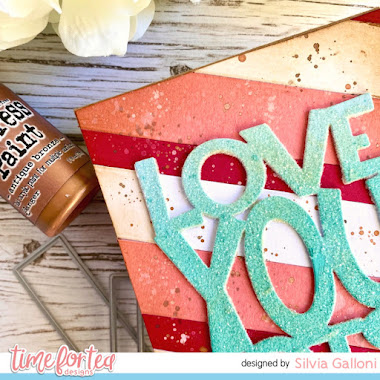
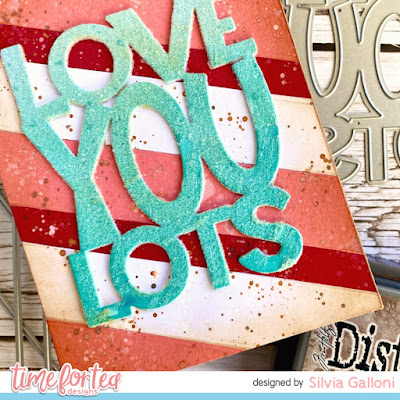
I started cutting some white, pink and red stripes with the two smallest die from the new "Simple Slimline Nesting" set and I glued on a 5"x3,75" panel.

I cut out the excess and I darkened edges with vintage photo Distress Oxide ink and I splattered with brown ink and picket fence and antique bronze Distress Paints. 


I then cut three times the sentiment with "Love You Lots Large Sentiment" die set, I glued one above the other and I covered with glitter.


I put everything together and that's my card!


I hope you enjoy it. I wish you an amazing day and don't forget that you can get a 10% off your Time for Tea order with the code T4TSILVIA10.

Big hugs, Silvia.


Friday, 21 January 2022

Love You Lots


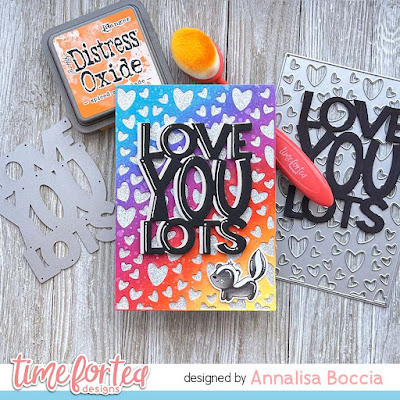
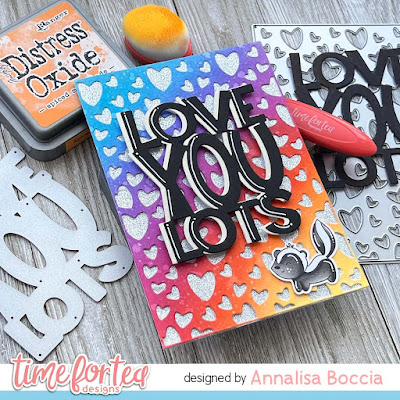
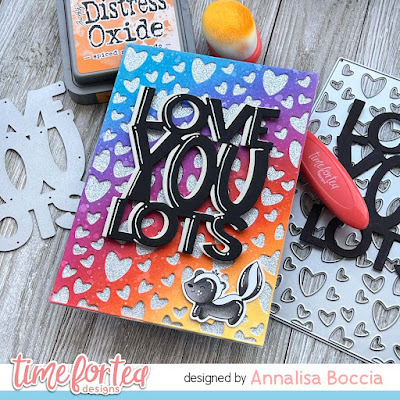
Happy new release day! DT Annalisa here! For my card today, I started by ink blending on some white cardstock using my Beautiful Rainbow Blender Brushes and some Distress Oxides in the colours Mustard Seed, Spiced Marmalade, Candied Apple, Wilted Violet and Mermaid Lagoon. I added some splatter of water using a spray bottle and patted it dry with a piece of paper towel.

Once the panel was dry, I die-cut it using the Scattered Hearts Cover Plate. I cut a piece of glitter paper to the same dimensions as the die (4 1/8 by 5 7/8 inches), adhered this to a card base and then glued the rainbow hearts panel on top of it.


I then used the brand new Love You Lots Large Sentiment Die to cut out some black card stock as well as some shimmer cardstock. I used liquid glue and placed the black text on top of the off-white text offsetting them a bit. I used a White Gelly Roll Pen to add some highlights to the black letters and then adhered the two sentiments to the card with foam tape.


To finish the card, I glued on a cute skunk from the Stinkin' Cute Clear Stamp Set which I coloured with copics and used some gelly roll pen on for highlights.

Thank you so much for visiting my blog, you can use my discount code T4TANNALISA10 when you visit the Time For Tea Designs shop to get 10% off your order. 

Be sure to check out all of the DT inspiration using the new release and best of luck on the Instagram and blog giveaway!


Other Posts You Might Like