Pages

Showing posts with label olo markers. Show all posts

Thursday, 20 April 2023

Ewe are the Best with Fun Ink Blending!


 Hi crafty friends!!  It's Amanda here sharing a sweet "EWE are the Best" card!  This card features the Ewe Are the Best Stamp and Die Set!


To make this card, I am starting out by stamping my images from the Ewe Are the Best stamp set with alcohol marker-friendly black ink.  I colored them with alcohol markers and then die cut them with the coordinating dies.

With the Scene Builder Stencil, I ink blended grass with Catherine Pooler's Lemongrass, Melon Ice, and Grass Skirt inks.  For my background, I used a sun ray stencil with Catherine Pooler's Pucker Up ink!  I love how BRIGHT and cheery this color combo makes the card!


I love adding sequins as a finishing touch to a card that just needs one more piece of flair!  ;)  That's all for me today!  I hope you find some time to get crafty today!!  Xx, Amanda


Thursday, 2 March 2023

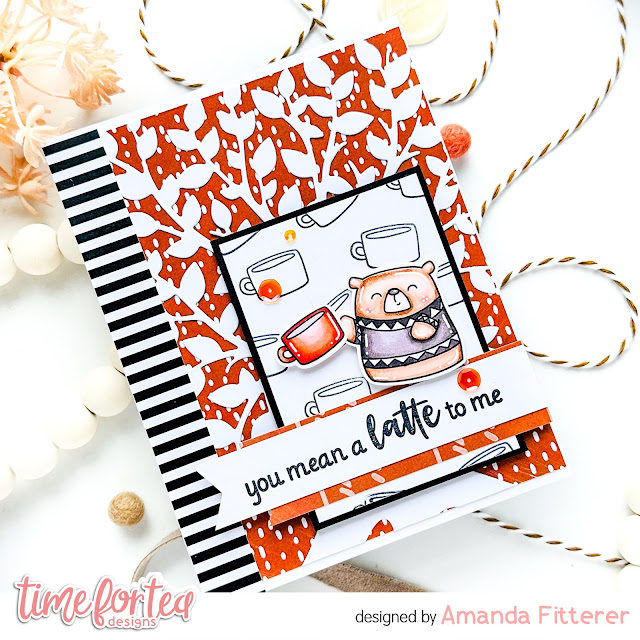
You Mean a LATTE to Me


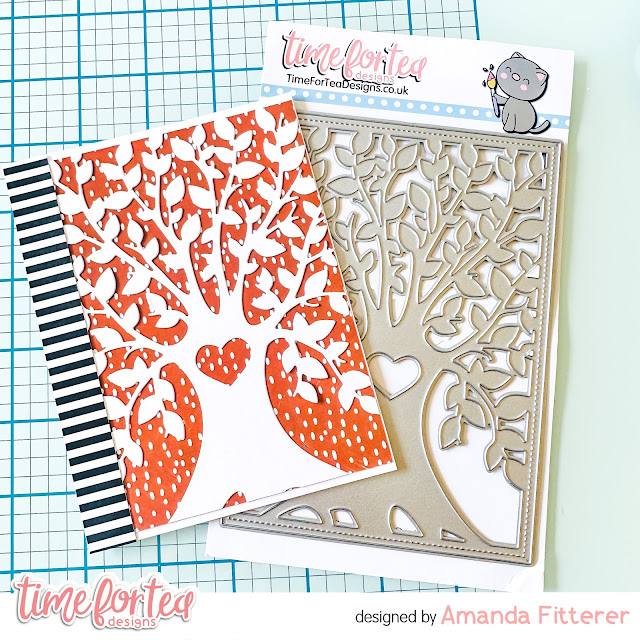
Hello, Tea Timers!  I'm excited to be here today to share this gorgeous card with you!  I created this card by cutting out the Tree of Love Cover Die in white cardstock.  I adhered some patterned paper directly onto my A2 card base using liquid glue.  Then, I used my Bearly Arts precision glue to adhere my tree.

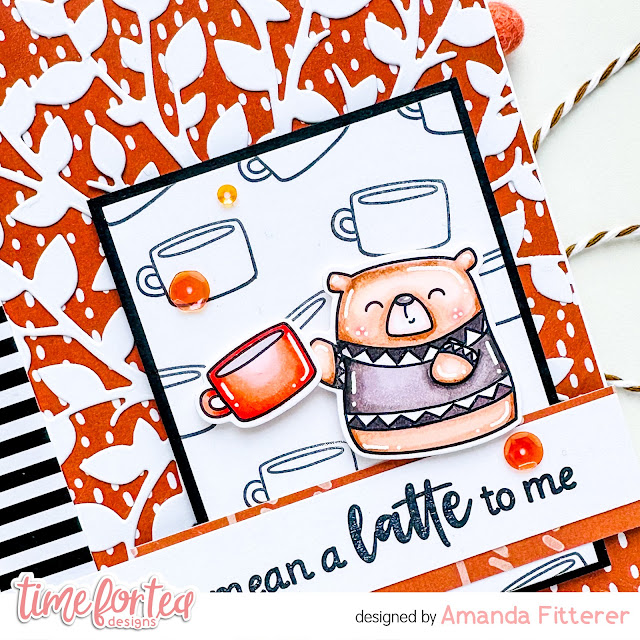
Next,  I stamped my images from the Happy Trails Stamp Set.  Once colored with alcohol markers, I cut them out using the coordinating die set.  I also trimmed a small white panel down and stamped the mugs directly onto it, evenly spacing them out, using a small acrylic block.


I trimmed down a piece of black cardstock that was just .25" bigger than my white panel.  I glued my white panel to the black panel.  I propped that up onto my card base using strips of 3D foam tape.


I trimmed down another piece of patterned paper and glued that to my white panel.  I grabbed my sentiment from the Perfect Blend Stamp Set and stamped that onto a piece of white cardstock in black ink.  I trimmed that down with my scissors and created a little flag/banner at the end.  I glued that onto my patterned strip.

The last thing to do is add on my stamped images with 3D foam squares and glue a few sequins down!


I hope you enjoyed this card and are feeling inspired by my post!  Have fun getting crafty today or whenever you can!  Xx, Amanda


Thursday, 26 January 2023

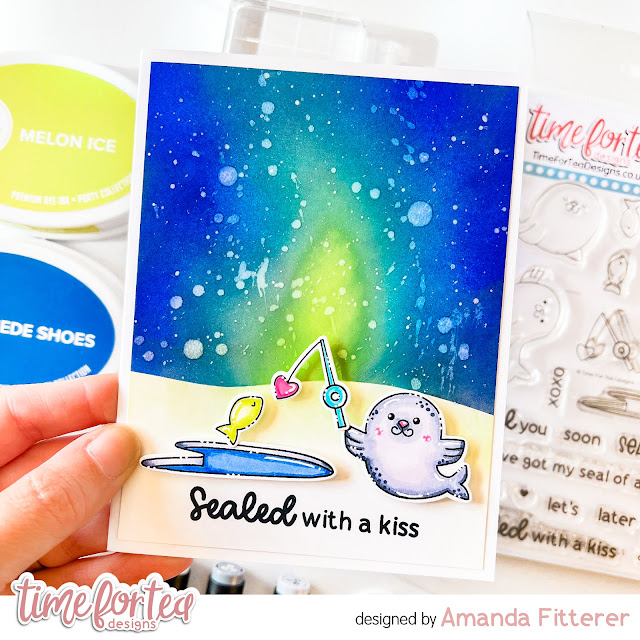
Sealed with a Kiss - Northern Lights Sky!


 It's Valentine's Week at Time for Tea Designs which means we have inspiration for you ALL WEEK of some amazing LOVE cards!

In case you're not following me on Instagram yet, you can follow me @craftyandcreativevibes.

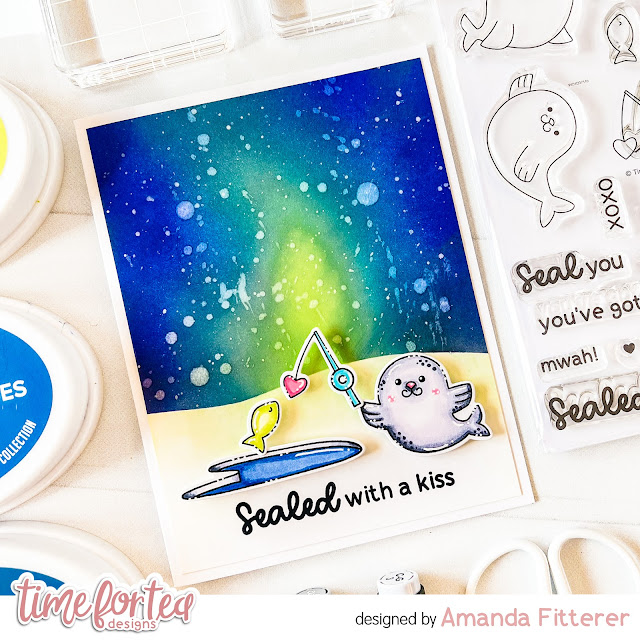
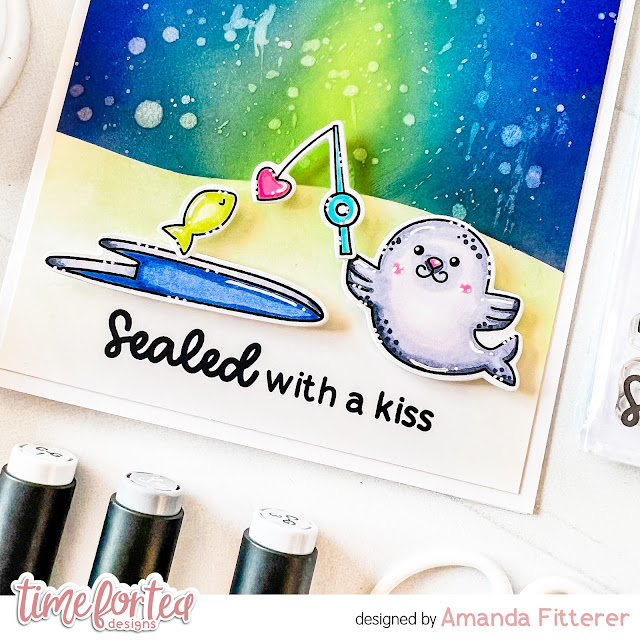
Today, I'm sharing this Sealed with a Kiss card that has a lovely ink blended Northern Lights sky!!

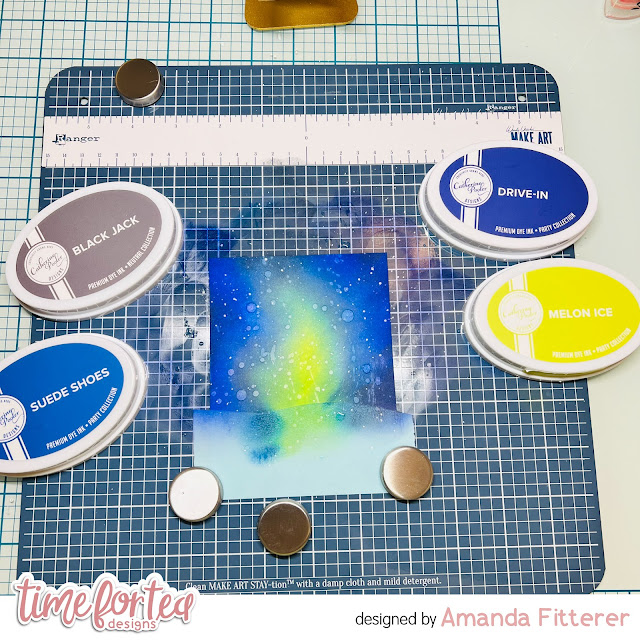
I created this sky by masking off the bottom portion of my card front with Heffy Memo Tape. 

Then, I ink blended Catherine Pooler's Melon Ice ink in the center, creating the shape of a flame.  Next, I blended Suede Shoes, then Drive-In and lastly, I blended Black Jack.  

I spritzed it with some water and then flicked on some white paint.

After removing my Heffy Memo tape, I blended a bit of Melon Ice on the white background to make it look like the snow was reflecting the lights.


For my stamped images, I used the Sealed with a Kiss Stamp Set.  I love how adorable these little seals are!  I colored my images in with OLO markers and then die cut them out with the coordinating dies.
I stamped my sentiment directly onto the card front.


Well, that's all for me today, friends!  I hope you enjoy all the Valentine's cards this week!  Xx, Amanda


Thursday, 19 January 2023

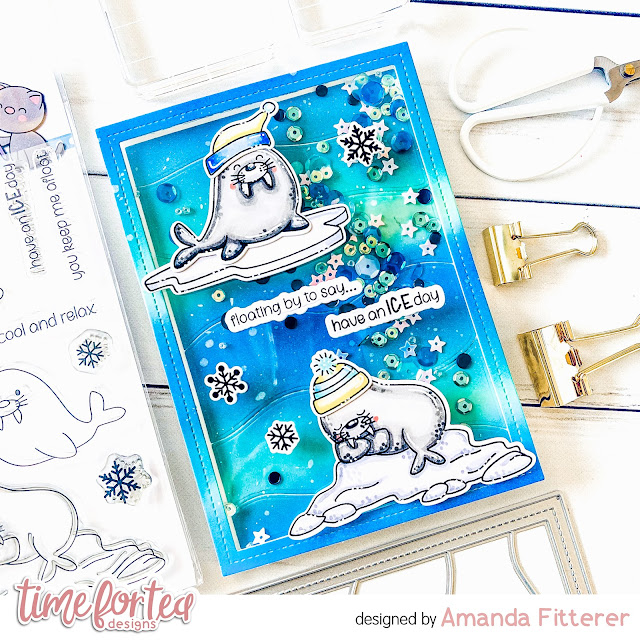
Creating a Shaker Card using the Walrus Be Friends Stamp Set


Happy Thursday, Tea Timers!  It's Amanda here!  Do you LOVE making shaker cards?!  I just think they're SO much fun and worth the amount of time that it takes to make them!

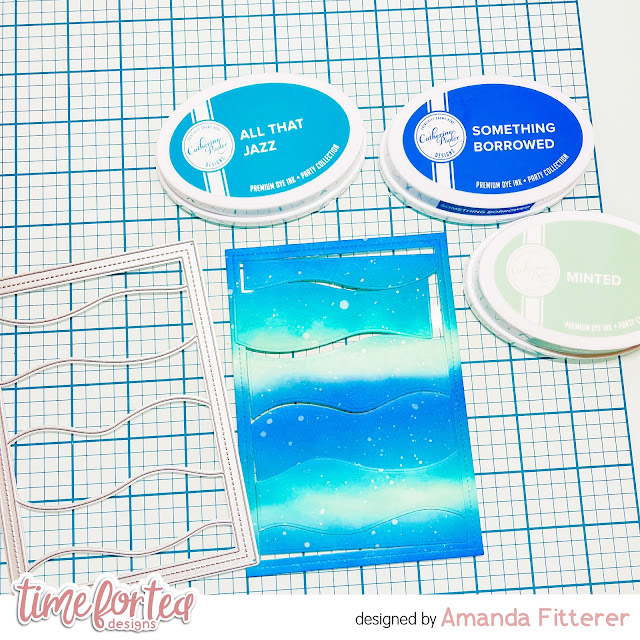
To create this card, I first ink blended a piece of white cardstock with Minted, All That Jazz, and Something Borrowed Catherine Pooler inks.  Then, I used the Waves Cover Die to cut it out.

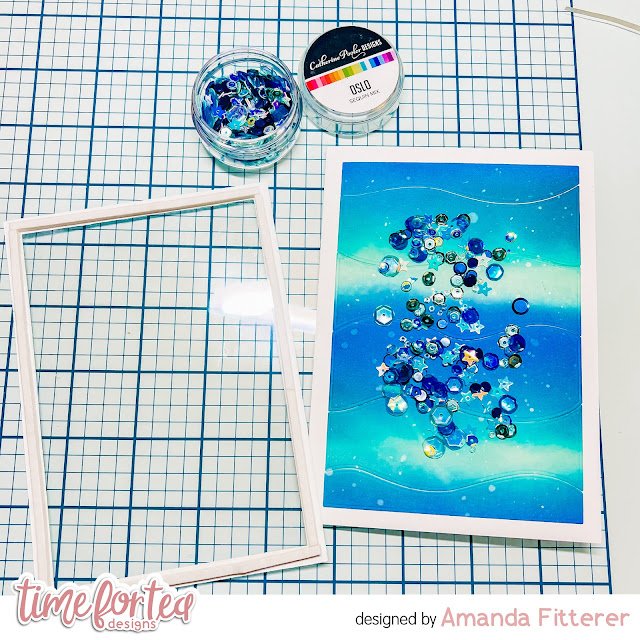
Next, I glued my waves directly onto my white card base.  I added some sequins to the center.  I used double sided tape to adhere my acetate sheet to the die cut frame.  Then, I placed Deep Foam Tape around the entire edge of the frame.  Then, I could place my frame on my card base.

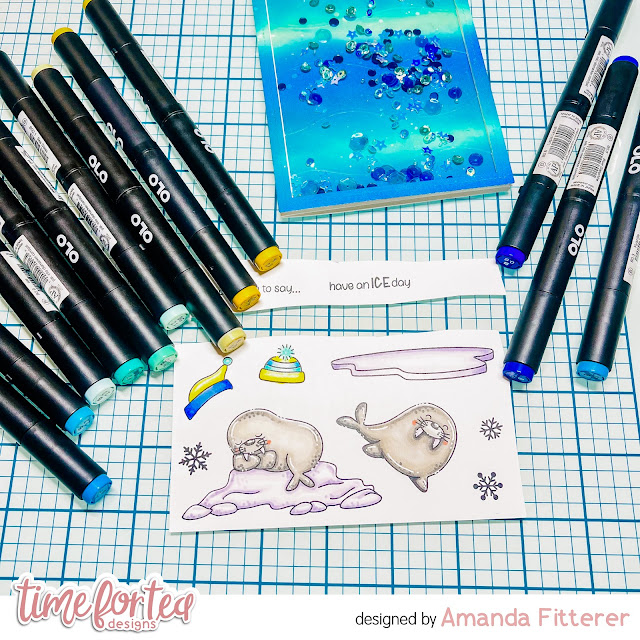
I then stamped my images from the Walrus Be Friends Stamp Set and colored them with OLO markers.  Then I die cut them with the coordinating dies.

The last step is to adhere my stamped images and sentiments to the card using 3D foam squares!

That's it for me today, friends!  I'll be back next Thursday for some more inspiration!  Xx, Amanda


Thursday, 29 December 2022

Snow Much Fun Polaroid Card


Happy Thursday, Tea Timers!  It's Amanda here! Do you love using the polaroid and tab dies from the Memory Keeping Essential Die Set?  If you don't have this die set, you HAVE to get it!  It's not just for memory keeping; that's for sure!  I love using all the elements for cards!

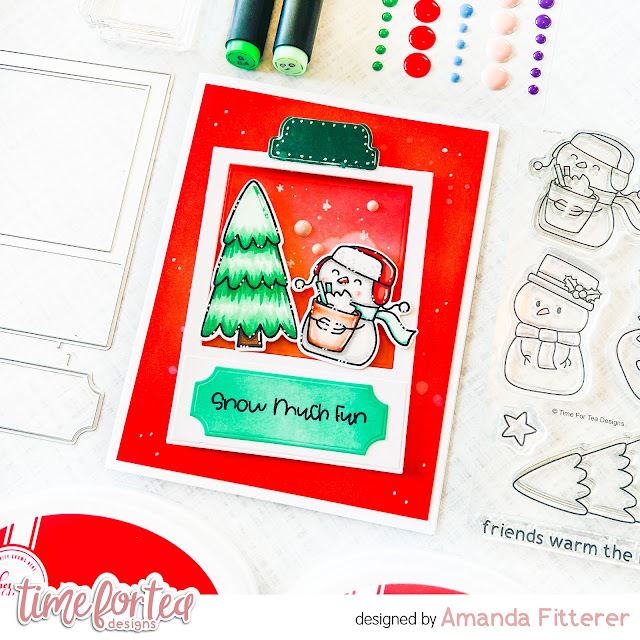
For this card, I grabbed my new Snow Much Fun stamp set and stamped out a few images.  I colored them with OLO markers, added some white highlights with a Gelly Roll pen, and then cut them out with the coordinating dies.

For my background, I blended Bellini and Rockin' Red Catherine Pooler inks and spritzed with water and white paint flecks.

Wondering where my "snow much fun" sentiment frame came from?  It also came from the Memory Keepers Die Set!  Yup!!  How perfect is it?  I used Minted and Aquatini to color the frame before stamping my sentiment.

For my final touches, I added some Festive Fun Enamel Dots!
I hope you have enjoyed this blog post and it makes you feel inspired to make something!  Sending you SNOW MUCH FUN!  Xx, Amanda


Thursday, 15 December 2022

Let it Snow Penguins


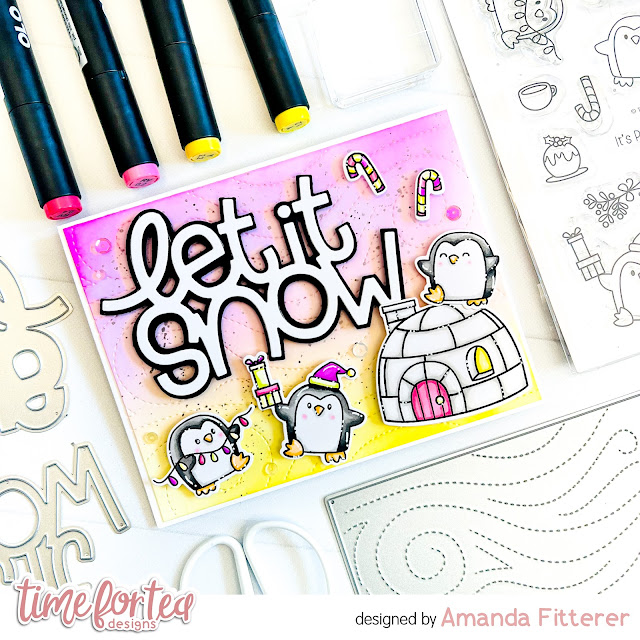
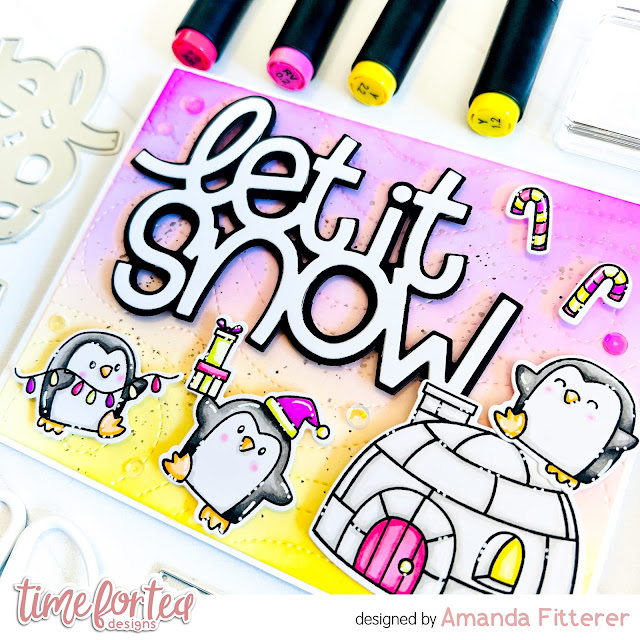
Happy Thursday, Tea Timers!  It's Amanda here!  Today, I get to share with you the cutest little penguins from the It's Penguin-ing to Look A Lot Like Christmas stamp set!

To create this card, I created a beautiful background blend using Catherine Pooler's Pucker Up and Chiffon ink pads.  I used the Snow Flurry Cover Die to create a fun texture in the background!  Although it may look subtle, it really helps pull the card together, doesn't it?!


I used the NEW Let it Snow Sentiment Die Set to create my sentiment.
I stamped and then colored my cuties from the It's Penguin-ing to Look A Lot Like Christmas stamp set.  I used OLO markers to color my images and then used a White Gelly Roll pen to add some highlights and dots.


I had SO much fun making this bright and cheery card and I hope you enjoyed it too!


Thank you so much for stopping by the blog today!  I hope you're feeling inspired by this post!  Come back next week for another happy card!
Xx, Amanda

Thursday, 3 November 2022

Movie Time Shaker Card!

Happy Thursday, Tea Timers!  It's Amanda here!  Today I get to share with you how I made this birthday shaker card!  I don't know about you, but I just love making interactive cards!

To make this card, I grabbed a piece of red cardstock and ink blended Maker Forte's Telephone Box ink through the Popping Popcorn Stencil.  I also blended the edges all the way around.

Out of yellow cardstock, I die cut a framed die.  Any frame die would work, including the Waves Cover Die or the Stitched Window Cover Die.

To create the shaker part, I added an acetate sheet behind my yellow frame.  Then, I used deep foam tape all around the edge of my yellow cardstock.  I sprinkled some sequins and stars on my red cardstock and then placed my frame on top.
For my adorable little movie scene and sentiment, I stamped some images from the Movie Night stamp set.  I colored them with OLO Markers and then die cut them out with the coordinating dies.  Then, I attached them to my card front with 3D foam squares.  I also cut out the letters for "Happy Birthday" with some alphabet dies.


Thank you so much for stopping by the blog today!  I hope you're feeling inspired by this post!  Come back next week for another cheery card!

Xx, Amanda


Thursday, 6 October 2022

2 for 1 Cards with Amanda - Part 2


Happy Thursday, Tea Timers!  It's Amanda here!  Today, I am showing you Part 2 of my 2 for 1 Cards!
If you missed Part 1, you can see it here!
If you remember last week, I started with one sheet from the Pawsome Rainbows Paper Pad and the Stitched Window Cover Die.


For Part 2, I'm using the inside pieces of the frame! On a piece of white cardstock, I  used the Movie Star Stencil and Buttercream ink.
I'm also taking the "smile" sentiment from the Smile Inverted Scallop Frame Dies.  For my other sentiment, I am using the Brighter Days Sentiment Cards.

I've stamped my images from the Hey There Critters Stamp Set and colored them with OLO Markers.  I've also die cut them with the coordinating dies.

Lastly, I've propped up my papers and images with 3D foam squares!


Here are both cards together:


I hope you loved seeing these 2 cards being put together!
See you back here next week!
Crafty Hugs,


Thursday, 29 September 2022

2 for 1 Cards with Amanda - Part 1


Happy Thursday, Tea Timers!  It's Amanda here!  Today, I am showing you Part 1 of my 2 for 1 Cards!

For my 2 for 1, I'm using one sheet from the Pawsome Rainbows Paper Pad and the Stitched Window Cover Die. Once I cut my paper with the die, I'm saving all the pieces!  I am going to use the frame on this Part 1 card and I'm going to save my insides for Part 2 (coming Oct 6th right here on the Time for Tea Blog!)

Next, I'm grabbing my Pawsome Prints Stencil, a black piece of cardstock, and Deco Foil Transfer Gel DUO.  Using a spatula, I have put the DUO gel through the stencil.  Next, is to wait an hour before we can add the foil!
After the DUO gel has gone clear and is now tacky, I can place my foil on top of my gel (shiny side up) and run it through my die cutting machine.  I'm also using the Hey, Hello, Hi Dies to create a sentiment and white shadow.
Now that I know where I'm going to place my stamps, I'm stamping my images from the Kitty Capers Stamp Set.  I'm coloring them with OLO Markers and then I can cut them out with the coordinating die set.

The next step is to attach the frame to the black background with 3D foam tape. I've also used 3D foam squares to prop up and adhere my stamped images and sentiments to the card. 


Make sure to come back next week to see Part 2!
Crafty Hugs,


Other Posts You Might Like