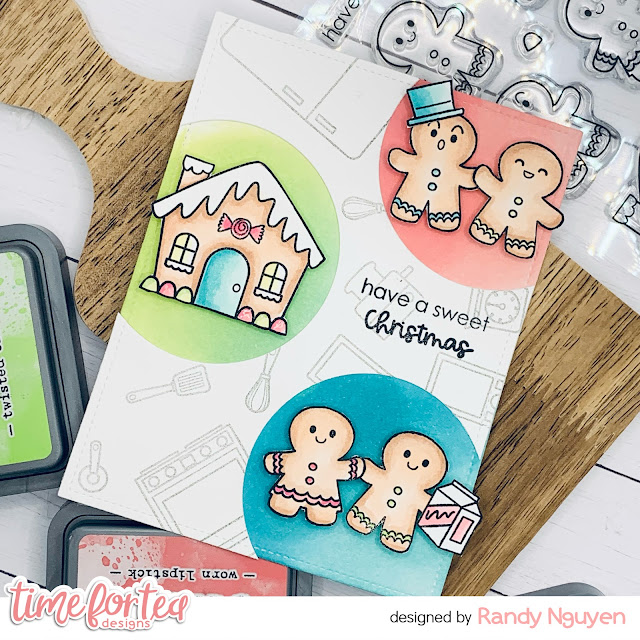
This card was super fun to make and also uses the DIY frame I previously created in another post.
- Gingerbread Family stamp set
- Coordinating dies available here
- Baked With Love Kitchen Add On stamp set
- Coordinating dies available here
- Simple Circle Dies
- Autumn Scene Cover Plate die set
To create the frame, you just need to cut out the A2 Panel and take one of the circle dies and diecut out the three spots you would like to have the images stand out.
I wanted to have a fun baking background on my frame. I took the images from the Baked with Love set and stamped it directly onto the frame using grey ink. I then took the sentiment and stamped onto the frame using black ink.
I then stamped out the images and used the following Copic Marker colors to color them: E00, E11, E13, RV21, RV23, RV25, YG21, YG23, Y11, Y13, BG11, BG13 and BG15. I then fussy cut my images out and set them to the side.
With another A2 Panel, I lightly drew lines where the circles were going to be. I took Peacock Feathers and Salvaged Patina, Cracked Pistachio and Twisted Citron and Worn Lipstick and Saltwater Taffy Distress Oxides to blend onto the background. I really wanted to make the images pop and these color combinations helps.
I then glued the frame onto my background and used foam adhesive to adhere the images to complete my card.
I hope you enjoyed this blog post today and are one stop closer to finishing up your holiday cards. If you ever in need of some new holiday stamps, check out the shop and use the code T4TRANDY10 at checkout for extra savings!
Happy Holidays!


No comments:
Post a Comment
Thank you for leaving a comment, it really does brighten my day!