
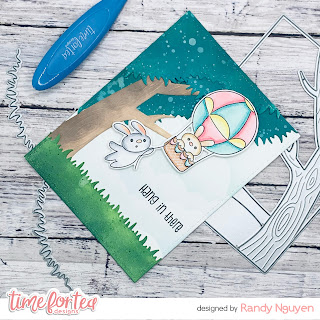
Good Morning Everyone and Happy Monday! Today I am excited to share the plush tree I created using just two die sets. The tree only takes a couple minutes to cut out and assemble.
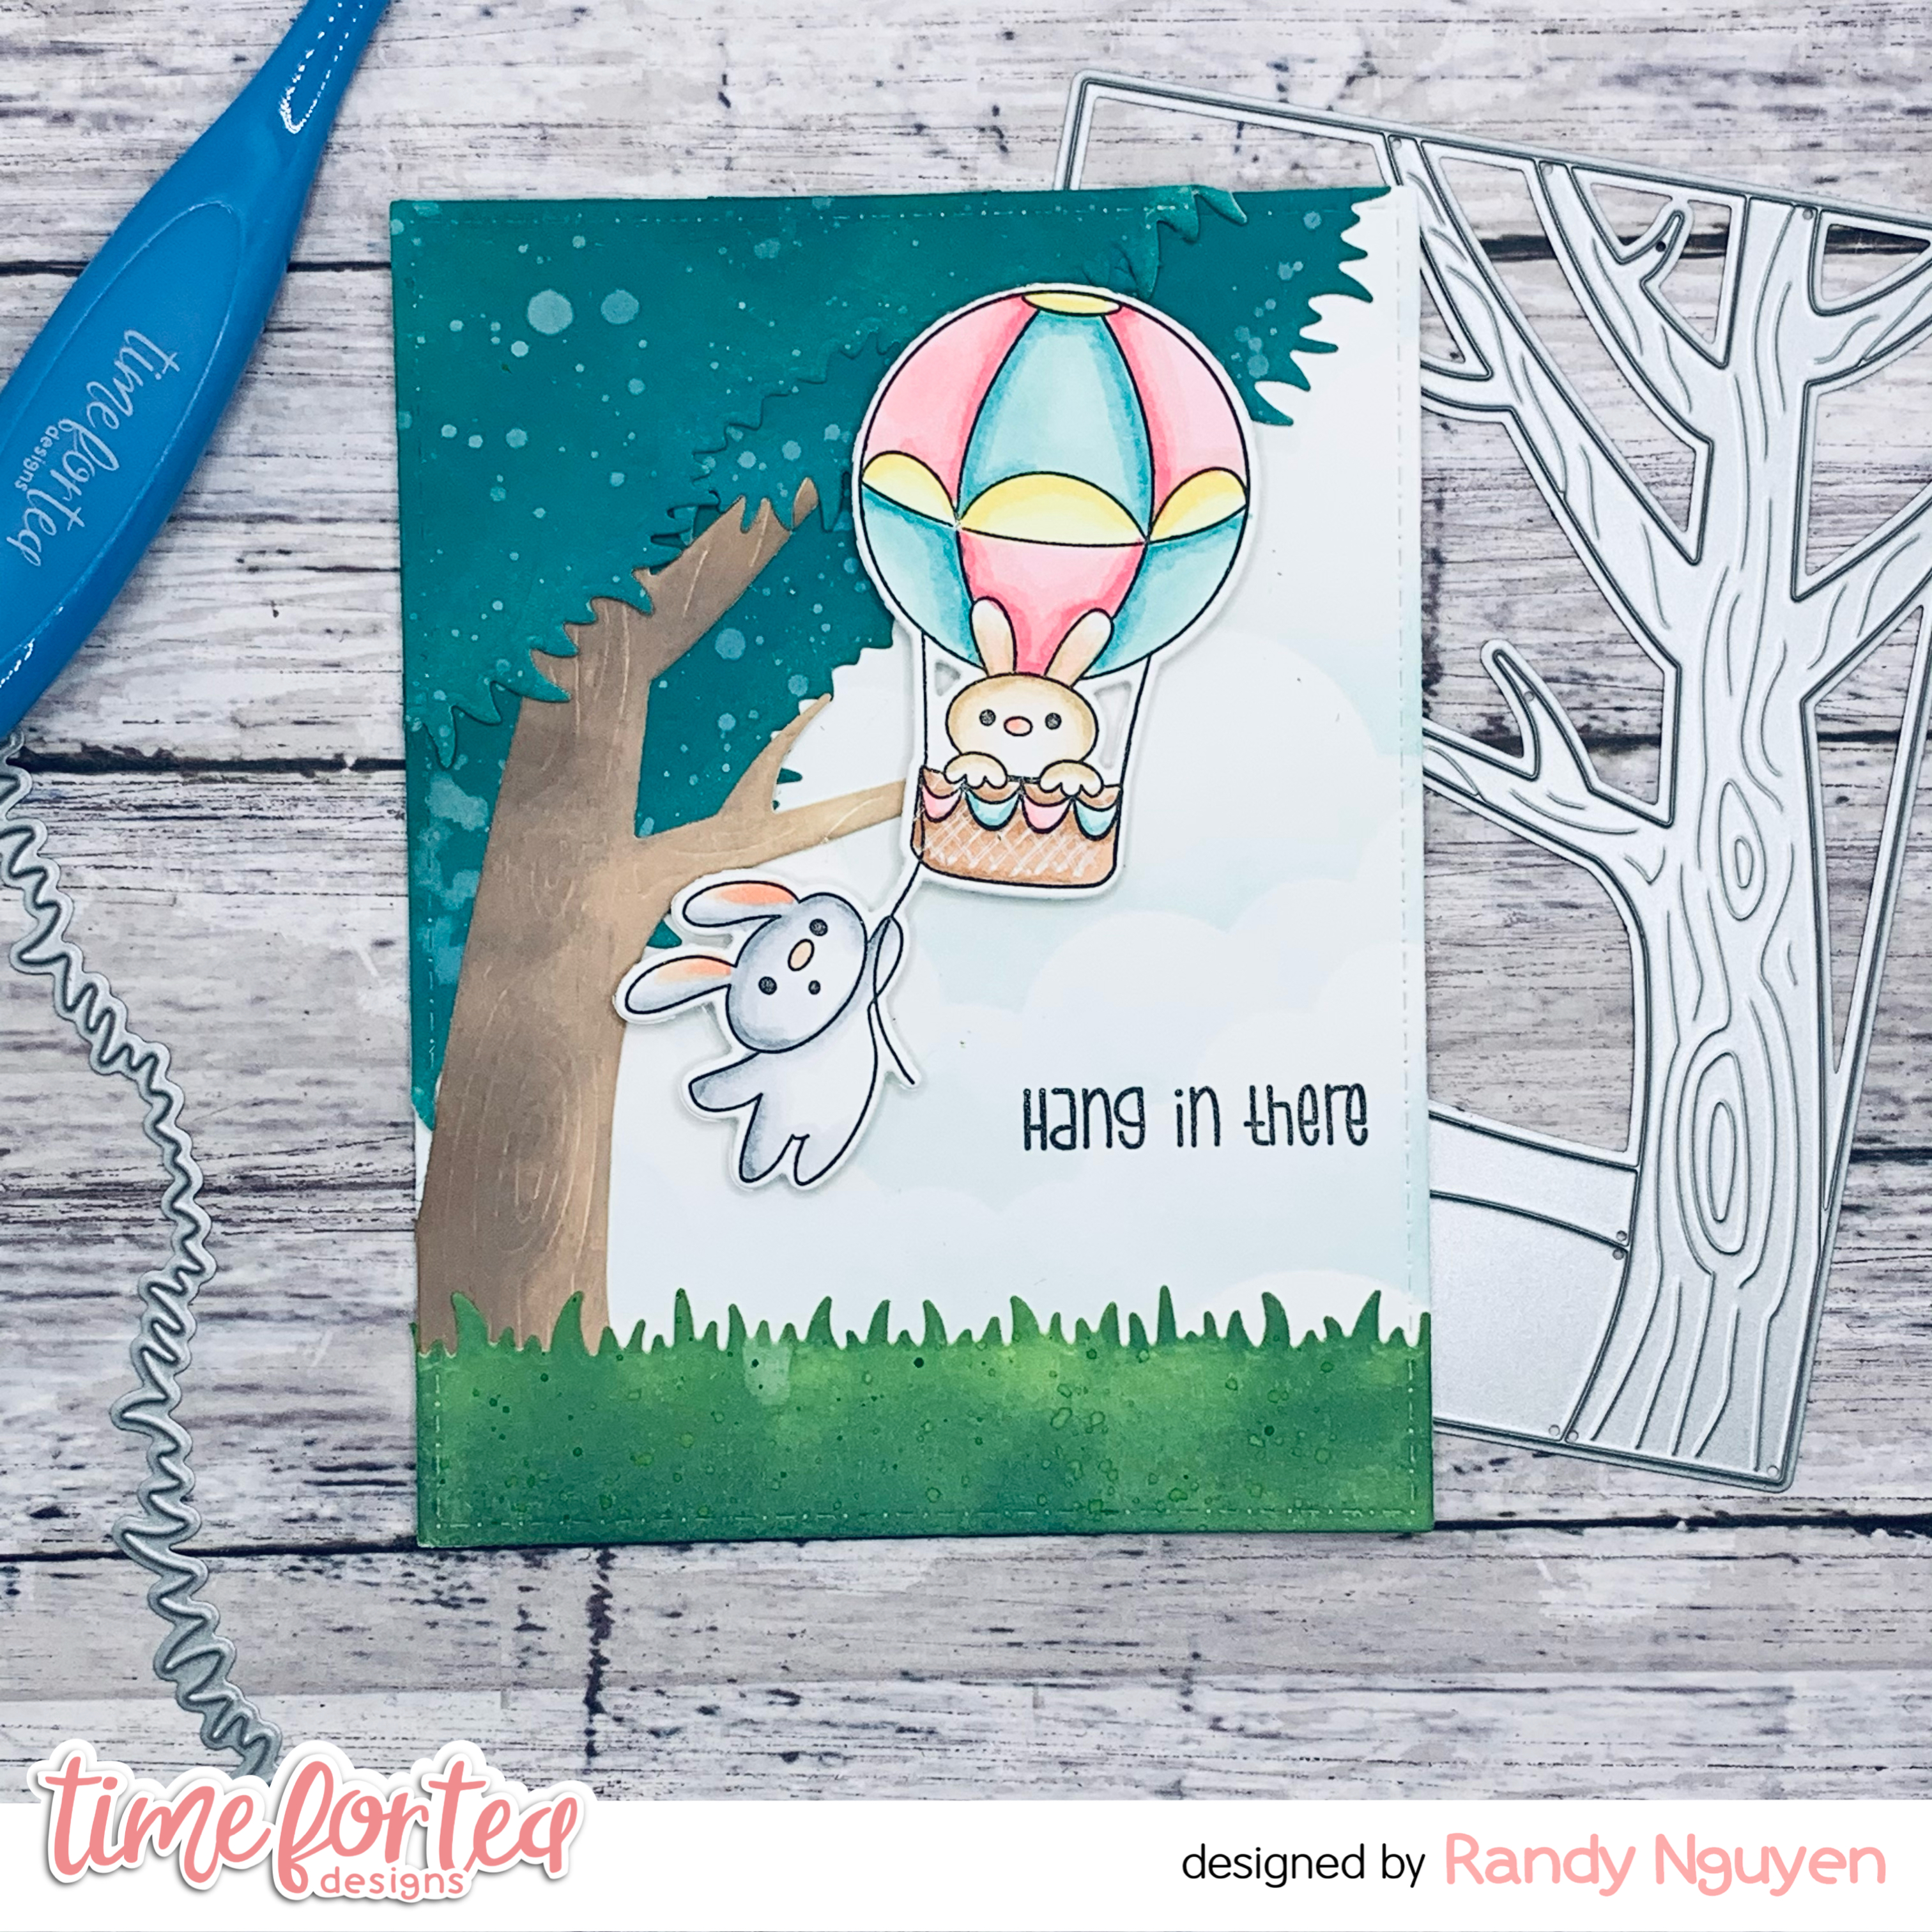
I adhered the largest corner piece first onto the card. I then glued the tree trunk and the remaining corner pieces on top of the trunk to complete the tree. The tree trunk did not reach the bottom of the card and so I cut out a grass using the other die in the Landscape set and blended it with Rustic Wilderness and Mowed Lawn.
I then stamped out the image from the Up, Up & Away Stamp set and cut it out using the Coordinating Die set. I used the following Copic Markers to color the image: C1, C2, C3, C4. E50, E51 E53, E55, BG10, BG11, BG13, BG15, RV10, RV11, RV13, RV14.
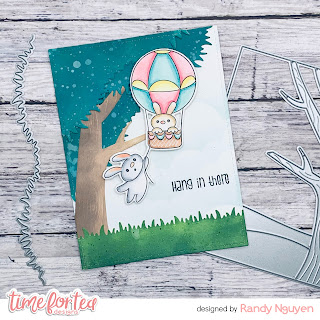
Before adhering the image, I stamped the sentiment directly onto the card. I then used foam tape to add the image.


I hope you enjoyed this blog post and will recreate the tree in future projects. Thank you for joining me today and don't forget to use the code T4TRANDY10 to save on your next purchase in the shop!


No comments:
Post a Comment
Thank you for leaving a comment, it really does brighten my day!