Hey there Tea-timer friends...
DT Ashlee here with a new card using a bunch of supplies from Time for Tea designs!!
Hey there Tea-timer friends...
DT Ashlee here with a new card using a bunch of supplies from Time for Tea designs!!
Happy Friday, DT Annalisa here! I tried no line colouring in today's card, I love the look of it, but it is a technique that I find quite tricky, since you have no dark outlines, you must create contrast in the right places to get the right look.
I ink blended Simon Says Stamp Khaki Ink for the background over the Coffee Beans 6 x6" Stencil using my Beautiful Blender Brush onto white cardstock. I removed the stencil and used a lighter hand and what was left on my brush to fill the white areas. I added brown splatter with a paintbrush, water and Khaki Ink.
I die-cut the ink-blended panel with a stitched rectangle die and then used double-sided tape to stick it to an 80 lb Neenah Desert Storm card base ink-blended with vintage photo Distress Oxide.
I used salvaged patina Distress Spray Stain on the smooth side of Distress Watercolor Cardstock by Ranger. Once it was almost dry I sprayed water using a Distress Sprayer that filled in the white spaces with a pale teal colour.
I die-cut the teal panel with the Warm Hugs Large Sentiment Die. I ink-blended another piece of Neenah Desert Storm with vintage photo Distress Oxide and die-cut it with the same die. I glued the two die-cuts together slightly offset to create a shadow.
I stamped elements from Let's Chat, Pumpkin Spice, Warm Hugs and Get Whale Soon with Ink on 3 fadout No Line Coloring ink. I coloured them with Copics, cut them out with their coordinating dies and added white gel pen accents with a Gelly Roll Pen.
I adhered the images and the sentiment to the card base using double-sided foam tape for dimension.
I added teal and pink sequins from the Candy Christmas Squin Mix from Pawsome Stamps using liquid glue to complete the card.
Thank you so much for visiting my blog post, be sure to use my discount code T4TANNALISA10 when you visit the Time For Tea Designs shop to get 10% off your order.
Hey Tea-timers...
DT Ashlee here today with some new card inspiration. For today's theme I have a get well card ready to send someone that need's a little pick me up while they are recovering.
I used these Time for tea designs products :
- Get whale soon co-ordinating die set
- Get well soon large sentiment die
To create this card I started with a light grey card stock base that I added ink blending too over the I really dig you stencil (I used Hickory smoke Distress oxide ink).
I then added my focal sentiment by die cutting the get well soon die two times. Once with white card and once with black so that these could be adhered together slightly offset creating a shadow. This was then adhered to the card base using foam tape to start adding dimension.
Now my card base was complete I stamped, coloured and die cut the cute whale images before adhering these also to the card with foam tape. I coloured all images using Spectrum noir tri-blend markers.
To finish it all off I added a small touch of pretty sequins.
That's all for my card today, I hope you like it and I sure hope it makes the recipient smile. Happy crafting hugs Ashlee.
Hello there Tea-timer friends...
It's DT Ashlee here and todays inspiration is for someone to make them feel a little bit better while they are on the mend from illness.
I think a get well card is a lovely way to give someone who may not be feeling the best a small pick me up/paper hug!
Thanks for stopping by today, I hope you like this card and feel inspired to send someone a get well soon card too as a little pick me up!
Happy crafting, hugs Ashlee.
Happy Friday! DT Annalisa here today sharing an ocean-themed card I created using several adorable stamps from Time For Tea Designs. I love how many ocean critters are available now in the T4T portfolio as making ocean-themed cards is one of my favourite things to do!
I used the following supplies to create the card:
I created an inky ocean using ink smooshing with peacock feathers Distress Ink, water and some acetate. I die-cut the panel with the Ocean Waves Dies and set it aside to dry. For the sand, I ink-blended Kraft cardstock with Vintage Photo Distress Oxide. I also added brown splatter with a paintbrush. I die-cut the panel with the Landscape Edge Standalone Die.
I added sparkles to sections of the images with a Quickie Glue Pen and Lawn Fawn Prisma Glitter.
I adhered the images to the card base using liquid glue or double-sided foam tape for dimension.
I stamped the ‘wavin' hello!’ sentiment from Fintastic Friends and cut it out with the coordinating die. I added double-sided foam tape to the back and stuck it down to complete the card.
Hello, DT Annalisa here! For my project today, I am sharing a sympathy card for some friends who recently lost their dog. Losing a loved one is always hard - I wanted to let them know I have been thinking about them. I used the Pawsome Dies with the Pawsome Rainbows 6x6' Paper Pad to create this card.
I die-cut a panel from white card stock using the A2 Layering dies. I used the medium paw die in the Pawsome Dies set and cut it into this panel twice. I added double-sided foam tape to the back of this panel and set it aside.
I stuck a piece of patterned paper from the Pawsome Rainbows 6x6' Paper Pad to an A2 white card base, ensuring it would fit behind the 3 3/4 inch panel with paws cut into it. I then took the panel with paws and stuck it over the patterned paper.
I stamped and coloured (with Copics) the small dog from the Sweet Village stamp set and cut it with its' coordinating die.
The sentiment is from Get Whale Soon; I stamped 'sending you' and 'hugs' and die-cut these out with their coordinating dies.
I used liquid glue to stick the sentiments and dog to the card to complete it.
Thank you so much for reading my blog post. Remember to use my discount code T4TANNALISA10 when you visit the Time For Tea Designs shop to get 10% off your order.
DT Annalisa waving hello to my fellow card fans today! I have an underwater scene created using stamps, dies and stencils from Time For Tea Designs. I love creating ocean-themed cards and had so much fun making this one.
For the background, I used the Tiger Stripes 6 x6" Stencil. I used Mermaid Lagoon Distress Spray Stain on Distress Watercolor Cardstock by Ranger. I ink-blended Mermaid Lagoon Distress Oxide using my Beautiful Blender Brush to the white areas. I added splatter using a paintbrush, water and Copic opaque white. Once the panel was dry, I used double-sided tape to adhere it to a 4 1/4 by 5 3/4 inch card base.
For the stamp sets, I used Get Whale Soon (plus its' coordinating dies), Beach Buds (plus its' coordinating dies), Sealed With A Kiss (plus its' coordinating dies) and Fintastic Friends (plus its' coordinating dies). I coloured the images with Copic markers and added white gel pen accents with a Gelly Roll Pen.
Next, I added sparkles to the edges of some images with a Quickie Glue Pen and Lawn Fawn Prisma Glitter.
I used double-sided foam tape to adhere the frame I created using the Wide Stitched Frame Dies to the card base. I used liquid glue to stick all the images to the card. I adhered the sentiment using double-sided foam tape.
Thank
you so much for reading my blog post, you can use my discount code T4TANNALISA10 when
you visit the Time For Tea Designs shop to
get 10% off your order.

Happy Friday! DT Annalisa here sharing a get well soon card featuring the Get Whale Soon stamp set and the Wonky Background Masking Stencil. I have been under the weather for the past week, so I thought it would be fitting to share this. Thankfully I am on the mend, as it is hard to be crafty when your head is congested!
I ink-blended Tumbled Glass, Salvaged Patina and Peacock Feathers Distress Oxide Ink over the Wonky Background Masking Stencil onto some white cardstock using my Beautiful Rainbow Blender Brushes. I added splatter with a paintbrush, water and Salty Ocean Distress Oxide Ink. I also added metallic silver watercolour splatter with a paintbrush.
Once dry, I die-cut the panel with the A2 Layering dies. I used the same die set to cut grey card stock that I glued to an A2 card base. I love how these dies make it so easy to create a layered card like this without having to measure!
I stamped the images from Get Whale Soon with Lawn Fawn Jet Blank Ink and coloured them with my Copics. I added white gel pen accents and then used the coordinating dies to cut them out.
I stamped the 'sending you hugs' to the bottom of the ink-blended panel using Versafine Onyx Black. Next, I added double-sided foam tape to the back of the panel and stuck it down to the card base.
I used liquid glue to stick down the pills and heart to the card base for the rest, I used double-sided foam tape. I added Glossy Accents for shine and added dimension, to some of the elements. I added blue Designer Enamel Dots from the Sweet Summer Enamel Dots, to complete the card.
Thank
you so much for reading my blog post, you can use my discount code T4TANNALISA10 when
you visit the Time For Tea Designs shop to
get 10% off your order.
Hey Tea-timers...
It's DT Ashlee here today, I hope you are all well and getting some beautiful weather like we had here in Tasmania today!!
I've got a new mini slimline card to share with you all and I must say I think this mini slimline scallop die set by T4T would have to be one of my most favourites to use, its such a great size and so fun to create with...
Hey there Tea-timers...
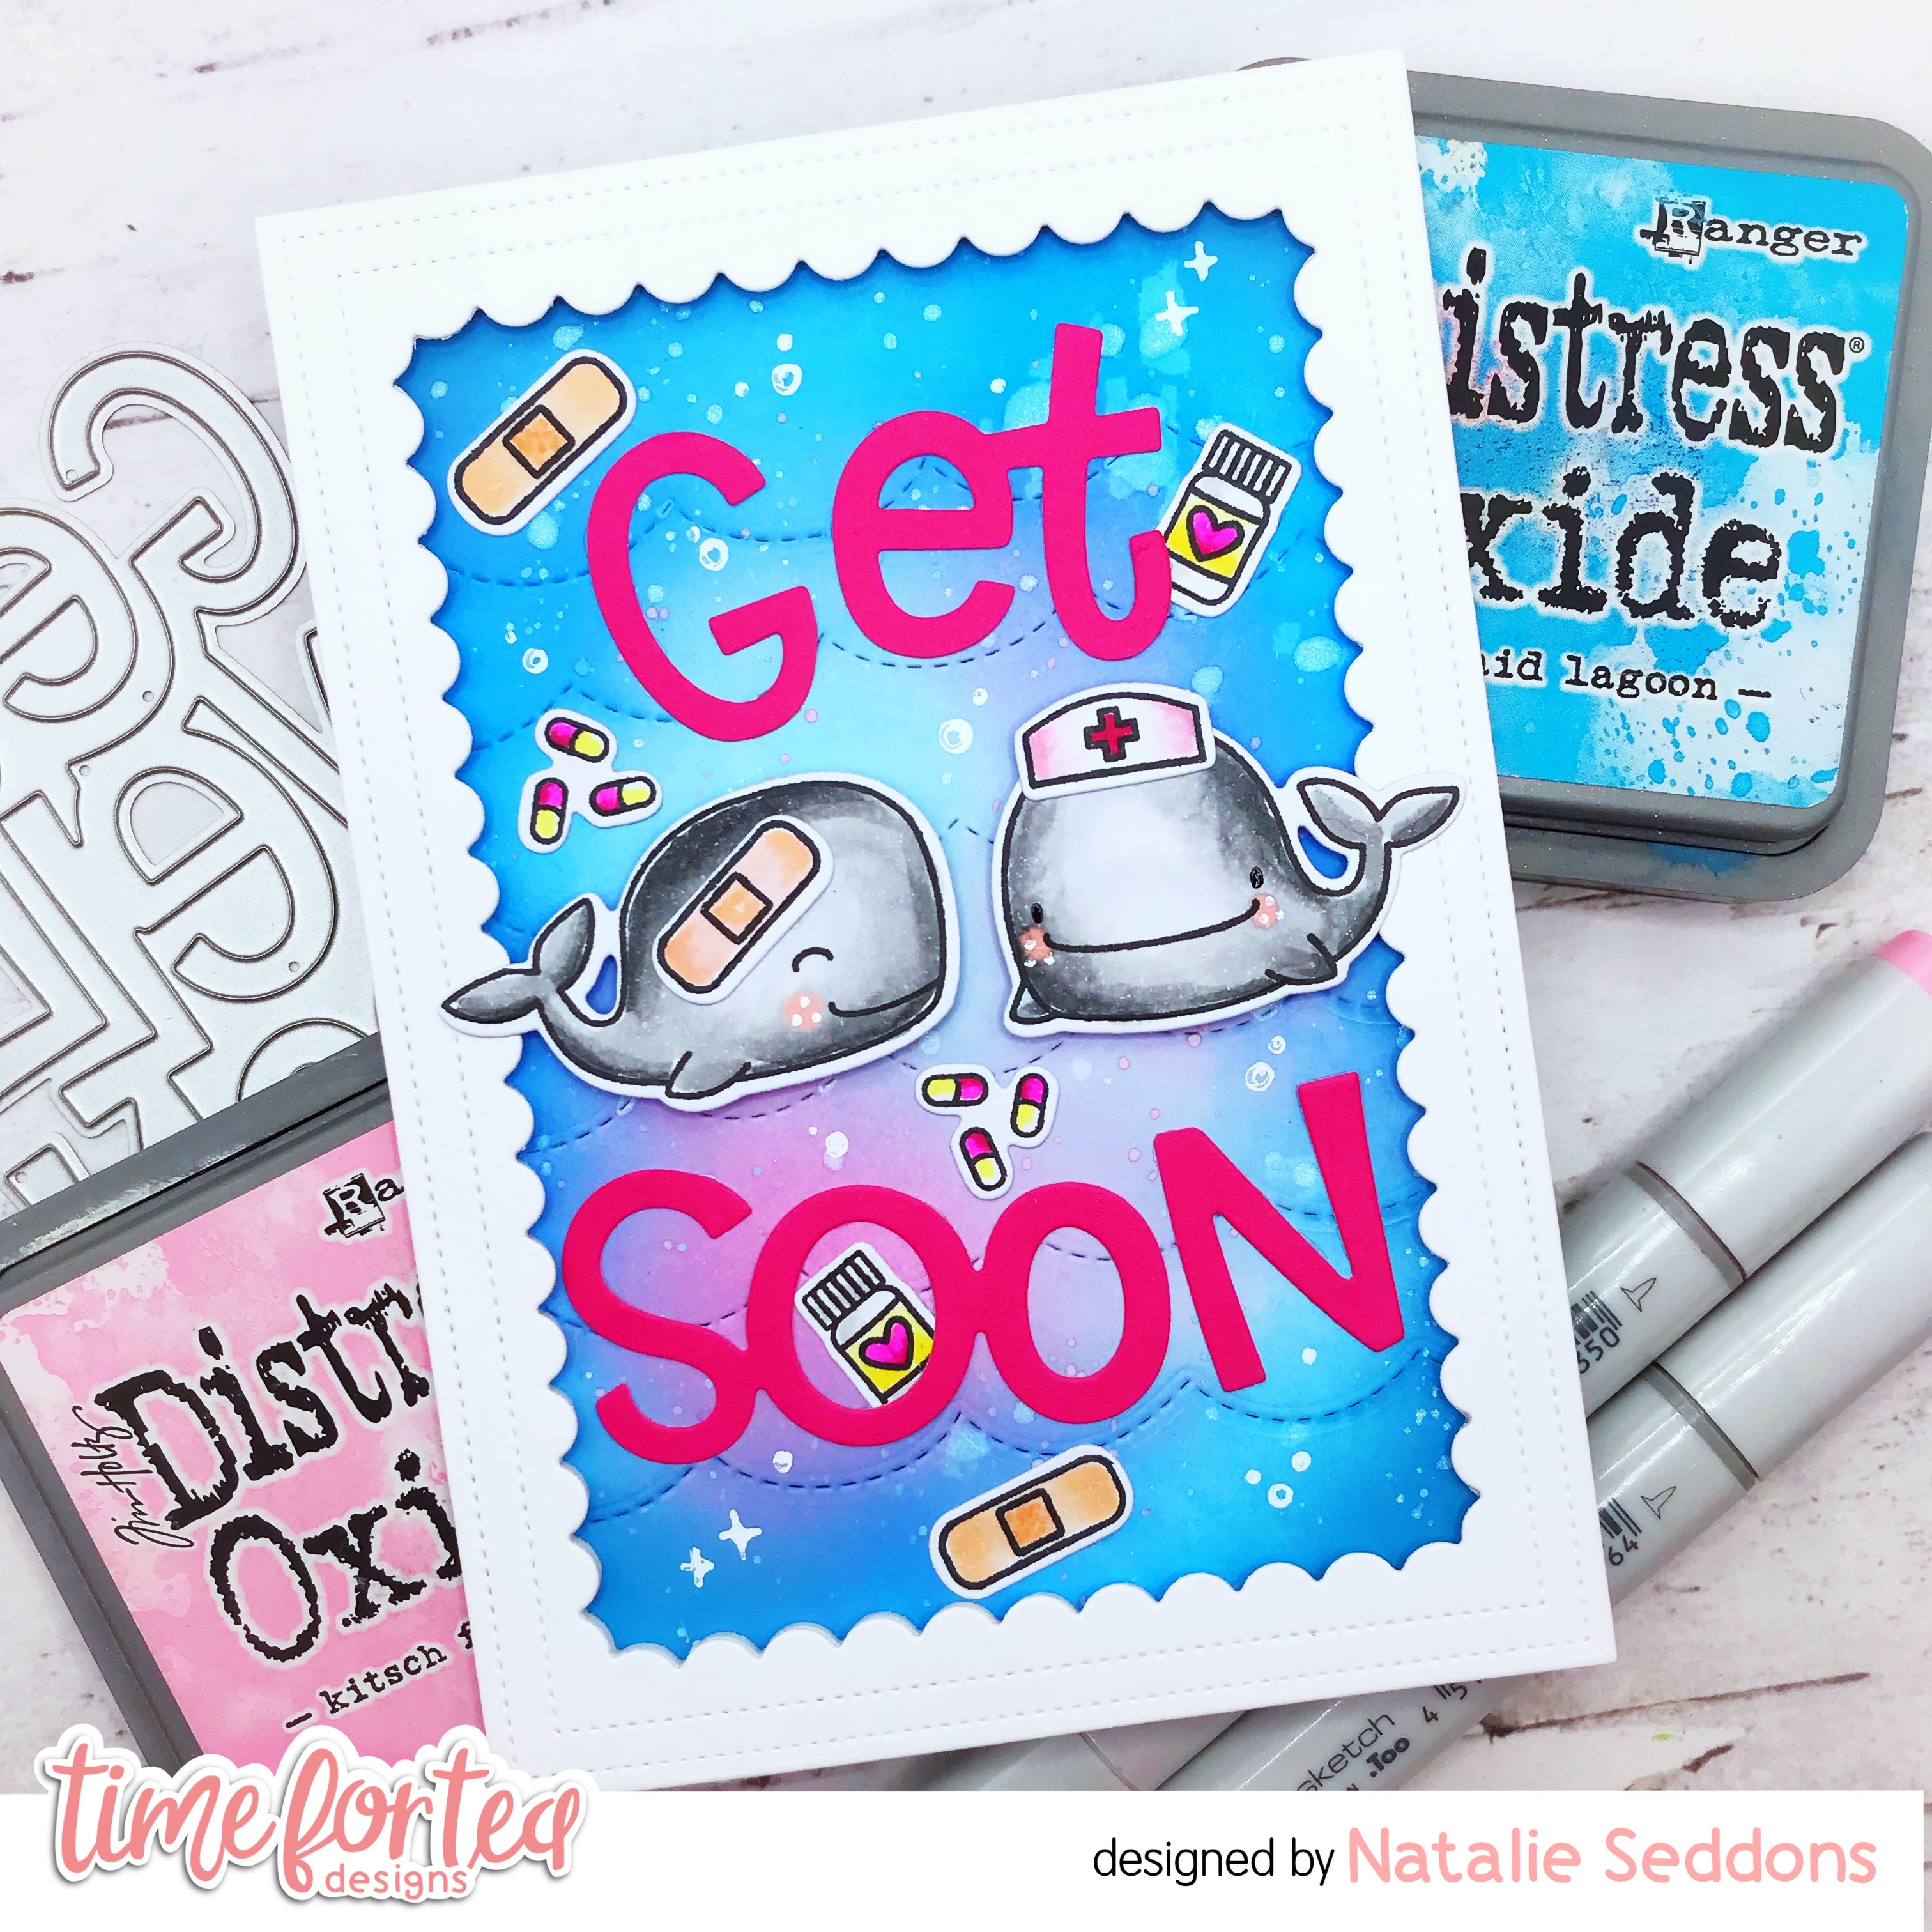
It's DT Ashlee here today and I've got some Time for Tea designs inspiration to share with a Get well theme using some products from the new release!!
Hi Vic here today and I am sharing a very fun video tutorial today. I am using the Get Whale Soon Clear Stamp Set for my images today.
In the video tutorial I show you how I inked up the background and made some shimmery splatters for a really pretty background. I am also showing you how I coloured up the whales.
Here are the copies I used to colour the whales and images:
BG000
BG02
RV52
RV55
R27
C3
R20
R22
I also used my memetic tuxedo black ink pad to stamp my images.
I used the Get Well Soon Large Sentiment Die and I die cut this from some sparkly glitter card.
I hope you enjoy the video tutorial. You can also save 10% off your oder using the code: T4TVICKI10 at checkout this includes the new release too.
Have a lovely day,
Vic x