Sets Used:
- Stitched Window Cover die
- Hey, Hello, Hi Dies
- Movie Star Stencil
- Kitty Capers Clear Stamp set
- Purrfect Day Coordinating die set
- Simple Circle Dies set
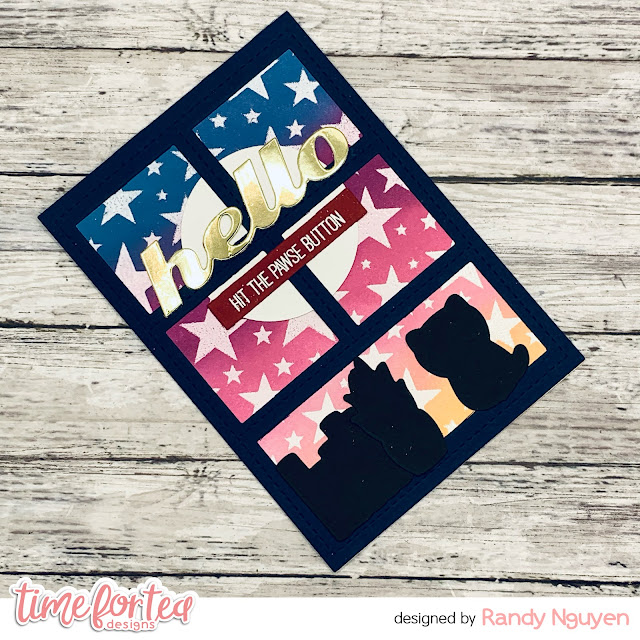
I first cut out the Window from navy cardstock. I took white cardstock and trimmed it down to the size of the window. I then took the Movie Star Stencil and blended embossing ink over it, making sure to go over it a couple times so that the embossing powder will stick. I added white embossing powder and heat embossed the panel.
I then took Faded Jeans, Seedless Preserves, Picked Raspberry, Kitsch Flamingo and Dried Marigold and blended it over the panel. I love how the embossed images shines through once you blend ink over it. I took a circle die from the Simple Circle Dies set and cut it out of white cardstock for the moon.
I took the stack of books, plant and cat dies from the Purrfect Die Coordinating die set from black cardstock for my silhouettes. I took the Hello die and cut it out of gold cardstock. For my sentiment, I decided on "Hit the Pawse Button" as it reminds me to take a little break and relax every now and then. I heat embossed it onto red cardstock and trimmed it down.
To assemble the card, I put the moon piece near the top of the card. I then adhered the window using liquid adhesive. I added the remaining pieces using liquid adhesive as well.
I hope you enjoyed this tutorial. I've been making cards with more diecuts recently as it can help create some beautiful scenes! If you want to get any of the sets I used today, don't forget to use the code T4TRANDY10 for extra savings!


No comments:
Post a Comment
Thank you for leaving a comment, it really does brighten my day!