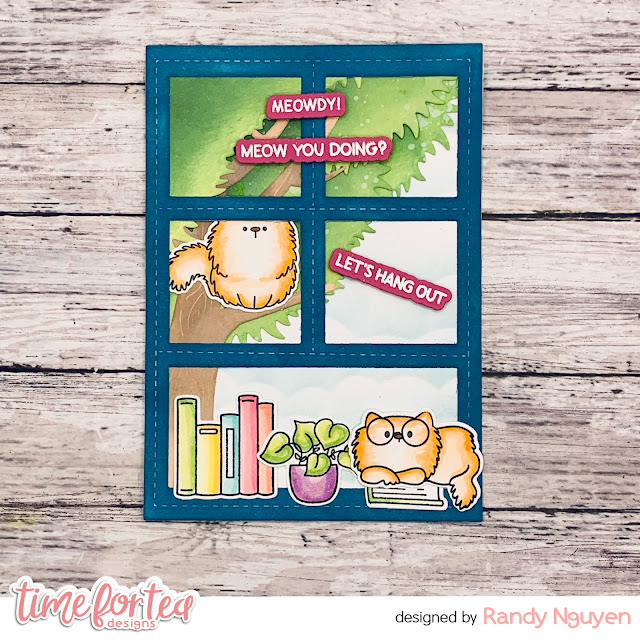
I first stamped out my images and used the following Copic Markers to color them:
- Cats: YR00, YR02, YR12, YR14, YR16
- Books: RV21, RV23, RV25, YG21, YG23, YG25, BG11, BG13, BG15, Y11, Y13, Y15, R20, R22
- Plant: V00, V01, V04
I then die cut the images using the coordinating die set. And set them to the side. I then took the Autumn Scene Cover Plate die and cut it out of white cardstock. I took the tree trunk and blended it with Antique Linen, Tea Dye and Vintage Photo. To create my tree, I used the same technique that I used in the "Build a Tree in Minutes" tutorial you can find here. I essentially use the grass die from the Landscape Edge die set and cut it out of cardstock in different angles. This time I used Twisted Citron, Mowed Lawn and Forest Moss to blend the tree.
I took the Stitched Window Cover die and cut it out of white cardstock. I then used Uncharted Mariner, which has been my favorite new blue and blended it onto the window. I trimmed another piece of cardstock down to size and used a Cloud stencil I had in my stash to blend with Salvaged Patina. You can use the Slimline Scene Builder Stencil as well to create the same cloud look.
To finish off my card, I stamped the sentiments onto pink cardstock using embossing ink and heat embossed it with White embossing powder. I used the coordinating dies to cut them out. I used liquid adhesive to adhere all the images to complete the scene and foam tape for the sentiments.
I hope you enjoyed this tutorial. I love creating these scenes as it is always fun to tell a story. If you liked any of the products that I used in this post, don't forget to use the code T4TRANDY10 at checkout for some savings. Have a crafty day!


No comments:
Post a Comment
Thank you for leaving a comment, it really does brighten my day!